
Imagine stepping into your backyard and being greeted by a cozy, inviting shelter that transforms your outdoor space into a personal oasis. Whether you’re a beginner just dipping your toes into the world of outdoor design or a seasoned homeowner looking to refresh your backyard, “10 Budget-Friendly Shelter Ideas for Your Next Project” is here to spark your creativity and guide you every step of the way. With this guide, you’ll find that enhancing your outdoor living area can be both affordable and immensely rewarding.
From DIY pergolas to charming gazebos, each idea is designed to provide practical benefits that go beyond mere aesthetics. These shelters not only offer protection from the elements but also create enchanting spaces for relaxation and entertainment. As you explore these options, you’ll gain the confidence to transform your outdoor area into a beautiful retreat that reflects your personal style, all while keeping your budget intact. Let’s embark on this exciting journey to make your outdoor dreams a reality!
Repurpose Pallets for Rustic Walls
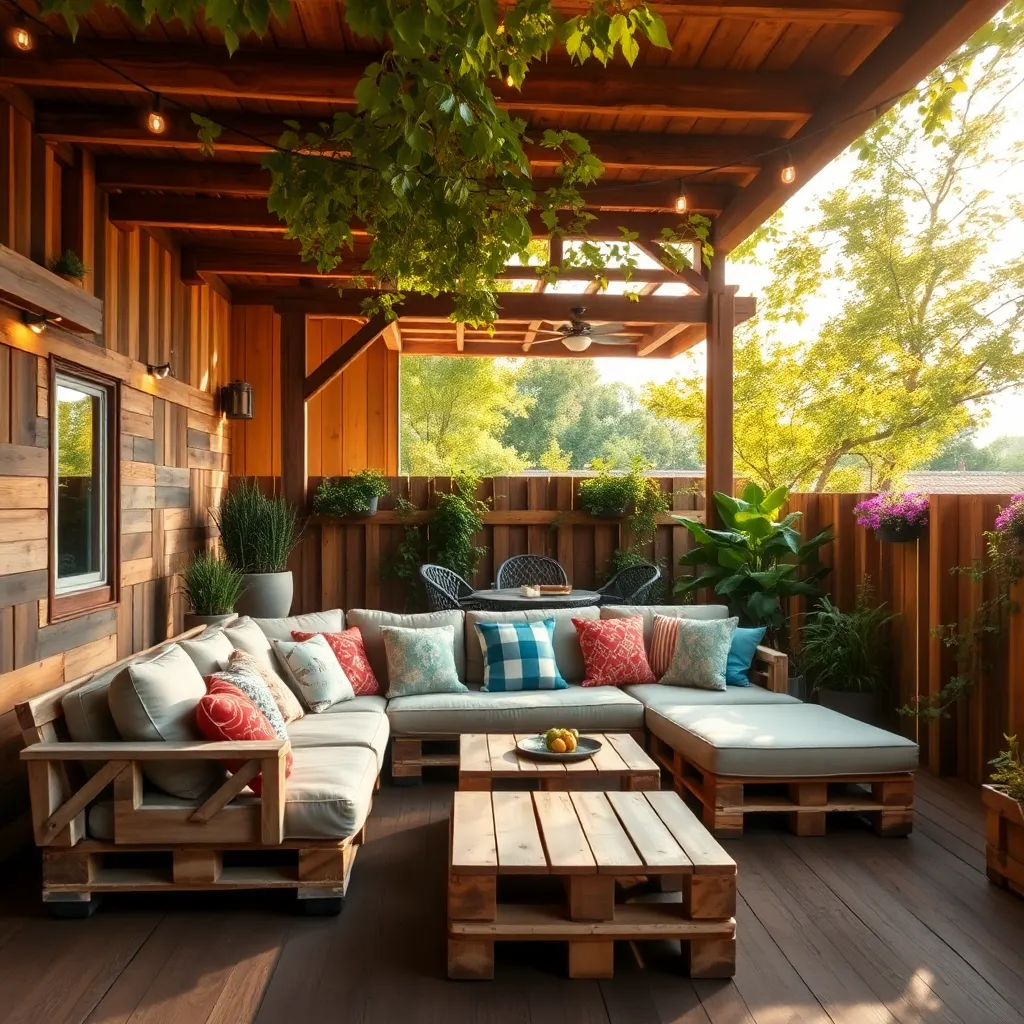
Repurposing pallets for rustic walls is an affordable and creative way to add charm to your outdoor shelter. Begin by sourcing sturdy, undamaged pallets, which are often available for free from local warehouses or businesses. Once collected, dismantle the pallets to obtain the planks and sand them down to avoid splinters. To construct the wall, use a simple frame of treated wood and attach the planks horizontally or vertically for a charming, rustic look. Ensure to seal the wood with an outdoor-grade sealant to protect against weather elements.
For a more advanced touch, consider incorporating features like built-in planters or shelves into your pallet wall. Cut specific sections of the pallets to create recessed pockets for small pots or garden tools. For added stability, anchor your wall to existing structures or use concrete footings if building it freestanding. To enhance the rustic aesthetic, consider mixing wood stains for a varied color palette or add decorative hooks for hanging lanterns or string lights. This approach not only personalizes your space but also maximizes functionality.
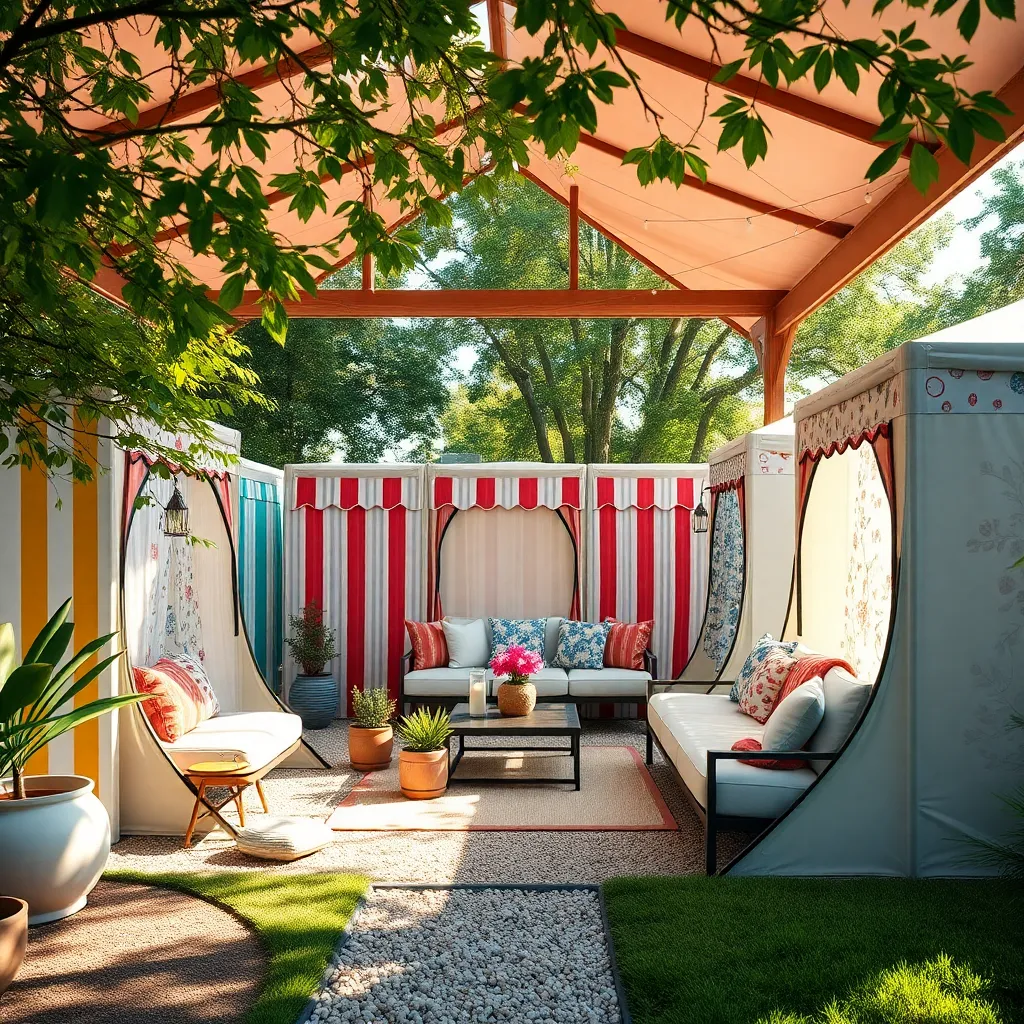
Utilize Tarps for Quick Coverage
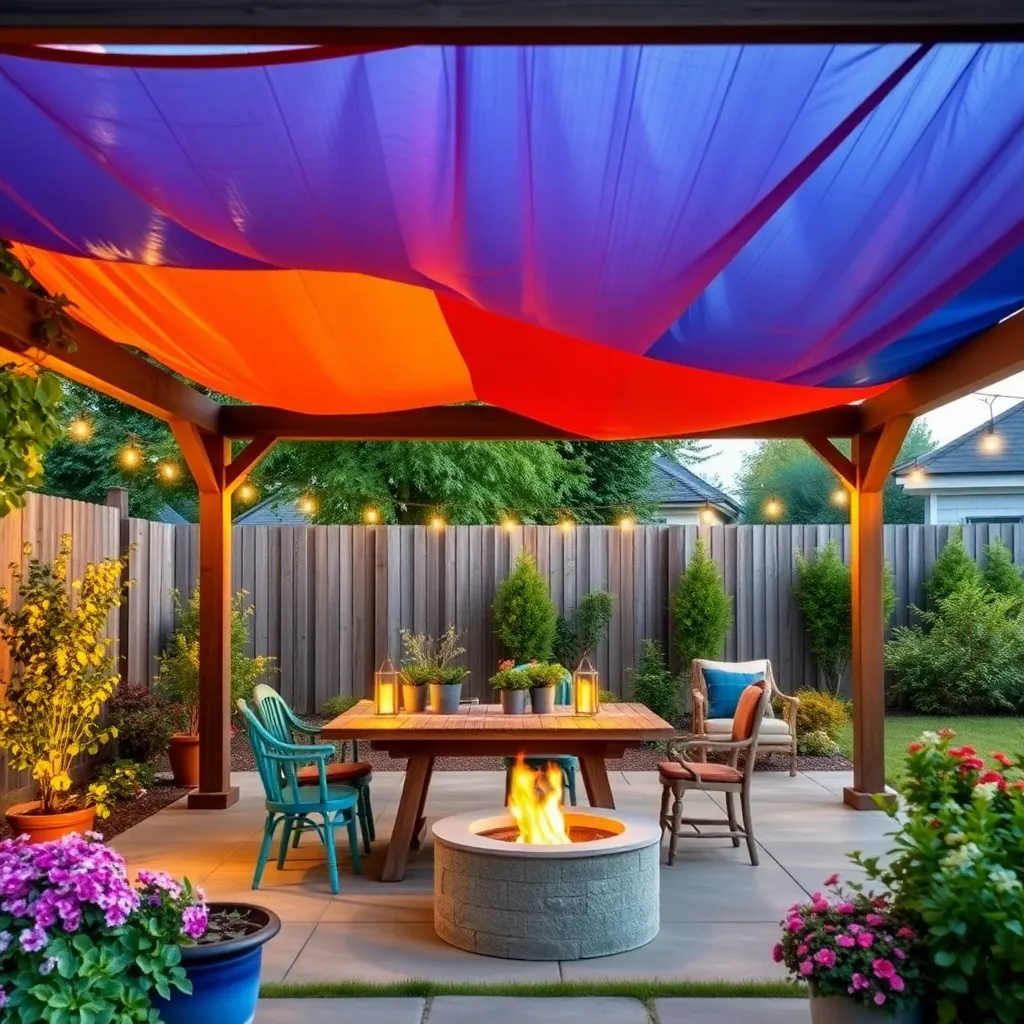
Tarps are an incredibly versatile and budget-friendly solution for quick outdoor coverage. They come in a variety of sizes and materials, such as polyethylene or canvas, making them suitable for various weather conditions. For a basic setup, simply stretch the tarp over a frame of PVC pipes or wooden beams, securing the corners with bungee cords or rope. This method provides immediate shelter from rain or sun, perfect for impromptu gatherings or protecting tools and materials during a project.
For those looking to create a more robust structure, consider reinforcing the corners with grommets and heavy-duty stakes to withstand strong winds. Advanced users can add elements like side flaps or attach multiple tarps to form larger covered areas. To enhance durability, choose UV-resistant or waterproof tarps, ensuring longevity even in harsh weather.
- Measure your desired coverage area before purchasing to ensure the tarp fits your needs.
- Opt for neutral colors to blend in with the natural surroundings if aesthetics are a priority.
Whether you’re a beginner or seasoned DIYer, tarps offer a practical and adaptable solution for outdoor shelter.
Select Lightweight, Portable Materials
When constructing outdoor shelters, selecting lightweight and portable materials is crucial for ease of setup and flexibility in design. Consider using aluminum or PVC pipes for the frame; they are sturdy yet light enough to transport and assemble without heavy machinery. For the covering, opt for ripstop nylon or canvas, which offer durability and weather resistance while remaining easy to maneuver. Keeping these materials in mind ensures your shelter is not only efficient to build but also adaptable to various outdoor spaces.
For those looking to elevate their project, incorporating modular design elements can significantly enhance versatility. Use connectors that allow sections to be easily added or removed, enabling customization based on specific needs or weather conditions. Advanced builders might explore integrating adjustable ground anchors to secure the shelter on diverse terrains. By focusing on both beginner-friendly materials and advanced techniques, you can create a shelter that is both functional and reliable for any outdoor setting.
Incorporate Natural Shade from Trees

Utilizing existing trees in your garden is a cost-effective way to create natural shade, offering a seamless integration with the landscape. Begin by assessing the tree canopy’s reach; a mature tree with a broad canopy can provide ample shade for a seating area or outdoor dining space. Consider adding a simple mulch or gravel base beneath the tree to define the space and prevent soil compaction. For added comfort, hang a hammock or install a garden bench, ensuring any fixtures are well-secured without damaging the tree.
For those ready to enhance the natural shelter, consider complementing the tree’s shade with additional elements like a DIY pergola or lattice, which can support climbing plants for increased coverage. Use pressure-treated wood or weather-resistant materials to ensure longevity. Advanced gardeners might plant fast-growing trees or shrubs strategically around the yard to create future shade zones. Choose species suited to your climate, and plant at appropriate distances to avoid crowding. By thoughtfully incorporating trees into your design, you can create a cool, inviting space that evolves beautifully over time.
Choose Recycled Wood for Structures
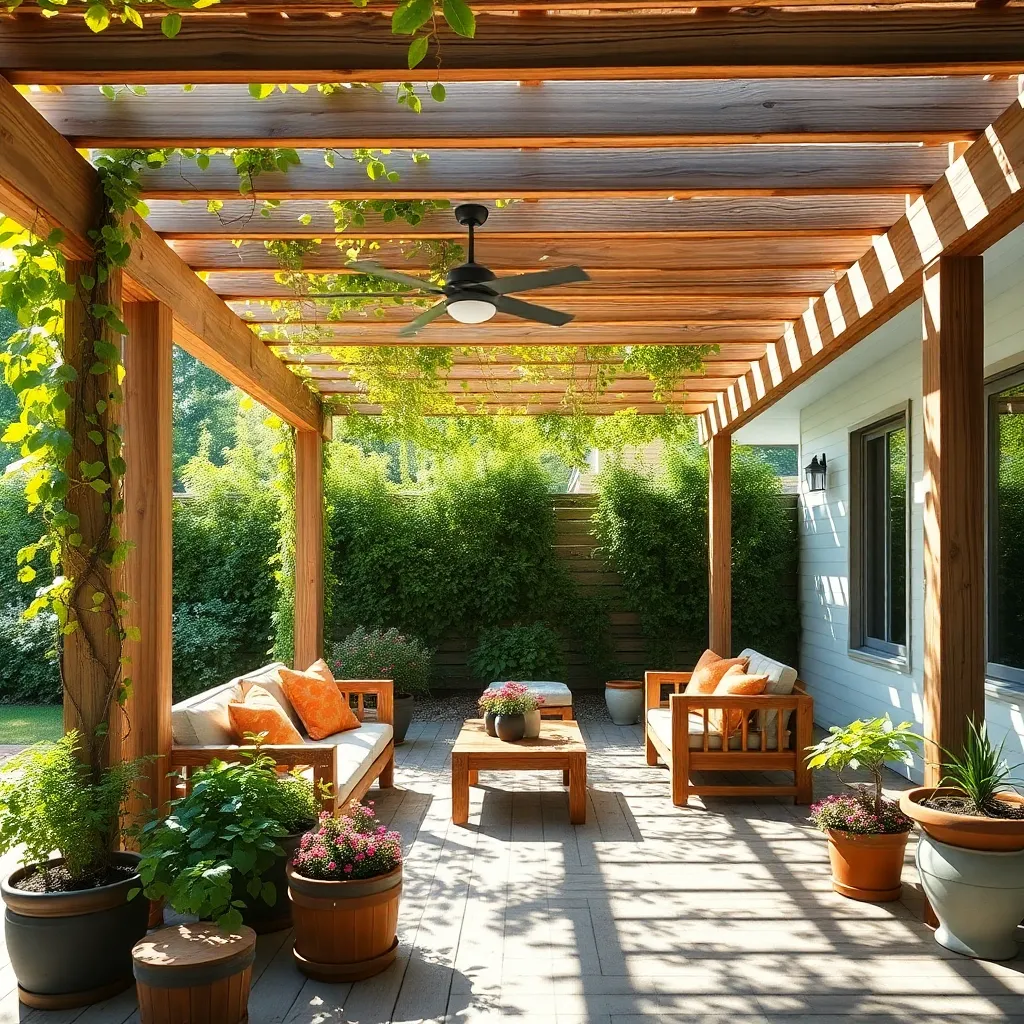
Recycled wood is an excellent choice for building outdoor structures because it’s both environmentally friendly and budget-conscious. Start by sourcing reclaimed wood from local salvage yards or online marketplaces. When selecting wood, ensure it’s treated to withstand outdoor conditions, preventing issues like rot and insect damage. For beginners, a simple design such as a pergola or a small gazebo can be a rewarding project, providing a charming, rustic look to your garden space.
For those with more experience, incorporating design elements such as trellises or decorative lattice panels can enhance the aesthetic appeal of your structure. Consider using a mix of different wood types to add texture and interest. Advanced builders can experiment with joinery techniques like mortise and tenon for a sturdier and more professional finish. Remember to seal and finish your wood with a suitable outdoor varnish to ensure longevity and maintain its beauty through the seasons.
Opt for Modular Pop-Up Tents
For an adaptable and cost-effective outdoor shelter, consider investing in modular pop-up tents. These versatile structures are easy to set up and dismantle, making them ideal for temporary projects or events. Look for models made with durable materials like polyester or canvas with a UV-resistant coating, ensuring protection from harsh weather conditions. Beginners will appreciate their simple assembly, while more advanced users can explore custom configurations by connecting multiple units.
To enhance the functionality of your pop-up tent, consider incorporating side panels or detachable walls for added privacy and wind protection. For those with a more creative flair, add decorative elements such as string lights or fabric drapes to transform the space for special occasions. Remember to secure your tent with stakes or sandbags to prevent it from shifting in windy conditions. By choosing a modular design, you’ll have a flexible, reusable shelter solution that can adapt to a variety of outdoor needs.
Install Budget-Friendly Solar Panels

Incorporating budget-friendly solar panels into your outdoor shelter can significantly enhance its functionality while keeping costs low. Start by selecting **monocrystalline or polycrystalline panels**, as these types are generally more affordable and efficient. Look for panels that are **compact and lightweight** to avoid overloading your shelter’s structure. When planning the installation, ensure your shelter’s roof or walls have a **clear southern exposure** for maximum sunlight capture, and angle the panels at about **30 to 40 degrees** for optimal efficiency.
For those with a DIY spirit, consider using a **solar panel kit**, which typically includes all the necessary components such as panels, inverters, and mounting hardware. These kits are designed for easy assembly and can be found at most home improvement stores. To maximize energy output, clean the panels regularly and trim any nearby foliage that might cast shadows. For a more advanced setup, you could integrate a **battery storage system** to store excess energy for nighttime use. By following these steps, you can create a sustainable and cost-effective energy solution for your outdoor shelter.
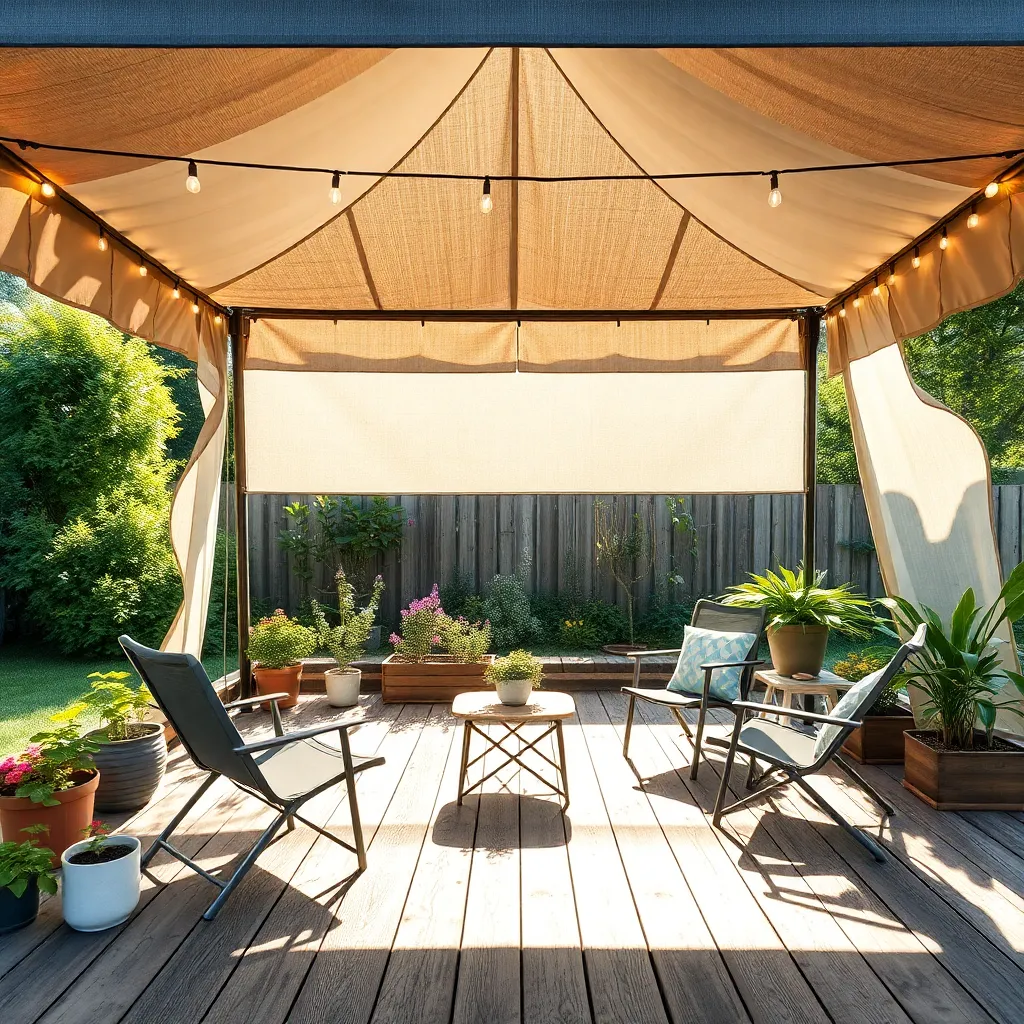
Use Canvas for Durable Roofing
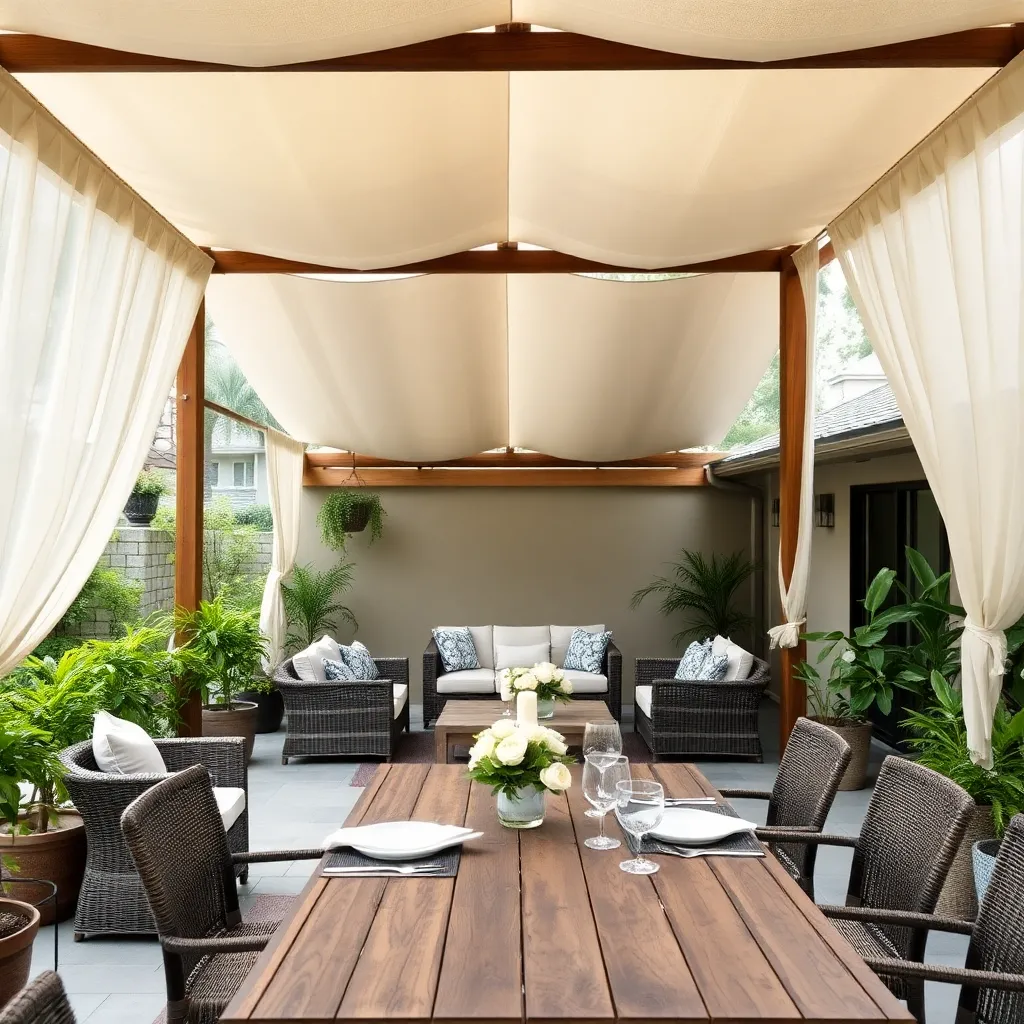
Opting for canvas as a roofing material can be a smart and budget-friendly choice for your outdoor shelter project. Canvas is not only durable but also offers a high level of versatility, making it suitable for a variety of climates. For beginners, it’s important to select a heavy-duty, water-resistant canvas that can withstand the elements. Ensure your canvas is properly treated with a UV and mildew-resistant coating to enhance its longevity. Secure the canvas tightly using sturdy eyelets and ropes, which will keep it taut and prevent sagging or water pooling.
To create a robust and visually appealing shelter, consider combining canvas with a simple wooden frame. This framework could be constructed using affordable materials like pressure-treated lumber or bamboo, which are both durable and aesthetically pleasing. For those with more advanced skills, adding a slight pitch to the roof will enhance water runoff and reduce the risk of damage. Always double-check the tension of your canvas during installation to ensure it remains taut and secure. With these practical tips, your canvas-covered shelter will be both functional and stylish, providing reliable protection for outdoor gatherings or storage.
Build with Corrugated Metal Sheets
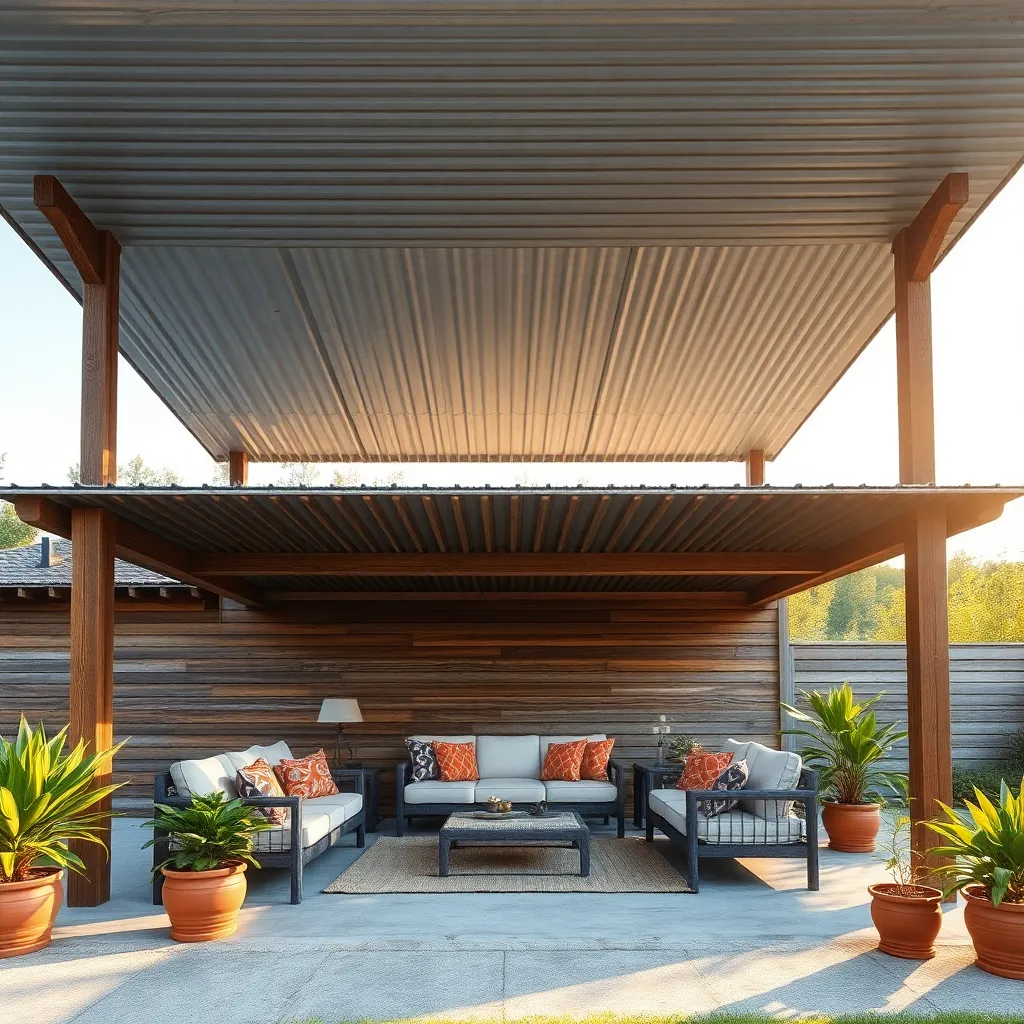
Corrugated metal sheets offer a sturdy and cost-effective option for building outdoor shelters. To start, select sheets with a thickness of at least 26-gauge for durability against weather elements. These sheets are lightweight and easy to handle, making them ideal for DIY projects. Beginners can create a simple lean-to by attaching the metal sheets to a wooden or metal frame using self-tapping screws. Ensure the sheets overlap by at least one ridge to prevent leaks, providing effective weatherproofing.
For a more advanced design, consider incorporating a sloped roof to facilitate rainwater drainage. Install the metal sheets on a frame with a slight pitch, around 10 to 15 degrees, using a spirit level to maintain accuracy. This not only enhances the shelter’s functionality but also adds a sleek, modern look. To further customize your shelter, paint the metal sheets with rust-resistant paint in a color that complements your outdoor space. For added stability, anchor the structure with concrete footings, especially in areas prone to high winds.
Employ Bamboo for Eco-Friendly Frames
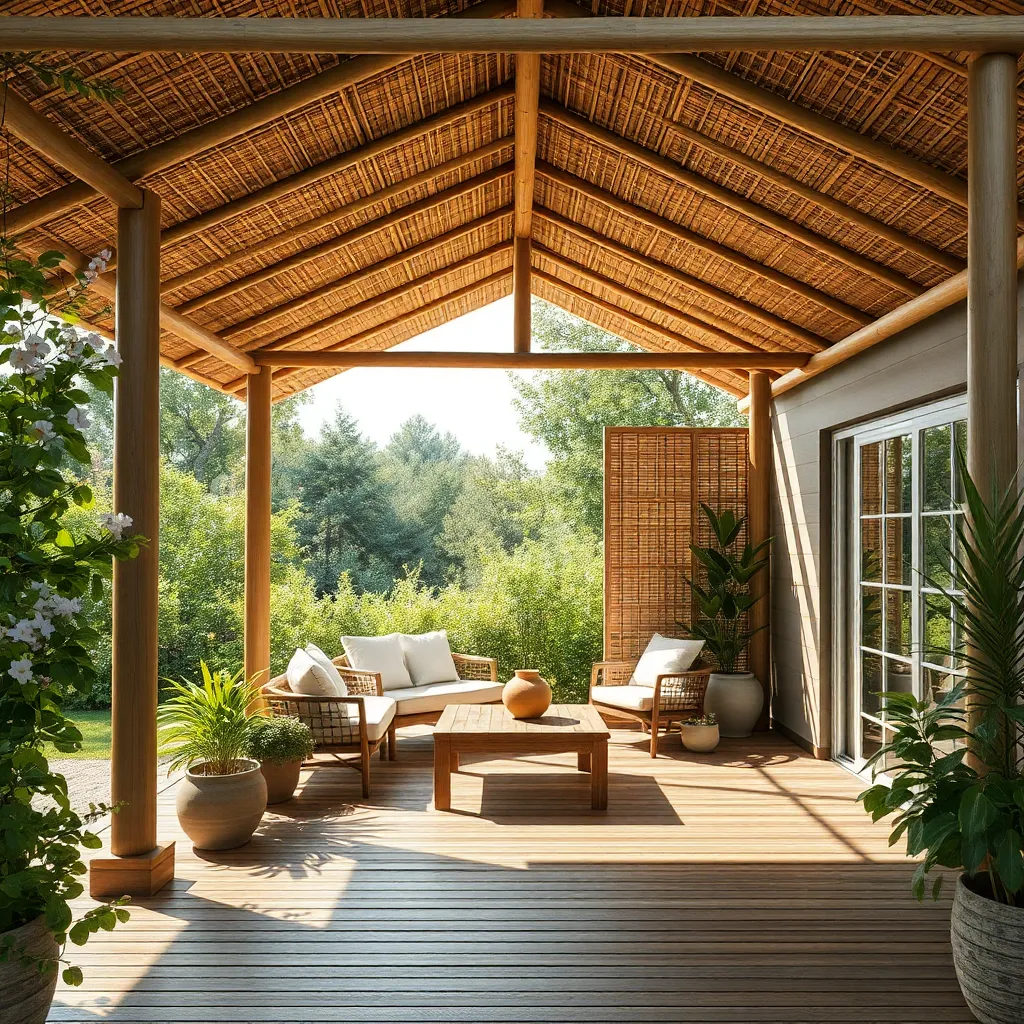
For an eco-friendly and budget-conscious shelter frame, consider using bamboo. Bamboo is not only sustainable but also incredibly strong and lightweight, making it an ideal material for outdoor structures like pergolas or gazebos. Start by selecting mature bamboo poles with a diameter of at least 3 inches for sturdy support. When constructing your frame, use weather-resistant connectors and bindings to ensure the longevity of your structure.
To enhance both aesthetics and function, incorporate design elements such as natural twine or rope to bind joints and add rustic charm. For those looking to add a touch of sophistication, consider staining the bamboo with a natural sealant to protect against the elements while allowing the grain to shine through.
- Use a triangular or square layout for stability.
- Ensure each pole is at least 8 feet in length to provide ample headroom.
With these tips, creating a bamboo-framed shelter can be a rewarding and sustainable project for any homeowner.
Conclusion: Creating Beautiful Outdoor Spaces
In exploring ’10 Budget-Friendly Shelter Ideas for Your Next Project,’ we’ve uncovered innovative solutions that not only enhance your living spaces but also deepen your connection with loved ones. From transforming small spaces into cozy retreats to utilizing upcycled materials for unique decor, each idea fosters creativity and collaboration. We’ve discussed the power of shared DIY projects, the importance of personalizing your environment, and the joy of creating multifunctional spaces that cater to both comfort and practicality.
To take immediate action, choose one idea that resonates with you and start planning a weekend project with a friend or partner. This shared experience can strengthen your bond and provide a sense of accomplishment.
Don’t forget to save or bookmark this article as a handy guide for future projects. By keeping these ideas at your fingertips, you ensure that your journey towards a harmonious and inviting home is always within reach. Remember, the key to relationship success lies in nurturing both your environment and the connections within it. With each creative endeavor, you’re not just building a space; you’re building a stronger, more resilient relationship.