
Imagine stepping into your backyard oasis, where a weatherproof shelter offers both style and protection, allowing you to enjoy the elements year-round. Whether you’re a beginner dreaming of your first outdoor project or an experienced homeowner looking to enhance your space, “10 Weatherproof Shelter Ideas for Your Next Project” is your gateway to creating a stunning and resilient outdoor haven.
In this guide, you’ll discover how to transform your outdoor areas into inviting retreats that withstand the whims of nature. These ideas not only boost the aesthetic appeal of your garden or patio but also ensure you can savor the outdoors regardless of the weather. Embrace the joy of outdoor living and feel confident in your ability to craft a space that combines beauty, function, and durability.
Choose Durable, Waterproof Materials
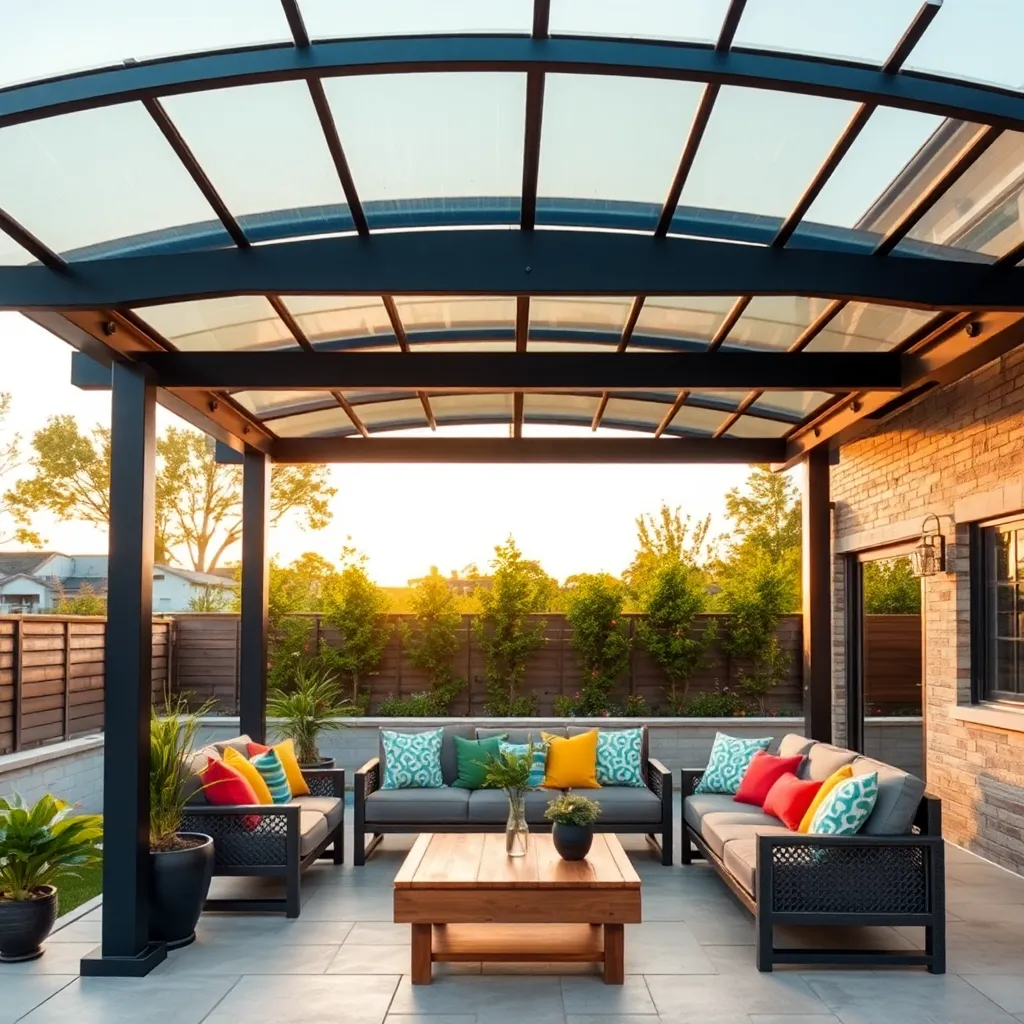
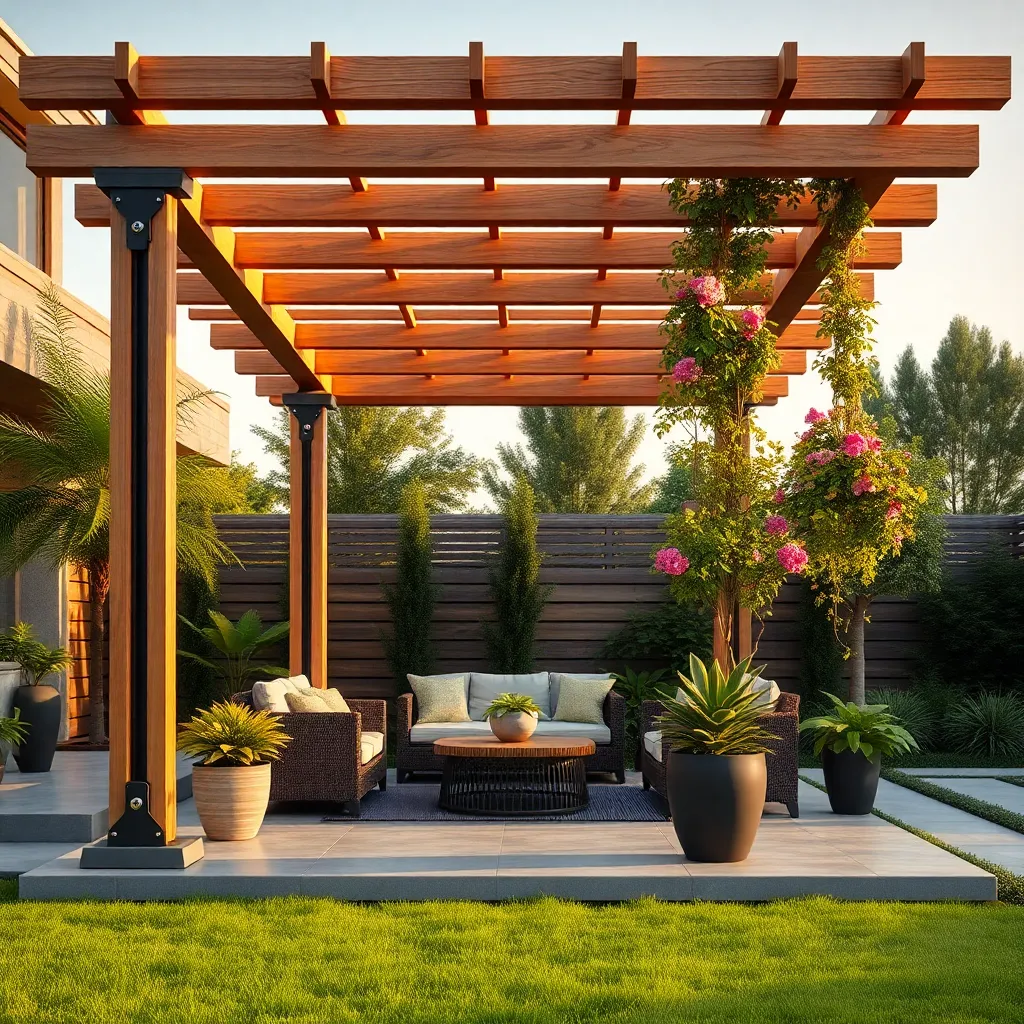
When selecting materials for your outdoor shelter, prioritize durability and waterproof qualities to ensure longevity and resilience against the elements. Opt for high-quality materials such as pressure-treated wood, galvanized steel, or aluminum, which offer excellent resistance to rust and decay. For beginners, using a polycarbonate roofing material can provide a lightweight and waterproof option that’s easy to install, while seasoned builders might consider incorporating tempered glass panels for a more sophisticated, weather-resistant finish.
To enhance your shelter’s performance, consider integrating design elements like a sloped roof that allows rain to flow off easily, preventing water accumulation and potential damage. Advanced builders can explore adding a gutter system to manage runoff effectively. For the flooring, choose composite decking or concrete, both known for their waterproof properties and low maintenance needs. Remember, investing in quality materials and thoughtful design can extend the life of your shelter and improve its functionality throughout the seasons.
Incorporate Natural Windbreaks Strategically

Natural windbreaks are an excellent way to enhance your outdoor shelter while maintaining harmony with the environment. Consider planting dense rows of evergreen trees or shrubs like cedar or juniper, which can effectively block wind and reduce exposure. For beginners, ensure that your plantings are spaced appropriately; typically, a distance of 5 to 10 feet between trees will offer an effective barrier without overcrowding.
Incorporating natural windbreaks not only shields your shelter from harsh winds but also adds aesthetic value. Advanced gardeners might explore using a mix of plant heights and species to create a tiered effect, enhancing both beauty and functionality. Position these natural barriers at a distance of 30 to 50 feet from your shelter to allow sufficient space for plant growth and to maximize wind diversion. This strategic placement ensures that your outdoor space remains tranquil and inviting year-round.
Design Sloped Roofs for Rain
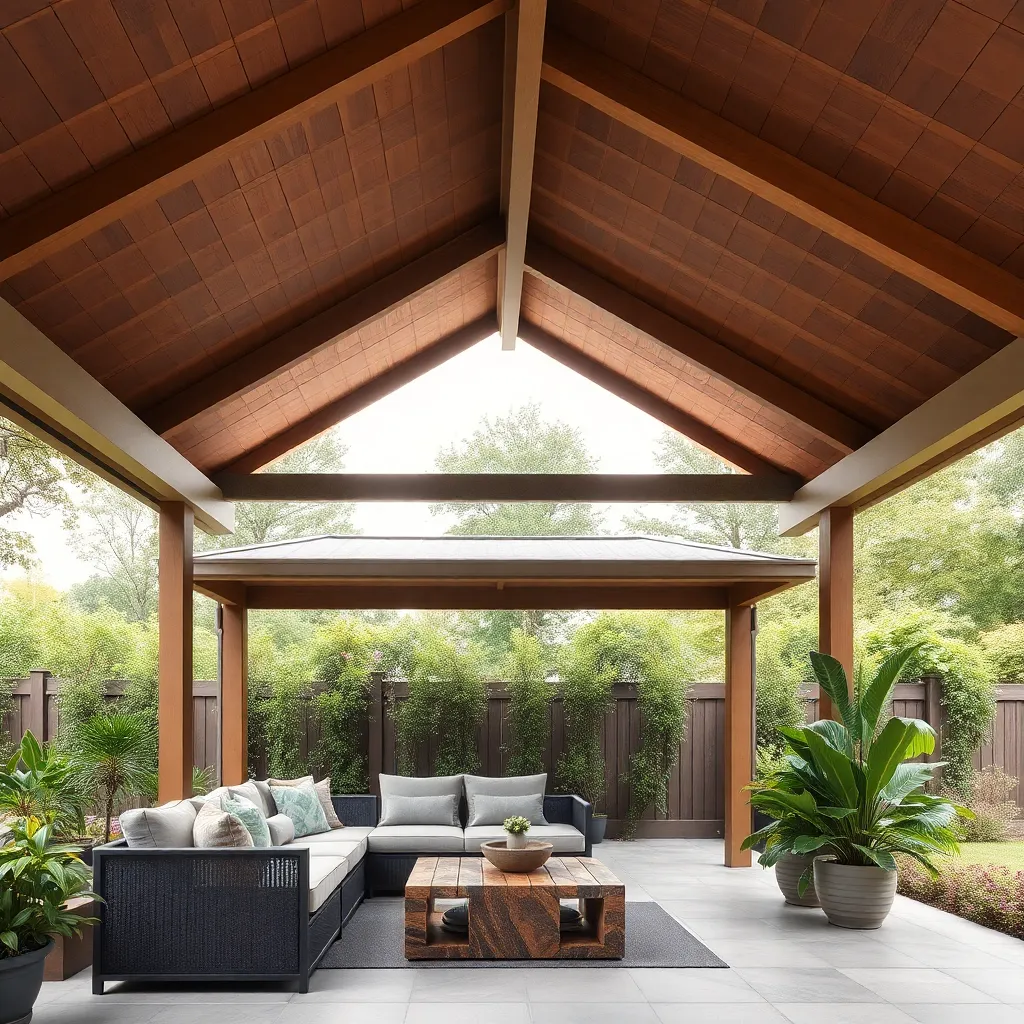
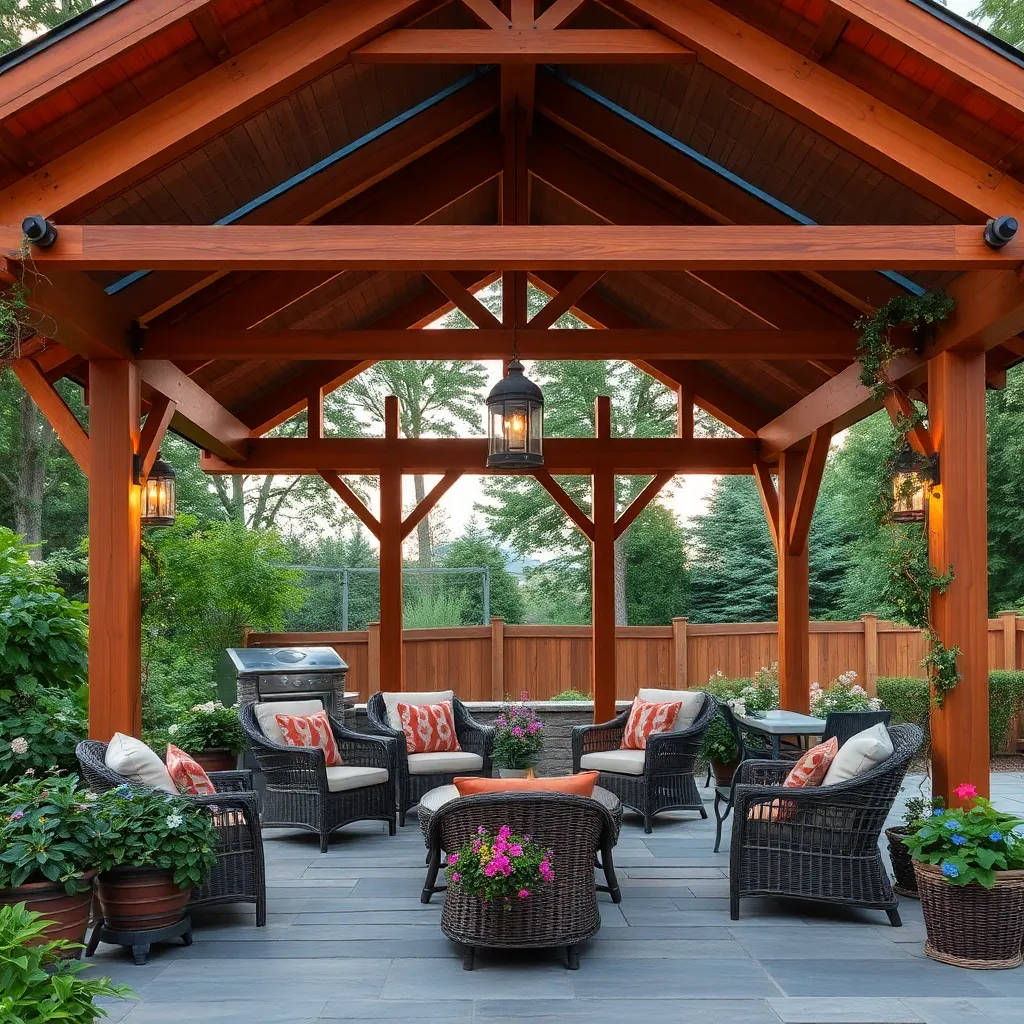
When designing sloped roofs for rain, it’s essential to ensure that the angle of the slope is adequate for effective water runoff. Typically, a minimum slope of 10 degrees is recommended, but steeper angles can be more effective in areas with heavy rainfall. Materials like corrugated metal or asphalt shingles are excellent choices for roofing, as they provide durability and facilitate easy water shedding. For beginners, starting with a simple gable design can be effective, while more advanced builders might explore integrating a hip roof style for added stability.
Consider incorporating gutters and downspouts to manage rainwater efficiently, directing it away from the structure to prevent erosion and water pooling. High-quality, rust-resistant materials for gutters, such as aluminum or vinyl, can extend the lifespan of your water management system. To enhance your design, think about adding a rainwater collection system to make the most of the runoff. This can provide an eco-friendly water source for garden irrigation.
- Ensure downspouts are clear of obstructions.
- Inspect and maintain regularly to prevent leaks.
With these strategies, you’ll create a shelter that’s both functional and sustainable.
Add Ventilation for Humidity Control
To effectively manage humidity in your outdoor shelter, incorporating ventilation features is essential. Consider integrating screened vents or louvers along the shelter’s upper walls to allow moist air to escape naturally. For a more advanced approach, install operable windows or solar-powered exhaust fans to enhance air circulation, especially in climates with high humidity levels. These elements not only improve airflow but also help prevent mold and mildew, ensuring a healthier environment for both plants and people.
When selecting materials, opt for durable options such as galvanized steel or aluminum for vent frames to withstand various weather conditions. Ensure that screens are made from rust-resistant materials like fiberglass or stainless steel to maintain their effectiveness over time. For those building a new structure, consider positioning the shelter to take advantage of prevailing winds, which can naturally enhance ventilation. By implementing these strategies, your shelter will provide a comfortable, humidity-controlled space suitable for a variety of outdoor activities.
Use UV-Resistant Fabrics
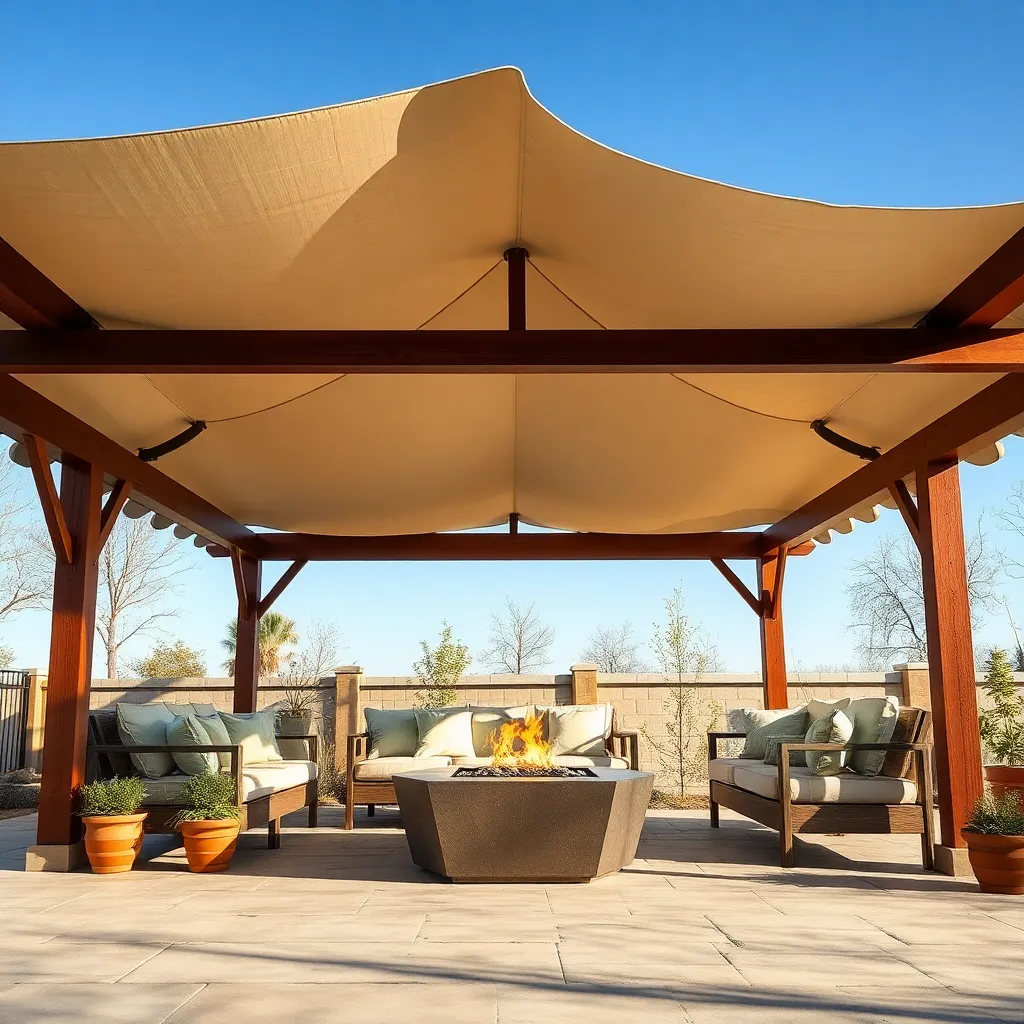
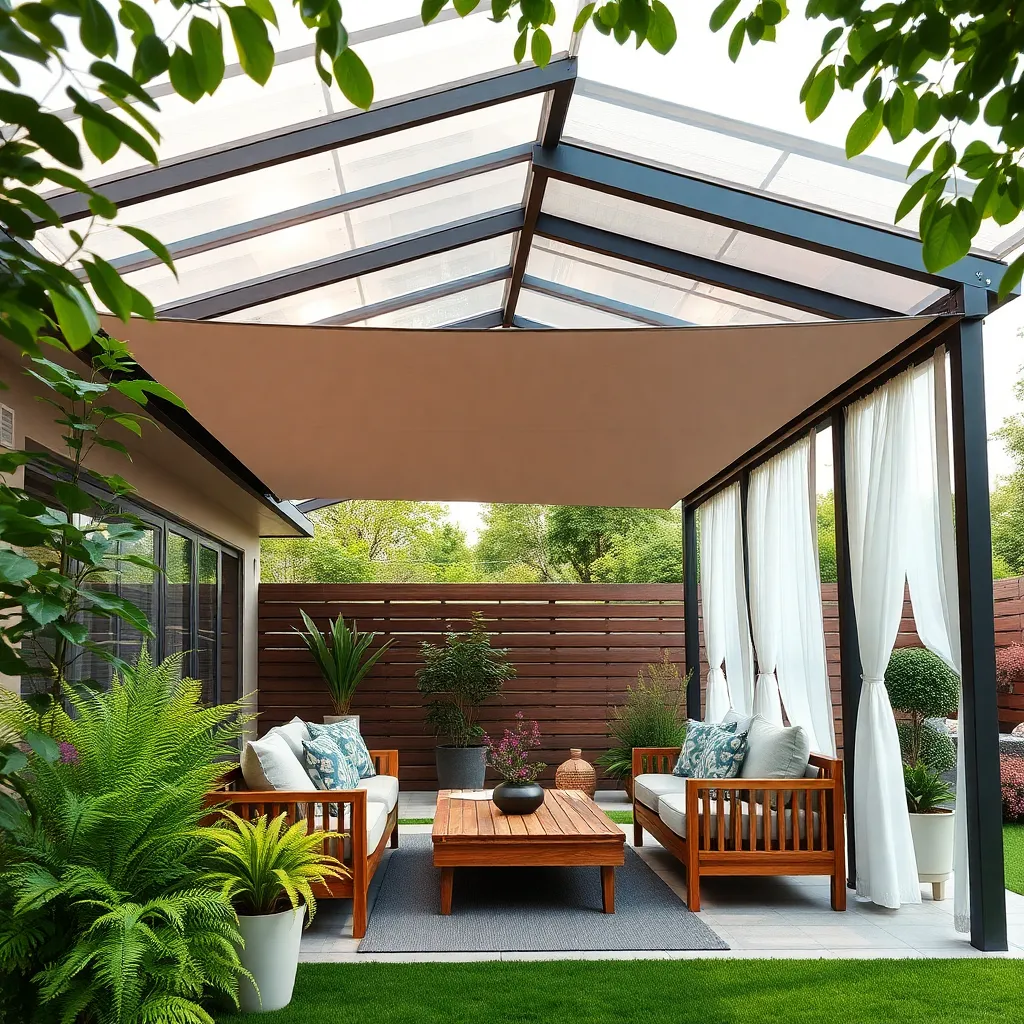
When designing an outdoor shelter, using UV-resistant fabrics is crucial to ensure longevity and protection. These fabrics are specially treated to withstand the sun’s rays, preventing them from fading and degrading over time. For beginners, consider starting with polyester or acrylic materials, as they are widely available and offer excellent UV protection. Additionally, ensure your fabric choice is water-repellent to handle unexpected weather changes.
For those looking to enhance their design, incorporate fabrics with a high UPF (Ultraviolet Protection Factor) rating for superior sun protection. Advanced options like solution-dyed acrylics offer vibrant colors that last longer and provide a stylish touch to any outdoor setting. When planning your project, you might also explore retractable canopies or awnings, which allow flexibility in managing sun exposure while using UV-resistant fabrics. This approach not only adds functionality but also enhances the aesthetic appeal of your outdoor space.
Install Secure Anchoring Systems
To ensure your outdoor shelter withstands various weather conditions, it’s crucial to install secure anchoring systems. For beginners, using concrete footings can provide a sturdy base for your structure. These footings should be at least 12-18 inches deep, depending on your area’s frost line, to prevent shifting. Anchors like post brackets can be embedded in the concrete to hold wooden or metal posts securely, offering stability against strong winds.
Experienced builders may consider the use of helical anchors, which are screwed into the ground and provide exceptional holding power. These are particularly useful in areas with loose soil and can be adjusted for tension to accommodate soil movement. For an elegant touch, conceal these anchors with decorative elements like stone or mulch, ensuring both functionality and aesthetics. Always check local building codes to ensure compliance, which will enhance the longevity and safety of your structure.
Select Rot-Resistant Wood Varieties
When constructing an outdoor shelter, selecting rot-resistant wood varieties is crucial for longevity and durability. Consider using materials like cedar, redwood, or cypress, known for their natural resistance to decay and insects. For an added layer of protection, apply a clear sealant or wood preservative to enhance these properties, ensuring your shelter stands resilient against the elements for many years.
If you’re aiming for a more advanced build, consider thermally modified wood. This material undergoes a heat treatment process that further improves its resistance to rot and warping. Additionally, using proper design elements such as elevated flooring and adequate overhangs can prevent moisture accumulation, which is key to maintaining the integrity of your outdoor structure. By integrating these materials and techniques, you’ll create a robust and lasting shelter that complements your outdoor space beautifully.
Integrate Adjustable Louvers or Panels
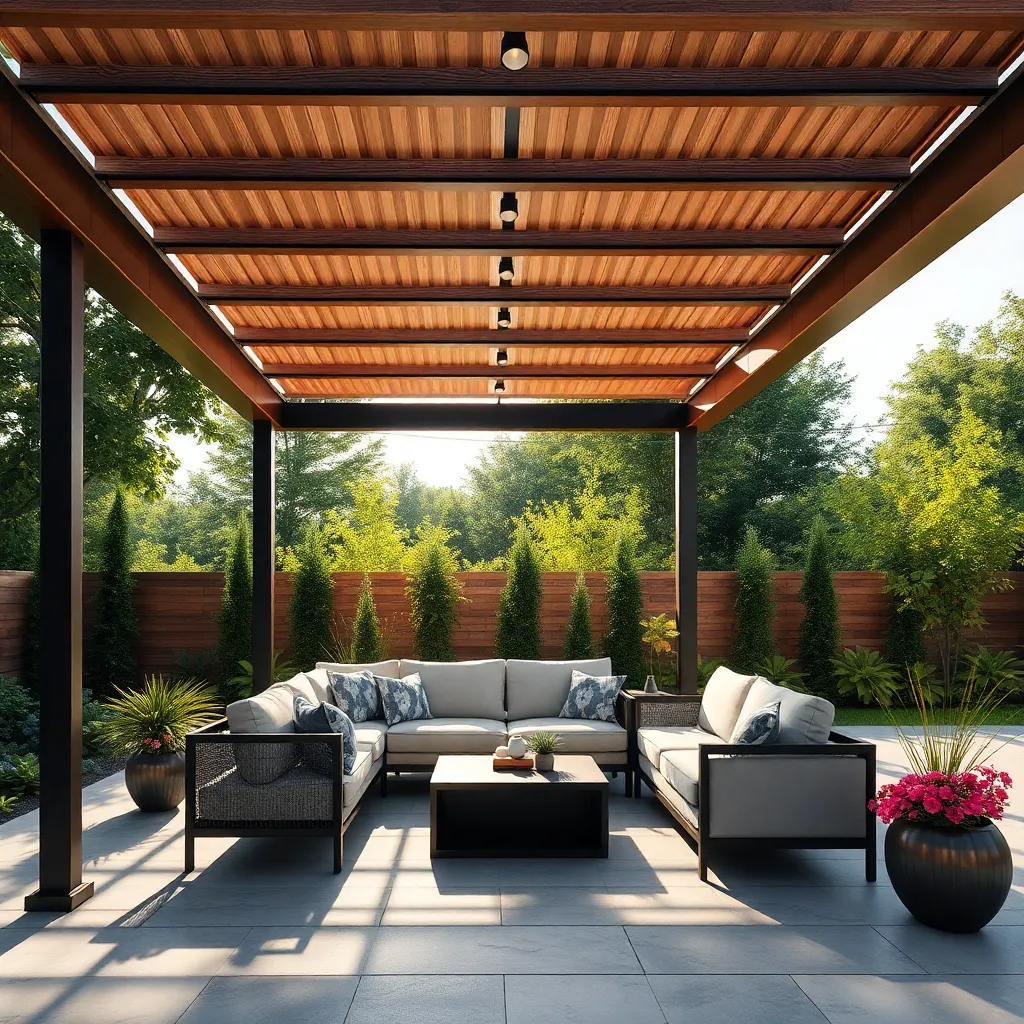
Integrating adjustable louvers or panels into your outdoor shelter design can significantly enhance its functionality and aesthetic appeal. These features allow you to control the amount of sunlight and airflow entering the space, making it adaptable to various weather conditions. When selecting materials, consider using aluminum or weather-treated wood for durability and resistance to the elements. For those new to this concept, start with pre-made louver kits, which often come with straightforward installation instructions and can be customized to fit different frame sizes.
For a more advanced approach, consider installing motorized louvers that can be adjusted remotely, offering convenience and modern sophistication. Ensure the panels are securely attached with rust-resistant hardware to maintain their longevity. Experts recommend positioning the louvers in a north-south alignment to maximize sun control, especially in seasonal climates. Whether you’re a novice or a seasoned DIY enthusiast, integrating these adjustable elements can transform your shelter into a versatile oasis that caters to your comfort throughout the year.
Opt for Modular Shelter Designs
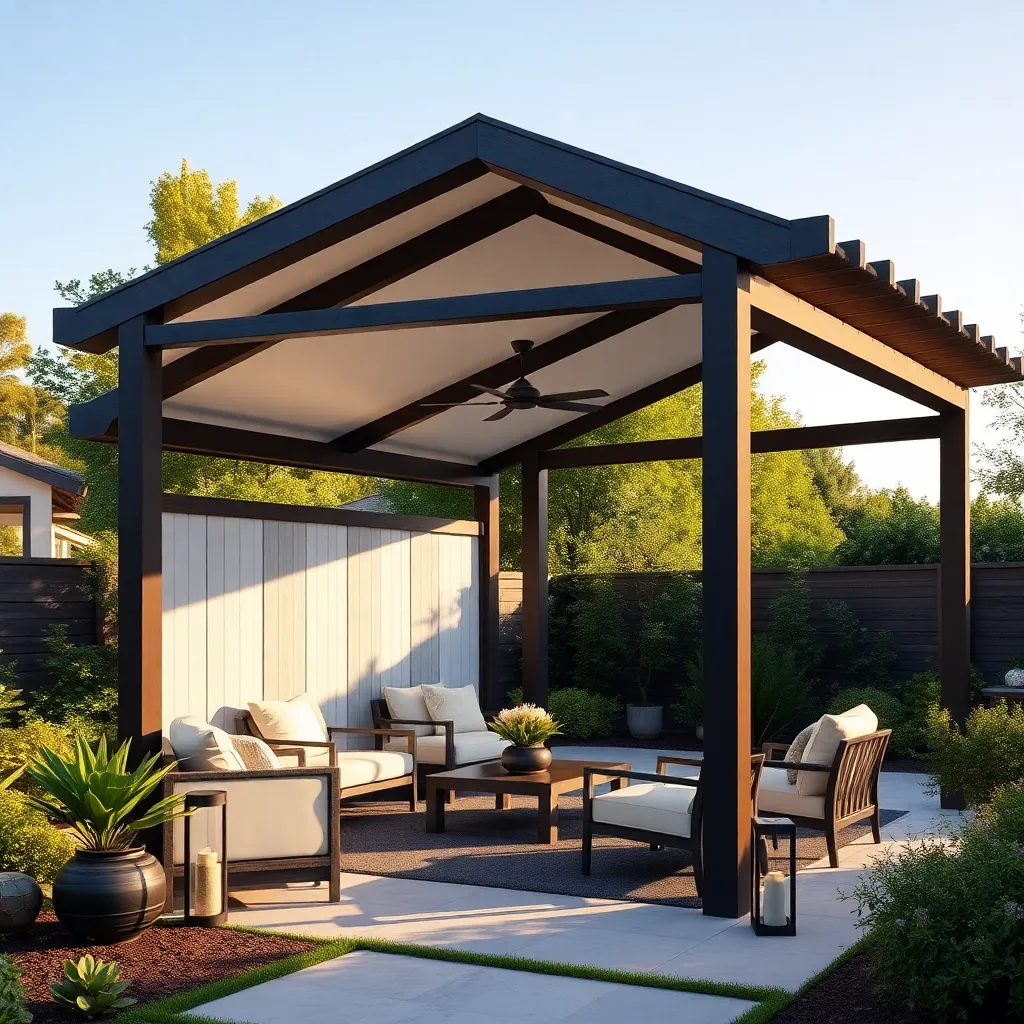
Choosing modular shelter designs offers versatility and ease of installation, making them a top choice for homeowners seeking adaptable outdoor solutions. Modular designs come in pre-fabricated sections that can be easily assembled and reconfigured to suit your changing needs. Beginners can start with simple kits that include essential components like roof panels and support beams, while more advanced projects might incorporate additional features like integrated lighting or rainwater collection systems.
Materials such as galvanized steel and treated timber are excellent for creating durable and weather-resistant modular shelters. For those looking to customize, consider using interchangeable panels of polycarbonate or glass to adjust light and temperature levels within the space. Advanced gardeners can enhance these shelters with retractable sections or vertical gardens, offering both shade and a touch of personal style. Always ensure your structure is anchored securely to withstand strong winds and heavy rain, maximizing safety and longevity.
Include Water Drainage Solutions
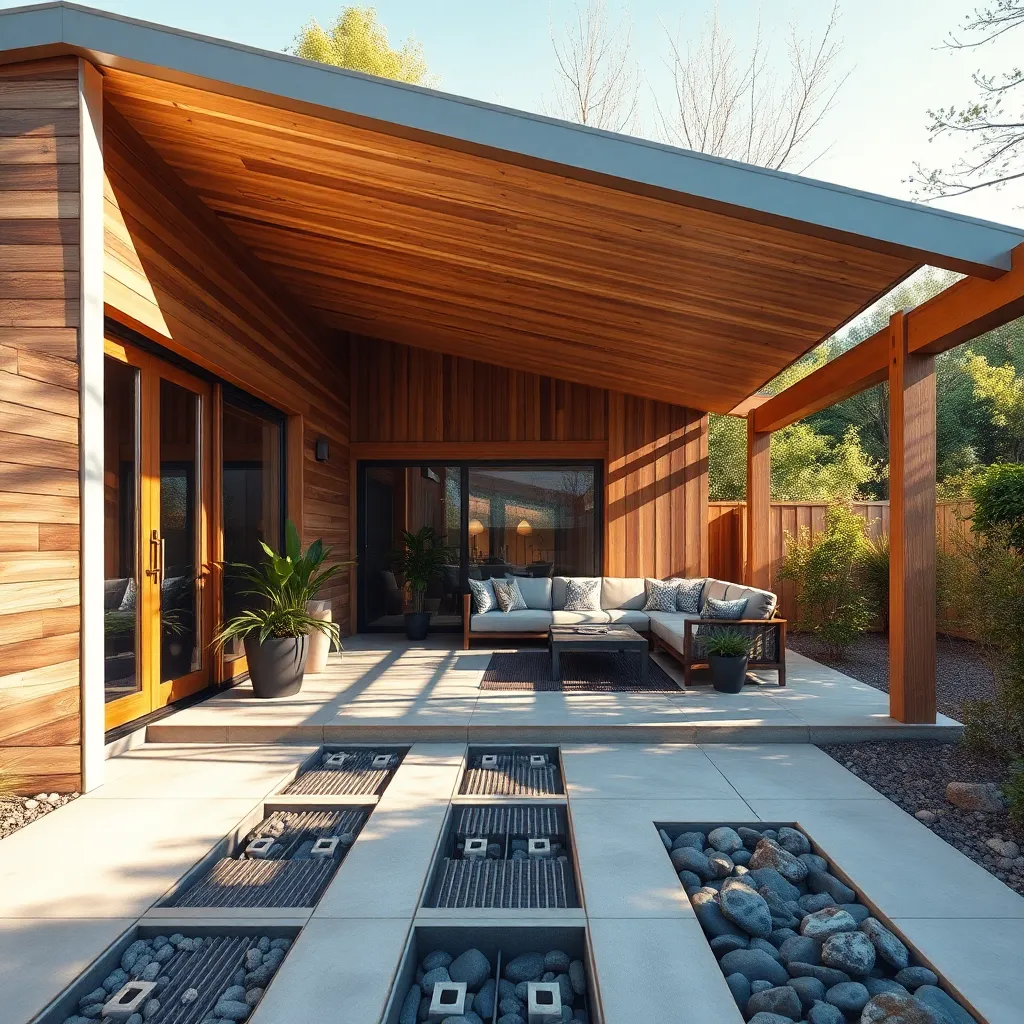
To ensure your outdoor shelter stands the test of time, it’s crucial to incorporate effective water drainage solutions. Start by selecting permeable materials like gravel or pavers for the flooring, which allow rainwater to seep through rather than pool on the surface. Additionally, consider installing a sloped roof that directs water away from the shelter’s foundation, preventing erosion and waterlogging.
Another practical approach involves integrating a gutter system along the edges of your shelter’s roof. Opt for rust-resistant materials like aluminum or PVC for durability in various weather conditions. For a more advanced solution, connect the gutters to a rainwater collection system, providing a sustainable way to manage runoff. This not only safeguards your structure but also offers an eco-friendly method to reuse rainwater for your garden.
Conclusion: Creating Beautiful Outdoor Spaces
In navigating the journey of building resilient, weatherproof relationships, we’ve explored ten transformative concepts: embracing adaptability, fostering open communication, investing in shared dreams, maintaining individuality, practicing patience, nurturing trust, prioritizing quality time, celebrating small victories, cultivating empathy, and sustaining mutual respect. Each of these elements serves as a sturdy pillar in fortifying your connection against life’s storms.
To put these insights into action, start today by choosing one concept to focus on with your partner. Whether it’s setting aside uninterrupted time together or openly discussing future aspirations, taking that first step can make a significant difference.
As you embark on this path of strengthening your relationship, remember to save this article for future reference. It can serve as a valuable guide, helping you revisit and reinforce these principles as your relationship grows.
Looking ahead, envision a partnership not only surviving but thriving through every season of life. By committing to these practices, you’re setting the foundation for lasting love and companionship. Embrace the journey, and let each challenge bring you closer. Save this blueprint of success, and watch your relationship blossom into its fullest potential.