
Imagine stepping into your backyard, transformed into a cozy oasis with the perfect shelter that invites relaxation and joyful gatherings. Whether you’re a novice dreaming of your first outdoor project or a seasoned homeowner ready for a fresh update, “13 Budget-Friendly Shelter Ideas for Your Next Project” is here to turn your vision into reality. This guide offers a treasure trove of creative solutions that won’t break the bank but will elevate your outdoor living experience to new heights.
In this collection, you’ll find practical, inspiring ideas that cater to diverse styles and needs, ensuring there’s something for everyone. Each concept is designed to maximize your outdoor enjoyment while providing essential protection from the elements. With these budget-friendly shelters, you’ll not only enhance the beauty of your outdoor space but also gain the confidence to embark on your next project with ease and excitement. Let’s dive in and unlock the potential of your backyard paradise!
Utilize Reclaimed Wood Panels
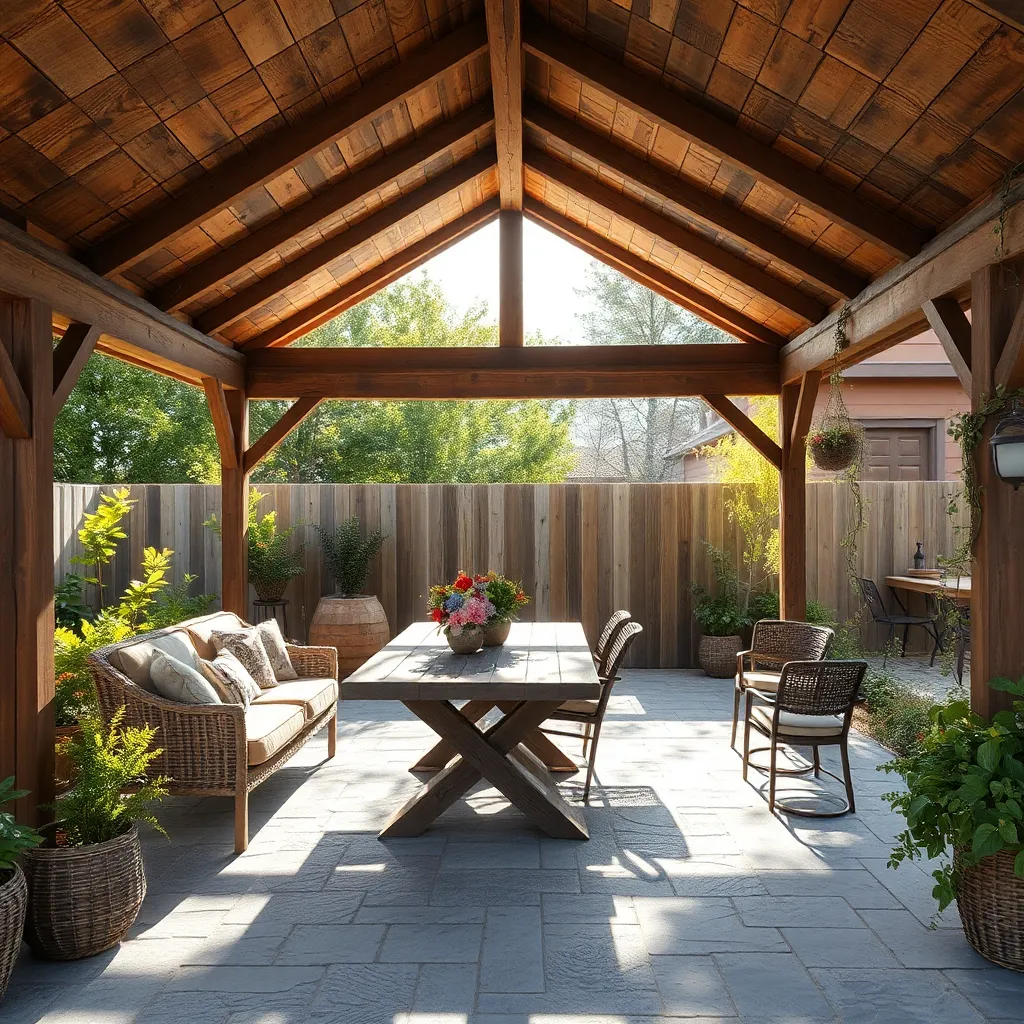
Reclaimed wood panels offer an eco-friendly and budget-conscious way to build a stunning outdoor shelter. To start, source your panels from local salvage yards or online marketplaces dedicated to reclaimed materials. These panels not only add a rustic charm to your project but also come in a variety of wood types and finishes, allowing for customization. For beginners, focus on simple designs such as a basic lean-to or pergola, ensuring panels are securely mounted using weather-resistant screws or brackets.
For a more advanced touch, consider integrating design elements like horizontal slats or a lattice pattern to enhance both aesthetics and function. Ensure panels are treated with a weatherproof sealant to increase durability against the elements. When assembling, align panels in a staggered pattern for visual interest and structural strength.
- Tip: Use a level to maintain even spacing between panels.
- Consider adding a clear corrugated roof panel to allow light while keeping the space dry.
With these steps, your reclaimed wood shelter will not only be cost-effective but also a unique addition to your outdoor space.
Repurpose Old Doors as Walls
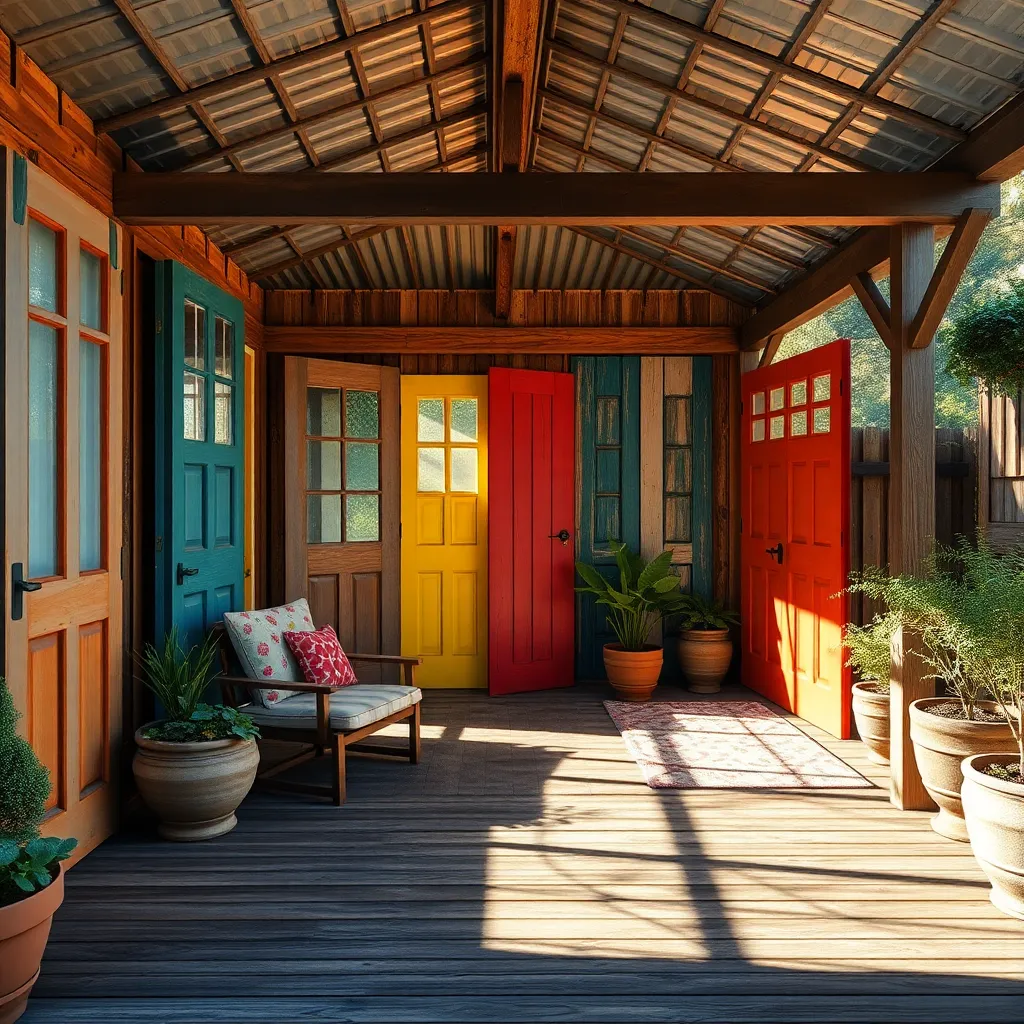
Repurposing old doors as walls for your outdoor shelter is an innovative way to add character and functionality without breaking the bank. Begin by sourcing sturdy, solid wood doors from salvage yards or online marketplaces. Opt for doors of similar dimensions for a cohesive look, and consider using a mix of styles for a more eclectic feel. Ensure each door is sanded down to remove old paint and finishes, which will help new paint or sealant adhere better and protect the wood from the elements.
When constructing your shelter, use heavy-duty hinges to connect the doors, allowing for easier adjustments and alignment. For added stability, secure the doors to a basic wooden frame, using metal brackets or L-brackets for reinforcement. Consider adding a transparent sealant or weatherproof paint to prolong the life of your doors and add a splash of color. Advanced DIYers might explore adding window inserts to some doors for a touch of natural light. This method not only repurposes old materials but also provides a unique, personalized touch to your outdoor space.
Install Affordable Corrugated Roofs
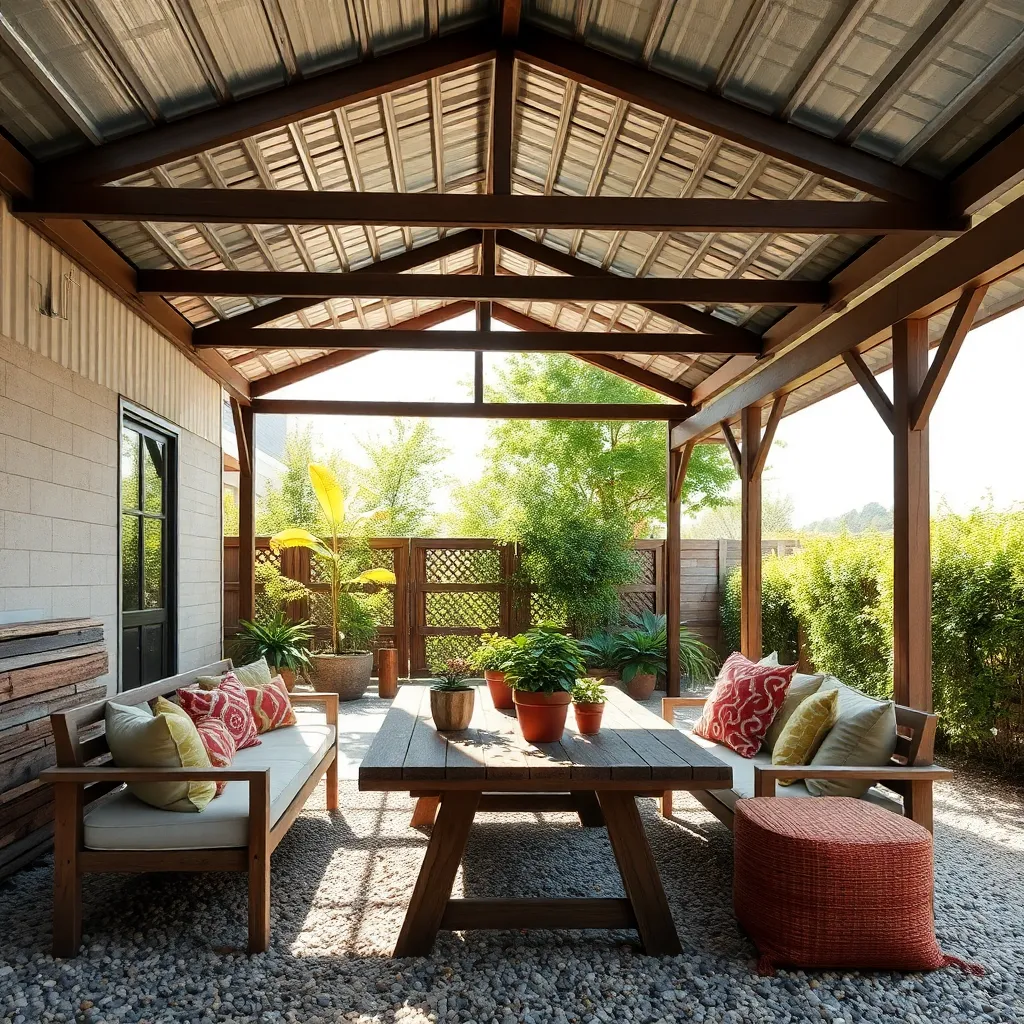
Transforming an outdoor area with an affordable corrugated roof is a smart way to add shelter and style. Corrugated metal or polycarbonate panels are cost-effective and offer excellent durability and weather resistance. For a beginner-friendly project, consider lightweight polycarbonate, which is easy to handle and available in various colors to match your design. Simply attach the panels to a wooden or metal frame using appropriate screws and washers, ensuring a slight slope to allow rainwater to drain off efficiently.
For those with more experience, enhancing the shelter’s aesthetics and functionality can be achieved with a few advanced touches. Consider integrating skylights into your corrugated roof for added natural light, or install gutter systems to manage rainfall effectively. Ensure your support beams are spaced appropriately—usually every 2 to 3 feet—to provide a sturdy foundation for the roof. These simple yet effective techniques can elevate your outdoor space by providing both protection and a pleasing visual element.
Craft Shade Sails from Tarps
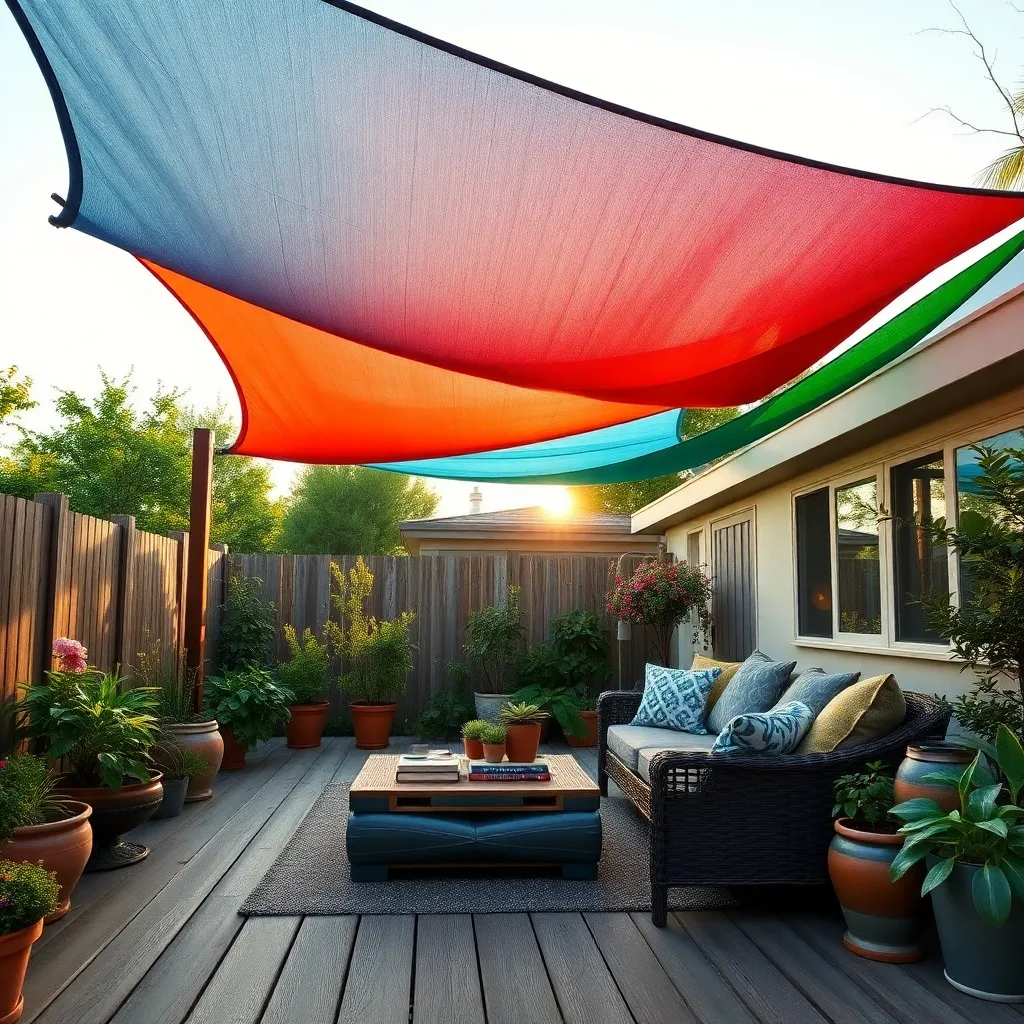
For a budget-friendly shade solution, consider crafting shade sails from tarps. Start by selecting a durable, UV-resistant tarp in a size that suits your outdoor space—common dimensions range from 10×10 to 20×20 feet. You’ll need sturdy eyelets or grommets in each corner to facilitate secure anchoring. Use strong rope or bungee cords to attach each corner to fixed points like trees, posts, or your home’s eaves, ensuring the tarp is taut to prevent sagging and water pooling.
To enhance stability and aesthetics, opt for a triangle or rectangle shape, which can be achieved by adjusting the attachment points. Advanced tips include using turnbuckles to fine-tune tension and adjusting the height of each corner for optimal shade coverage and water runoff. For a polished look, hem the edges of the tarp or add decorative embellishments like fringe or color-coordinated binding. This simple project not only provides shade but also adds a stylish element to your garden or patio.
Build Pallet-Based Seating Areas
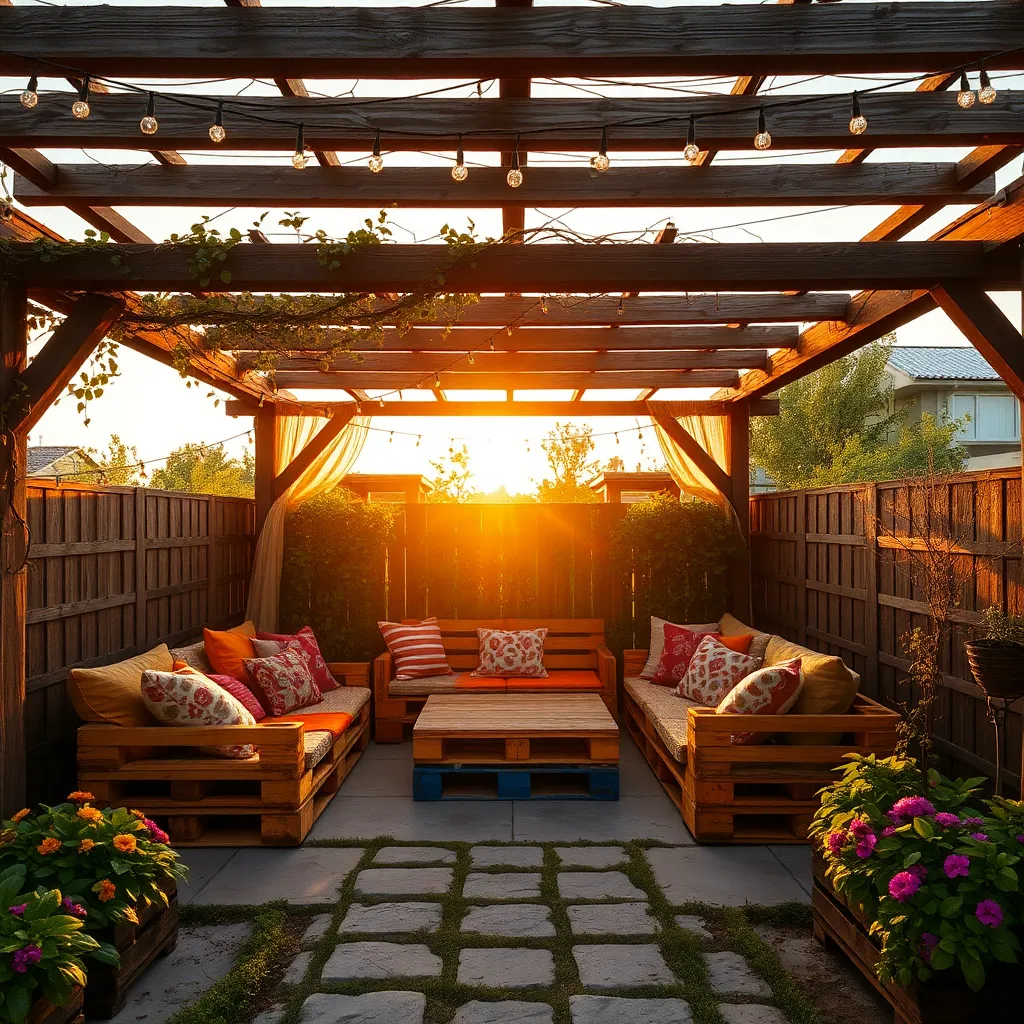
Transform unused pallets into stylish and budget-friendly seating areas for your garden. Start by sourcing sturdy, clean pallets from local warehouses or online marketplaces. To build a basic seating unit, arrange two or three pallets on top of each other for the seat base, and attach a vertical pallet as the backrest using strong bolts or screws. Sand down rough edges and apply a weather-resistant sealant to ensure durability. For a more polished look, consider adding a coat of exterior paint or wood stain that complements your outdoor space.
Enhance comfort and style by adding cushions or upholstery designed for outdoor use. Choose fade-resistant fabrics that withstand the elements, and consider adding a protective cover when not in use. For those with advanced skills, incorporate features like built-in storage by modifying the pallet structure to hold garden tools or extra cushions. Complete your pallet seating area with a matching table by stacking pallets and securing them with brackets. This setup not only maximizes space but also offers a personalized touch to your garden retreat.
Incorporate Upcycled Windows for Light
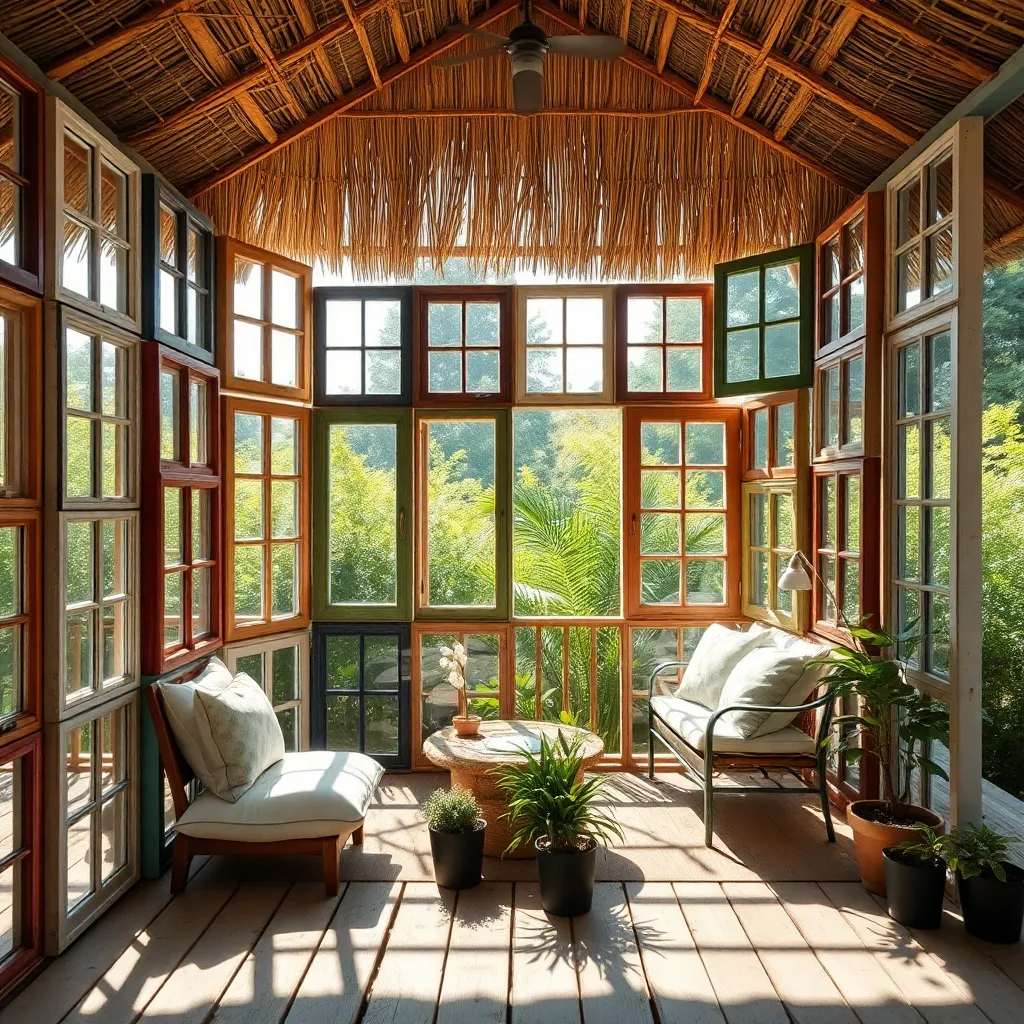
Incorporating upcycled windows in your outdoor shelter is a budget-friendly way to add light and charm. Start by sourcing old windows from salvage yards or online marketplaces; these can often be acquired at a low cost. Arrange them to create walls or sections in your shelter, ensuring they are securely attached to a sturdy frame. This not only lets natural light pour in, making the space feel more open, but also adds a unique, vintage aesthetic.
For a more advanced touch, consider using different shapes and sizes of windows to create a whimsical mosaic effect. Ensure each window is weatherproofed with a coat of waterproof sealant and reinforced with caulk around the edges to prevent leaks. Don’t forget to sand and repaint the frames to match your overall design theme. By combining these elements, you’ll create a vibrant, well-lit retreat that is both functional and visually appealing.
Create Privacy with Bamboo Screens
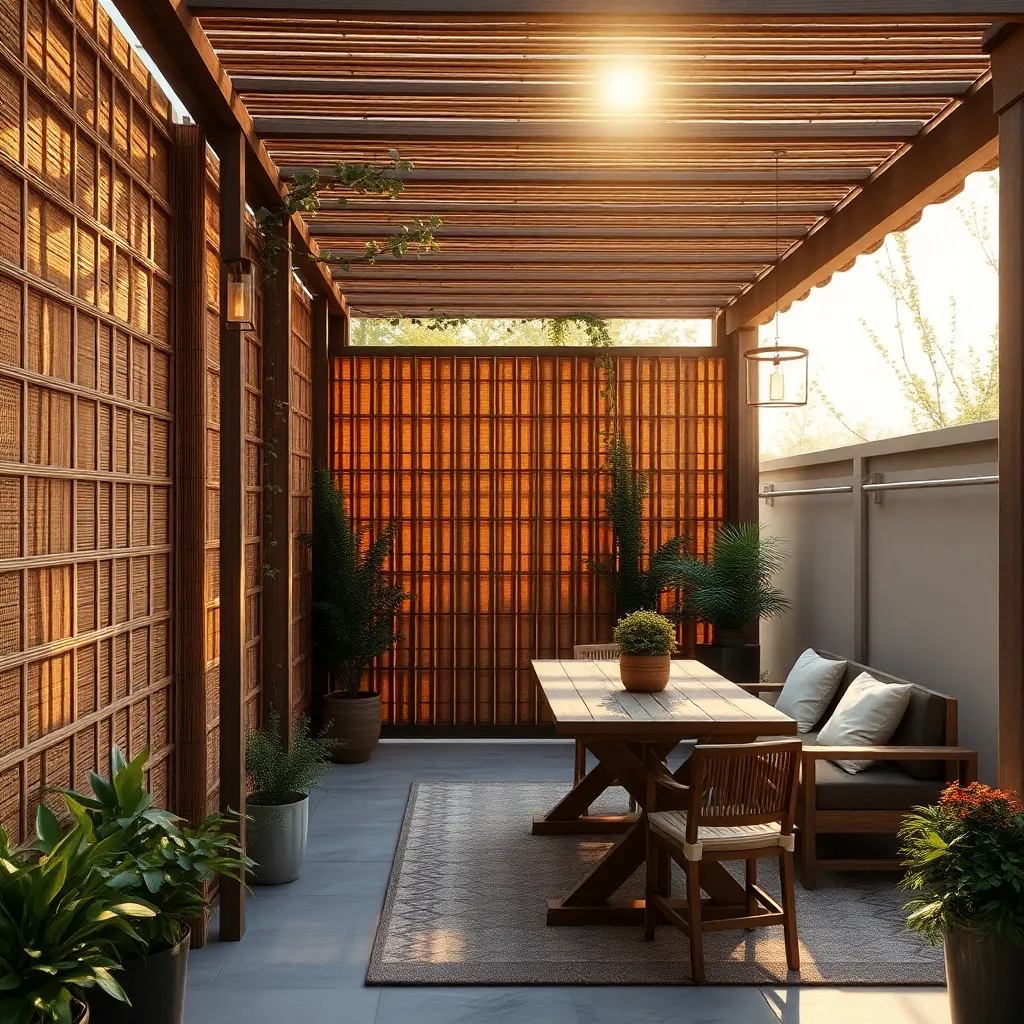
For an elegant and natural way to create privacy in your outdoor space, consider using bamboo screens. Bamboo is a sustainable material that not only offers a lush aesthetic but is also durable and weather-resistant. Begin by selecting the right type of bamboo, such as Phyllostachys aurea (Golden Bamboo), which grows quickly and provides dense coverage. When installing bamboo screens, ensure they are at least 6 feet tall to effectively block unwanted views. You can anchor these screens to existing fences or use sturdy posts spaced about 3 to 4 feet apart for support.
To enhance the visual appeal and longevity of your bamboo screens, treat the bamboo with a clear sealant to protect it from moisture and UV rays. For a more customized look, consider adding decorative elements like hanging planters or solar lights along the screens. Advanced gardeners can create a living bamboo screen by planting bamboo directly in the ground, but remember to use a root barrier to control its spread. Regular maintenance, such as trimming and sealing, will keep your bamboo screens looking fresh and inviting throughout the seasons.
Add Colorful Fabric Canopies

To add a splash of color and personality to your outdoor space, consider installing colorful fabric canopies. These versatile shelters not only provide shade but also serve as a vibrant focal point in your garden or patio. Choose weather-resistant fabrics like polyester or acrylic in bold patterns or solid hues to complement your existing décor. For beginners, opt for a pre-made canopy kit that’s easy to assemble and comes with detailed instructions.
For a more custom approach, advanced DIYers can create canopies using fabric and a simple frame of PVC pipes or wooden beams. Ensure your frame is sturdy by securing it well into the ground or to existing structures. Use grommets and bungee cords to attach the fabric securely, allowing for easy removal during harsh weather. Consider adding curtain panels for extra shade and privacy, enhancing both functionality and style in your outdoor area.
Design with Modular Shelter Kits
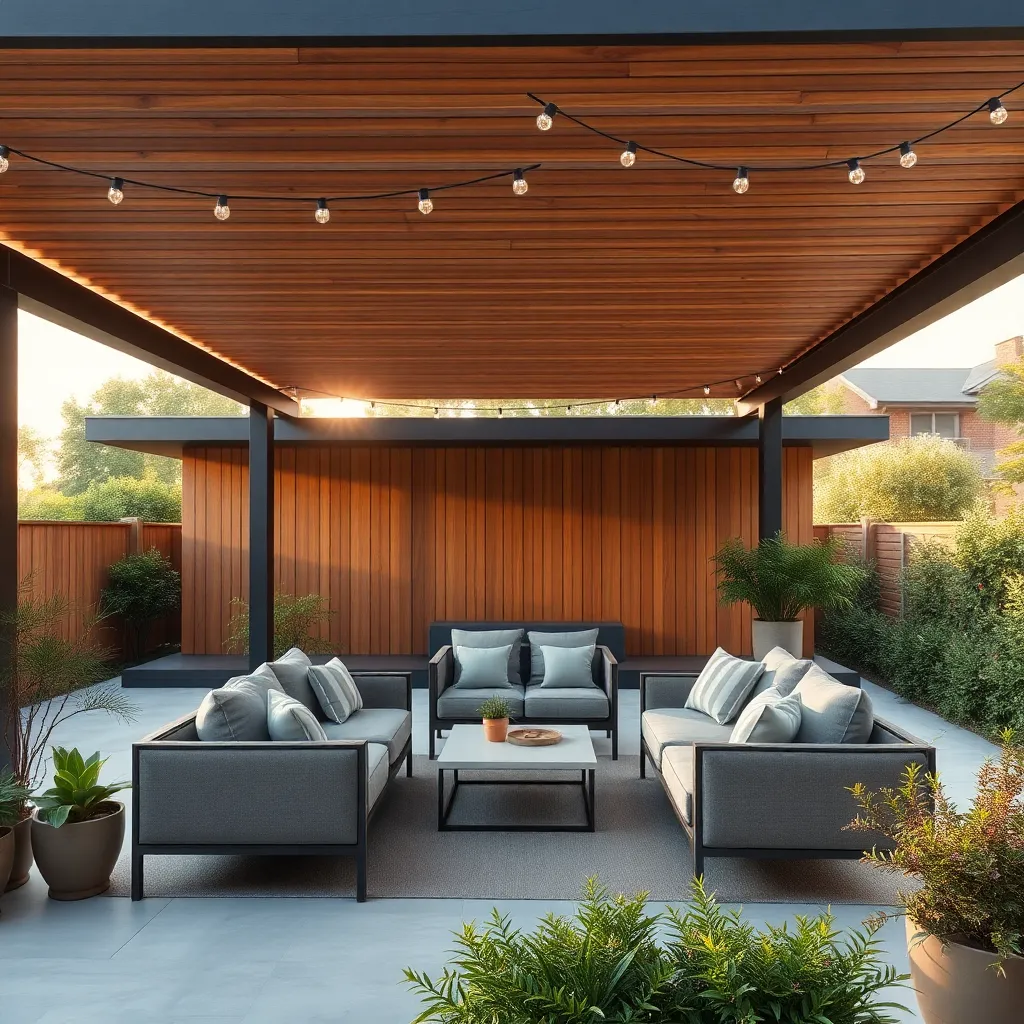
Modular shelter kits offer a flexible and budget-friendly solution for creating outdoor spaces tailored to your needs. These kits typically include prefabricated components made from durable materials like aluminum or treated wood, making them easy to assemble even for beginners. To get started, measure the area intended for your shelter and choose a kit that fits your space. Consider features like adjustable panels or extendable sections that allow you to modify the shelter as your needs change.
For those looking to personalize their modular shelter, adding elements like built-in seating or planters can enhance functionality and aesthetics. Advanced DIY enthusiasts can incorporate solar lighting or shade sails for additional comfort and style.
- Ensure all components are securely fastened, especially in areas prone to high winds.
- Regular maintenance, such as tightening bolts and treating wood surfaces, will prolong the life of your shelter.
With a bit of creativity and planning, modular kits can transform your outdoor area into a versatile retreat.
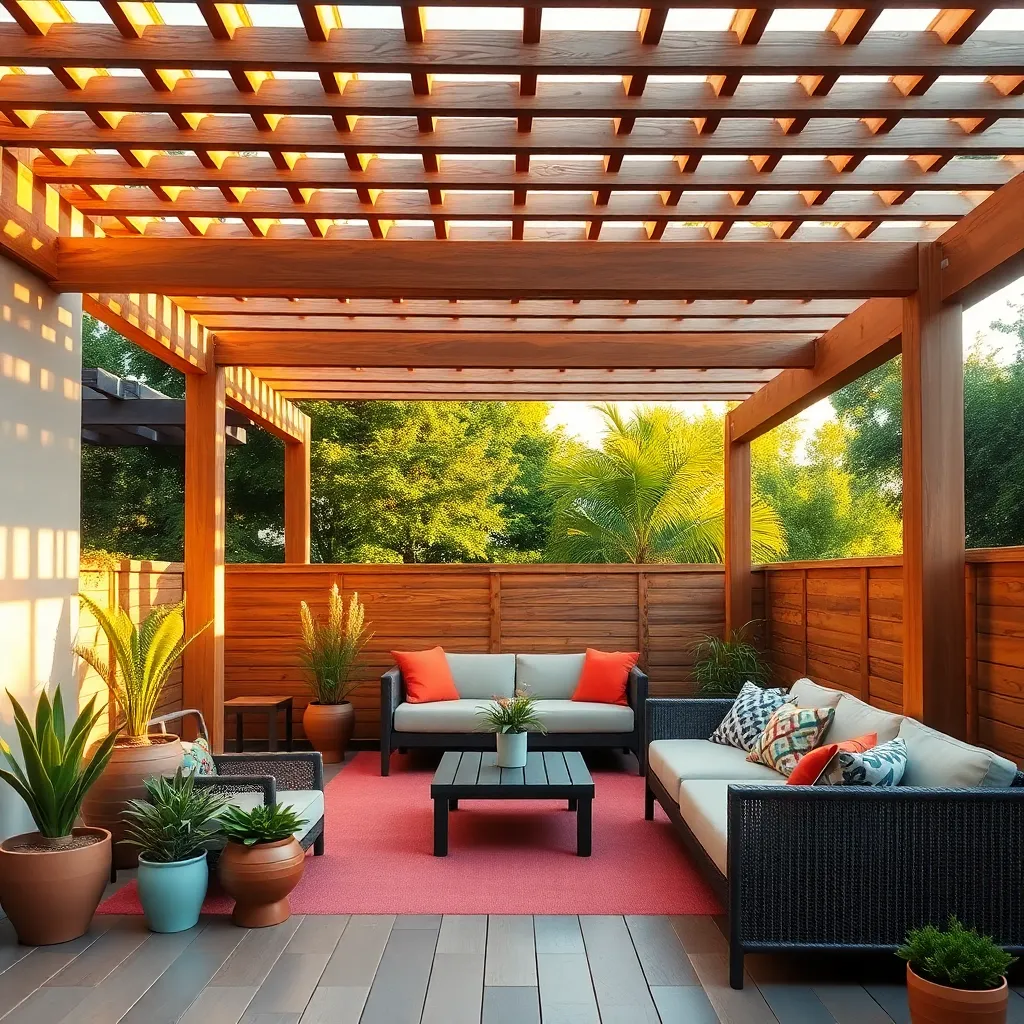
Use Trellis for Natural Shade
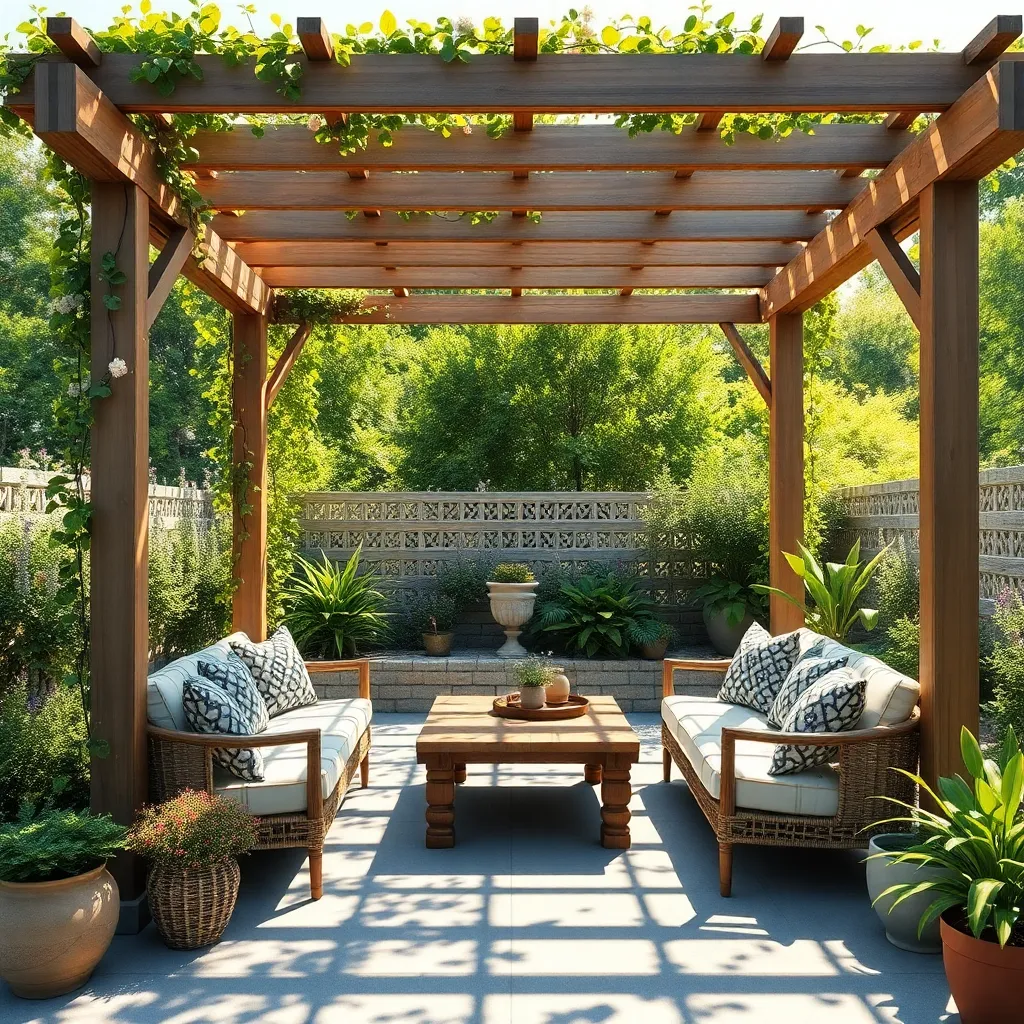
Using a trellis for natural shade is a brilliant way to create a budget-friendly outdoor shelter while adding charm to your garden. Start by selecting a sturdy material like cedar, redwood, or metal to construct your trellis, ensuring it can support the weight of climbing plants. Train fast-growing vines such as clematis, wisteria, or morning glory to cover the structure, providing a lush, shady retreat. For beginners, a simple grid pattern will suffice, while more advanced DIYers might consider incorporating lattice panels for a more intricate design.
For optimal results, position your trellis in a location that receives ample sunlight, allowing the plants to thrive and offer maximum shade. Consider the height and width of your trellis based on available space and desired coverage—typically, a height of 6 to 8 feet is effective. For added functionality, attach a bench or seating area beneath the trellis for a cozy outdoor nook. Regular maintenance, such as pruning and guiding the growth of your plants, will ensure your natural shade solution remains both beautiful and effective over time.
Enhance Ambiance with Solar Lighting
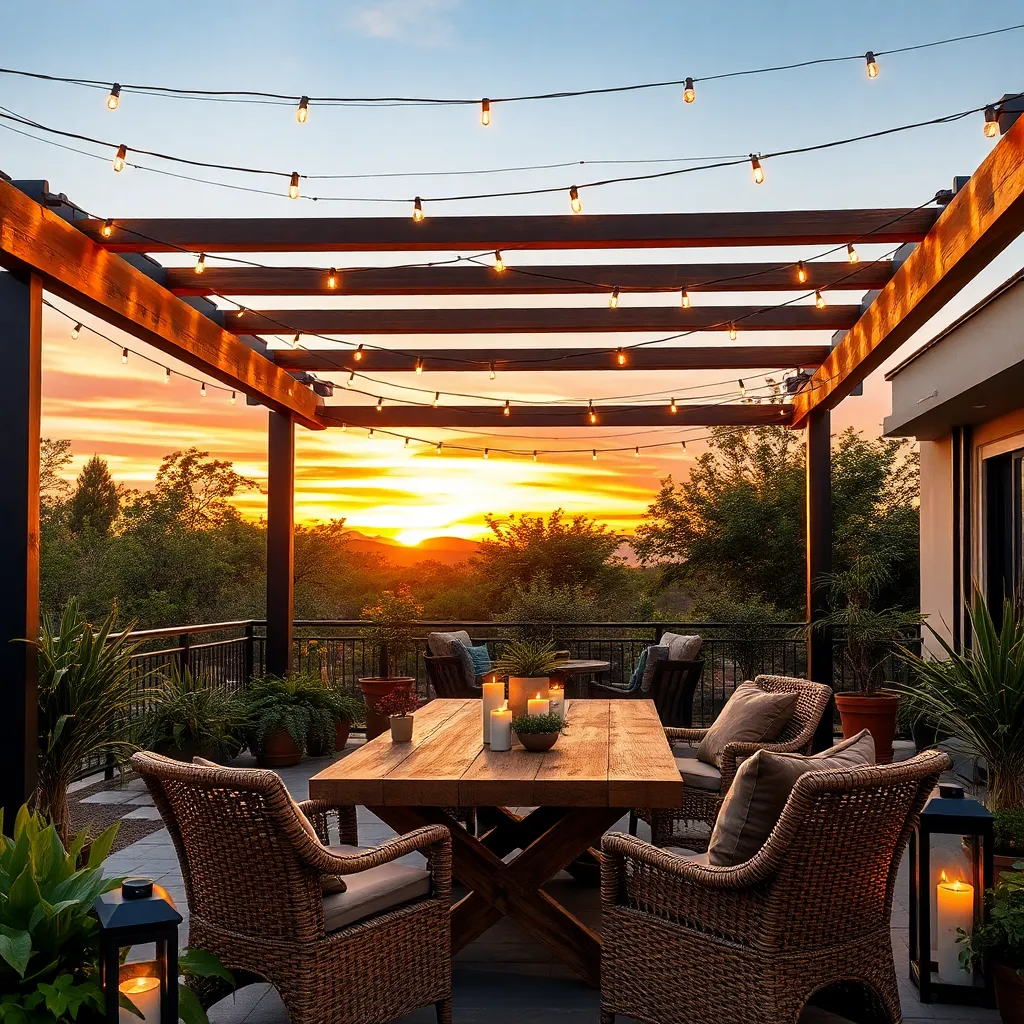
Transforming your outdoor shelter into a cozy haven can be easily achieved by incorporating solar lighting. Solar lights are energy-efficient and cost-effective, making them an ideal choice for budget-conscious homeowners. You can start by lining pathways with small solar stake lights to ensure safe passage while adding a warm glow to your garden. For a more advanced touch, consider hanging solar-powered string lights from your shelter’s beams or across a pergola to create a magical canopy of light.
Opt for solar lights with adjustable brightness settings to suit different occasions, allowing you to easily shift from a lively barbecue ambiance to a serene evening retreat. Installation is straightforward and requires no wiring, simply place the solar panels in a sunny spot to recharge during the day. When selecting lights, look for weather-resistant models to withstand outdoor elements, ensuring longevity and reliability. By thoughtfully arranging solar lighting, you can enhance the atmosphere of your outdoor space, making it inviting and functional long after the sun sets.
Employ Waterproof Paints on Surfaces
One of the most effective ways to protect your outdoor shelter from the elements is by employing waterproof paints on all exposed surfaces. These paints not only extend the life of your structure by preventing moisture damage but also enhance its aesthetic appeal. For beginners, start by selecting a high-quality acrylic latex paint, which offers excellent durability and resistance to water. It’s crucial to apply at least two coats, allowing ample drying time between applications to ensure maximum protection.
For those with more experience, consider using a primer specifically designed for exterior surfaces to increase paint adhesion and longevity. Additionally, explore the use of varnish or sealant over the paint for added waterproofing, especially on wooden surfaces where water damage is most prevalent. When selecting colors, opt for lighter shades as they tend to reflect sunlight and maintain cooler temperatures inside your shelter. These simple yet effective steps will protect your investment, making your outdoor space both beautiful and resilient.
Anchor Structures with Concrete Blocks
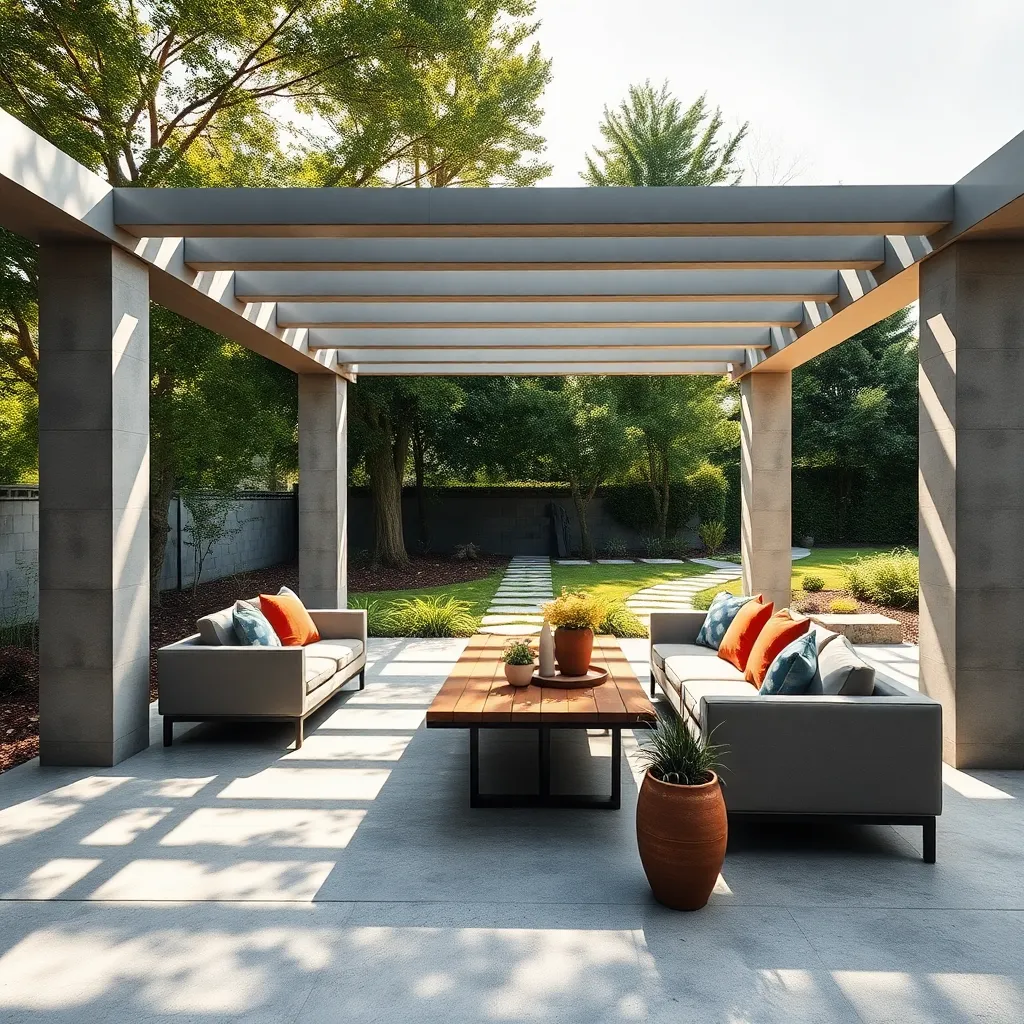
Anchoring your outdoor shelter with concrete blocks is a cost-effective way to ensure stability. For a simple setup, use concrete blocks as the foundation by placing them at each corner of your shelter. This not only provides a robust base but also elevates your structure slightly, protecting it from ground moisture. Beginners can start with basic blocks measuring 8″ x 8″ x 16″, which are readily available at most home improvement stores. For those looking to enhance their design, consider using decorative blocks or painting them to match your outdoor theme.
Advanced builders can reinforce their shelters further by inserting metal brackets into the concrete blocks, creating a secure attachment point for the shelter frame. This technique significantly improves wind resistance, making it ideal for areas prone to strong gusts. Use a drill to secure the brackets with anchor bolts, ensuring a snug fit. Remember to check local building codes for any specific requirements related to shelter anchoring, as regulations can vary. By taking these steps, you’ll create a durable outdoor haven that stands the test of time.
Conclusion: Creating Beautiful Outdoor Spaces
As we wrap up our exploration of “13 Budget-Friendly Shelter Ideas for Your Next Project,” we’ve uncovered a treasure trove of concepts designed to strengthen your relational foundation without breaking the bank. From nurturing mutual understanding and fostering open communication to building trust and ensuring emotional safety, each idea is a building block for enduring partnerships. We discussed the importance of shared goals, the art of negotiation, and the power of vulnerability, all while keeping financial mindfulness in check.
Now, it’s your turn to take action. Start by choosing one concept that resonates with you and implement it with your partner this week. Whether it’s setting aside time for meaningful conversations or practicing gratitude, make it a priority.
Before you go, make sure to bookmark this article. It’s a practical guide you’ll want to revisit as your relationship evolves. Remember, the journey of growing together is ongoing, and having these insights at your fingertips can make all the difference.
Looking ahead, with these strategies in your toolkit, your relationship is poised for success. Embrace the opportunity to build a partnership that thrives on connection, understanding, and mutual growth. Here’s to your flourishing future!