Picture this: a sunny afternoon, a cool breeze, and the perfect patio where you can unwind or entertain friends. Whether you’re a beginner taking your first steps into outdoor projects or a seasoned DIY enthusiast, “13 DIY Patio Roof Ideas for Your Next Project” is your gateway to creating a stunning, functional outdoor space. Embrace the joy of transforming your patio into a personal oasis that reflects your style and meets your needs.
In this guide, you’ll discover creative and practical ideas that not only enhance the beauty of your outdoor area but also offer protection from the elements. From increasing your home’s aesthetic appeal to extending your living space, these projects promise practical benefits that will enrich your outdoor experience. Get ready to feel empowered and inspired as you embark on your patio transformation journey, confident that you can make your outdoor dreams a reality.
Opt for Retractable Awning Systems
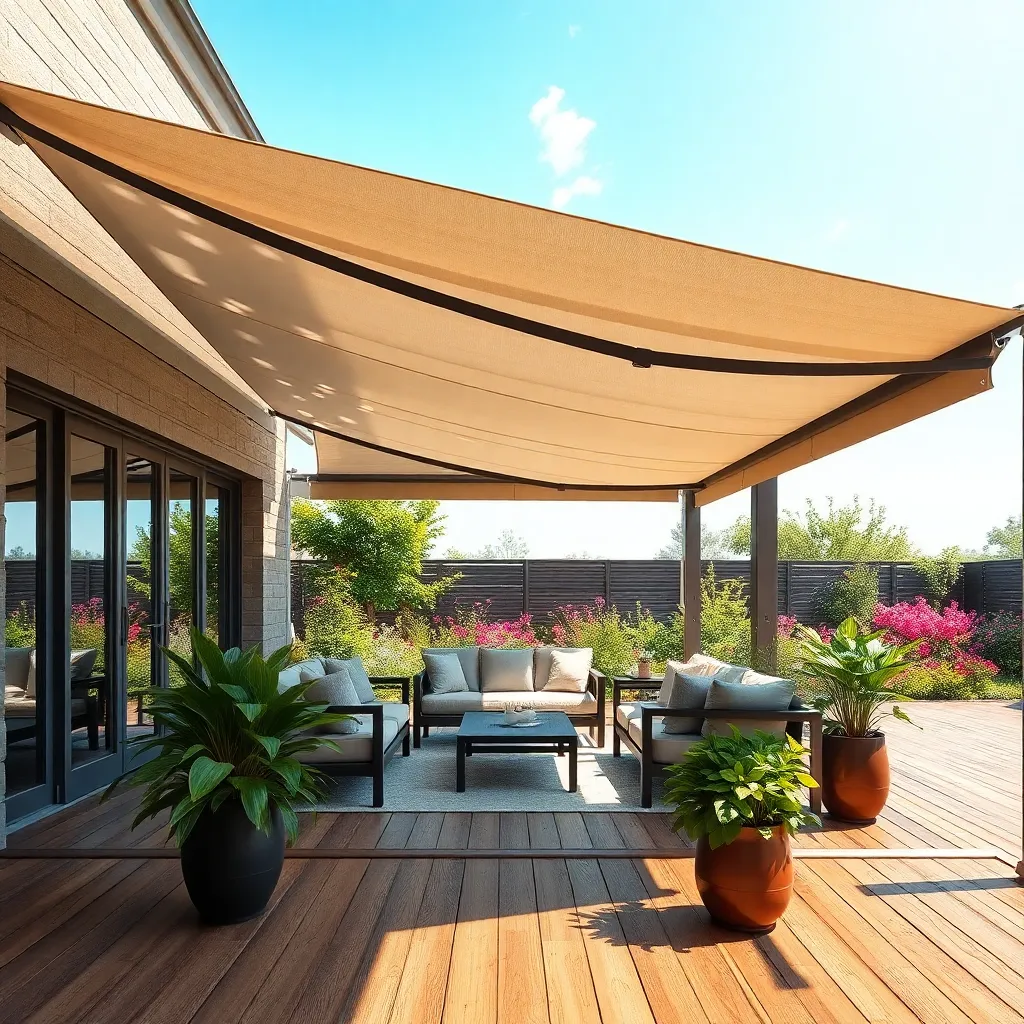
Consider installing a retractable awning system for a flexible and stylish patio roof solution. These systems offer versatility in managing sunlight and shade, allowing you to enjoy the outdoors comfortably throughout the day. Choose a durable, weather-resistant fabric like acrylic or polyester to withstand various weather conditions. When selecting your awning, ensure it’s appropriately sized for your space—measure your patio area and allow for at least a 1-foot overhang on each side for optimal coverage.
For DIY enthusiasts, many retractable awning kits come with easy-to-follow instructions and require minimal tools for installation. Mounting the awning to a sturdy surface, such as a wall or eaves, is crucial for stability, so use heavy-duty brackets and anchors. For a more advanced touch, opt for a motorized system that allows for remote operation, adding convenience to your outdoor experience. Regular maintenance, like cleaning the fabric and lubricating moving parts, will ensure your awning remains in excellent condition for years to come.
Incorporate Clear Polycarbonate Panels
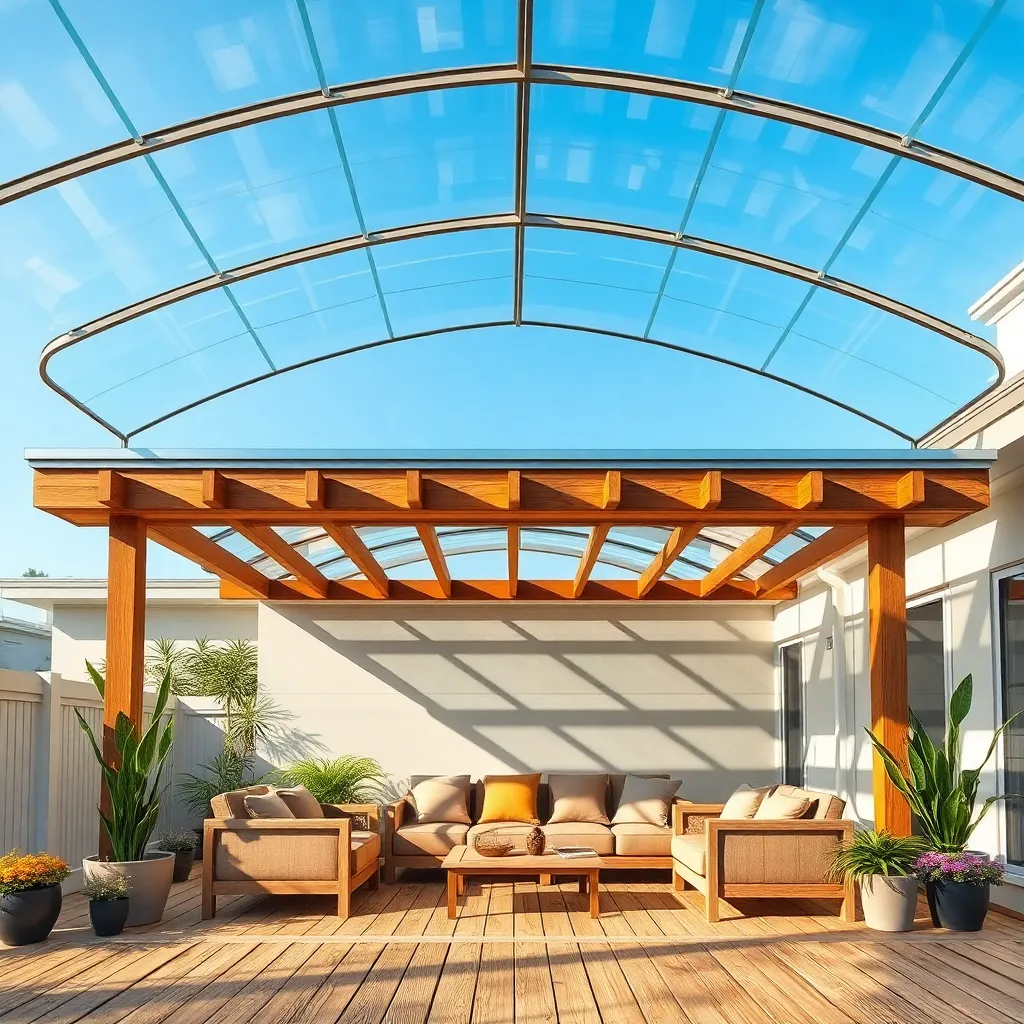
Incorporating clear polycarbonate panels into your patio roof design can offer the perfect blend of protection and natural light. These panels are lightweight yet durable, making them an excellent choice for DIY enthusiasts. Polycarbonate panels are resistant to harsh weather conditions, including UV rays, and they can be easily cut to fit any space. For beginners, start by planning your layout and purchasing panels that are at least 4 mm thick to ensure durability. Remember to use a fine-tooth saw for clean cuts and a drill with a step bit for precise holes.
To enhance your design, consider combining polycarbonate panels with a wooden frame, which adds warmth and stability. Advanced DIYers might experiment with multiwall polycarbonate sheets for added insulation and structural integrity. When installing, ensure panels are slightly inclined to allow for water runoff and use special polycarbonate screws with rubber washers to prevent leaks. Keep in mind that sealing the edges with silicone can further enhance weatherproofing. With a little planning and the right materials, you’ll create a functional and stylish patio cover that lets in the light while keeping out the elements.
Utilize Bamboo for a Tropical Vibe
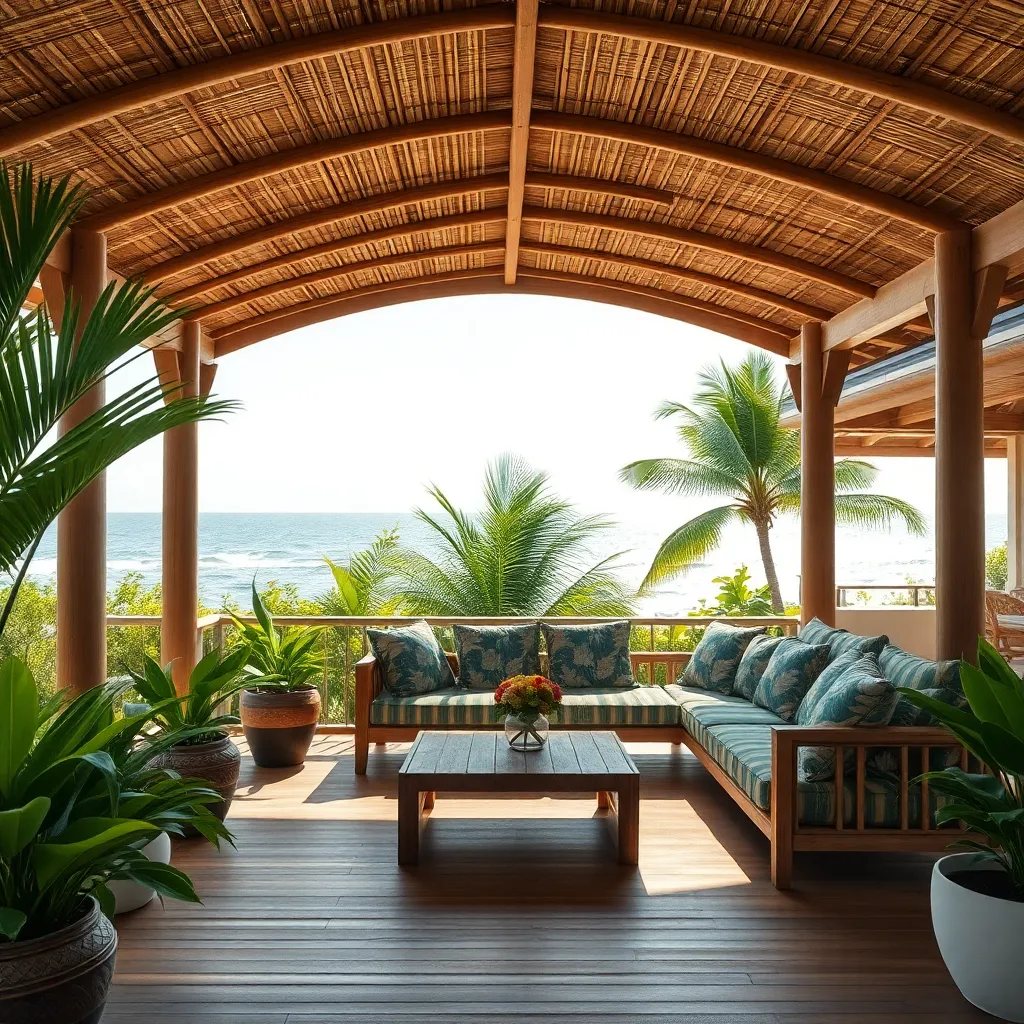
Transform your patio with a tropical vibe by utilizing bamboo to create an inviting outdoor shelter. Bamboo is a versatile and sustainable material that can be used for both the roof and supporting structures. For beginners, consider a simple pergola design using bamboo poles tied together with durable rope or zip ties. Ensure the poles are treated to withstand weather elements, and space them approximately 8 to 12 inches apart for optimal shade and airflow.
For a more advanced project, create a layered bamboo roof by overlapping bamboo slats to enhance both sun protection and aesthetic appeal. Secure the slats with galvanized nails or screws, ensuring each layer slightly overlaps the previous one to direct rainwater away. Incorporating natural elements like climbing vines or string lights can further enhance the tropical feel. Choose bamboo poles of at least 3 inches in diameter for the support beams to ensure stability and longevity.
Install Lattice for Filtered Light
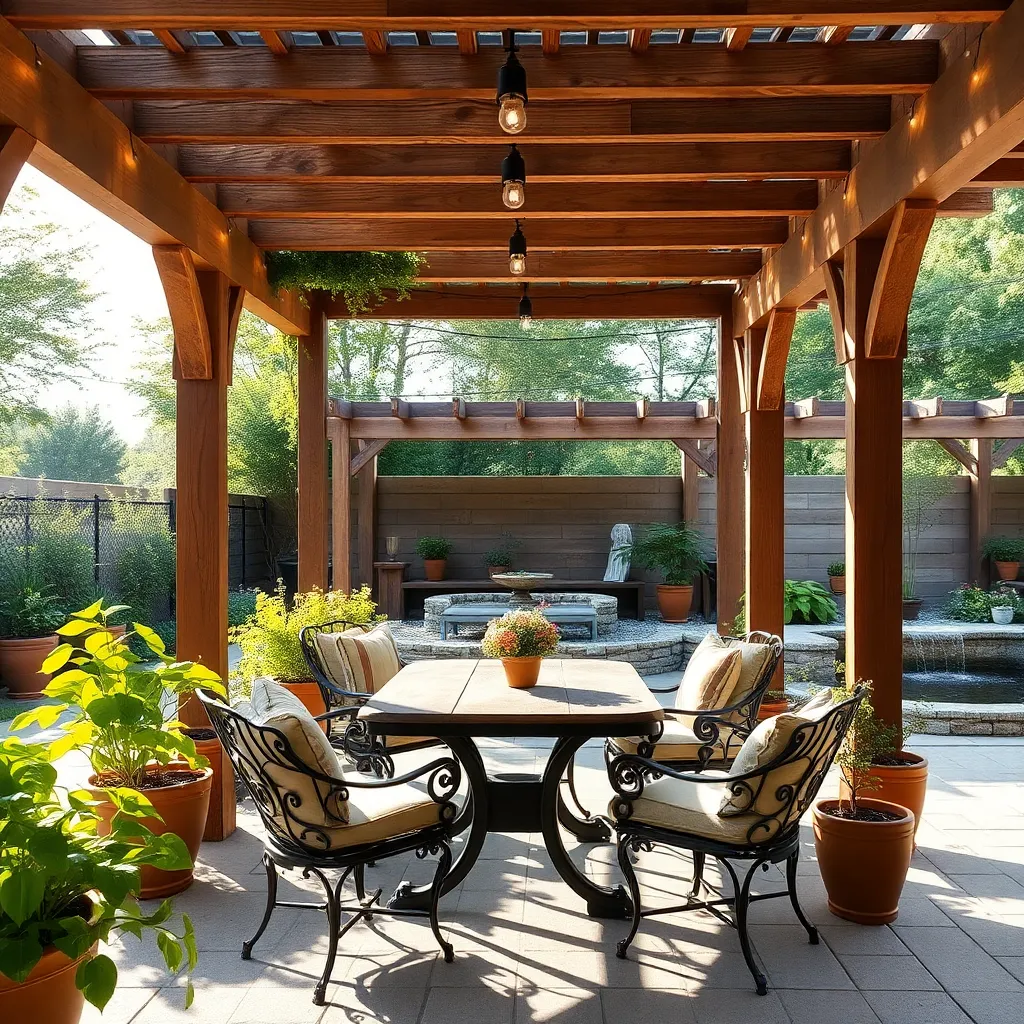
Lattice panels offer an excellent solution for those looking to create a patio roof that allows for filtered light. Beginner gardeners will appreciate the simplicity of installing pre-made lattice panels, which can be found at most home improvement stores. Opt for materials like cedar or vinyl for durability and a natural aesthetic. For installation, secure the panels to a sturdy frame using galvanized screws, ensuring the lattice fits snugly to prevent sagging.
For advanced DIY enthusiasts, consider customizing your lattice design by cutting panels to specific dimensions or adding a decorative trim. This not only enhances the visual appeal but also allows for precise light control by adjusting the size of the lattice openings. To maximize longevity, apply a weather-resistant sealant to wooden lattice panels, protecting them from moisture and UV damage. By integrating lattice into your patio roof, you create an inviting and dappled shade perfect for relaxing on sunny days.
Choose Tensioned Shade Sails
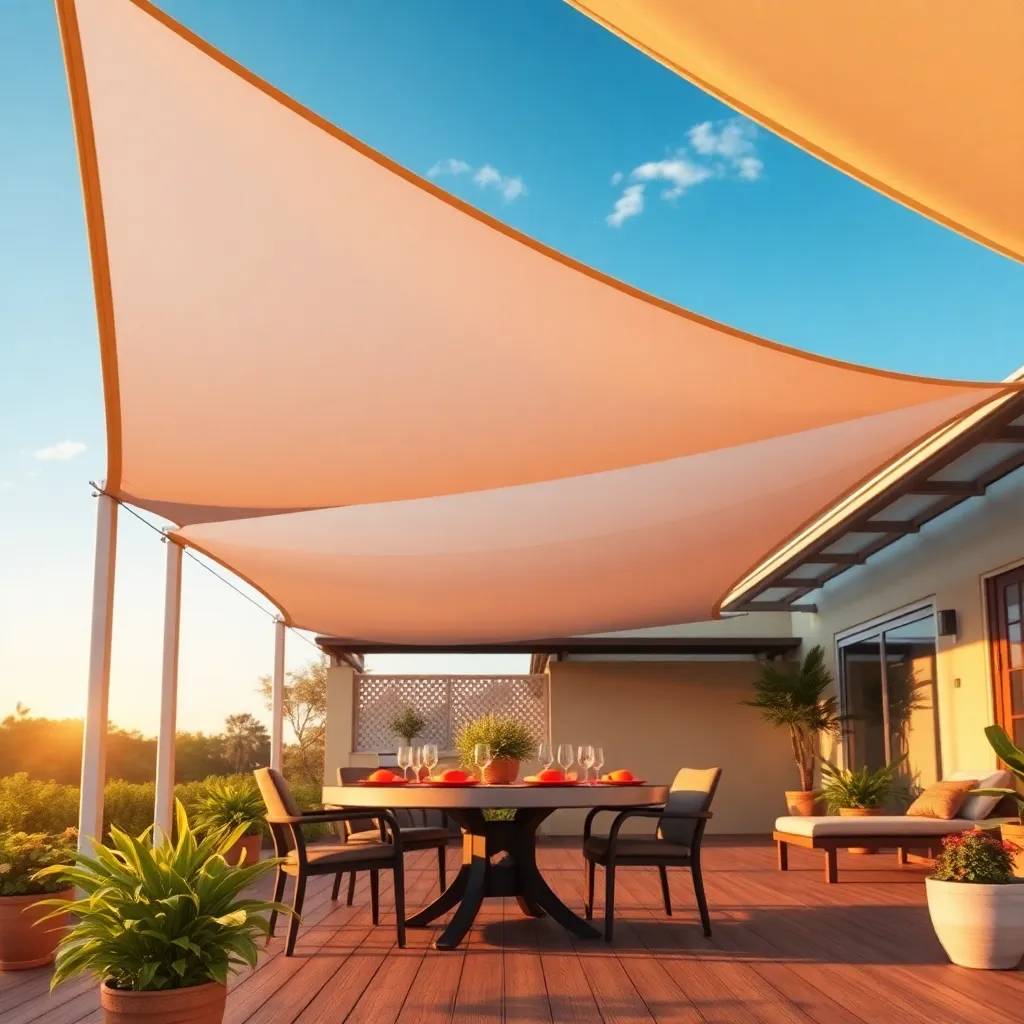
For a versatile and stylish patio cover, consider installing tensioned shade sails. These sails are made from durable, UV-resistant fabric, providing excellent sun protection while adding a modern touch to your outdoor space. To ensure stability and a sleek appearance, use strong materials like stainless steel or galvanized hardware for the anchor points. Choose from a variety of shapes and colors to match your existing outdoor decor, and consider overlapping sails for a layered, dynamic effect.
Installing tensioned shade sails involves precise planning and measurement. Begin by assessing the area you wish to cover and identify secure points for attachment, such as existing walls, poles, or trees. Use a tensioning tool to achieve the right tautness, preventing sagging and ensuring the fabric remains resilient against wind. Advanced tip: Opt for adjustable turnbuckles to easily modify the tension as needed. With a bit of creativity and the right materials, you can create a functional and visually appealing shade solution that enhances your patio.
Construct With Reclaimed Wood Beams
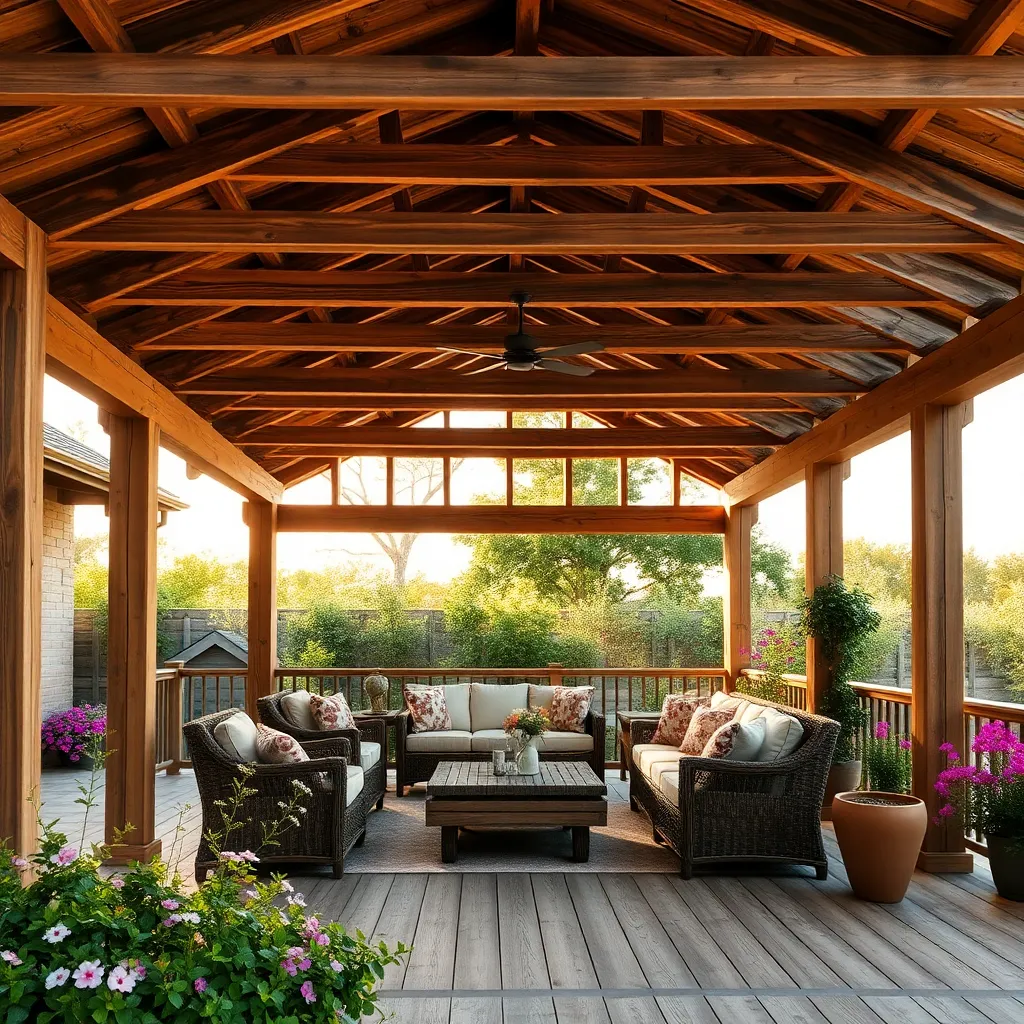
Reclaimed wood beams offer a sustainable and rustic option for constructing a patio roof, blending effortlessly with various outdoor aesthetics. Begin by sourcing quality beams from local salvage yards or online marketplaces, ensuring they are structurally sound and free from rot. Measure and cut each beam to fit your desired roof dimensions, typically a span of 8-12 feet. For a sturdy foundation, use metal brackets to secure the beams to existing posts or walls, ensuring alignment and stability.
Incorporating reclaimed wood beams can add warmth and character to your outdoor space, with each beam telling its own story. To enhance durability, consider treating the wood with a weather-resistant sealant, which will protect against moisture and UV damage. For a polished look, sand the beams to remove any splinters and apply a stain that complements your patio’s color scheme. Advanced DIYers might also add decorative elements, such as corbels or lattice, to personalize their design further.
Add Pergola With Climbing Plants
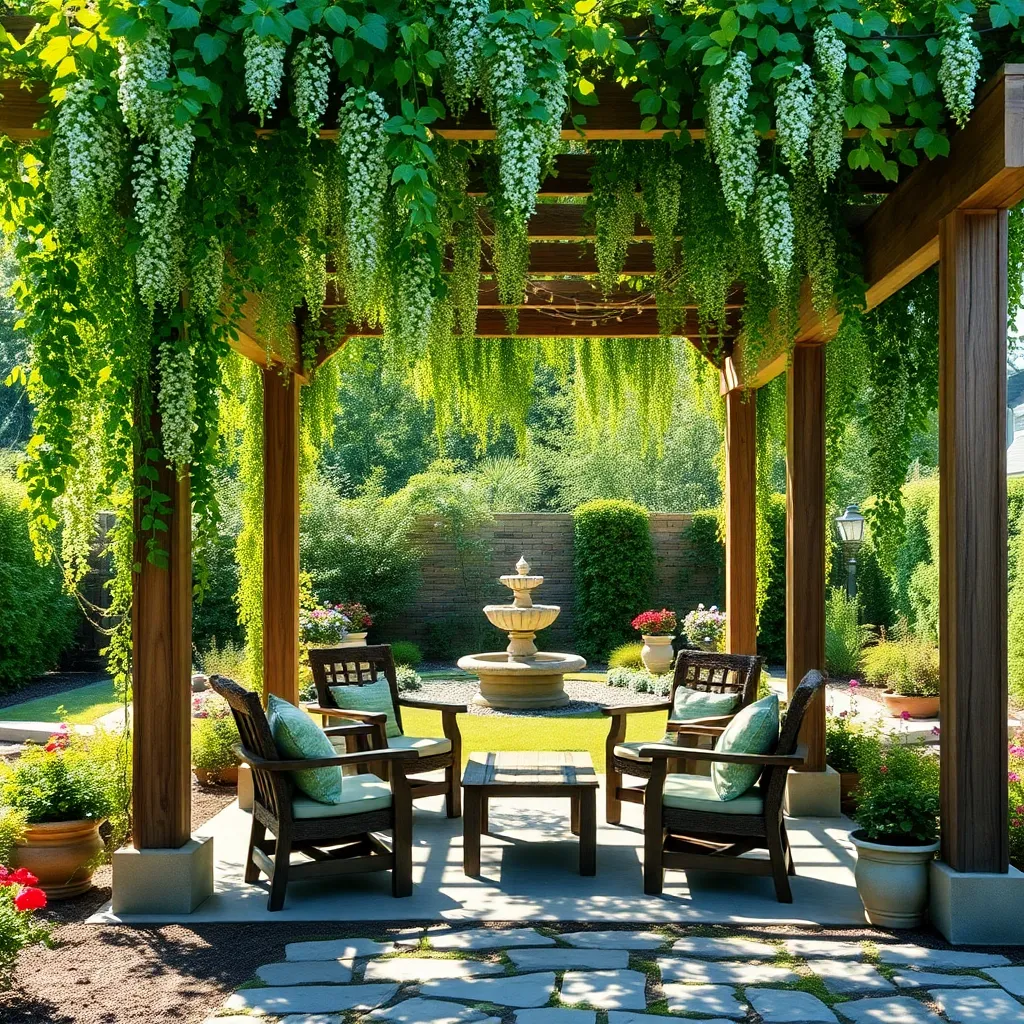
Add a touch of elegance and functionality to your patio with a pergola adorned with climbing plants. Choose durable materials like cedar or pressure-treated wood for the structure, ensuring it stands the test of time. A pergola not only offers partial shade but also serves as a beautiful focal point. For beginners, start with a basic rectangular design, keeping dimensions manageable, such as 10×10 feet, to simplify construction.
For those seeking a more advanced project, consider adding lattice panels to the sides of your pergola to support climbing plants like wisteria, jasmine, or clematis. These plants not only enhance the aesthetic appeal but also provide additional shade and privacy. Ensure you plant the climbers at the base of the pergola, allowing them to naturally weave through the structure. Regular pruning will help maintain their growth and keep your pergola looking lush and inviting.
Use Corrugated Metal Sheets
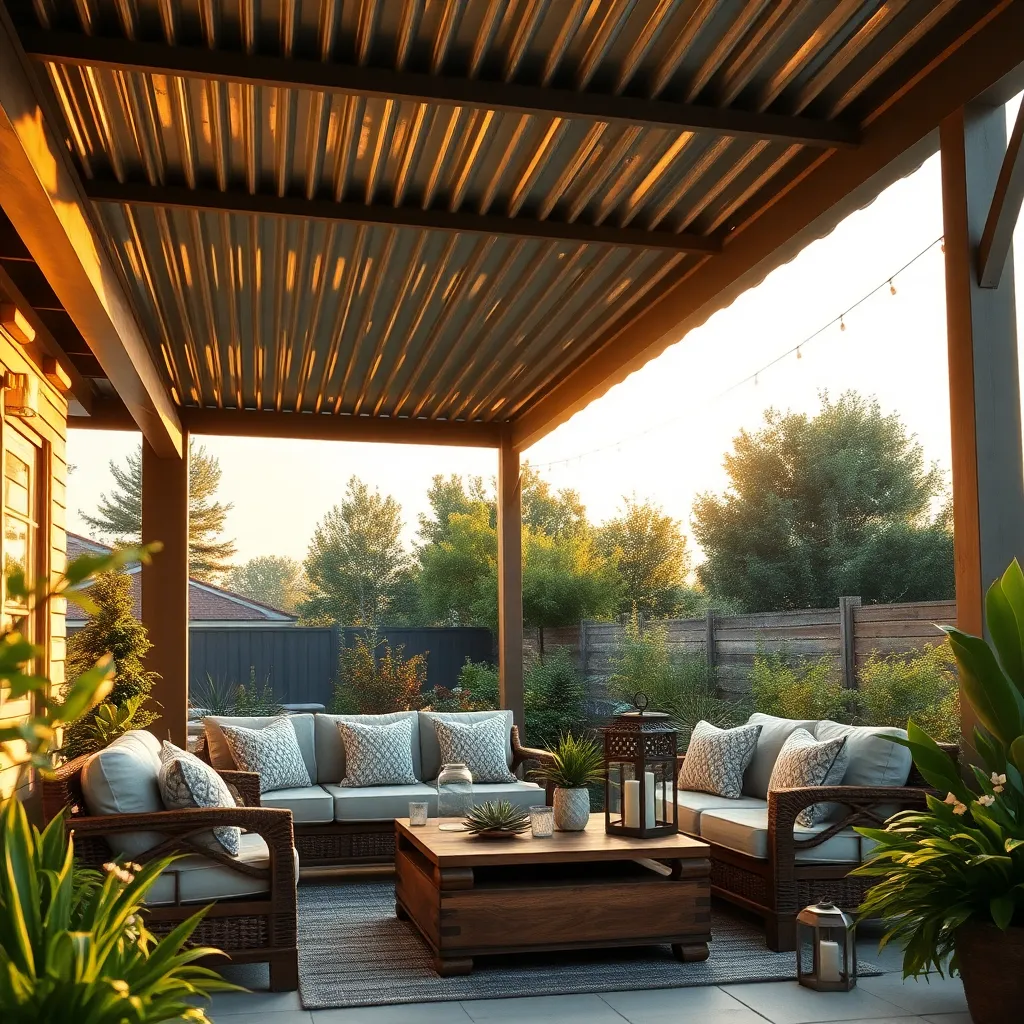
To create a durable and stylish patio roof, consider using corrugated metal sheets. These sheets are not only weather-resistant and affordable but also add a modern, industrial touch to your outdoor space. Choose galvanized or aluminum sheets for longevity, as they resist rust and require minimal maintenance. For installation, secure the sheets with self-tapping screws, ensuring they overlap by at least one ridge to prevent leaks.
When planning your design, keep in mind that the angle of the roof should allow for proper water runoff. A gentle slope of at least 10 degrees is ideal. For a polished look, consider painting the sheets in a color that complements your home’s exterior. Advanced tip: Add insulation beneath the metal to reduce heat during summer and dampen rain noise. This combination of aesthetics and function makes corrugated metal sheets a practical choice for any DIY patio roof project.
Create Rustic Look With Thatch
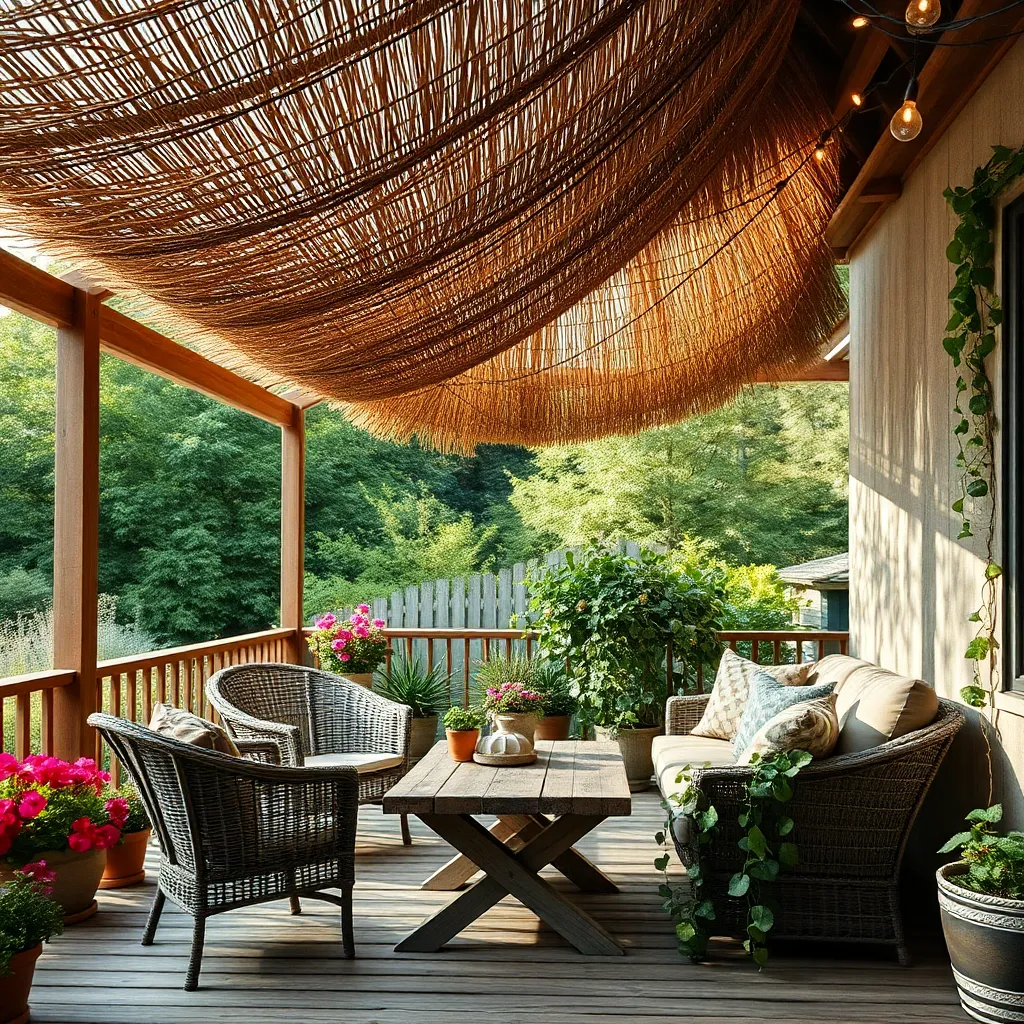
For a truly rustic charm, consider using thatch as a roofing material for your patio. Thatch consists of dried vegetation, such as straw, reeds, or palm leaves, and is a sustainable option that provides excellent insulation. Start by constructing a robust frame with treated wood or bamboo, ensuring it’s sturdy enough to support the weight of the thatch. Beginners can use pre-bundled thatch panels, available at garden centers, which simplify installation. Attach these bundles securely to the frame using galvanized wire or twine to ensure durability.
To enhance the durability and longevity of your thatch roof, apply a water-resistant coating that can help withstand weather conditions. For a more advanced touch, integrate a slight pitch into your design to facilitate water runoff, which is crucial for maintaining the structure’s integrity. Consider complementing the rustic look with natural elements like wooden furniture and stone pathways. This not only ties the space together aesthetically but also creates a cohesive outdoor experience. With these tips, you can achieve a warm, inviting patio that feels like a serene getaway.
Integrate Solar Panels Efficiently
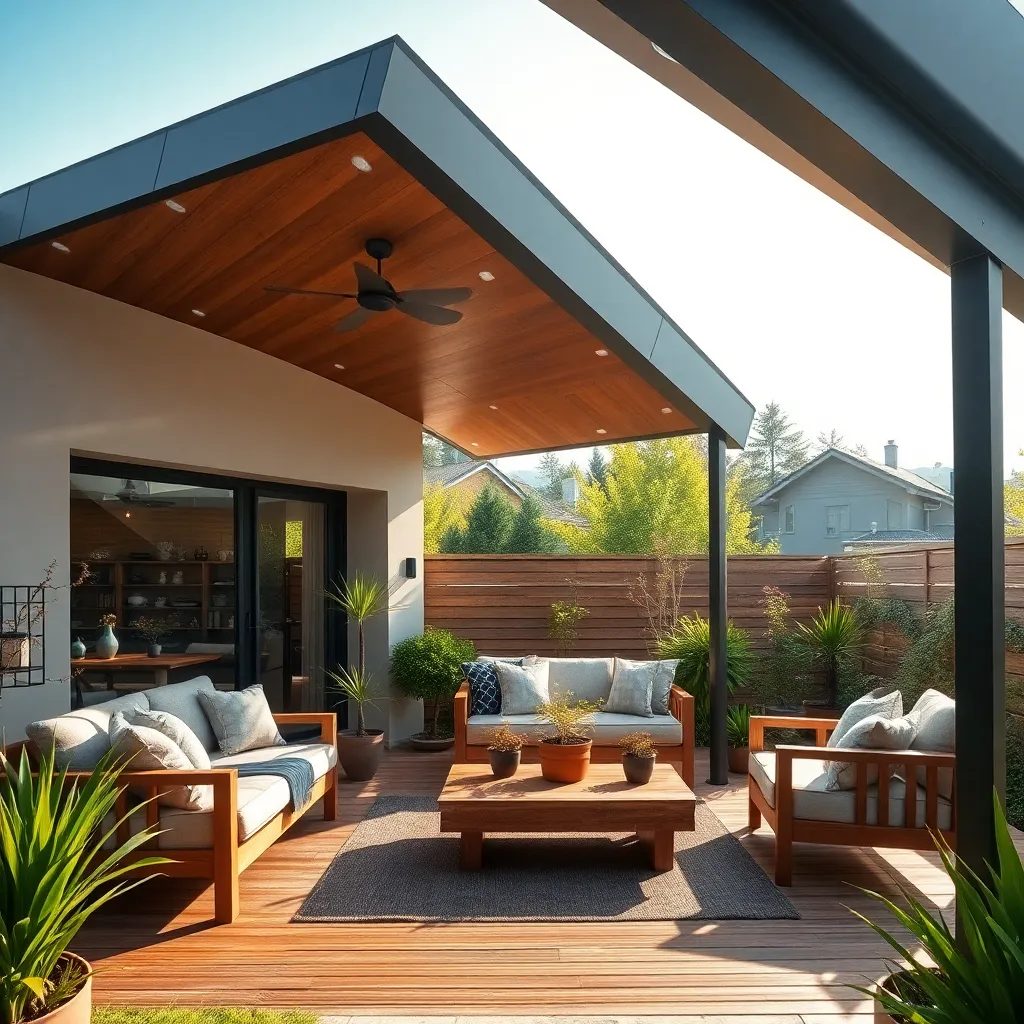
Installing solar panels on your patio roof is a fantastic way to harness renewable energy while providing shade. To integrate them efficiently, start by selecting high-efficiency photovoltaic panels that match the dimensions of your roof. Ensure the roof structure can support the additional weight, often around 40 pounds per panel, and consider using a steel or aluminum frame for durability. Position the panels to face the sun optimally, ideally at a 30 to 45-degree angle, to maximize energy capture throughout the day.
For a seamless look, incorporate the solar panels into the design of your patio roof by using bifacial panels, which allow light through, creating an elegant dappled effect. This not only enhances aesthetics but also improves energy efficiency by capturing sunlight from both sides. Beginners should start with a small section, perhaps a 10’x10′ area, to get accustomed to the installation process. For those more experienced, consider a solar inverter system to convert the energy efficiently and safely for home use.
Apply Waterproof Tarpaulin Covers
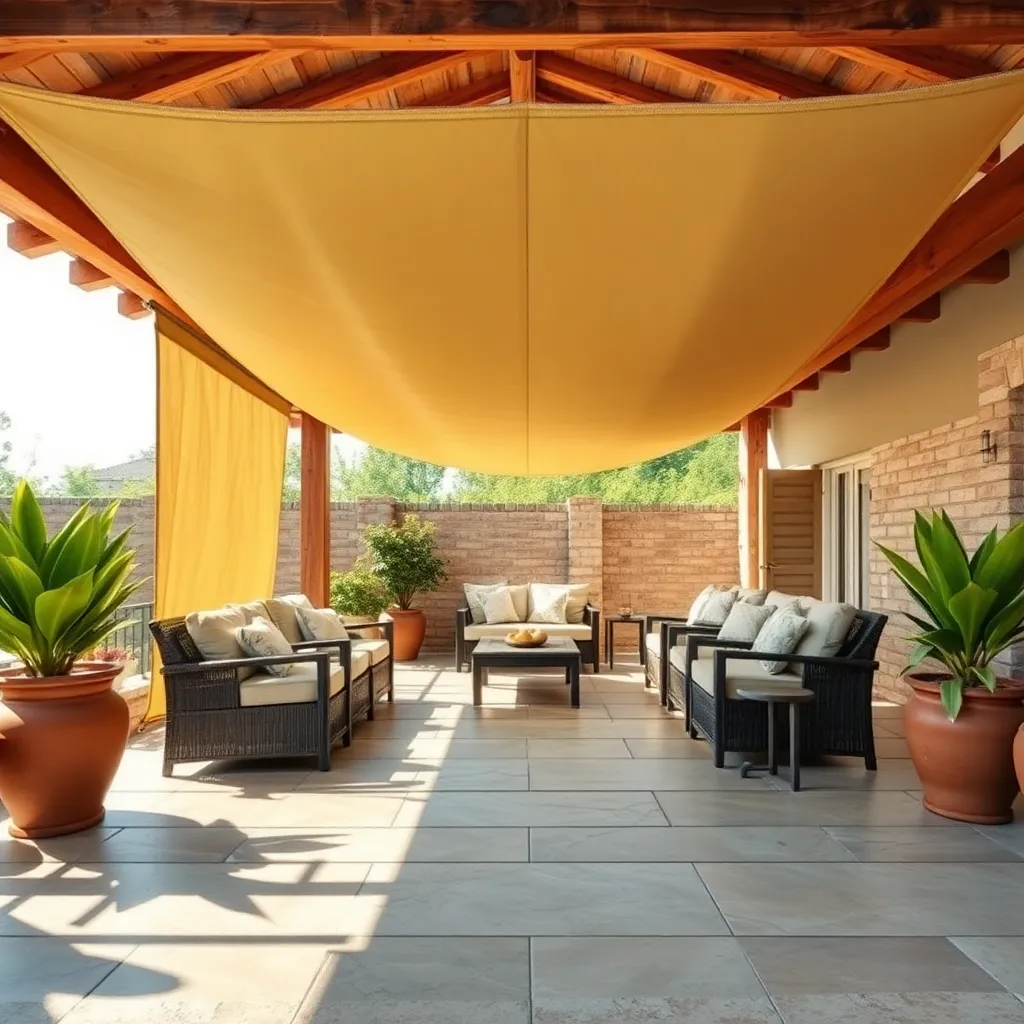
One of the simplest ways to create a waterproof shelter for your patio is by applying a tarpaulin cover. Select a heavy-duty, UV-resistant tarpaulin that can withstand various weather conditions. You can attach the tarp to a basic wood frame or existing pergola structure using bungee cords or strong rope for flexibility and easy adjustments. Consider adding grommets to the tarp edges for a more secure attachment and to prevent water pooling.
For a more refined look, consider incorporating eye-catching tarp colors and patterns that complement your outdoor decor. To ensure longevity, regularly inspect the tarp for any wear and tear, and clean it with mild soap and water to maintain its appearance. Advanced gardeners might opt for a custom-fit tarpaulin, designed to snugly fit unique patio dimensions, ensuring maximum water protection and aesthetic appeal. Whether you’re a beginner or an experienced DIYer, installing a waterproof tarpaulin cover is an effective way to enjoy your patio all year round.
Craft a Canopy With Fabric Drapes
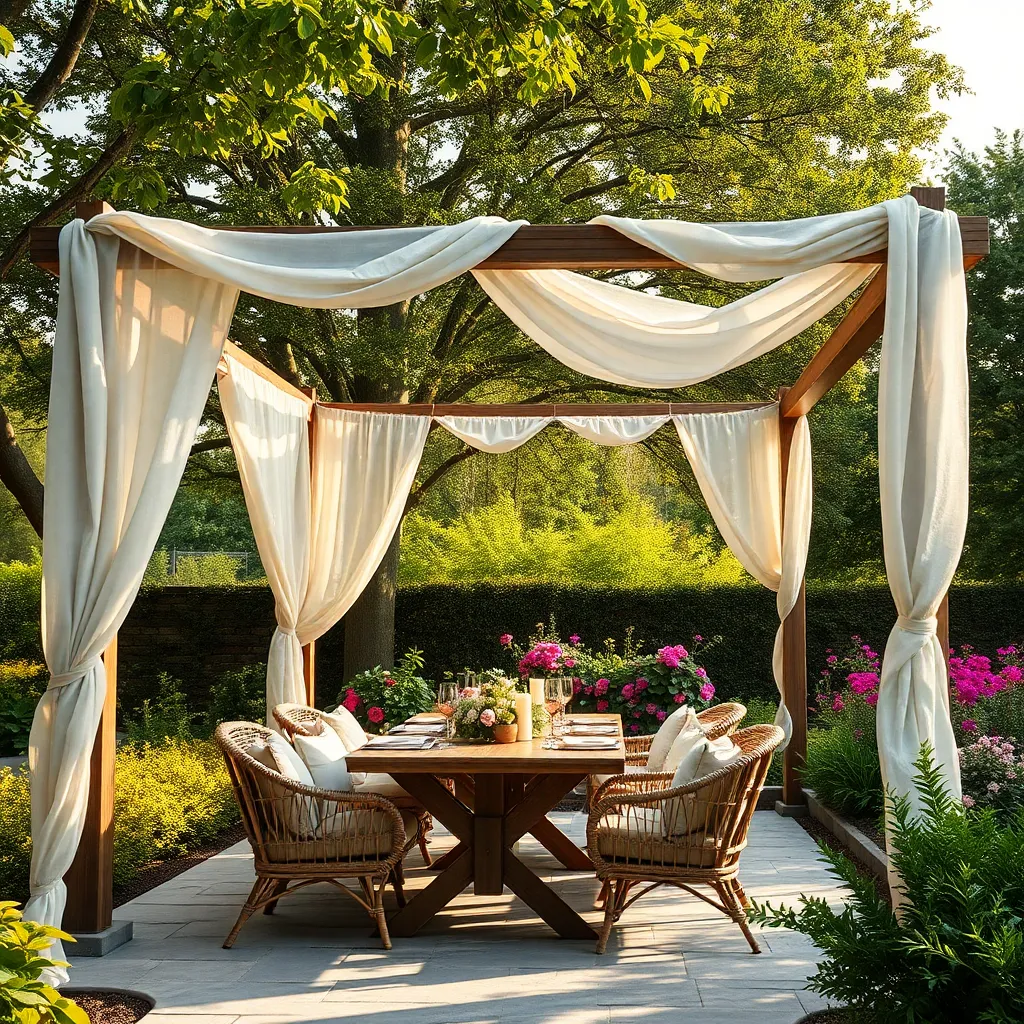
Creating a canopy with fabric drapes is a stylish and versatile way to enhance your patio space. Begin by selecting a durable outdoor fabric, such as polyester or canvas, that can withstand the elements. Attach the fabric to a simple frame using hooks or curtain rings, allowing you to easily draw the drapes open or closed based on the weather and your preference. Ensure the fabric is treated with a UV-resistant and water-repellent finish for longevity.
For a more advanced touch, consider installing a tension wire system to suspend your fabric drapes. This method provides a sleek, modern look and allows for adjustable coverage, ideal for varying weather conditions. Make sure the wire is securely anchored to stable points like the exterior walls of your home or sturdy posts. You can also add decorative touches with tiebacks or weights at the bottom of the drapes to prevent them from blowing in the wind. This approach not only provides shade but also adds a dynamic design element to your outdoor area.
Build a Green Roof for Insulation
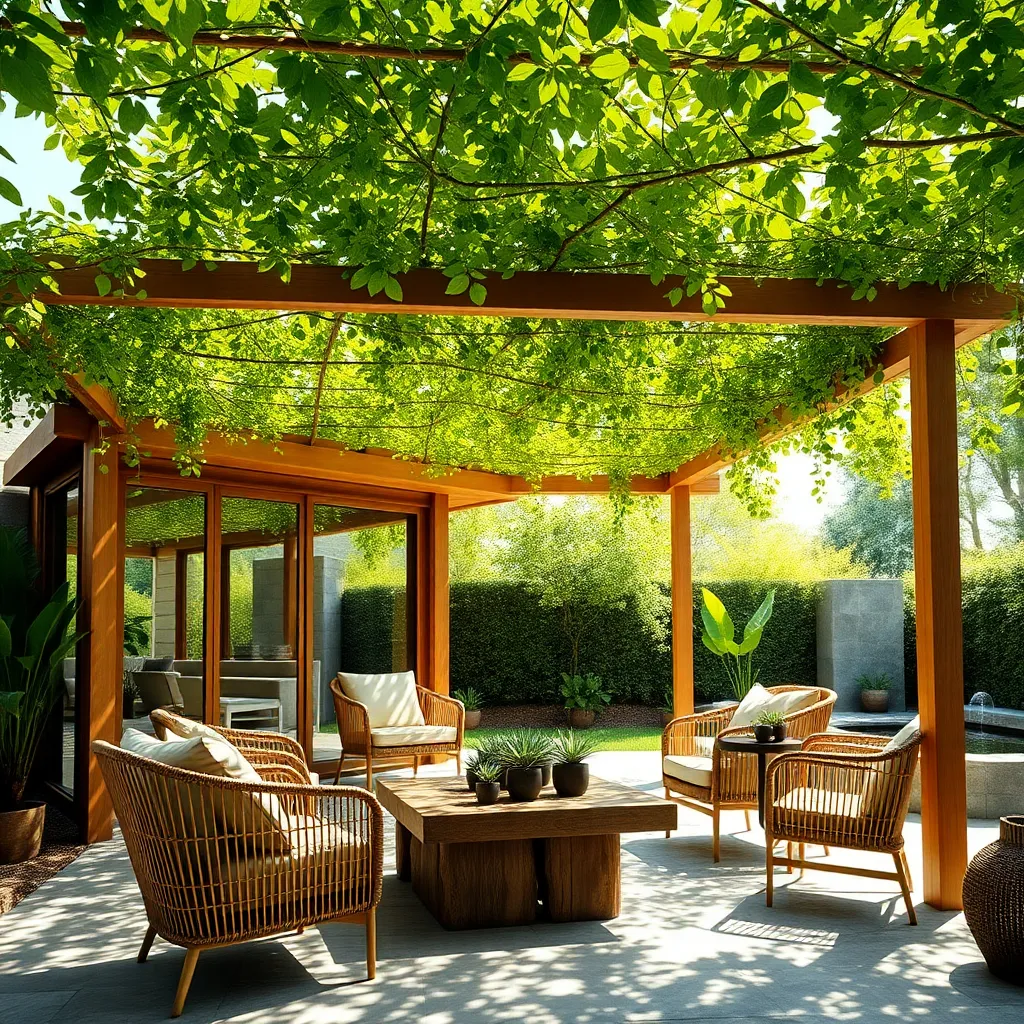
Transform your patio into an eco-friendly oasis by building a green roof for insulation. Start with a sturdy frame capable of supporting the additional weight of plants and soil, typically designed with treated lumber or metal beams. Next, install a waterproof membrane to prevent leaks and add a root barrier to protect the structure. For beginners, start with easy-to-grow, shallow-rooted plants like sedums or grasses. These not only provide excellent insulation but also require minimal maintenance, making them ideal for a low-effort green roof.
To enhance the thermal efficiency of your green roof, incorporate a layer of lightweight growing medium, about 4 to 6 inches thick, ensuring it’s suitable for the chosen plant types. Advanced gardeners might consider adding a drip irrigation system to maintain plant health during dry spells. Additionally, ensure proper drainage by installing a layer of gravel or drainage mats beneath the soil. This setup not only enhances your patio’s aesthetic appeal but also contributes to energy savings by improving insulation, keeping your home cooler in summer and warmer in winter.
Conclusion: Creating Beautiful Outdoor Spaces
As you venture into creating the perfect patio roof, you’ve explored 13 innovative ideas that not only enhance your outdoor space but also symbolize the nurturing of your relationships. From the simplicity of a pergola to the intricacy of a solar panel roof, each concept reflects foundational relationship principles: creativity, adaptability, support, and sustainability. By integrating these ideas, you aren’t just beautifying your home; you’re investing in a haven of connection and togetherness.
Your next step is to choose one design that resonates most with your vision and start planning its execution. Whether it’s gathering materials or sketching designs, take this first step today and feel the excitement of transforming your space and strengthening bonds.
We encourage you to save or bookmark this article as a valuable resource for when you need inspiration or guidance on your journey. With these insights, you are well-equipped to build not just a patio roof, but a future of relationship success, where each endeavor brings you closer to those you cherish.
Remember, every project begins with a single step, and each step is an opportunity to enrich your relationships. Let this be the beginning of a new chapter in your shared story.
