
Imagine stepping into your backyard and being greeted by a stunning outdoor shelter that not only enhances your space but also invites endless moments of joy and relaxation. Whether you’re a beginner eager to embark on your first project or an experienced homeowner looking to elevate your existing setup, “13 Outdoor Shelter Ideas for Your Next Project” is your gateway to creating a personal oasis. This guide is packed with creative, practical solutions that will inspire confidence, ensuring that your outdoor area becomes a cherished extension of your home.
From simple pergolas to intricate pavilions, these shelter ideas are invaluable tools to transform any outdoor space into a functional haven. You’ll discover options that suit a variety of styles and budgets, each offering practical benefits like weather protection and increased property value. With our guide, you can confidently take on your next project, knowing that the rewards of a beautiful, functional outdoor living space await you.
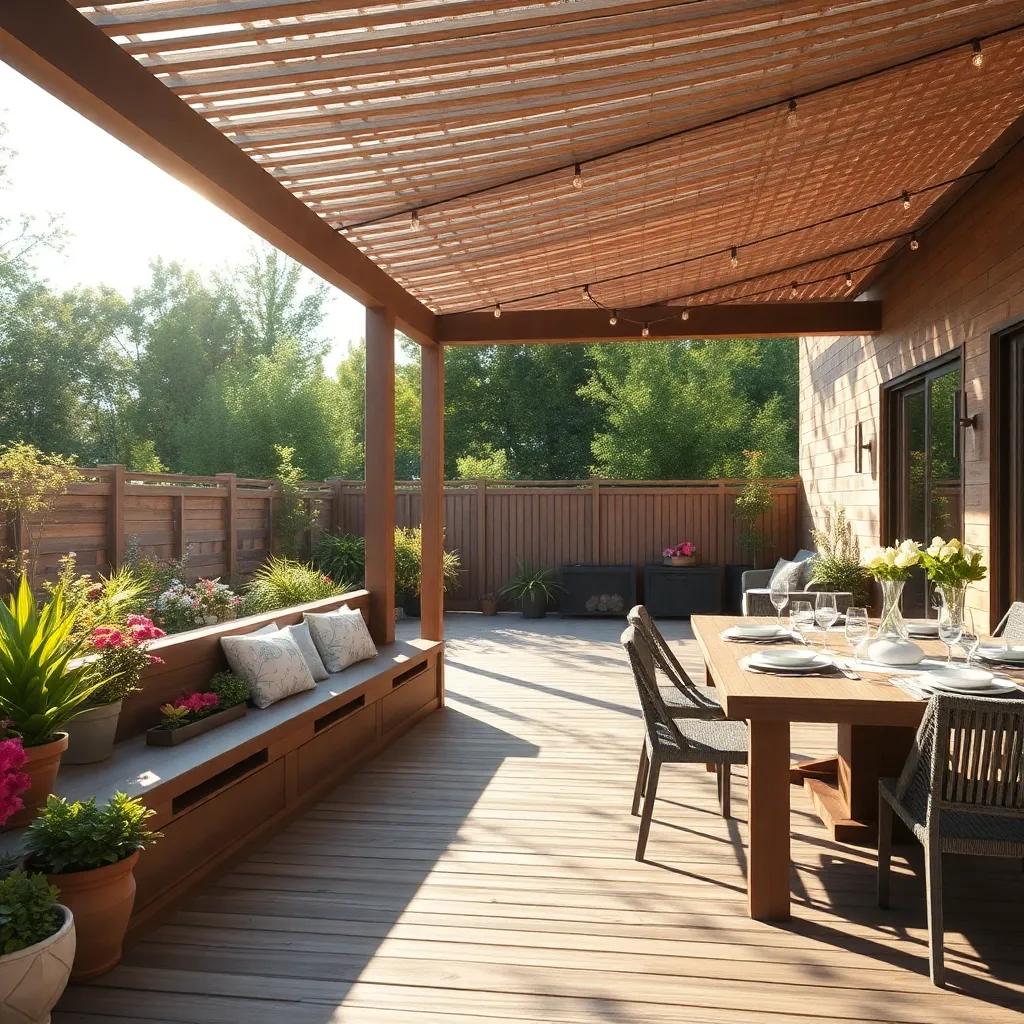
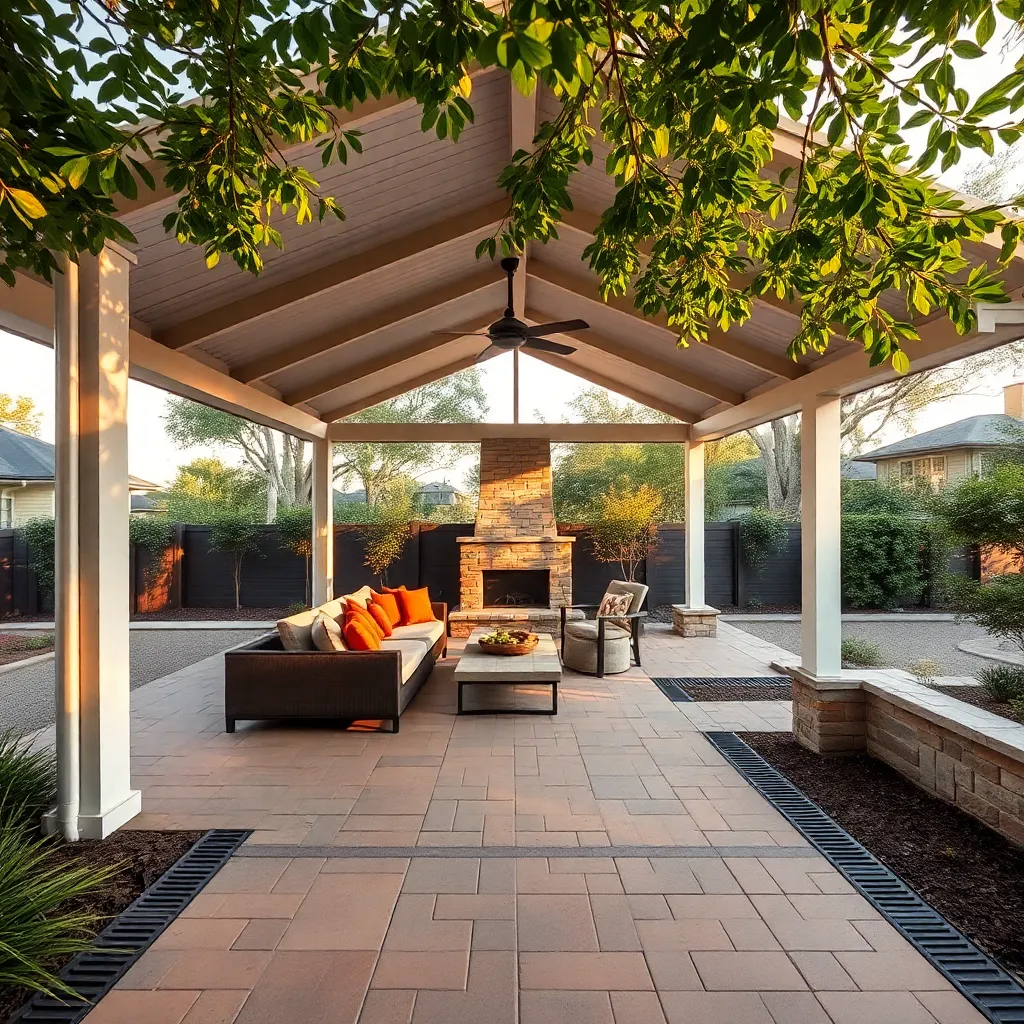
Incorporate Natural Shade Elements
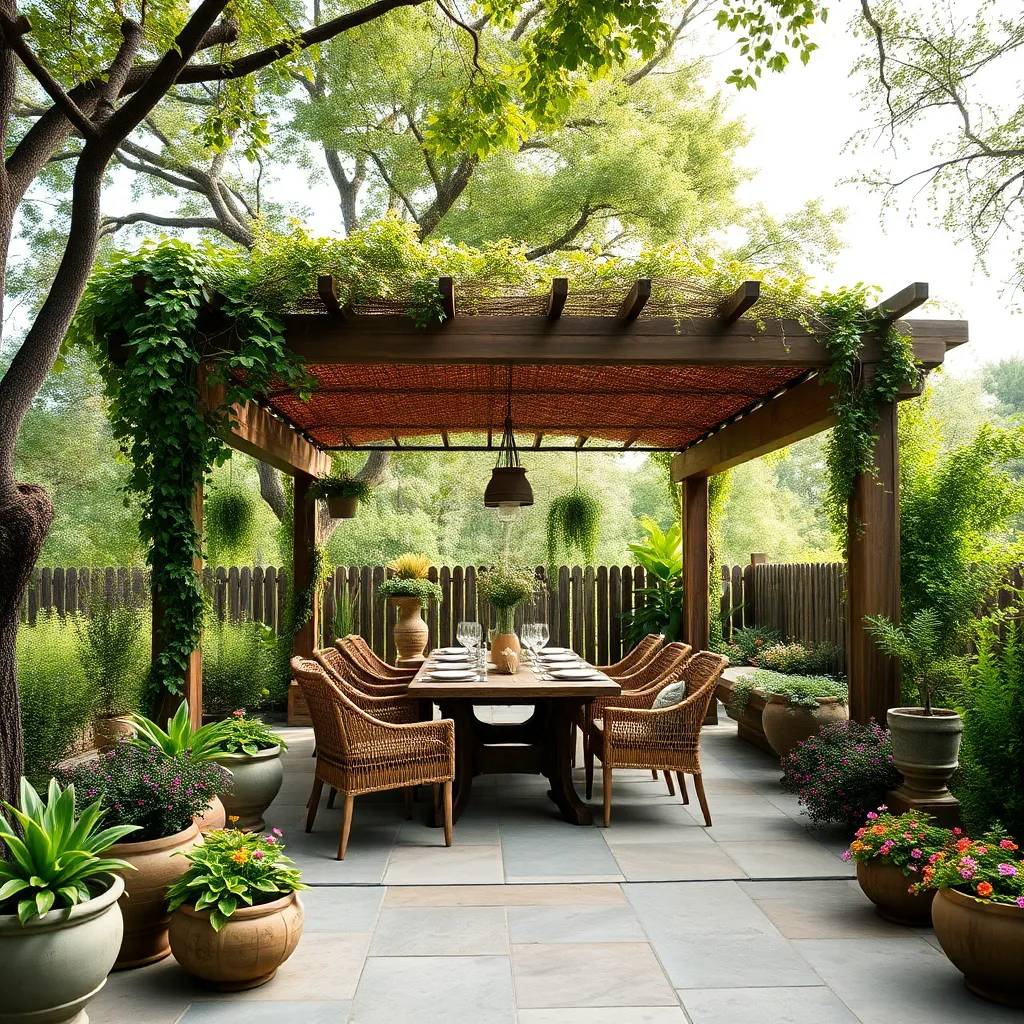
One of the most effective ways to incorporate natural shade into your outdoor space is by planting mature trees strategically. Choose trees that offer dense foliage, such as oaks or maples, to provide ample cover during the hottest months. For quicker results, consider starting with saplings that are at least 8-10 feet tall, ensuring they are placed on the south or west side of your area to maximize shade coverage.
For a more immediate solution, use climbing plants like wisteria or grapevines on pergolas or trellises. These offer a beautiful, living canopy and can be trained to grow over existing structures, adding both shade and aesthetic appeal. Ensure your supports are sturdy and materials such as cedar or pressure-treated wood are used to withstand the elements. This approach not only enhances your space but also supports local wildlife, attracting birds and pollinators.
Utilize Waterproof Materials Strategically
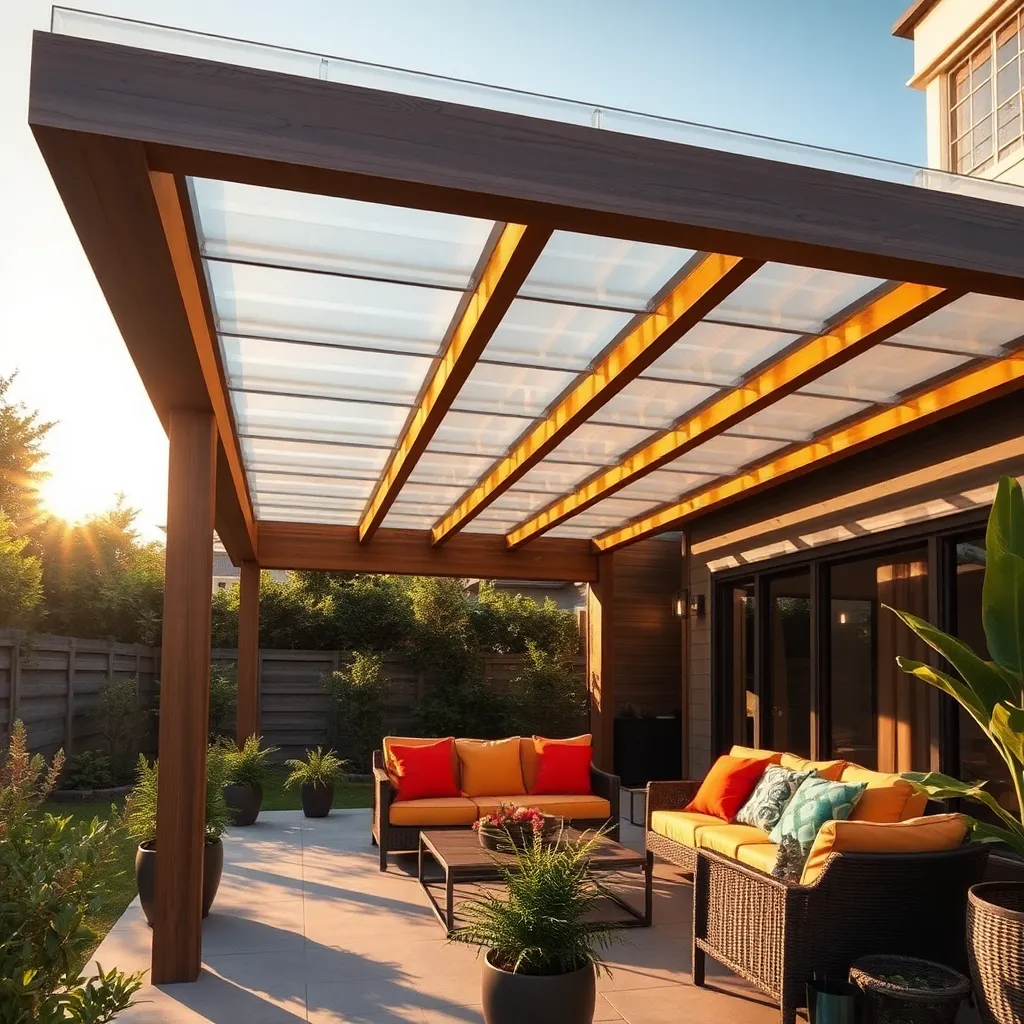
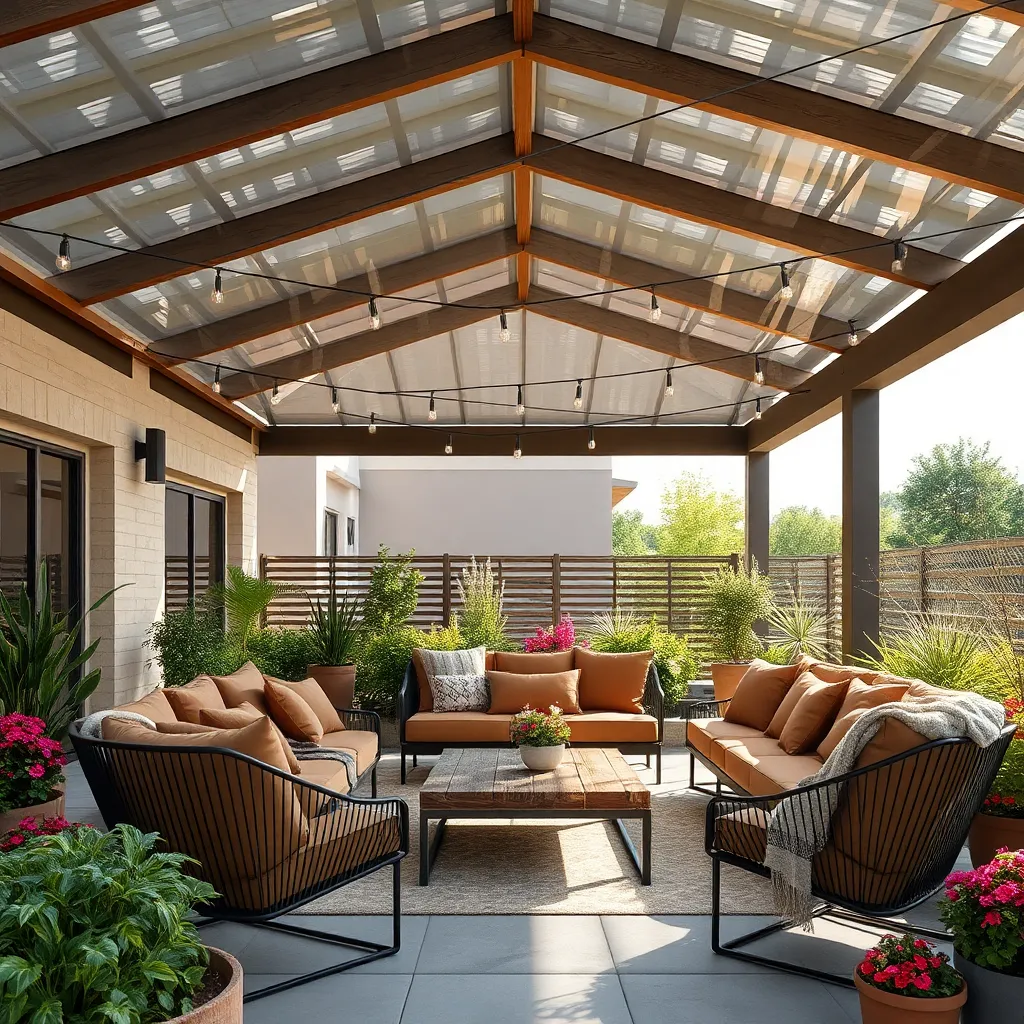
When designing an outdoor shelter, strategically utilizing waterproof materials can greatly enhance durability and comfort. Consider using waterproof fabrics like polyester or PVC-coated polyester for awnings or pergola covers, as they offer excellent resistance to rain and UV rays. For a more robust solution, install a polycarbonate roof, which is lightweight yet highly effective in keeping your space dry, allowing for natural light to filter through while protecting against weather elements.
Incorporate these materials thoughtfully by ensuring that they are integrated into the design without compromising aesthetics. For instance, using seamless installation techniques will prevent leaks and extend the lifespan of your shelter. For those with advanced skills, consider creating a slight pitch in the roof design to aid water runoff, which is crucial in preventing water pooling and potential damage. Whether you’re a beginner or a seasoned DIY enthusiast, these strategies will not only protect your outdoor space but also enhance its functionality and appeal.
Maximize Space with Multi-Purpose Furniture
To make the most of your outdoor space, consider incorporating multi-purpose furniture that serves more than one function. For instance, you can choose a bench with built-in storage to keep cushions, gardening tools, or children’s toys neatly tucked away. Opt for foldable tables that can be easily stowed when not in use, freeing up space for other activities. Look for materials like weather-resistant teak or powder-coated aluminum to ensure durability against the elements.
Think about incorporating design elements that add versatility to your outdoor shelter. A daybed that doubles as a seating area can transform a small patio into a relaxing retreat. For those with a bigger budget, consider a pergola with adjustable louvers to control sunlight and rain exposure. Advanced options like modular furniture systems allow you to reconfigure seating arrangements as needed, perfect for hosting different types of gatherings. Prioritize furniture with clean lines and neutral tones to seamlessly integrate with various outdoor styles.
Choose Eco-Friendly Building Materials
Choosing eco-friendly building materials for your outdoor shelter not only benefits the environment but also enhances the aesthetic and durability of your project. Consider using reclaimed wood, which adds a rustic charm while reducing waste, or bamboo, a rapidly renewable resource that’s both strong and lightweight. For roofing, opt for recycled metal or clay tiles, which are durable and have excellent thermal properties, helping to regulate temperature in your shelter.
For those seeking advanced tips, incorporating a green roof can significantly boost insulation and create a habitat for local wildlife. Ensure your structure is designed to support the additional weight and use plants native to your area to reduce maintenance. Additionally, consider using natural stone or compressed earth blocks for the foundation, providing excellent durability and a natural look. By thoughtfully selecting materials, you can create a sustainable and beautiful outdoor space that seamlessly integrates with your environment.
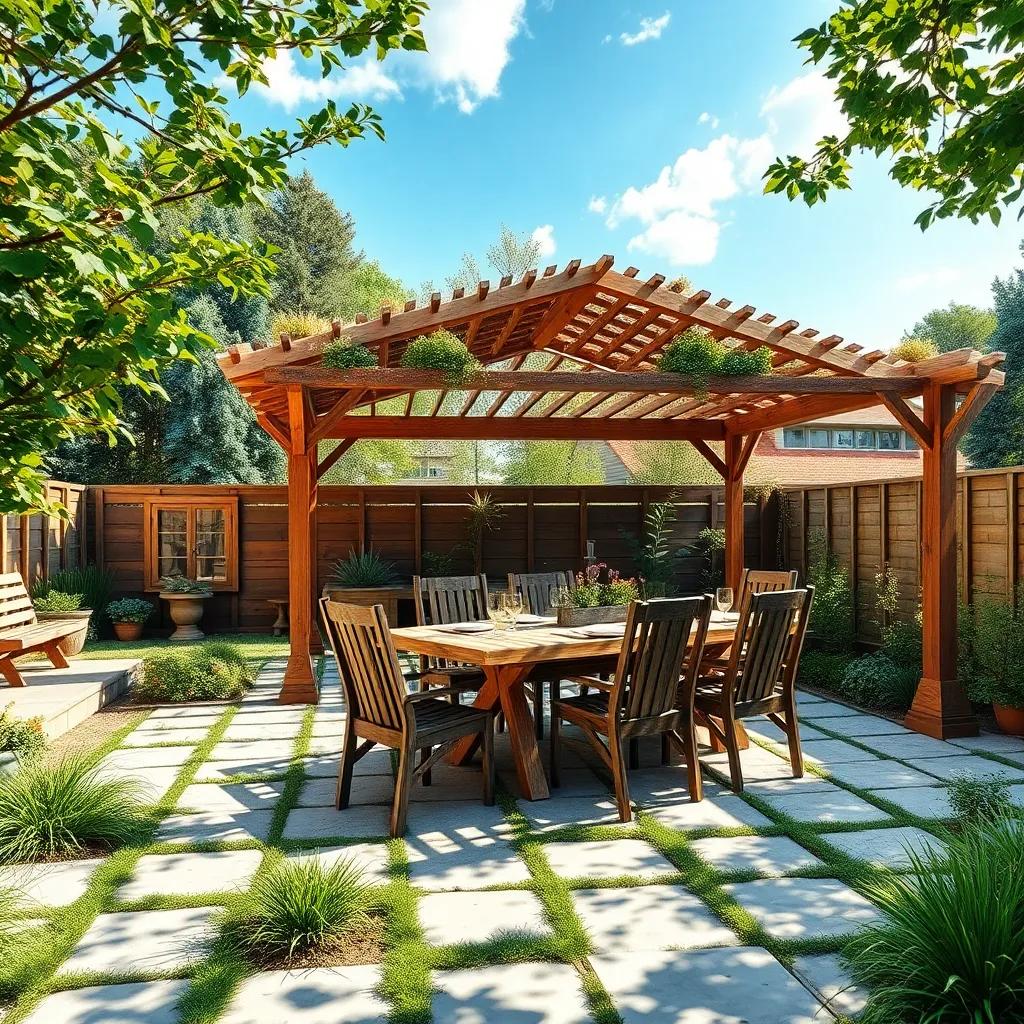
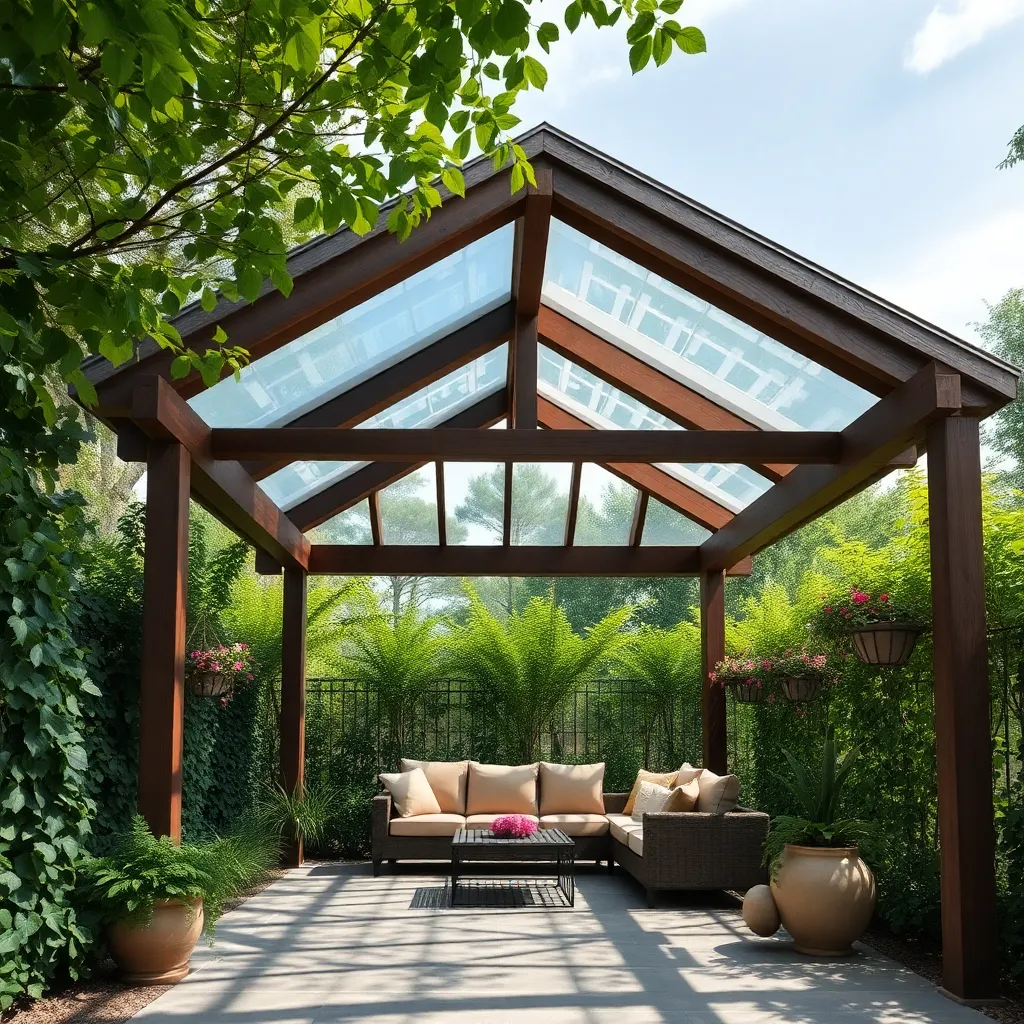
Design for Seasonal Weather Variability
Designing outdoor shelters for seasonal weather variability requires thoughtful planning and material choices. Start by selecting materials that can withstand various conditions; for instance, use **pressure-treated wood** or **weather-resistant metals** like aluminum for durability. Incorporate **adjustable elements** such as retractable awnings or roll-up panels, which allow you to adapt your shelter to sudden changes in weather. For added protection, consider installing **UV-resistant roofing** to guard against sun damage while providing rain cover.
Integrating **modular design elements** can enhance the versatility of your shelter. Beginners might start with a simple pergola setup, while more advanced DIYers might consider a **louvered roof system** that can be adjusted for light and airflow control. Ensure your shelter has a **sloped roof** for efficient water runoff, ideally with a pitch of at least 15 degrees. Additionally, using **insulating materials** like insulated panels can help maintain a comfortable temperature, making your outdoor space usable year-round. By incorporating these design elements, homeowners can enjoy a functional and resilient outdoor shelter that adapts to all seasons.
Optimize Ventilation for Comfort
To optimize ventilation in your outdoor shelter, consider incorporating adjustable louvers or slatted panels into the design. These features allow you to control airflow according to the weather, ensuring comfort in various conditions. For beginners, a simple pergola with spaced beams can provide natural ventilation, while more experienced DIYers might explore motorized louver systems for enhanced control. Materials like cedar or metal are durable options that also add an aesthetic appeal.
Positioning your shelter to take advantage of prevailing breezes is another effective strategy. Place openings on opposite sides to create a cross-ventilation effect that naturally cools the space. For those looking to maximize comfort, integrate ceiling fans or strategically placed vents to further enhance airflow. This combination of natural and mechanical ventilation techniques ensures a pleasant environment, even on the hottest days, and makes your outdoor space more inviting for gatherings.
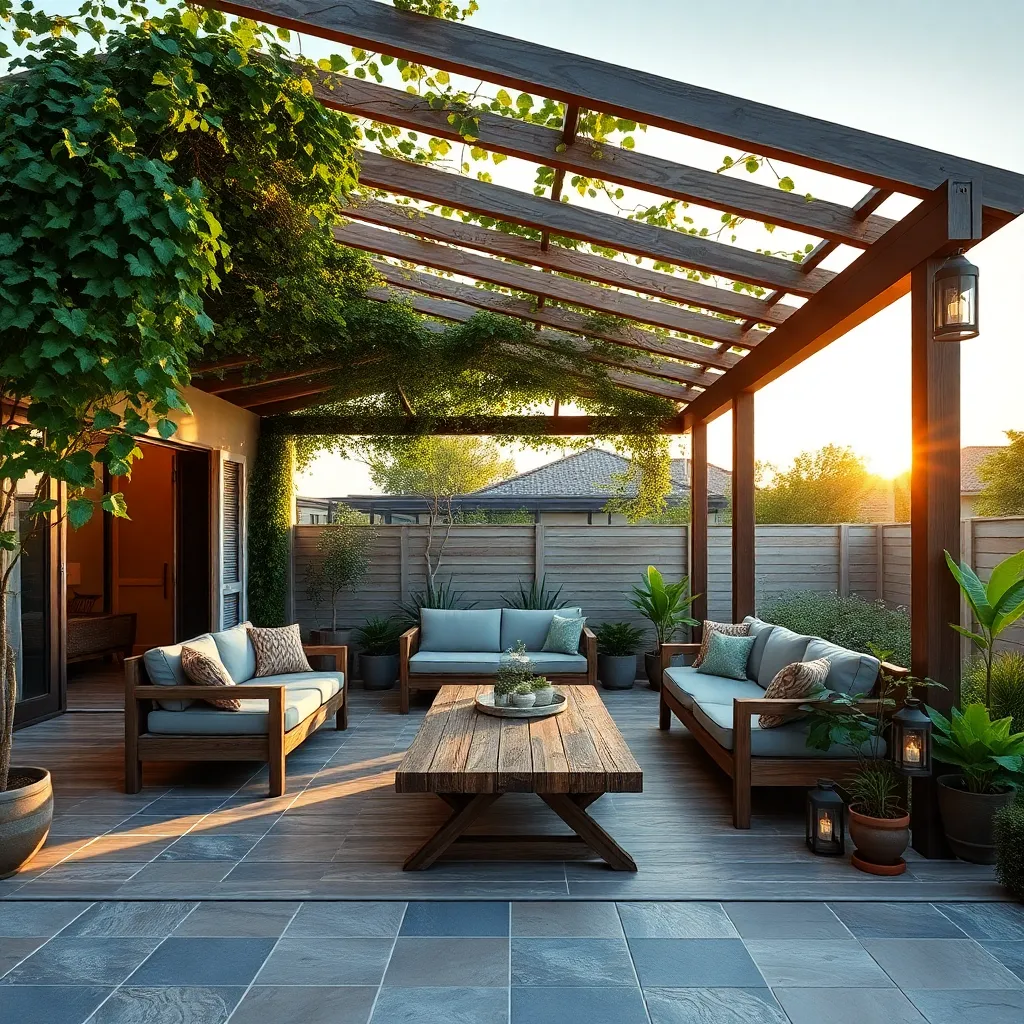
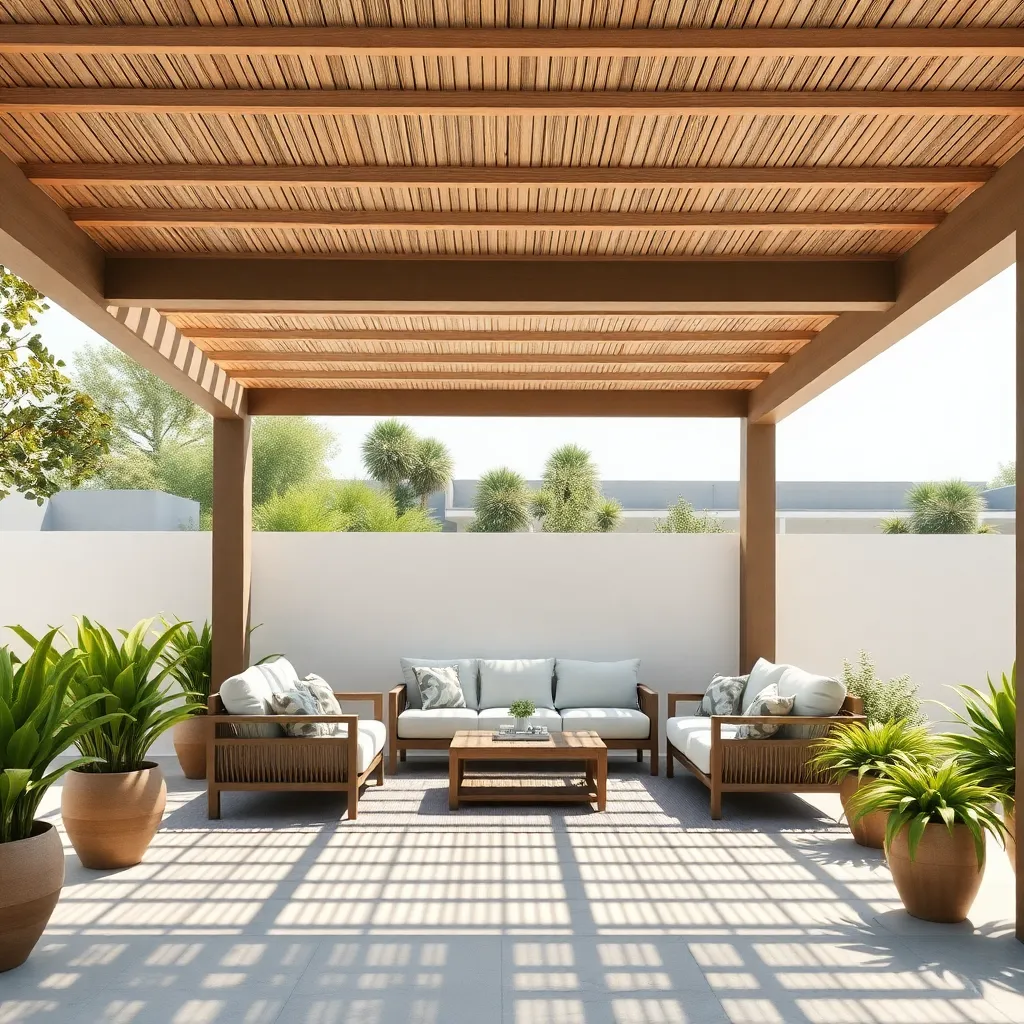
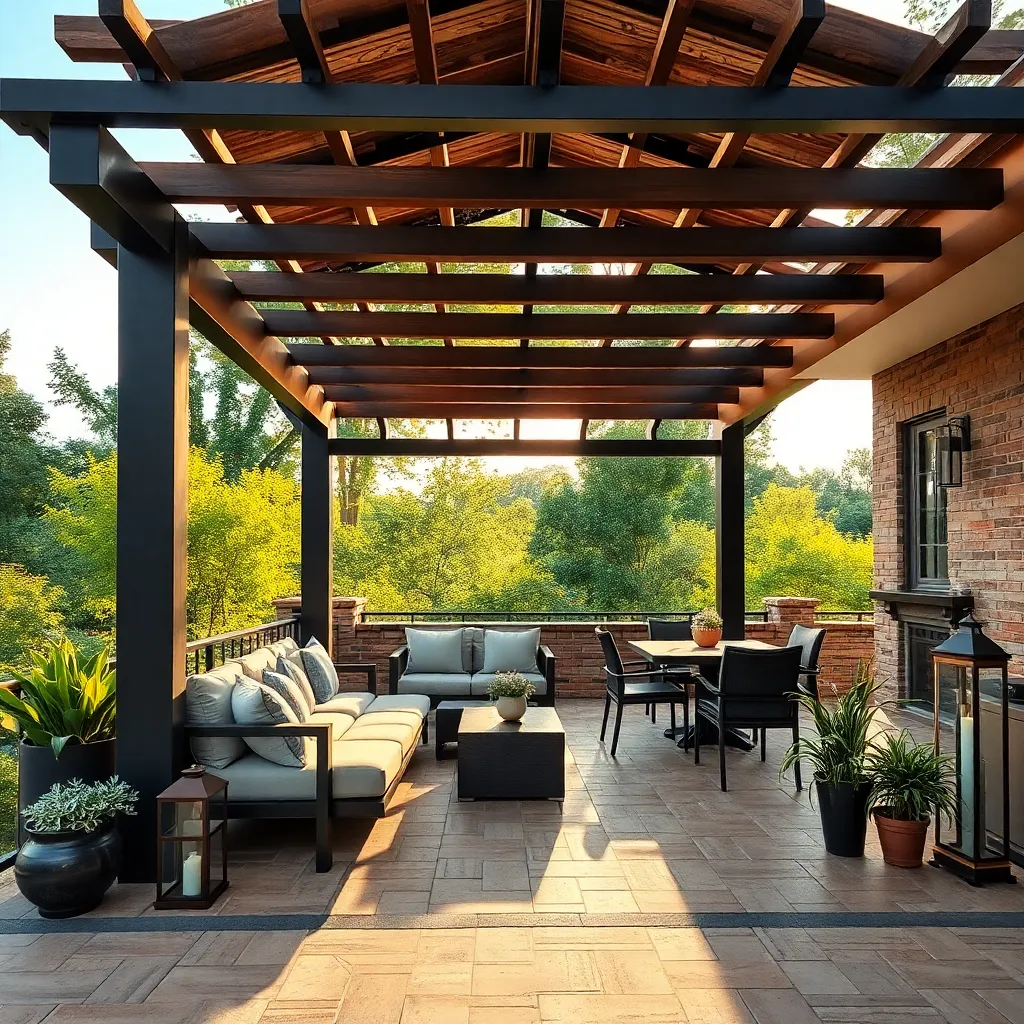
Include Flexible Seating Arrangements
When designing your outdoor shelter, consider incorporating flexible seating arrangements to maximize comfort and usability. Opt for modular furniture that can be easily reconfigured, such as sectional sofas or stackable chairs. These options allow you to adapt your space for various occasions, from intimate family gatherings to larger parties. For materials, choose weather-resistant fabrics and durable frames like teak or powder-coated aluminum that can withstand the elements while maintaining their aesthetic appeal.
For those seeking a more advanced setup, consider installing a built-in seating area with storage underneath. This can be achieved using materials like stone or wood, which blend seamlessly into natural surroundings while offering practical benefits. Adding cushions with removable, washable covers can enhance comfort and longevity. Ensure your seating is part of a cohesive design by coordinating colors and styles with your shelter’s other elements, such as flooring and overhead structures. This thoughtful integration not only enhances functionality but also creates a welcoming, versatile outdoor space.
Enhance Privacy with Green Screens
Transforming your backyard with green screens is an excellent way to enhance privacy while adding natural beauty. Start by selecting fast-growing plants like bamboo or privet hedges, which can quickly form a lush barrier. For a more structured look, consider installing trellises or lattice panels and training climbing plants such as ivy or clematis to create a vertical green wall. Position these screens strategically around your patio or seating area to shield you from prying eyes and wind, ensuring a cozy, private retreat.
To construct a durable green screen, use weather-resistant materials such as cedar or treated wood for the frames and supports. Ensure your plant choices are suitable for your climate to maintain a vibrant, healthy screen year-round. For those with limited space, modular planters with integrated trellises provide a compact solution that can be moved and adjusted as needed. Seasoned gardeners might consider mixing plant varieties to add texture and color, creating a dynamic living wall that evolves with the seasons. By incorporating these elements, you can craft a tranquil oasis that offers both privacy and a touch of nature.
Implement Smart Storage Solutions
Maximizing space in your outdoor shelter is key to maintaining a tidy and functional area. Start by incorporating built-in benches with hidden storage—these provide seating while concealing garden tools, cushions, and other essentials. Consider using weather-resistant materials like cedar or treated wood to ensure durability. For beginners, a simple DIY approach involves constructing a basic box structure with a hinged lid, ensuring it matches the style and color of your existing outdoor decor.
For more advanced projects, install overhead shelving to efficiently utilize vertical space. Metal brackets and pressure-treated wood planks make for sturdy shelving, ideal for storing pots, seasonal decorations, or small equipment. Another clever idea is to use wall-mounted pegboards for organizing smaller tools and accessories. Ensure your storage solutions are tailored to the climate, using waterproof containers or covers if needed, to protect your items from the elements.
Select Durable, Weatherproof Finishes
When selecting finishes for your outdoor shelter, focus on materials that are both durable and weatherproof to ensure longevity. Choose finishes like powder-coated steel or weather-treated wood, which can withstand varying climate conditions without frequent maintenance. For a more modern touch, consider composite materials that combine durability with aesthetic appeal. These options are not only resilient but also offer a range of colors and textures to suit any design preference.
To enhance the lifespan of your outdoor shelter, apply a high-quality sealant to all exposed surfaces, especially if you opt for natural wood. Look for sealants that provide UV protection and water resistance, as these will help prevent fading and warping. For advanced protection, use marine-grade varnish or epoxy coatings on wooden elements. By investing in these finishes, you ensure your shelter remains a beautiful and functional space throughout the seasons.
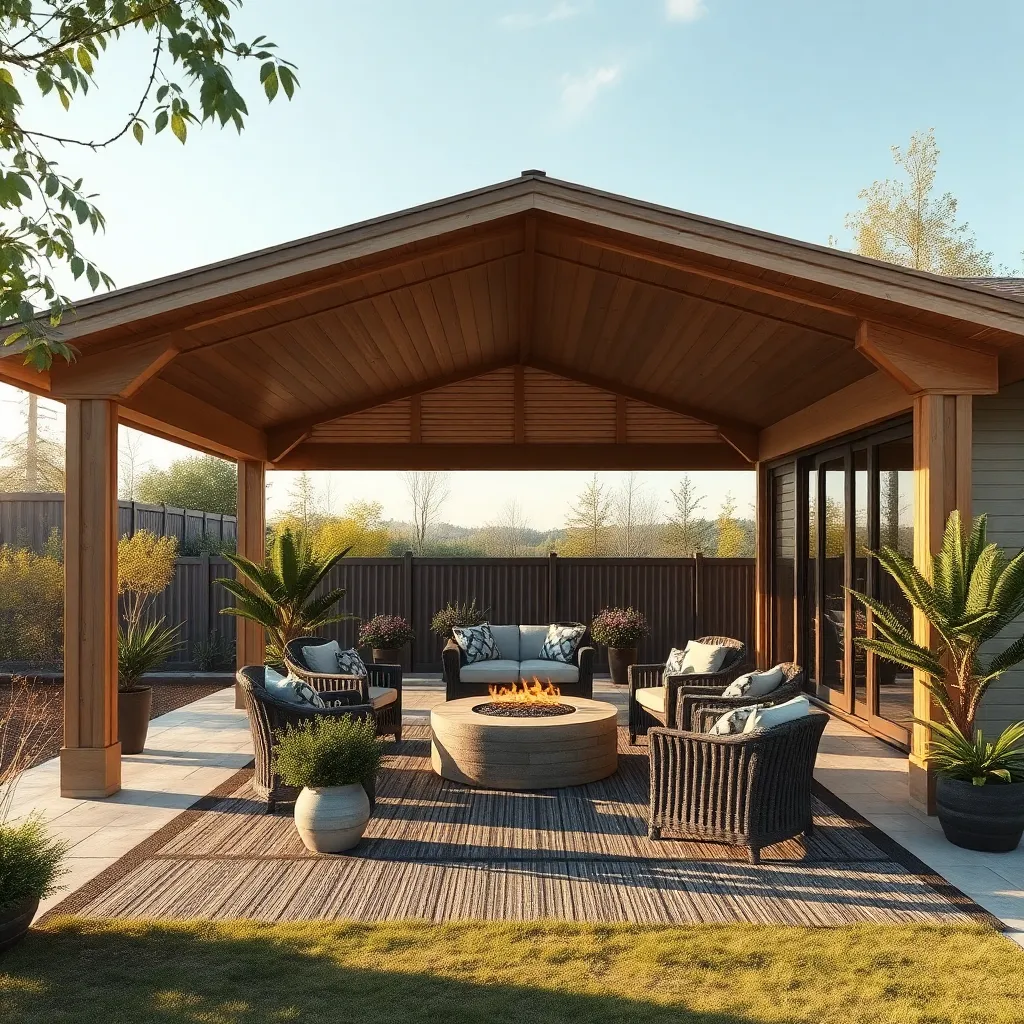
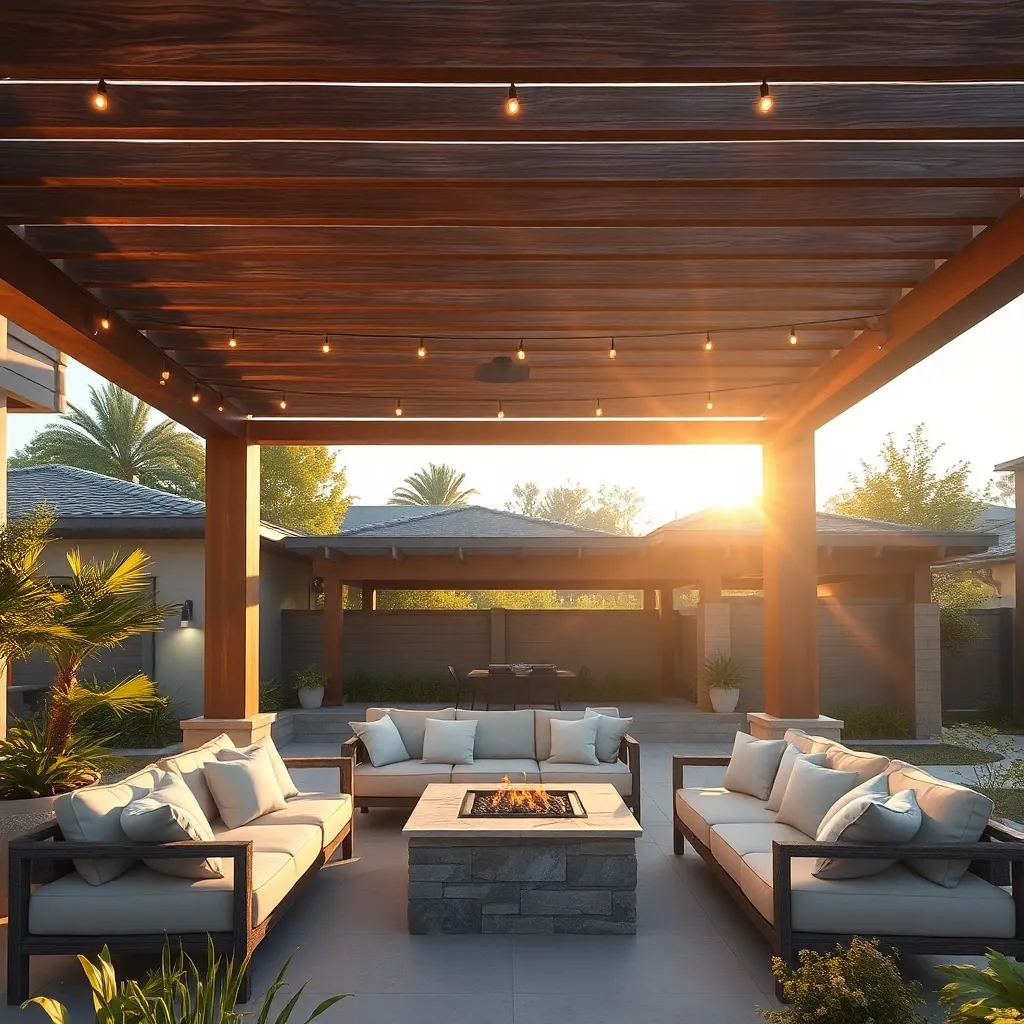
Add Warmth with Fire Features
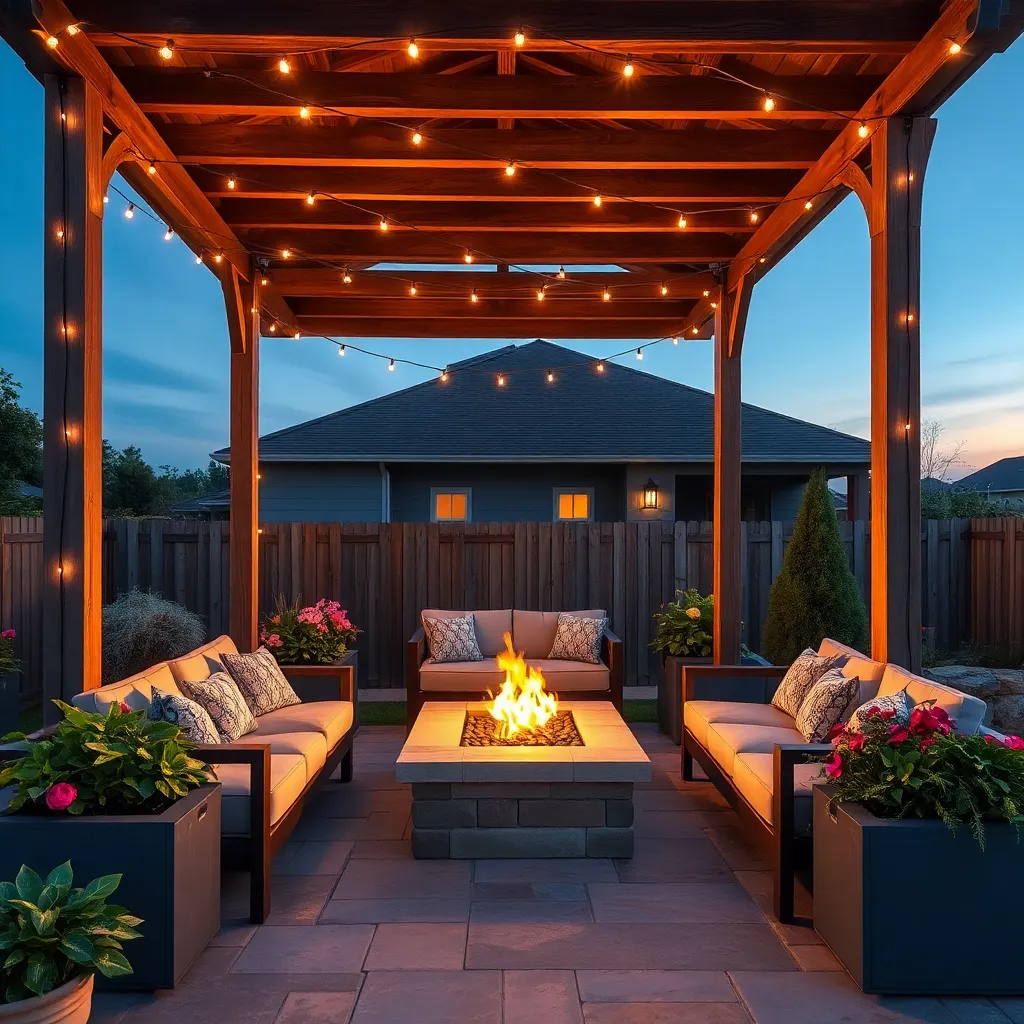
Enhance your outdoor shelter with a fire feature to create a cozy, inviting atmosphere. For a simple yet effective solution, consider a portable fire pit made from durable materials like cast iron or stainless steel. These options offer easy mobility and can withstand different weather conditions. Beginners can start with a basic design that uses wood or charcoal, while more experienced DIYers might install a gas-fueled fire table for a cleaner, low-maintenance alternative.
When selecting a location, ensure your fire feature is placed on a stable, non-flammable surface like concrete or stone tiles. This not only enhances safety but also adds a stylish element to your outdoor space. For a more custom look, build a sunken fire pit surrounded by built-in seating using weather-resistant materials like treated wood or composite decking. Remember to consider local regulations regarding fire safety and distance from structures to ensure a safe and enjoyable experience.
Integrate Solar Lighting Options
Solar lighting is an excellent way to enhance your outdoor shelter while remaining eco-friendly. For a basic setup, consider installing solar path lights along walkways or around the perimeter of your shelter. These are easy to install, requiring no wiring, and can create a welcoming atmosphere. For a more advanced touch, integrate solar string lights or lanterns that charge during the day and illuminate your space in the evening. Look for options that offer adjustable brightness for versatility and ensure they are weather-resistant to withstand the elements.
When integrating solar lighting, think creatively about placement to maximize both function and aesthetics. Mount solar spotlights on the roof or nearby trees to highlight key features like a pergola or gazebo. For a cohesive look, match the style of your lighting fixtures with the design of your shelter. Opt for durable materials like stainless steel or powder-coated aluminum that blend well with natural surroundings. Experiment with different lighting angles to enhance the ambiance and add depth to your outdoor space, making it inviting and functional after dark.
Plan for Water Drainage Efficiency
To ensure your outdoor shelter stands the test of time, it’s crucial to plan for efficient water drainage. Start by evaluating the natural slope of your yard, as this will help determine the best placement and angle for your shelter to naturally divert water away. Consider using permeable materials like gravel or pavers for flooring, which allow water to seep through rather than pooling on the surface. For beginners, a simple gutter system can be installed on sloped roof structures to direct rainwater into a designated drainage area, preventing water from accumulating around the base.
For more advanced projects, integrating a French drain system can significantly enhance water management. This involves digging a trench near the shelter and filling it with gravel and a perforated pipe to redirect water. Ensure the pipe slopes away from the shelter, leading water to a safe drainage area. Additionally, incorporating rain gardens around your shelter can be both functional and visually appealing, as they naturally absorb excess water while adding greenery to your space. These advanced techniques not only protect your structure but also contribute to a sustainable and low-maintenance outdoor area.
Conclusion: Creating Beautiful Outdoor Spaces
In exploring the ’13 Outdoor Shelter Ideas for Your Next Project,’ we’ve delved into innovative concepts that mirror the pillars of a strong relationship: support, adaptability, and creativity. From the rustic charm of pergolas to the intimacy of a secluded garden alcove, each idea underscores the importance of creating spaces that foster connection and resilience. Just as these shelters provide refuge, relationships thrive when nurtured with intention and care.
As your actionable next step, choose one idea that resonates with your relationship’s current needs. Whether it’s crafting a cozy corner for deeper conversations or building a versatile space that adapts to your evolving partnership, commit to bringing this project to life.
Bookmark this article as a trusted resource, a reminder of the creative potential you have in shaping a fulfilling relationship journey. By doing so, you’ll have these insights at hand whenever you seek inspiration or guidance.
Looking ahead, remember that successful relationships are built on the foundation of shared spaces and experiences. With each effort to enhance your connection, you’re investing in a future filled with love and understanding. Take action today, and watch your relationship flourish.