
Imagine transforming your backyard into a haven of comfort and style, resilient against the whims of nature. Whether you’re a beginner dreaming of your first outdoor project or a seasoned homeowner looking to elevate your space, “13 Weatherproof Shelter Ideas for Your Next Project” is your gateway to creating a stunning, all-season outdoor retreat. Each idea is designed to inspire and empower you, ensuring your journey is as enjoyable as the destination.
In this guide, we’ll explore a diverse array of shelters that blend functionality with aesthetics, enhancing your outdoor living experience, rain or shine. Discover the practical benefits of these shelters—from increased property value to year-round enjoyment—while embracing the joy of a beautifully crafted space. With these ideas at your fingertips, you’ll feel confident and excited to embark on a project that transforms your outdoor area into your personal paradise.
Choose Durable, Weather-Resistant Materials
When selecting materials for your outdoor shelter, prioritize durability and weather resistance to ensure longevity and minimal maintenance. Consider using pressure-treated wood, cedar, or redwood for wooden structures, as these materials naturally resist decay and insects. For a more modern look, metals like aluminum and galvanized steel offer excellent durability and rust resistance, making them ideal for rainy or coastal environments.
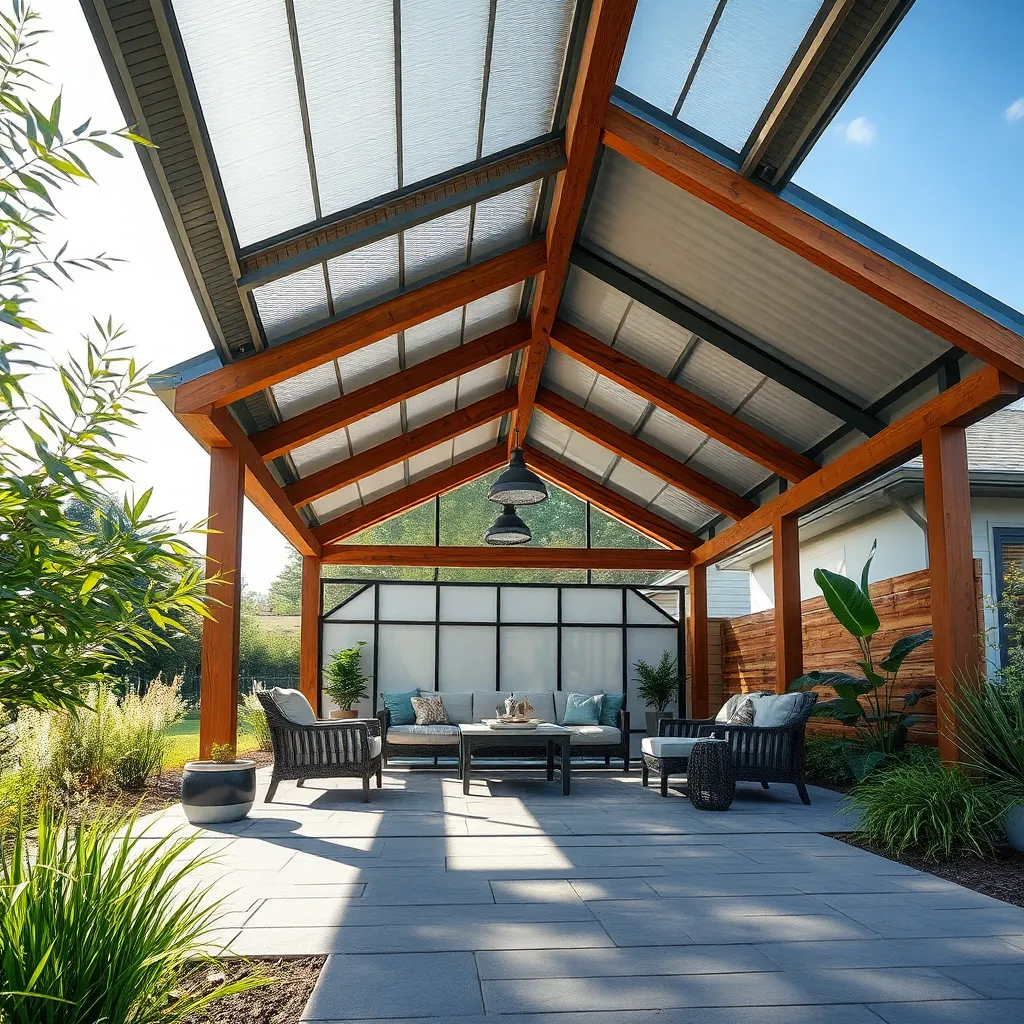
Incorporating construction techniques that enhance weather resistance is equally important. Opt for a sloped roof design to facilitate water runoff and prevent pooling, which can lead to damage over time. Additionally, using UV-resistant polycarbonate panels or heavy-duty outdoor fabrics can provide protection against the sun while maintaining aesthetic appeal. These advanced tips, combined with basic materials knowledge, will help you create a shelter that stands the test of time and weather.
Incorporate Natural Ventilation Techniques
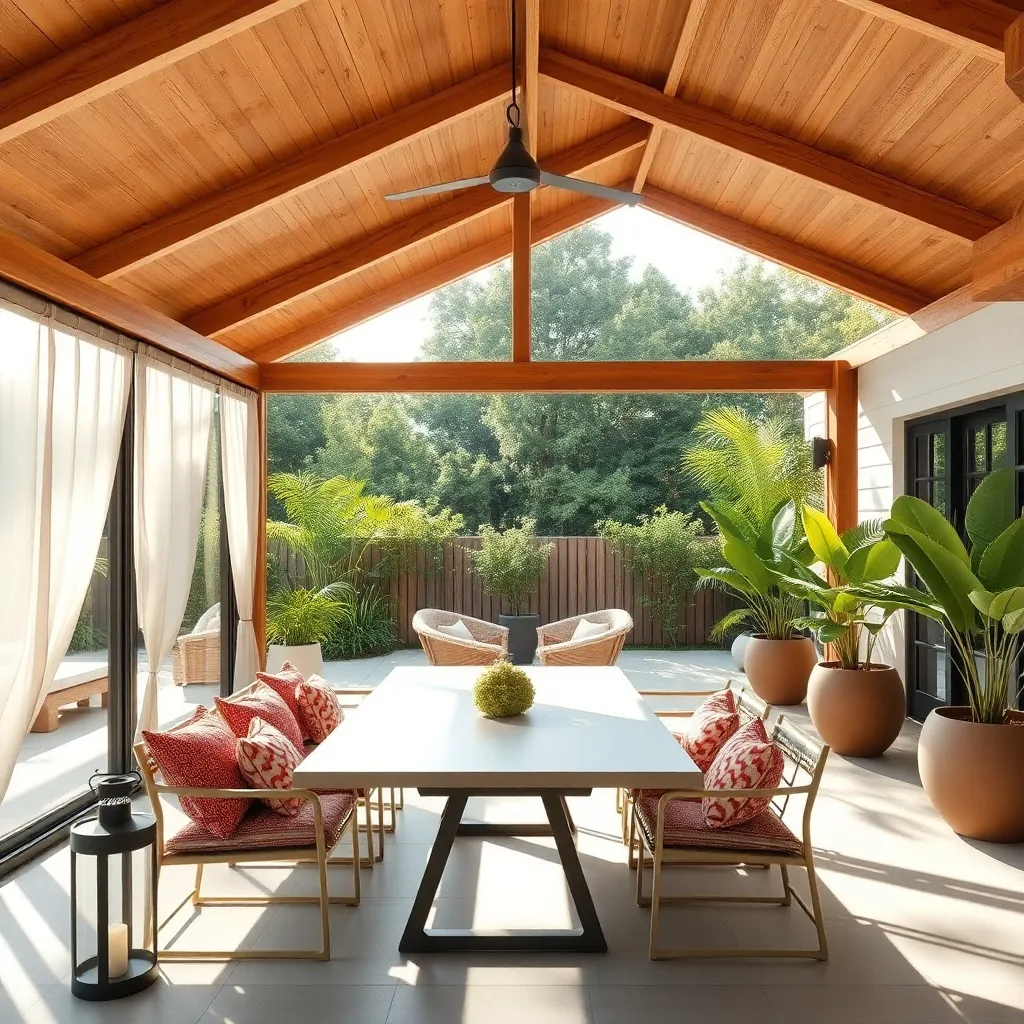
Incorporating natural ventilation techniques into your outdoor shelter design can significantly enhance comfort and air quality. Begin by strategically placing openings like windows or vents on opposite sides of the shelter to facilitate cross-ventilation. This allows fresh air to flow continuously, helping to regulate temperature and reduce humidity. For a more advanced approach, consider installing adjustable louvers to control airflow direction and intensity, adapting to changing weather conditions with ease.
Materials matter just as much as design in promoting effective ventilation. Opt for breathable materials like perforated metal or lattice panels, which allow air to circulate freely while providing shade and protection. When planning the construction, ensure that your shelter has a slightly elevated roof or gaps between the roof and walls to encourage hot air to escape naturally. This simple yet effective technique keeps the interior cool and comfortable even on the hottest days. By implementing these strategies, you can create a shelter that not only withstands the elements but also offers a refreshing outdoor retreat.
Design Sloped Roofs for Rainfall

Designing sloped roofs for rainfall is essential to ensure effective water runoff and prevent leaks. A slope of at least 5 to 12 degrees is recommended to guide rainwater efficiently away from the shelter. For beginners, using materials like corrugated metal or asphalt shingles can provide durability and simplicity in installation. These materials are not only cost-effective but also widely available and easy to work with, making them ideal for DIY projects.
Experienced builders might consider integrating gutter systems and rain chains to enhance water management. When constructing the roof, pay attention to the orientation—aligning the slope with prevailing winds can further improve water runoff. Opt for durable materials like standing seam metal roofing for a long-lasting, weatherproof solution. Additionally, consider incorporating roof overhangs to protect the sides from rain splashback, keeping your shelter dry and secure even during heavy downpours.
Utilize UV-Protective Fabric Covers
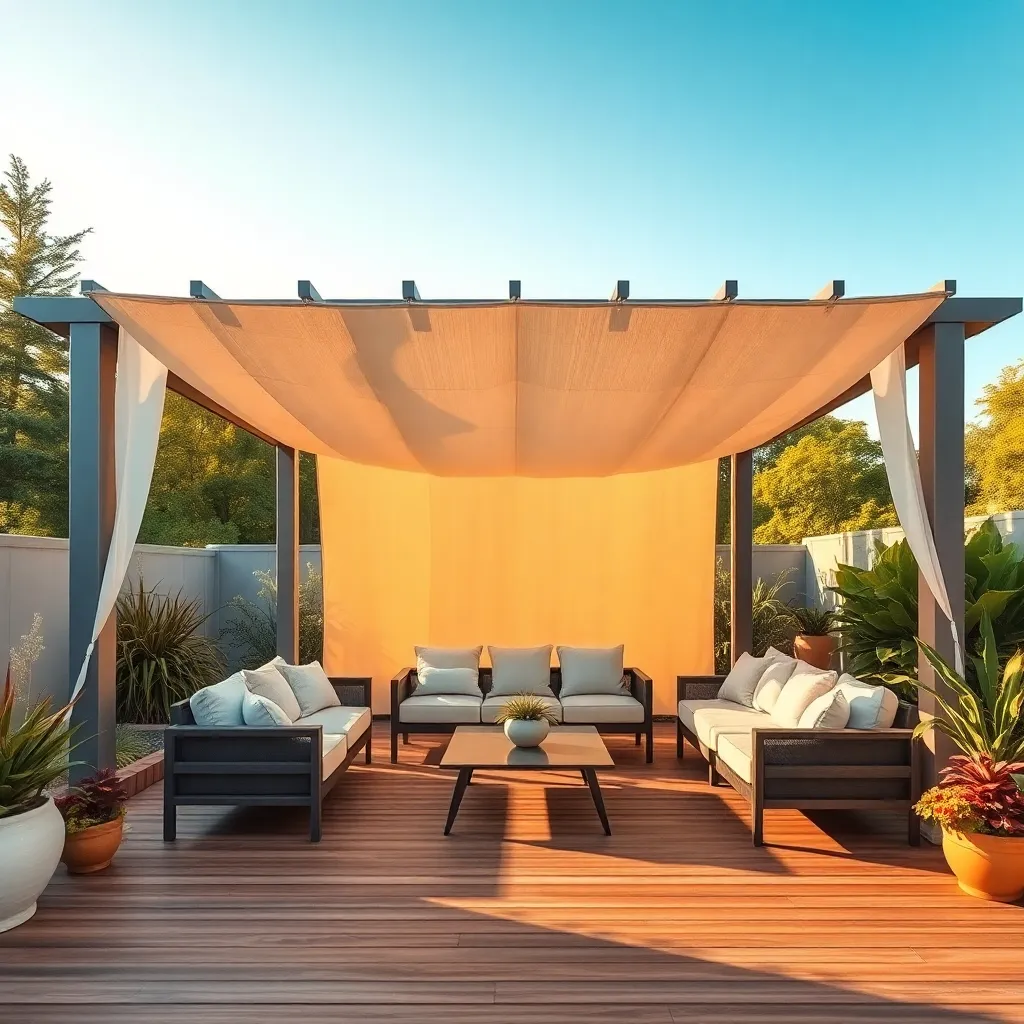
Incorporating UV-protective fabric covers into your outdoor shelter design can enhance both functionality and longevity. These covers, often made from materials like acrylic-coated polyester or PVC-coated mesh, shield your space from harmful UV rays and reduce heat. For beginners, consider starting with a simple, retractable or fixed canopy over patios or decks, which can be easily installed using basic tools and brackets. More advanced designers might explore custom shade sails, which offer tailored coverage through strategic anchor points and can be adjusted to fit various angles for optimal sun protection.
When selecting UV-protective covers, choose fabrics with a high UV protection factor (UPF)—at least UPF 50 is recommended for effective sun blocking. Ensure your chosen material is also weather-resistant to withstand rain and wind, safeguarding against mold and wear. For added durability, reinforce edges with heavy-duty stitching and consider using stainless steel hardware to prevent rust. By following these guidelines, you create a shelter that not only protects against the elements but also enhances your outdoor space aesthetically and practically.
Install Sturdy Anchors for Stability

For a weatherproof shelter that stands resilient against the elements, it’s essential to install sturdy anchors for stability. Begin by selecting the right anchor type for your terrain; for instance, spiral ground anchors are excellent for soft soils, while concrete anchors work best on rocky or paved surfaces. Drive the anchors deep into the ground, ensuring they are at least 12 inches deep for optimal hold. This basic setup provides a strong foundation to withstand wind and rain.
Advanced builders can enhance stability by using heavy-duty steel anchors with cross-bracing techniques. Consider using galvanized steel to prevent rust and corrosion, which is crucial for long-term durability. For added security, connect the anchors with tensioned cables or rods that increase resistance to lateral forces. This approach is particularly effective in areas prone to high winds or heavy snow loads, ensuring your shelter remains safe and secure in any weather condition.
Add Water-Repellent Coatings
One effective way to weatherproof your outdoor shelter is to apply water-repellent coatings to its surfaces. These coatings can be applied to various materials such as wood, fabric, or metal, providing an added layer of protection against moisture and prolonging the life of the structure. For wood, consider using a high-quality, oil-based sealant that penetrates deeply to fend off water damage. Fabrics like those used in canopies can benefit from a silicon-based spray that forms a protective barrier while maintaining breathability.
For those looking to enhance durability, advanced coatings like epoxy or polyurethane offer additional benefits such as UV protection and abrasion resistance. Ensure you select a product compatible with your shelter’s materials and follow the manufacturer’s instructions for the best results. Beginners can start with straightforward water-repellent sprays, while experienced DIYers might opt for brush-on applications for a more thorough coverage. Regular maintenance, such as reapplying coatings annually, will keep your shelter in top condition, ready to withstand any weather challenge.
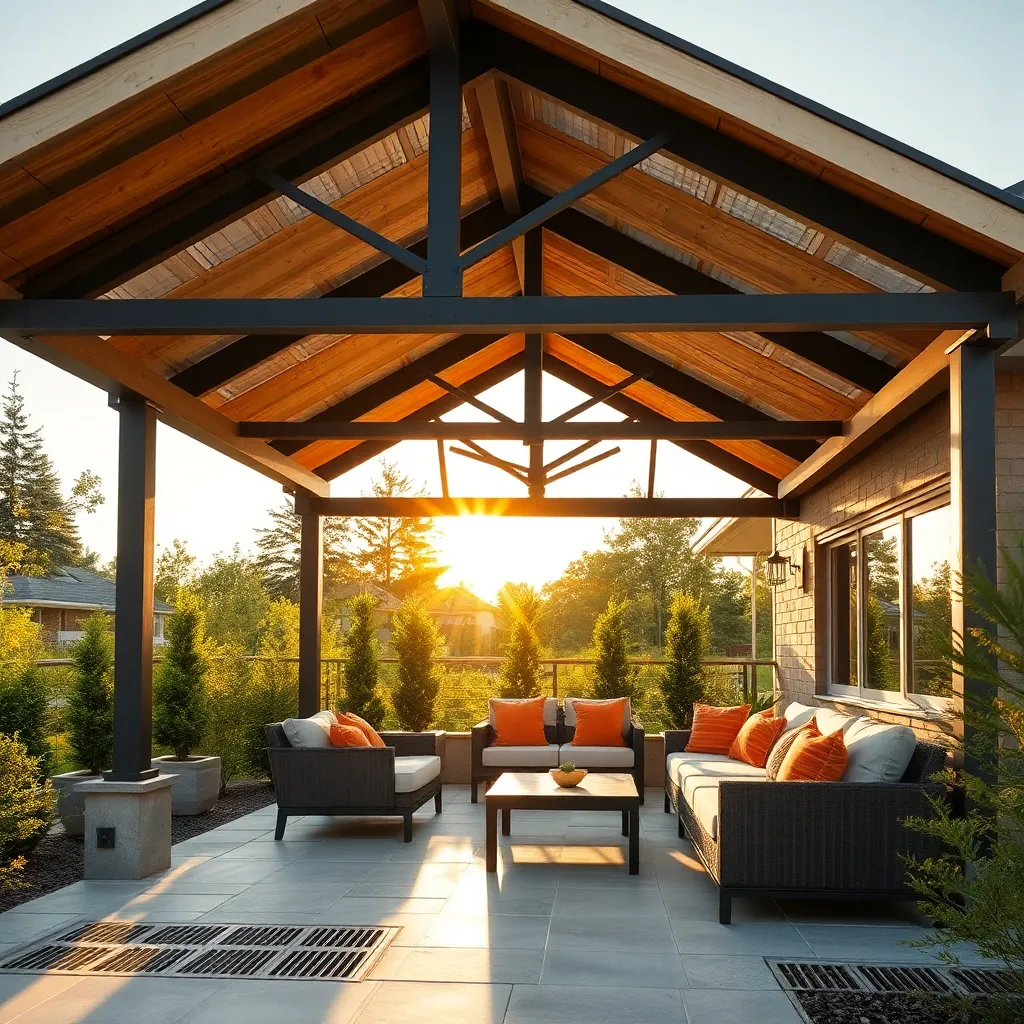
Select Wind-Resistant Structural Designs
When selecting wind-resistant structural designs for your outdoor shelter, it’s essential to focus on both materials and construction techniques. Opt for sturdy materials like steel or treated wood, which can withstand high winds better than lighter options. Consider using triangular bracing or cross-bracing, a technique that adds stability and reduces sway during gusty conditions. These elements create a solid foundation, ensuring your shelter remains secure even in unpredictable weather.
For those looking to add an extra layer of protection, incorporating deep-set anchor points can significantly enhance wind resistance. These anchor points should be installed at least 18 inches into the ground, ensuring that your structure has a firm grip even in strong winds. Advanced builders may explore aerodynamic designs, which help the wind flow over the structure rather than pushing against it. By incorporating these wind-resistant design features, you can enjoy your outdoor space with peace of mind, knowing it’s built to endure.
Include Insulating Layers for Warmth
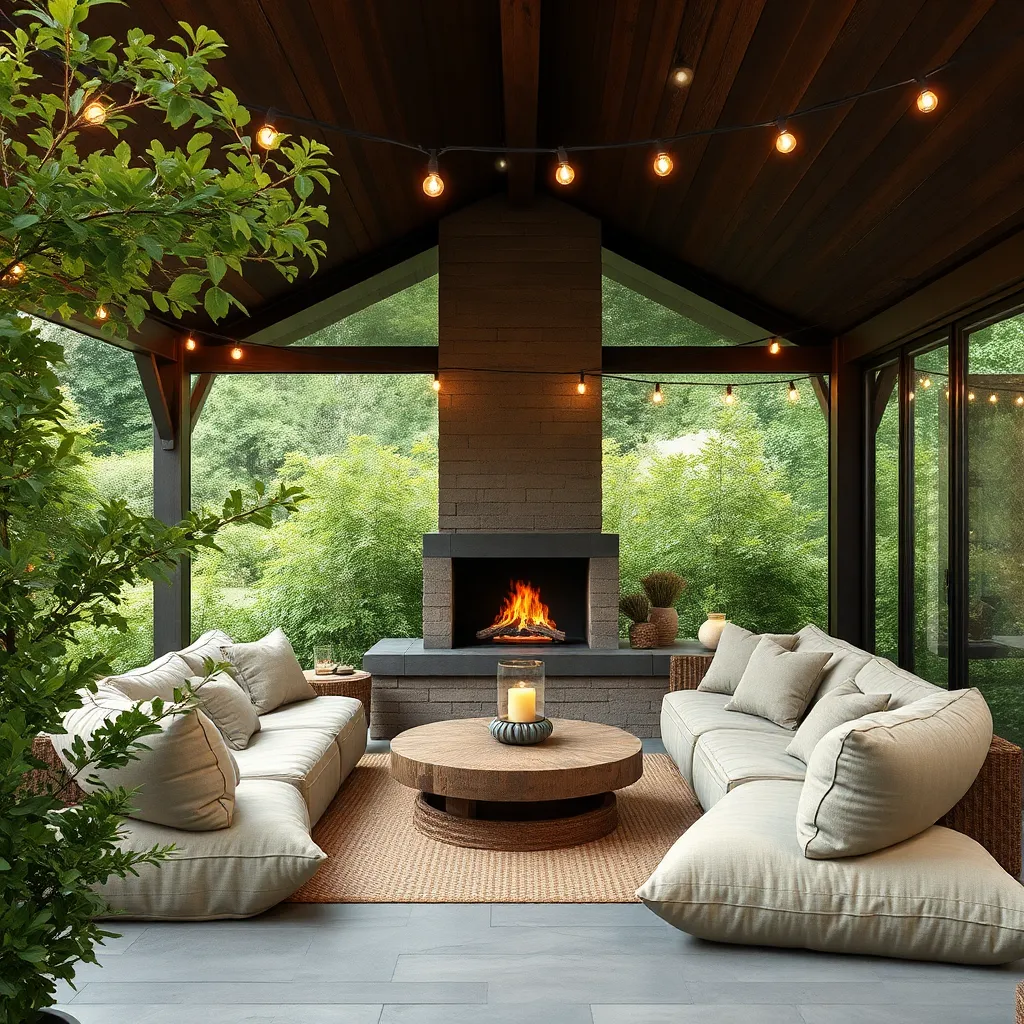
To ensure your outdoor shelter remains cozy even in chilly weather, consider incorporating insulating layers in your design. Start with basic materials like thermal blankets or foam boards, which are easy to install between wall panels. For those seeking advanced options, explore using double-layered roofing with insulating material sandwiched in between. This approach not only retains heat but also keeps your shelter structurally sound throughout the seasons.
Another effective strategy is to use natural materials to enhance insulation. Consider lining the interior with thick fabrics or heavy-duty curtains that can be drawn when temperatures drop. Additionally, strategically placed windbreaks, like tall hedges or wooden trellises, can help reduce heat loss by minimizing direct wind exposure. Experiment with these techniques to create a warm and inviting outdoor retreat that you can enjoy year-round.
Integrate Drainage Systems Strategically
To effectively weatherproof your outdoor shelter, integrating a strategic drainage system is essential. Start by assessing the natural slope of your property to determine how water flows during rainstorms. Incorporate gravel or crushed stone beneath the shelter floor to allow water to percolate and prevent pooling. For more advanced setups, consider installing French drains along the perimeter. These drains use perforated pipes and gravel to redirect water away from your structure, ensuring that your shelter remains dry and stable.
For those looking to add a professional touch, consider using rain chains or gutters to channel water away from the shelter roof effectively. When installing gutters, opt for durable materials like aluminum or galvanized steel that can withstand various weather conditions. Ensure the downspouts lead water to a safe drainage point, such as a rain garden or a stormwater management system. These techniques not only protect your shelter from water damage but also enhance its overall functionality and longevity.
Opt for Modular Shelter Components

Consider using modular shelter components to maximize efficiency and flexibility in your outdoor projects. These components are designed to be easily assembled and disassembled, making them perfect for homeowners who may want to reconfigure their spaces over time. Opt for materials such as aluminum and high-quality plastics, which are both lightweight and durable, offering excellent resistance to weather conditions. For beginners, start with a basic setup of a few panels and expand as you grow more comfortable. Advanced users can explore integrating additional features like solar panels or retractable awnings for a truly customized experience.
Opting for modular designs allows you to tailor your shelter to specific needs and available space. Measure your area carefully to choose components that fit well and provide adequate coverage. Consider modular units featuring interlocking systems that simplify the construction process and ensure a stable structure. For those with more experience, experiment with different configurations to optimize for sun exposure or wind direction. By selecting modular components, you can enjoy a dynamic and adaptable outdoor shelter that evolves with your lifestyle.
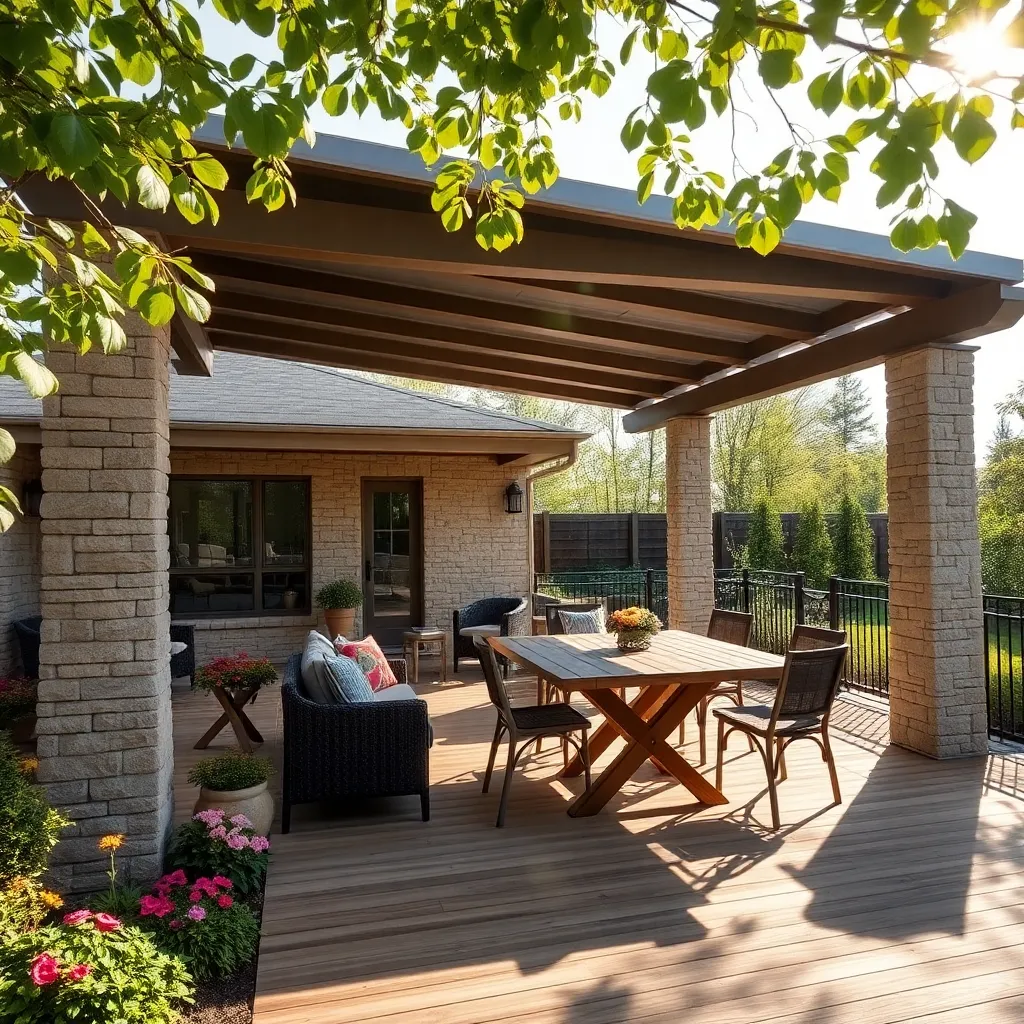
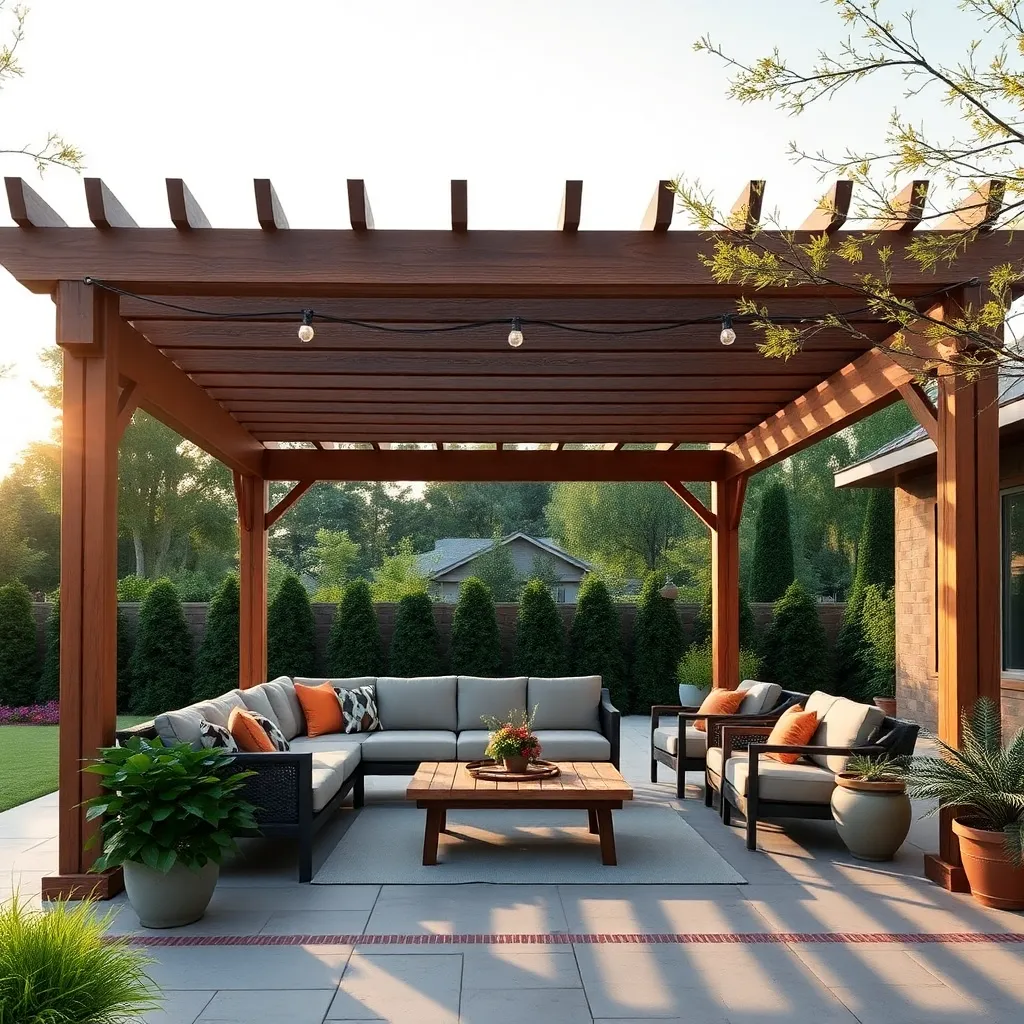
Employ Overhangs for Sun Protection
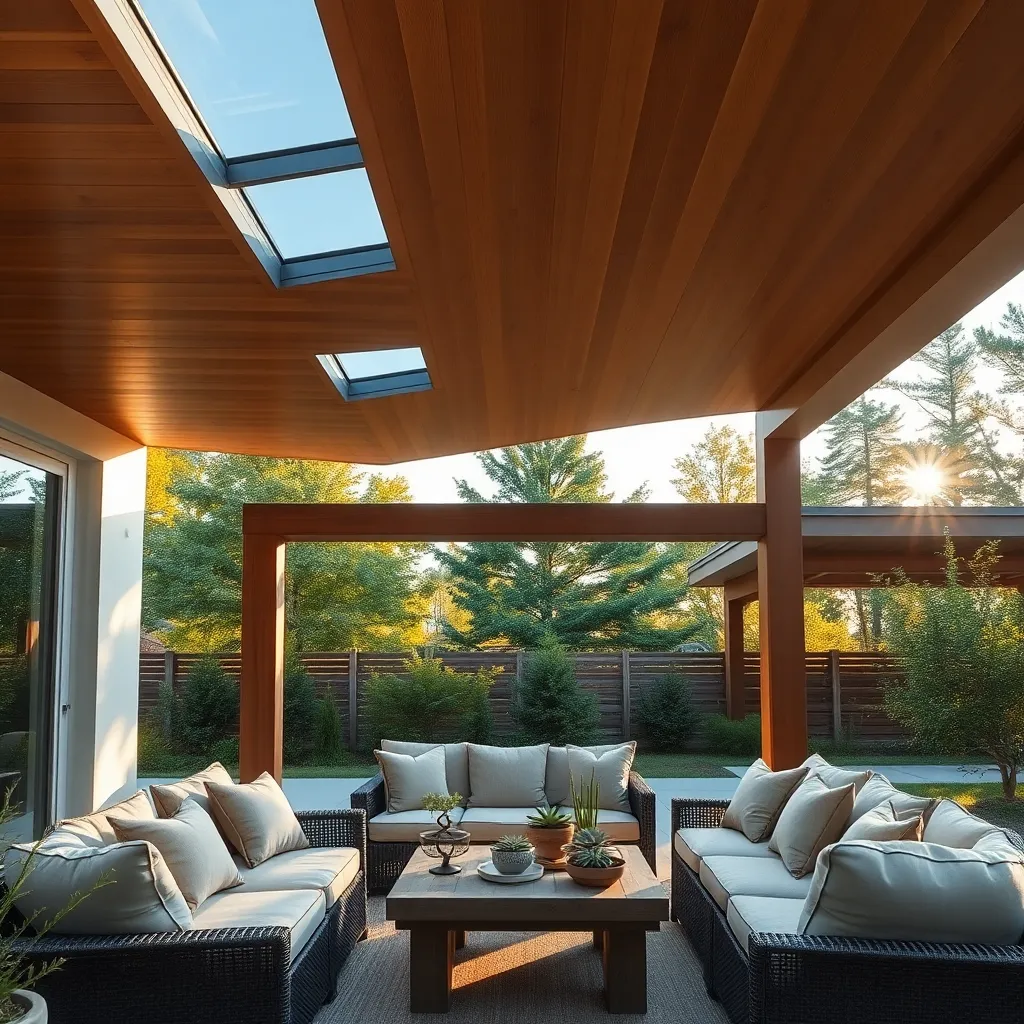
Overhangs are a practical and stylish way to provide sun protection for your outdoor spaces. They not only shield from harsh sunlight but also help maintain comfortable temperatures in adjacent indoor areas. When designing an overhang, consider using durable materials like treated wood, aluminum, or steel that can withstand various weather conditions. A typical overhang should extend at least 2-3 feet beyond the edge of your outdoor area to ensure adequate shade while still allowing light to filter through.
For those seeking more advanced solutions, incorporating adjustable louvers or retractable awnings can offer flexibility in controlling sunlight exposure. This allows you to adapt your outdoor area to different times of the day or seasons. Consider integrating UV-resistant fabrics or materials that not only offer additional sun protection but also enhance the longevity of your structure. Whether you’re a beginner or an experienced DIY enthusiast, overhangs can be a versatile addition to your outdoor space, blending functionality with aesthetic appeal.
Use Reinforced Frames for Durability
When constructing a weatherproof shelter, using reinforced frames is crucial for ensuring long-term durability and stability. Opt for materials like galvanized steel or pressure-treated wood, which are both resistant to harsh weather conditions. Galvanized steel offers excellent rust resistance, while pressure-treated wood is treated to withstand moisture and insect damage. These materials not only provide a sturdy foundation but also require less maintenance over time, making them ideal for both beginners and experienced DIY enthusiasts.
For enhanced stability, consider using cross-bracing techniques to further strengthen your frame. This involves adding diagonal supports between the vertical and horizontal beams, which helps to distribute weight more evenly and prevent twisting in high winds.
- Ensure that your beams are at least 4×4 inches in dimension for adequate support.
- For larger structures, you might need to incorporate additional bracing or thicker beams.
By paying attention to these details, you can build a shelter that not only withstands the elements but also provides a safe and secure space for years to come.
Install Adjustable Shade Mechanisms
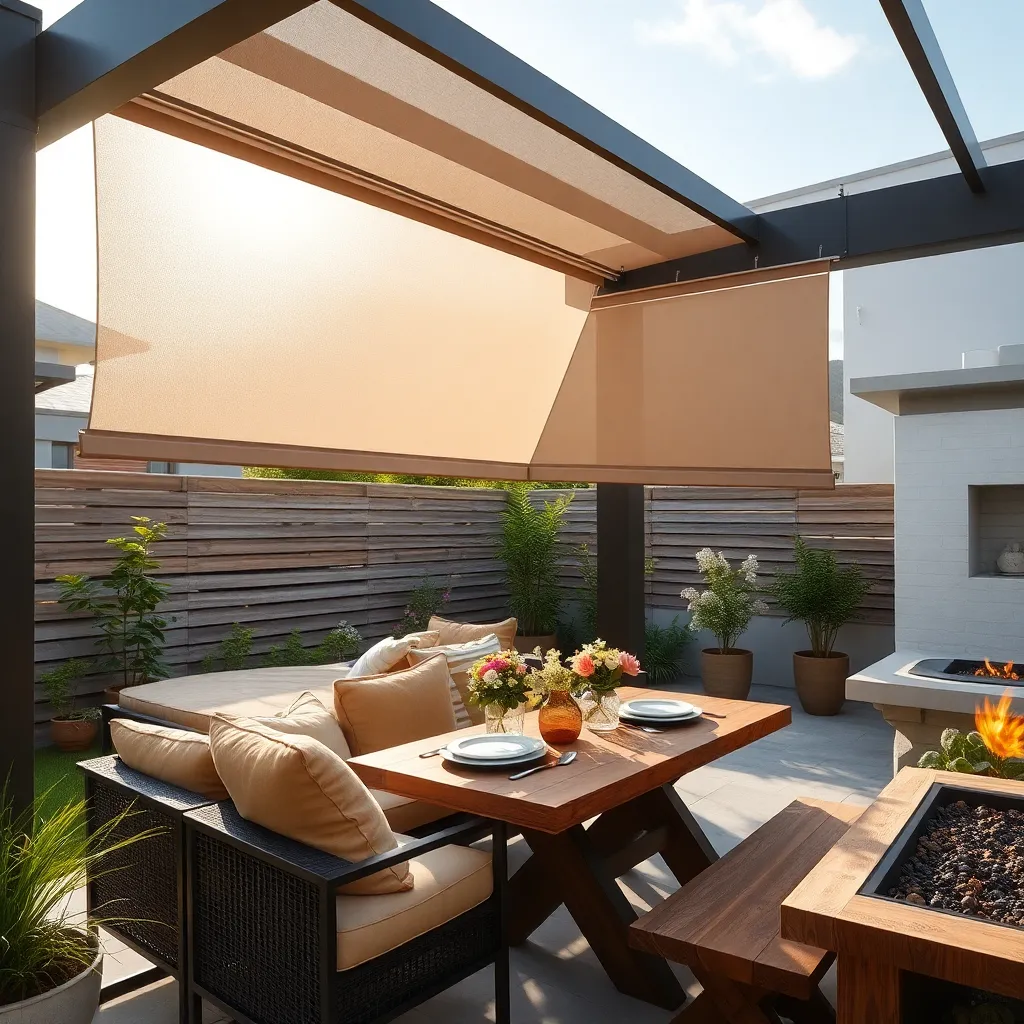
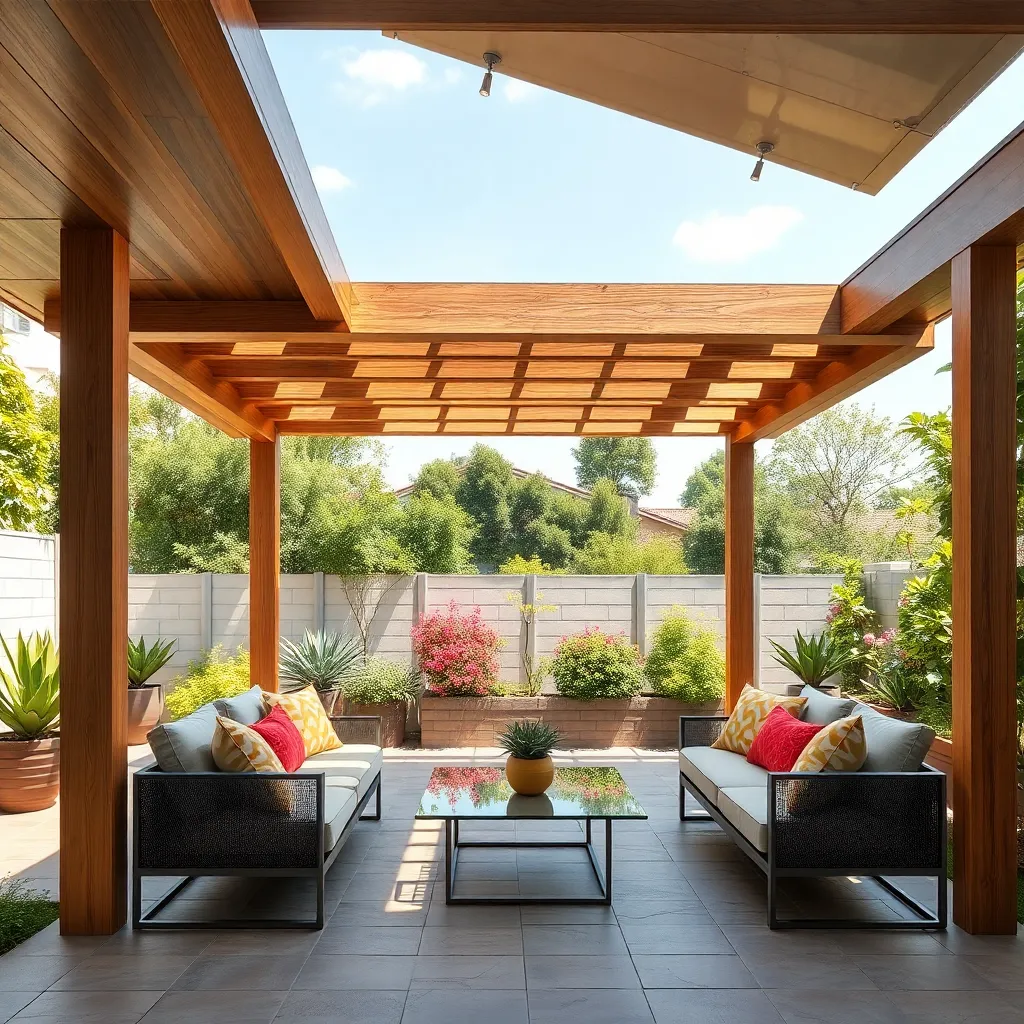
Integrating adjustable shade mechanisms into your outdoor shelter can significantly enhance comfort and usability. Consider installing retractable awnings or pergola canopies made from durable materials like acrylic or polyester, which offer excellent UV protection. For a more advanced option, motorized systems allow you to control the shade with the push of a button, giving you flexibility to adjust for changing weather conditions.
For a more customized approach, opt for adjustable louvered roofs, which can be manually or automatically controlled to regulate sunlight and airflow. Use corrosion-resistant materials such as aluminum or powder-coated steel to ensure longevity. Beginners can start with a simple hand-crank awning, while those seeking a more sophisticated setup might explore solar-powered options that integrate seamlessly with smart home systems.
Conclusion: Creating Beautiful Outdoor Spaces
In ’13 Weatherproof Shelters Ideas for Your Next Project,’ we’ve explored innovative concepts that serve as the foundation for weatherproofing our most cherished relationships. From building strong communication skills to fostering mutual respect, these strategies ensure your relationship withstands life’s storms. We delved into the importance of trust, the art of compromise, and the power of shared goals, while also emphasizing the necessity of maintaining individual identities and nurturing emotional intimacy. Each idea is a vital component in constructing a robust and lasting partnership.
To take immediate action, choose one concept to focus on this week. Perhaps it’s setting aside time for meaningful conversations or planning a shared activity that strengthens your bond. Implementing even a single idea can create a positive ripple effect in your relationship.
Remember to bookmark this article as your go-to guide for relationship resilience. With each visit, you’ll discover new insights that propel your relationship toward greater success. As you continue to invest in these principles, expect a future where your partnership not only survives but thrives, fortified against any challenge. Let this be your blueprint for relationship excellence, empowering you to build a love that endures.