
Imagine stepping into your backyard and finding a cozy retreat that invites you to unwind, regardless of the weather. Outdoor shelters are more than just practical additions; they transform your space into a sanctuary where you can entertain, relax, and connect with nature. Whether you’re a novice just starting to explore outdoor design or a seasoned homeowner looking to enhance your oasis, creating a shelter that fits your budget is entirely achievable.
In this article, we’ll guide you through 14 creative and simple outdoor shelters that cater to every budget, offering both inspiration and practical advice. From charming pergolas to versatile canopies, you’ll discover options that not only shield you from the elements but also elevate your outdoor experience. Together, we’ll explore how to create a welcoming outdoor haven that reflects your style and meets your needs, ensuring that your time spent outside is as comfortable and enjoyable as possible.
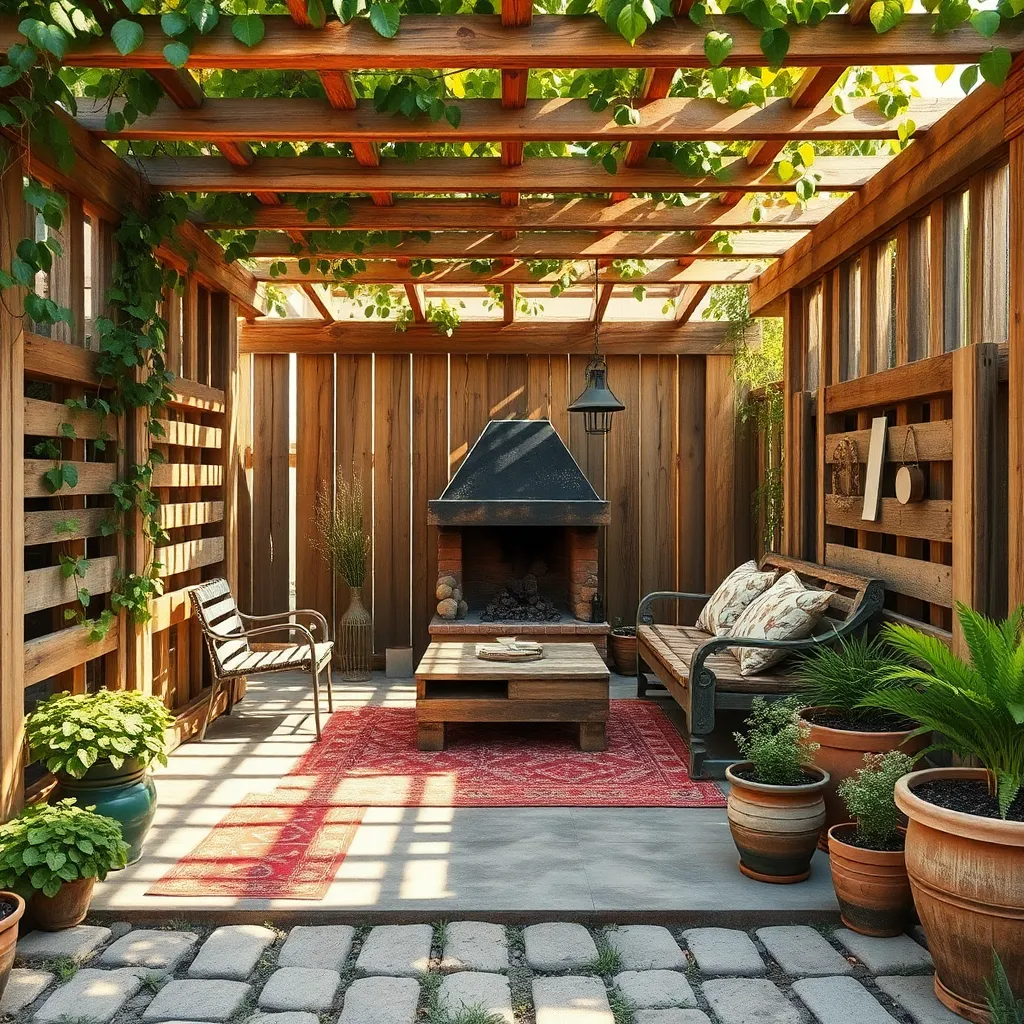
Choosing Budget-Friendly Shelter Designs
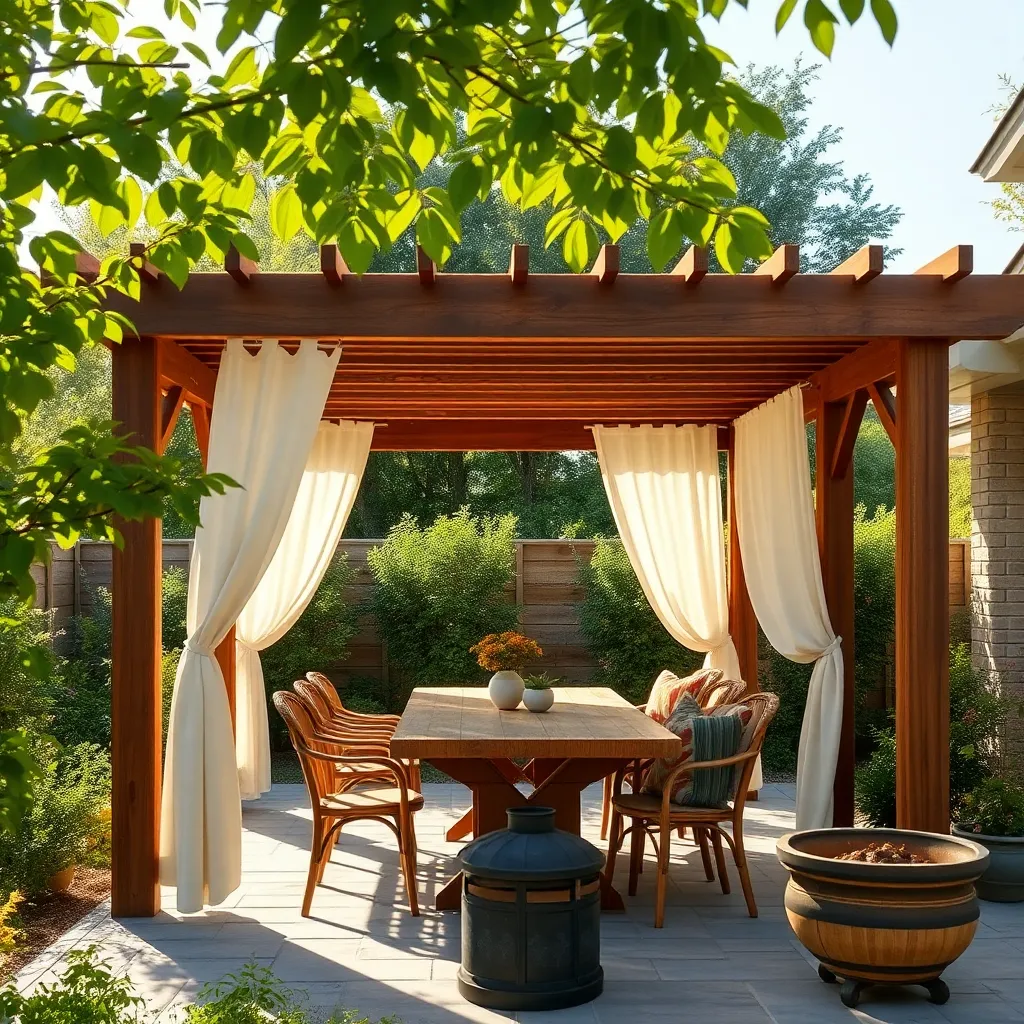
For those on a budget, consider starting with a simple DIY pergola using affordable materials like treated lumber or cedar. This type of shelter offers partial shade and can be customized with climbing plants for added aesthetic appeal. To enhance durability, ensure the beams and posts are securely anchored in concrete footings, and consider a basic lattice top to filter sunlight effectively.
Another cost-effective option is using a tarp canopy supported by sturdy poles, ideal for seasonal protection. Choose a heavy-duty, UV-resistant tarp to extend the lifespan and provide better weather resistance. For added stability in windy conditions, use guy lines and stakes to secure the structure firmly to the ground. Both options allow customization in size and design, making them perfect for any outdoor space while keeping costs low.
Crafting DIY Tarp Shelters
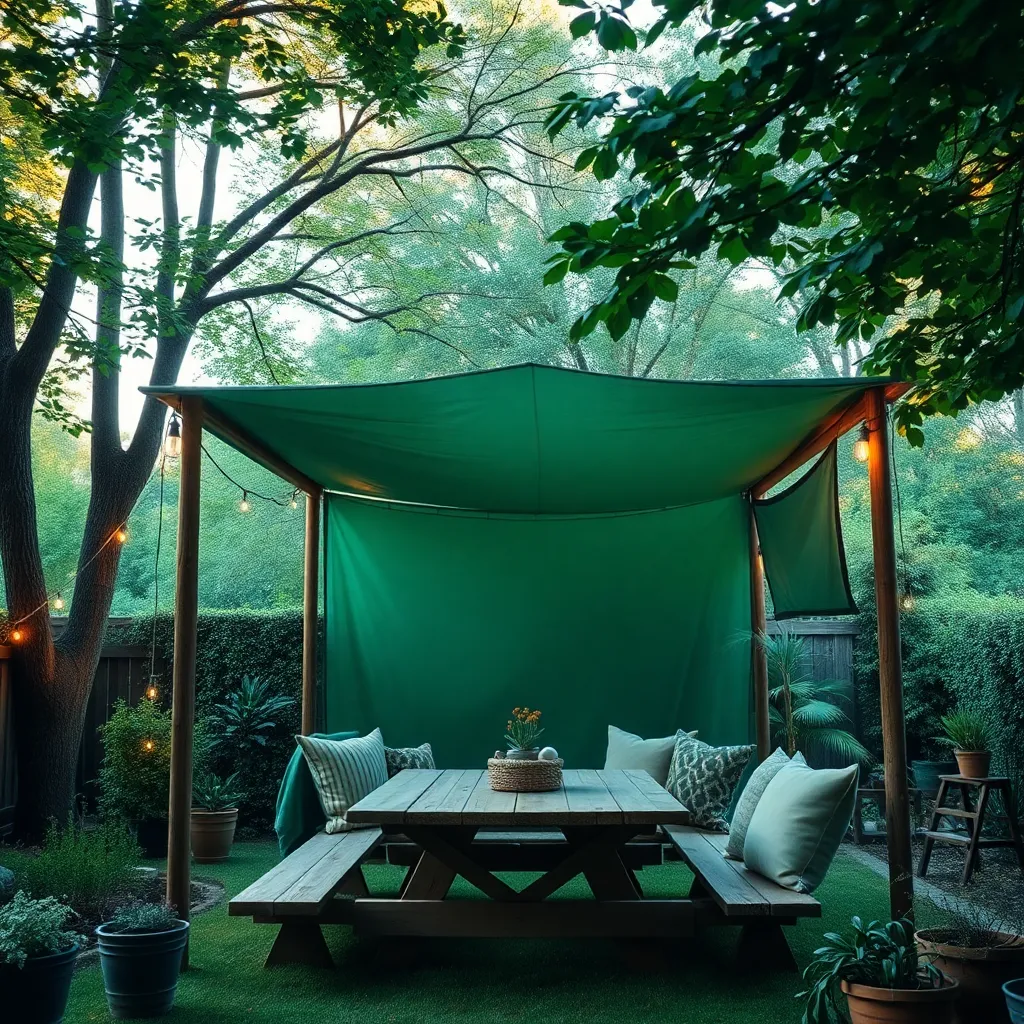
When crafting DIY tarp shelters, start with a sturdy tarp, ideally made from polyethylene or canvas for durability. Choose a size that suits your needs, typically a 10×12-foot tarp for a basic shelter. Secure it with strong nylon or polyester rope, ensuring you have enough length to tie it off securely. For beginners, a simple lean-to design is effective: attach one side of the tarp to a fixed point like a tree or pole, and use stakes to secure the opposite side to the ground, creating a sloped roof that channels rain away from the living area.
For those looking to enhance their shelter’s stability and comfort, consider incorporating additional support poles and using bungee cords for flexibility in windy conditions. Advanced builders can experiment with an A-frame design, which involves running a ridge line between two anchor points and draping the tarp over it for increased headroom and airflow. Remember to choose a slightly elevated site with good drainage to avoid pooling water. Reinforce your setup with extra grommets or clips to prevent wear, ensuring your shelter stands up to the elements.
Affordable Pop-Up Tent Solutions
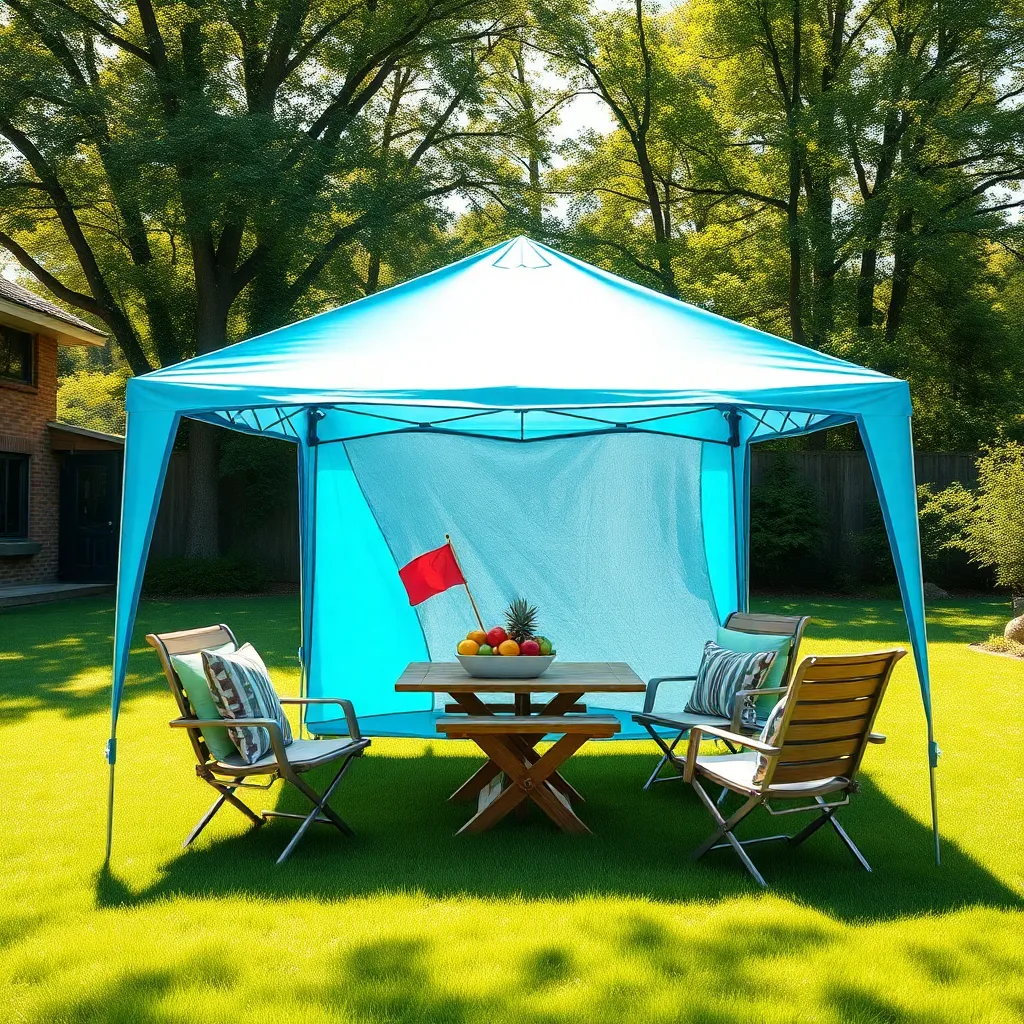
Pop-up tents offer an affordable and versatile solution for creating instant outdoor shelters in your garden or backyard. These tents are designed for quick assembly, often taking just a few minutes to set up, making them perfect for spontaneous gatherings or temporary shade. For beginners, look for tents with easy-to-use features like push-button sliders and pre-attached poles, which simplify the setup process. Ensure you choose a tent with durable materials such as polyester or polyethylene fabric and a frame made from rust-resistant steel or aluminum to withstand various weather conditions.
For those seeking more advanced options, consider pop-up tents that offer additional features like removable sidewalls, adjustable heights, and UV protection. These elements enhance comfort and flexibility, allowing the tent to adapt to different events and environments. To maximize stability, especially in windy conditions, it’s advisable to use weighted bags or stakes on each leg of the tent. Most pop-up tents range in size from 8×8 feet to 12×12 feet, providing ample space for seating or dining areas. Investing in a quality pop-up tent ensures you have a reliable shelter that can be easily stored and transported, making it a practical choice for any outdoor enthusiast.
Constructing A-Frame Shelters Economically
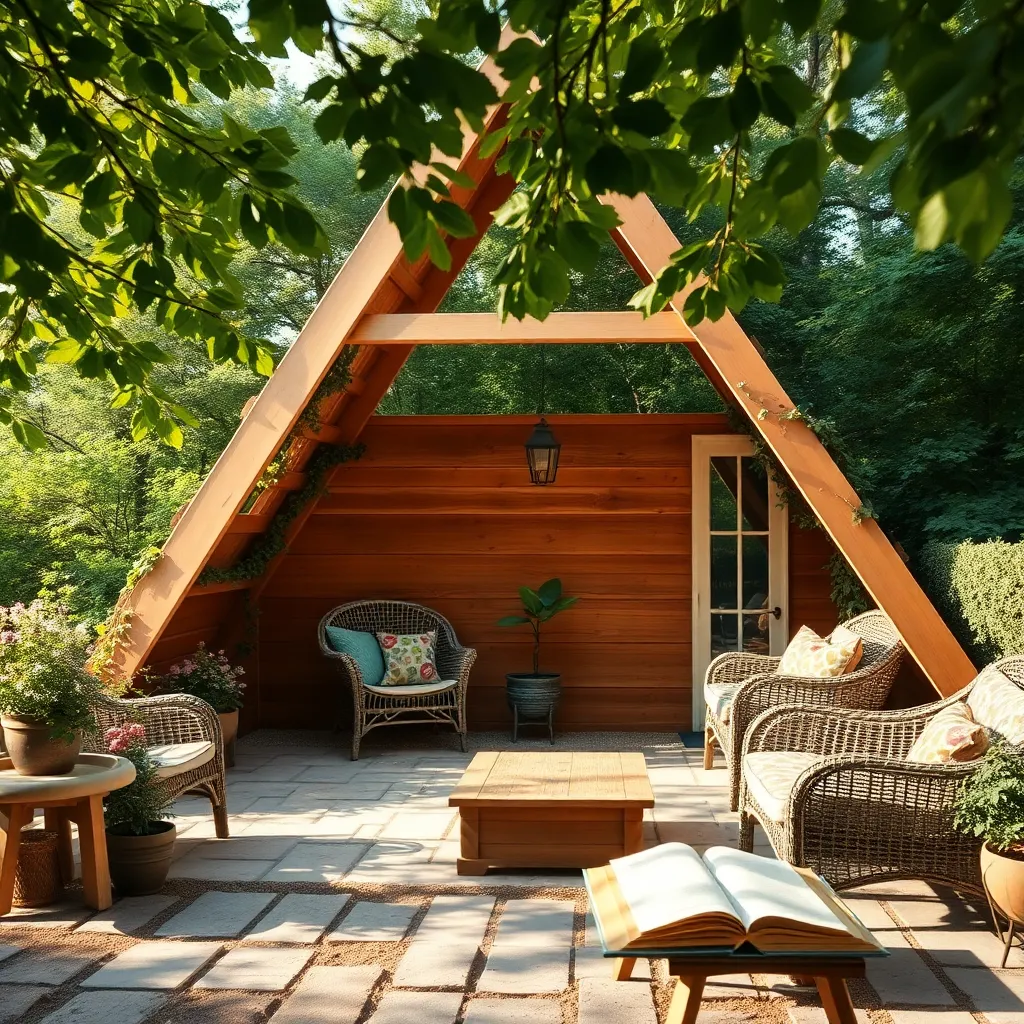
Constructing an A-frame shelter can be a cost-effective and rewarding project for any homeowner. Begin by selecting durable, weather-resistant materials like treated lumber or recycled pallets, which are both affordable and readily available. For a basic structure, aim for a footprint of about 8×10 feet, which provides sufficient space for activities while keeping material costs low. Consider using tarpaulin or corrugated metal sheets for roofing to ensure protection against the elements. This simple yet sturdy design is ideal for creating a cozy outdoor nook in your garden.
To enhance the durability and functionality of your A-frame shelter, invest in quality fasteners such as galvanized screws, which resist rust and provide a long-lasting hold. Incorporate basic joinery techniques like lap joints or use metal brackets to reinforce key stress points, ensuring stability. Advanced builders might explore adding features like a small raised platform or integrated shelving for additional utility. Whether you’re a beginner or seasoned builder, these tips will guide you in creating an economical and practical A-frame shelter tailored to your outdoor space.
Inexpensive Hammock Shelter Ideas
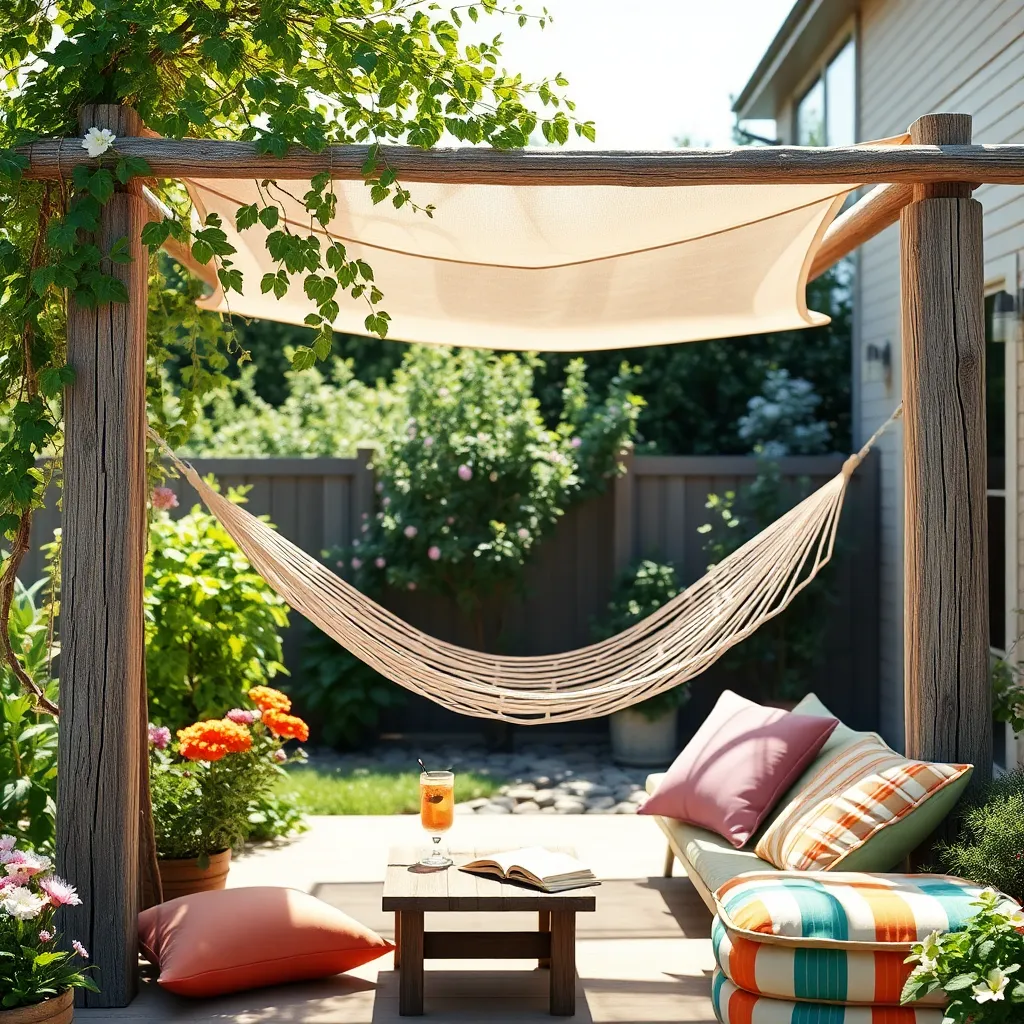
Transforming a simple hammock into a cozy outdoor shelter can be both cost-effective and imaginative. Start with a durable, weather-resistant tarp to create a protective canopy above your hammock. Secure this tarp using sturdy rope or bungee cords, fastening it to nearby trees or poles. To enhance stability, make sure your tarp is at least 2 feet wider than your hammock on both sides, ensuring ample coverage from rain or sun.
For a more advanced setup, consider adding side panels or mosquito netting for extra protection and comfort. These can be easily attached with clips or velcro strips for quick assembly and removal. Opt for lightweight, breathable materials to maintain airflow while shielding you from the elements. This setup not only provides a peaceful retreat but also offers a sense of privacy and security, making your hammock a versatile outdoor haven.
Building Simple Lean-To Structures
Constructing a simple lean-to structure is an effective way to create an outdoor shelter that is both budget-friendly and versatile. Start by selecting durable materials such as treated lumber for the frame, and opt for corrugated metal or polycarbonate sheets for the roofing. Design your lean-to with a slight roof pitch to allow water runoff, ensuring longevity and stability. Beginners can keep it straightforward with a rectangular frame anchored to existing structures like a shed or the side of a house, while more experienced builders might integrate a slatted wall for extra wind protection.
Consider the dimensions of your lean-to based on available space and intended use. For a basic structure, a size of 8×10 feet often works well, providing ample room for storing tools or creating a cozy seating area. To enhance functionality, incorporate features such as adjustable shelving or hooks for hanging gardening tools. Advanced builders can add a gutter system to collect rainwater, offering a sustainable water source for nearby plants. Whether you’re a novice or skilled DIYer, this project is a rewarding way to enhance your outdoor space.
Cost-Effective Canvas Shelter Options
For those seeking an affordable and versatile outdoor shelter, a canvas tent can be an excellent choice. Canvas shelters are durable, breathable, and provide excellent protection from the elements. When selecting a canvas, opt for a high-quality, waterproof variant to ensure longevity. A simple A-frame design, using treated wooden posts and a sturdy ridge pole, can create a reliable structure ideal for various uses like camping or covering garden tools.
Beginner-friendly, these shelters can be assembled with minimal tools, often requiring just a hammer, nails, and a few adjustable wrenches. For a more advanced setup, consider adding a tarp liner or additional flaps for added weatherproofing. Ensure the canvas is tightly secured to avoid sagging. Anchor the tent with stakes at each corner for stability, especially in windy conditions. With these tips, homeowners can enjoy a functional and cost-effective outdoor space perfect for both relaxation and storage.
Exploring Pallet-Based Shelter Concepts
Using pallets to construct outdoor shelters is an ingenious and budget-friendly approach that appeals to both novice and seasoned DIY enthusiasts. Start by collecting sturdy, heat-treated pallets, often available for free from local warehouses or stores. These versatile materials can be easily arranged and secured to form the walls of a shelter. Ensure you select pallets that are in good condition and free from harmful chemicals. For added stability, consider anchoring the pallets to the ground using rebar or heavy-duty stakes.
Enhance your pallet-based shelter by incorporating simple design elements that boost both functionality and aesthetics. Cover the roof with weather-resistant tarpaulin, secured tightly to protect against rain and sun. For a more advanced touch, add a slanted roof to improve water runoff. Consider painting or staining the pallets to match your home’s exterior, creating a cohesive outdoor space.
- Use additional pallets as flooring for a raised effect.
- Incorporate shelves or hooks for storage and convenience.
These steps not only enhance the shelter’s durability but also elevate its visual appeal, making it a practical addition to any backyard.
Designing Space-Saving Teepee Shelters
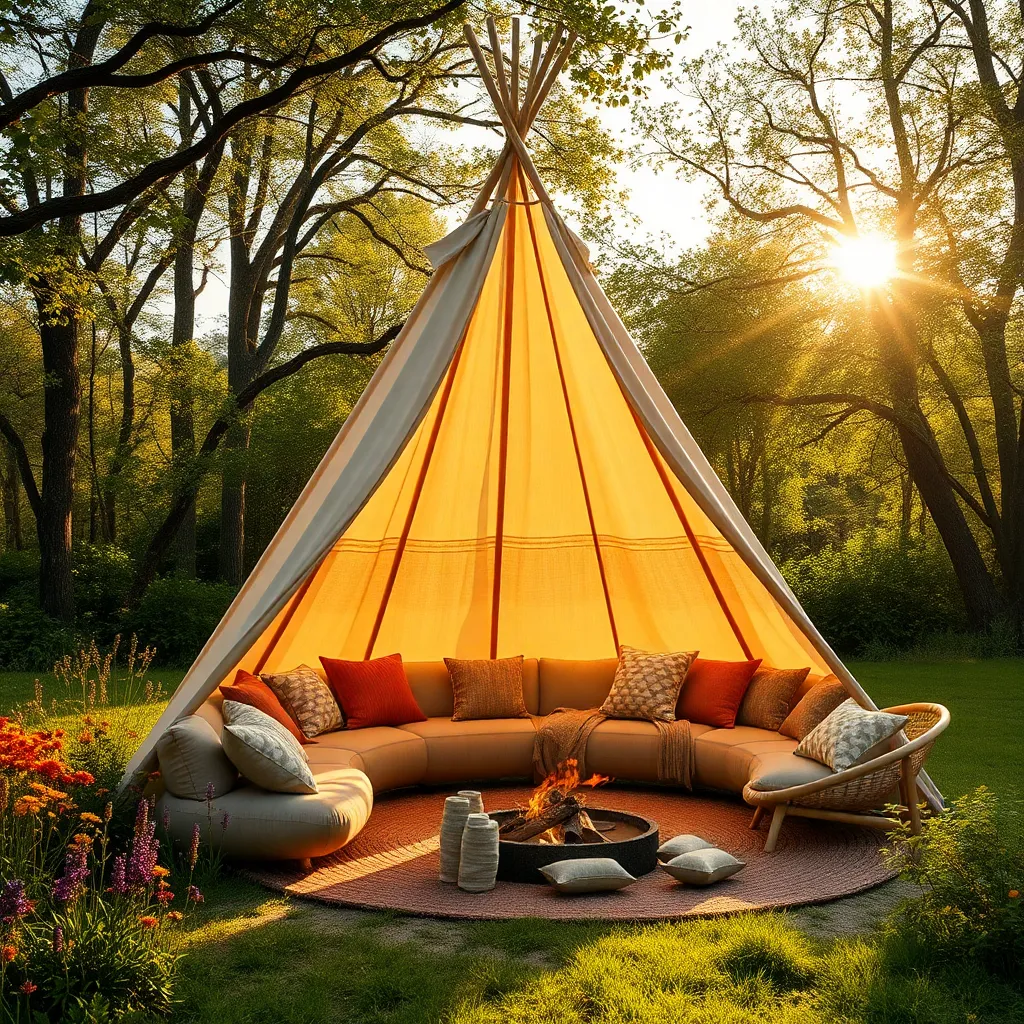
Creating a space-saving teepee shelter is an excellent way to add a cozy, functional element to your garden. Begin by choosing sturdy materials like bamboo poles or PVC pipes, which are both lightweight and durable. Arrange these poles in a circular formation, securing them at the top with strong, weather-resistant rope to form the classic teepee shape. Cover the structure with a waterproof canvas or heavy-duty tarp, ensuring it’s tightly secured to withstand various weather conditions. This basic setup provides a quick and easy shelter that can accommodate cushions or a small seating area inside.
For those looking to add a personal touch, consider incorporating decorative elements such as strings of solar-powered fairy lights or colorful outdoor fabrics. These not only enhance the visual appeal but also improve the functionality of the space. To maximize the usability of your teepee, install a simple groundsheet or wooden pallet floor to keep the interior dry and comfortable. Advanced builders might opt to anchor the structure with ground stakes for added stability, especially in windy areas. This versatile, budget-friendly design is perfect for creating a charming retreat right in your backyard.
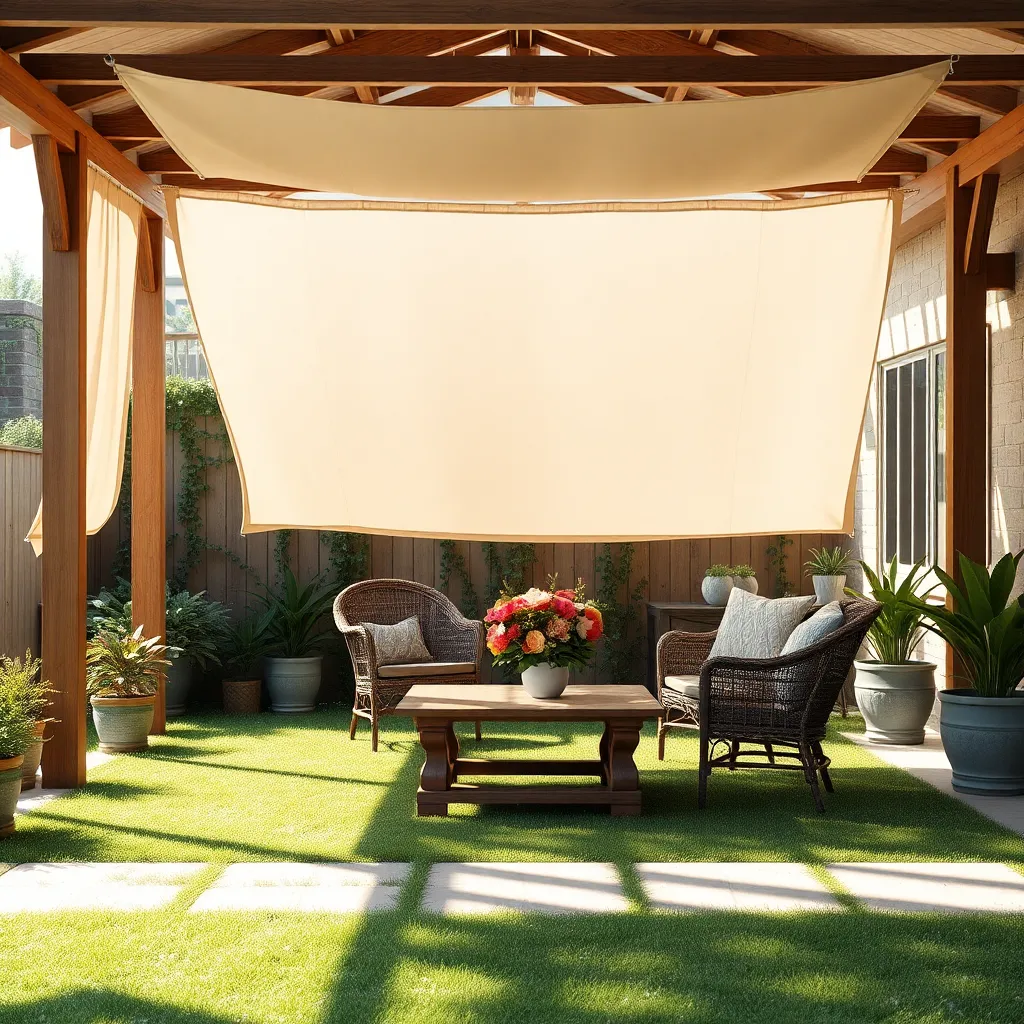
Creating Versatile Canopy Shelters
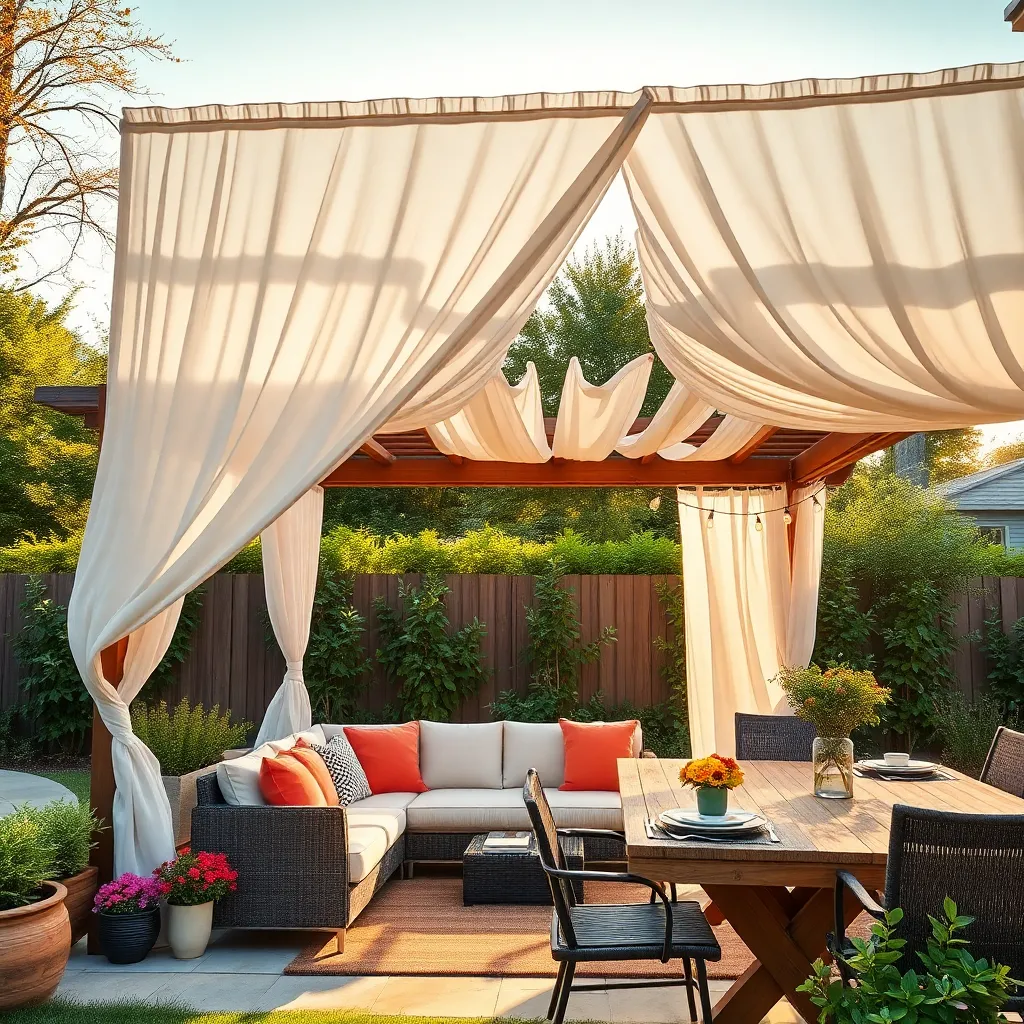
Creating versatile canopy shelters is an excellent way to add both style and functionality to your outdoor space. Start by selecting a durable material such as a UV-resistant fabric or waterproof tarpaulin to ensure longevity. For beginners, a simple pop-up canopy with adjustable legs offers an easy setup and can adapt to different spaces. More advanced gardeners might consider a custom framework using treated lumber or aluminum, allowing for a tailored design that complements your garden’s aesthetics.
For added versatility, incorporate design elements like detachable sidewalls or retractable panels, which can provide additional protection from the elements when needed. Ensure the canopy is anchored securely, using either weighted bases or ground stakes, to withstand various weather conditions. Consider dimensions such as a 10×10 feet area for a cozy gathering or an expansive 12×16 feet for larger events. By integrating these features, your canopy shelter will not only enhance your garden’s usability but also elevate the overall outdoor experience for you and your guests.
Low-Cost Geodesic Dome Projects
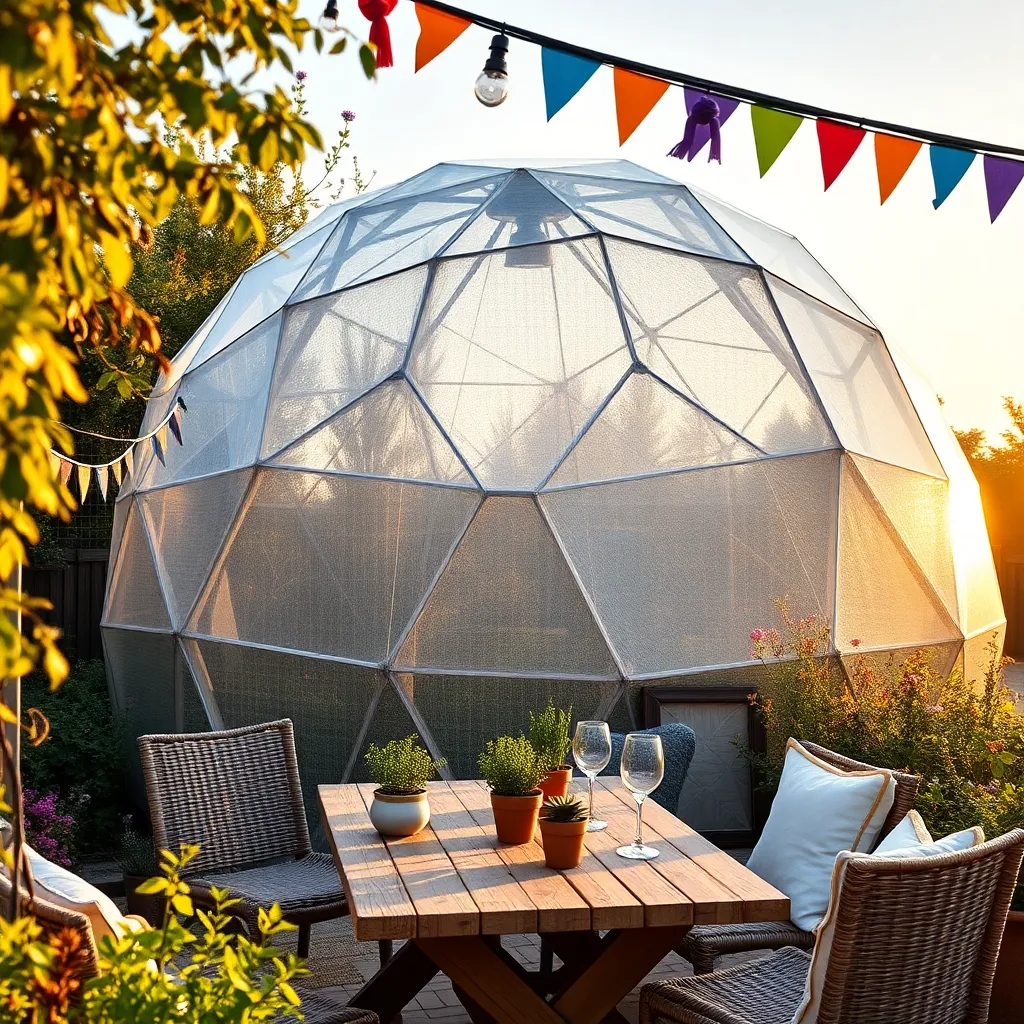
Geodesic domes offer a unique and cost-effective way to create a durable outdoor shelter. To get started, you’ll need PVC pipes, connectors, and a tarp or greenhouse plastic. These materials are affordable and widely available, making them ideal for budget-conscious projects. Cut the PVC pipes to the required lengths and use connectors to form triangular sections, which you then assemble into a dome shape. This basic structure is lightweight yet sturdy, perfect for a backyard retreat or plant cover.
For a more advanced touch, consider using metal or bamboo for the frame to enhance durability and aesthetic appeal. Cover the dome with UV-resistant material to ensure longevity and protect against the elements. When choosing your dome size, consider the intended use: a small, cozy reading nook might need a 10-foot diameter, while a larger gathering space could require 20 feet or more. With a bit of creativity and elbow grease, you can create a stunning, low-cost geodesic dome that adds character and function to your outdoor space.
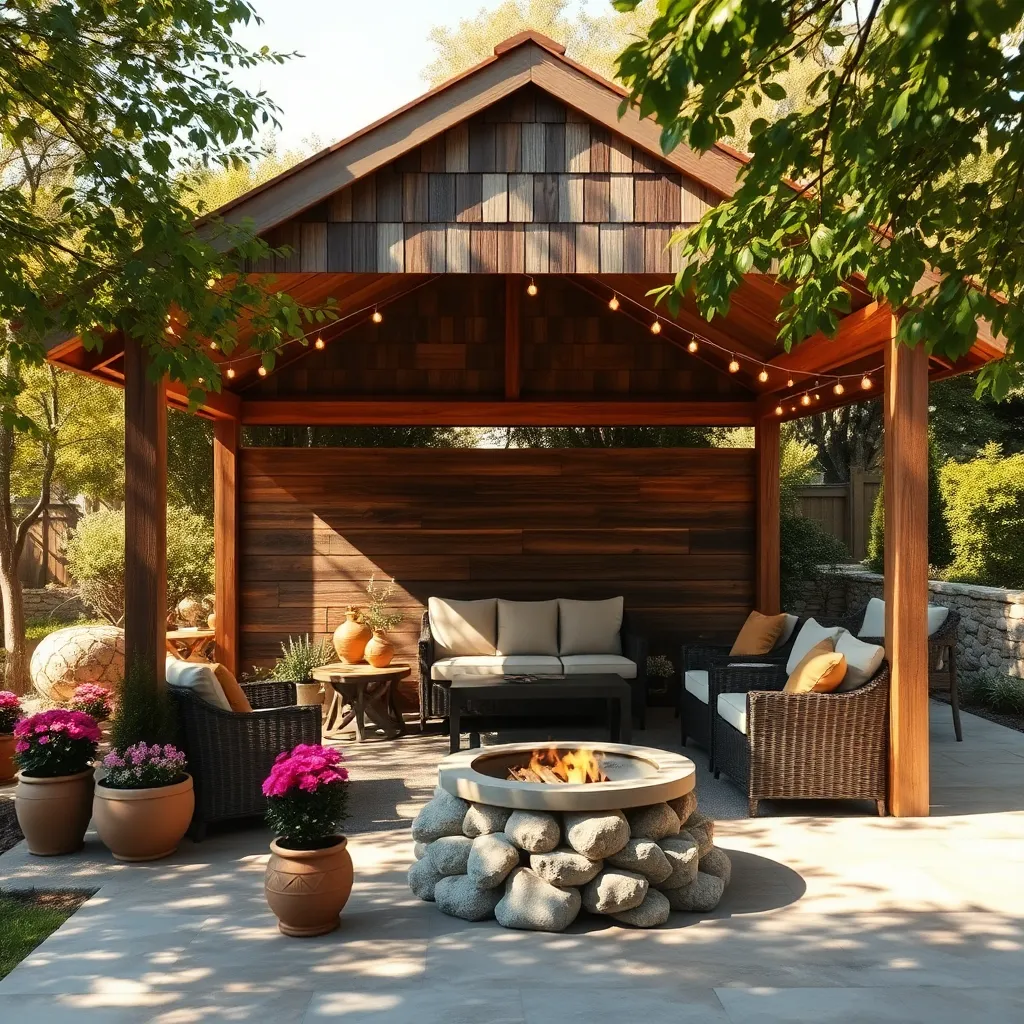
Constructing Basic Log Shelter Designs
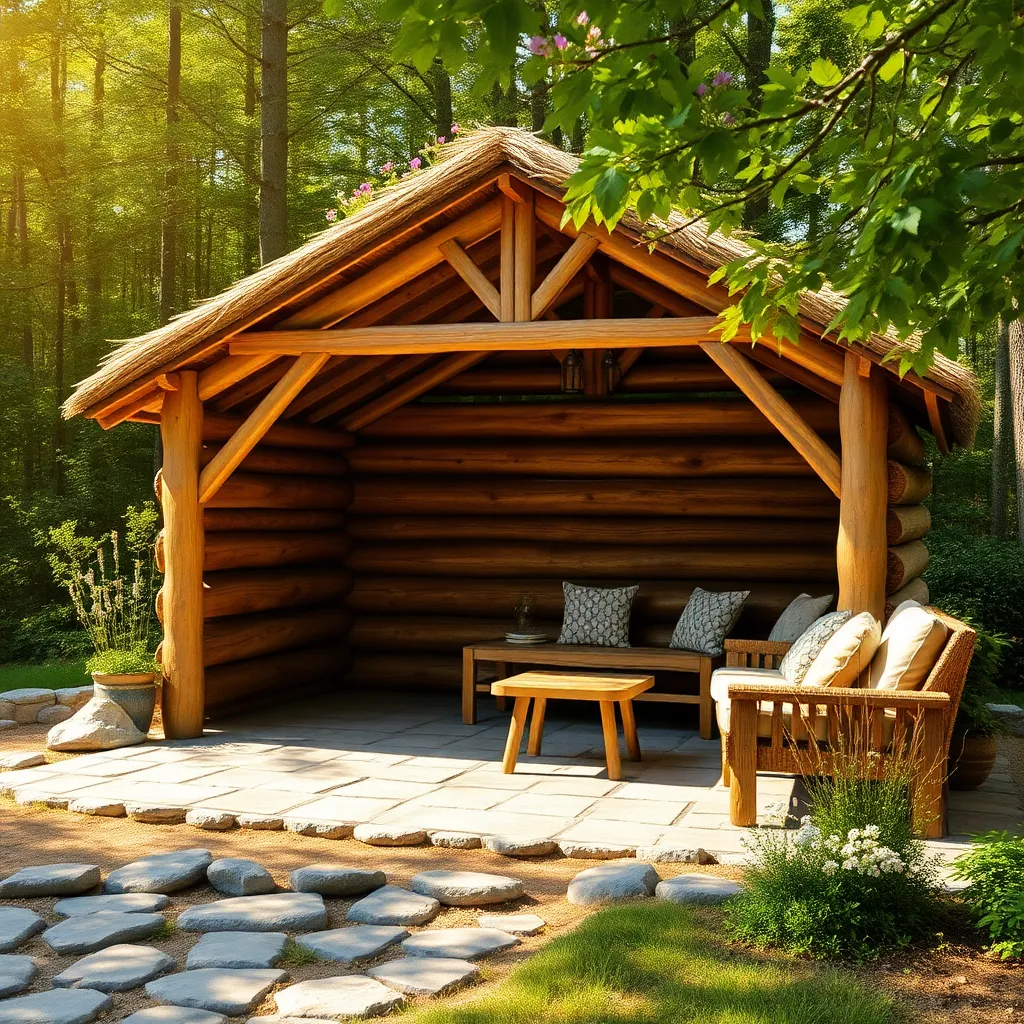
Crafting a basic log shelter is an excellent way for homeowners to combine rustic charm with practical outdoor protection. Start with logs around 8-12 inches in diameter for a sturdy structure. To construct the frame, first lay a foundation using stones or gravel to ensure stability and prevent rot. Notch the logs at the ends to securely stack them, creating a robust wall. Beginners can start with a simple lean-to design, which involves a single sloped roof that efficiently sheds rain and snow.
For more advanced builders, consider adding features like a raised floor to keep the interior dry in wet conditions. Use a mix of natural materials like branches or bark for roofing to blend the shelter into its surroundings. If you’re in a region with abundant rainfall, incorporate a waterproof layer under the roof material. To enhance comfort, line the interior with insulation such as straw or burlap. With these considerations, your log shelter will offer both durability and environmental harmony, making it a rewarding project for any skill level.
Portable Shade Solutions for All Seasons

For those seeking flexibility in outdoor spaces, portable shade solutions offer a quick and effective way to enjoy your garden year-round. Consider using pop-up canopies or retractable awnings, which are ideal for instant shade and protection from the elements. Look for models with sturdy frames made of aluminum or powder-coated steel to withstand various weather conditions. Easy to set up and take down, these portable options allow you to adapt your outdoor space with minimal effort.
For more advanced setups, consider investing in freestanding shade sails. These can be anchored to poles or existing structures, providing a sleek and modern look. Choose UV-resistant fabric to ensure longevity and color retention, and opt for adjustable tension systems to maintain their shape and stability. By experimenting with different configurations and angles, you can create dynamic and stylish shade patterns that enhance your garden’s aesthetic while offering practical protection.
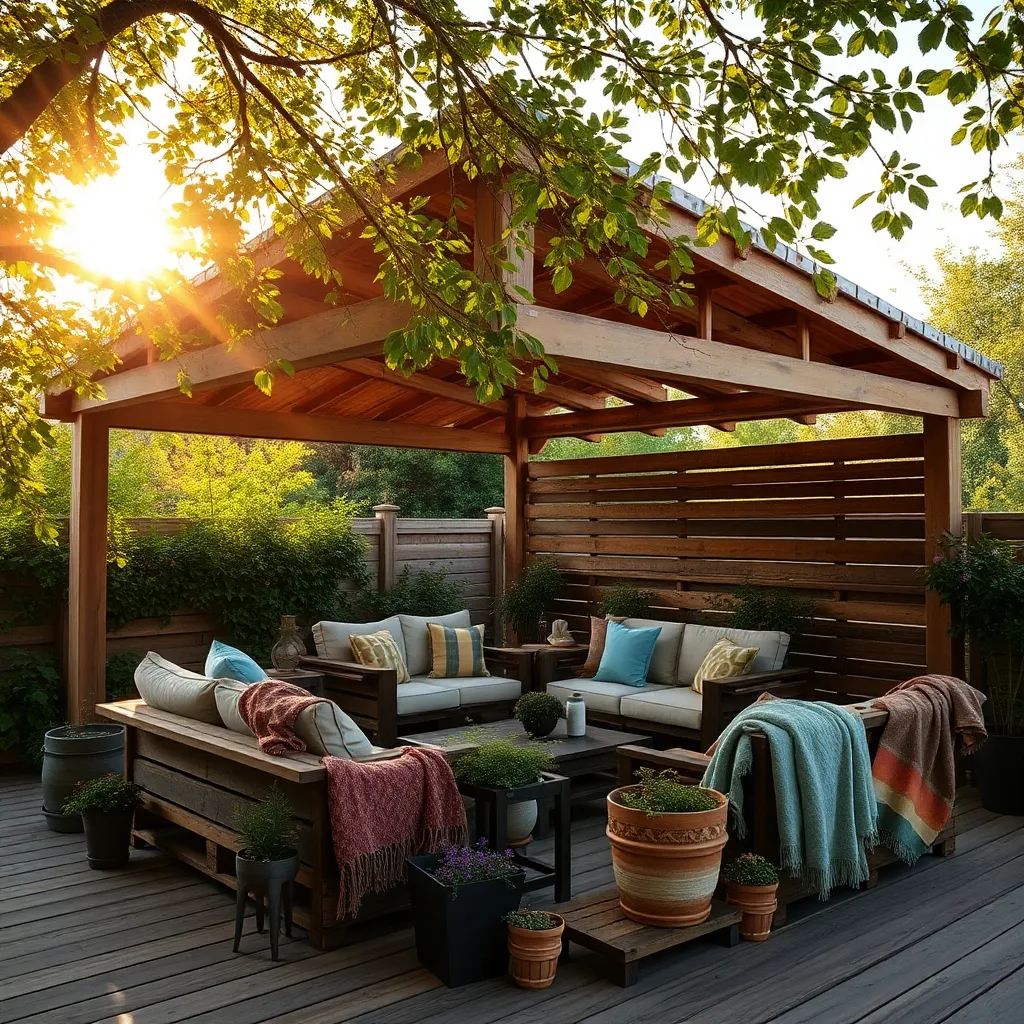
Upcycling Materials for Rustic Shelters
Creating a rustic outdoor shelter using upcycled materials is both environmentally friendly and cost-effective. Start by sourcing durable materials such as reclaimed wood, old pallets, or corrugated metal sheets. These materials not only add a vintage charm but also offer the robustness needed for outdoor structures. For beginners, an easy project is to build a simple lean-to style shelter with a slanted roof, which requires just a few pallets and metal sheets. Make sure to secure the pallets vertically as walls and use the metal sheets for the roof, ensuring a slight slope for rainwater runoff.
For those with advanced skills, consider integrating additional design elements like repurposed windows or doors to create a unique look. This can enhance both the aesthetic and functional aspects of your shelter. Ensure stability by anchoring the structure with concrete footings, especially if you live in a windy area. A rustic shelter can be further personalized by adding a layer of weatherproof varnish to protect the wood and metal from the elements. Get creative by incorporating mismatched yet harmonious pieces for a truly one-of-a-kind outdoor retreat that reflects your personal style.
Conclusion: Creating Beautiful Outdoor Spaces
In exploring the “14 Simple Outdoor Shelters for All Budgets,” we’ve uncovered innovative ways to strengthen your relationship by embracing shared spaces. From budget-friendly DIY projects that foster teamwork and creativity, to luxurious retreats that offer tranquility and connection, each concept provides a unique opportunity to nurture your bond. Whether you’re building a cozy nook under the stars or crafting a serene garden escape, these shelters emphasize the importance of collaboration, communication, and quality time together.
To put these ideas into action, choose one shelter concept that resonates with you and plan a weekend to create it together. This project will not only enhance your living space but also serve as a meaningful metaphor for building a solid foundation in your relationship.
Remember, relationships are ever-evolving adventures. Save this article to revisit these ideas and adapt them as your needs and circumstances change. By regularly investing in your partnership and sharing new experiences, you set the stage for a thriving, long-lasting connection. Embrace the journey ahead with enthusiasm, knowing that every effort you make today lays the groundwork for a successful relationship tomorrow. Bookmark this guide as your go-to resource for refreshing your relationship with creativity and love.