
Transforming your backyard into a haven of comfort and style doesn’t have to be a daunting task. Whether you’re just dipping your toes into the world of outdoor projects or you’re a seasoned DIY enthusiast, creating your own outdoor shelter can be both a rewarding and practical endeavor. With just a few tools and a dash of creativity, you can craft a space that not only shields you from the elements but also adds a personal touch to your home’s exterior.
In this article, we’ll explore 15 beginner-friendly DIY outdoor shelter projects that promise to inspire and empower. From simple pergolas to charming gazebos, you’ll discover a variety of projects that cater to different tastes and skills. Each step-by-step guide is designed to be accessible, ensuring that your journey from planning to completion is both smooth and enjoyable. Let’s embark on this adventure together and redefine your outdoor living experience.
Choosing the Right Site Location
When selecting a site for your DIY outdoor shelter, start by considering the sun and wind patterns in your yard. Position your shelter to maximize natural sunlight during cooler months and provide shade in the summer, while also offering protection from prevailing winds. A site with a slight elevation is ideal for preventing water pooling, which can damage materials over time. For beginners, using a compass app can help determine the best orientation for your shelter, ensuring it remains comfortable throughout the seasons.
For a more advanced approach, think about incorporating existing landscape features to enhance your shelter’s design. Use trees or shrubs to naturally frame your structure, providing additional shade and aesthetic appeal. Consider the soil type and drainage capabilities—sandy or loamy soils are preferable for stability. When planning your construction, materials such as pressure-treated wood or weatherproof metal can offer durability against the elements. These considerations will not only extend the life of your shelter but also create a harmonious integration with your outdoor space.
Essential Tools for DIY Shelters
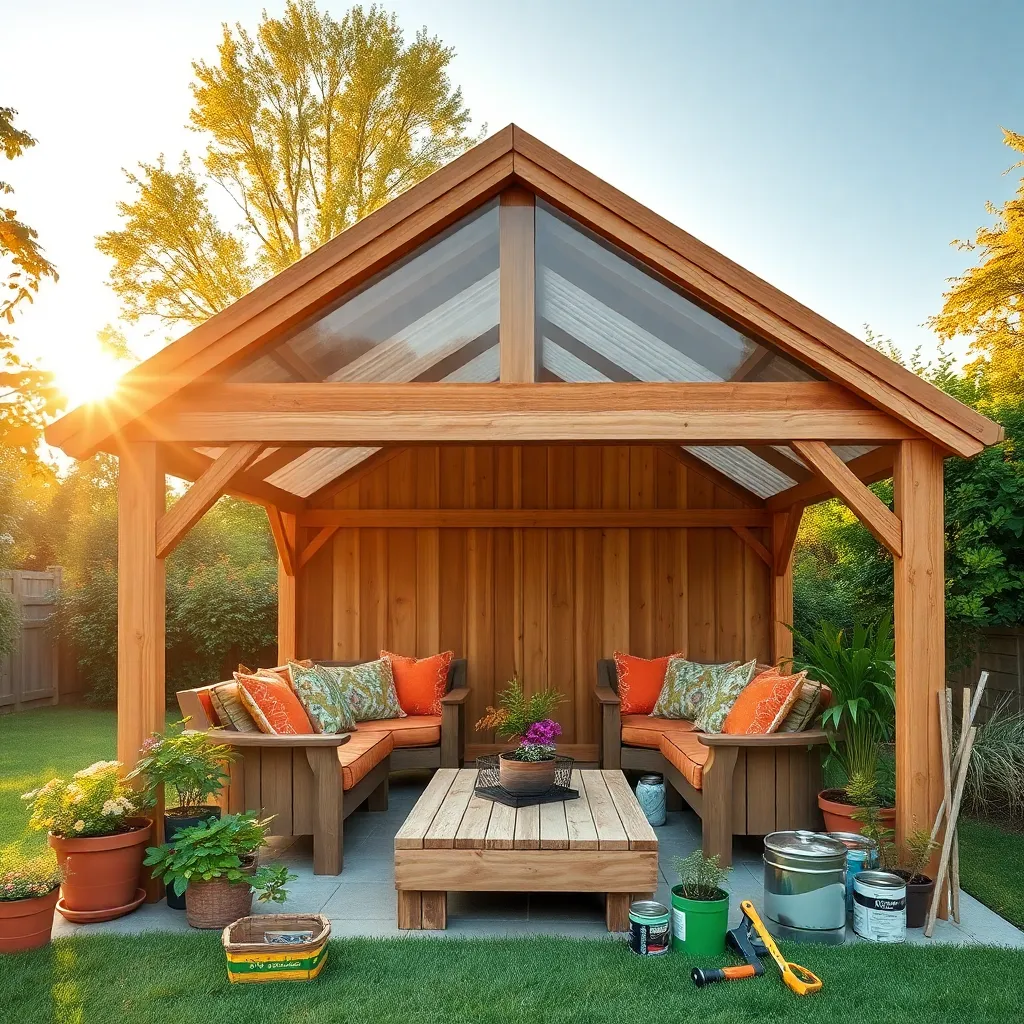
When embarking on your DIY outdoor shelter project, having the right tools can make all the difference. For beginners, start with a basic toolkit that includes a measuring tape, hammer, and cordless drill. These essentials will help you measure, cut, and assemble materials efficiently. Consider adding a level and a set of screwdrivers to ensure everything is aligned and securely fastened. For more advanced projects, investing in a circular saw can speed up the cutting process, especially for larger structures like pergolas or gazebos.
Materials play a crucial role in the durability and aesthetic of your shelter. Beginners should opt for pressure-treated wood or weather-resistant plywood to ensure longevity against the elements. Consider using galvanized screws and nails to prevent rust, which is particularly important in humid or rainy regions. For those looking to add a touch of sophistication, explore using composite materials or incorporating decorative elements like lattice panels or pre-made trellis sections. Remember, a well-chosen design can enhance your outdoor space’s functionality and appeal.
Simple Lean-To Construction Plans
For a simple lean-to construction, start by selecting a sturdy wall of your home or garage as the main support. Use pressure-treated lumber for the frame to ensure durability and resistance to the elements. A basic design involves three main components: the support beam attached to the wall, two to three vertical posts for the opposite side, and a sloped roof for water runoff. Measure the area precisely to determine the length of your support beam and the spacing of the posts, typically every 6 feet.
When constructing the roof, consider using corrugated metal or polycarbonate sheets for a lightweight yet weather-resistant cover. Attach these sheets securely to the frame with galvanized screws, ensuring they are slightly overlapped to prevent leaks. To enhance stability, brace the vertical posts with diagonal supports. For an advanced touch, incorporate a gutter system to channel rainwater away efficiently. This straightforward project not only provides shelter but also adds a functional, aesthetically pleasing element to your outdoor space.
Building a Basic A-Frame Shelter
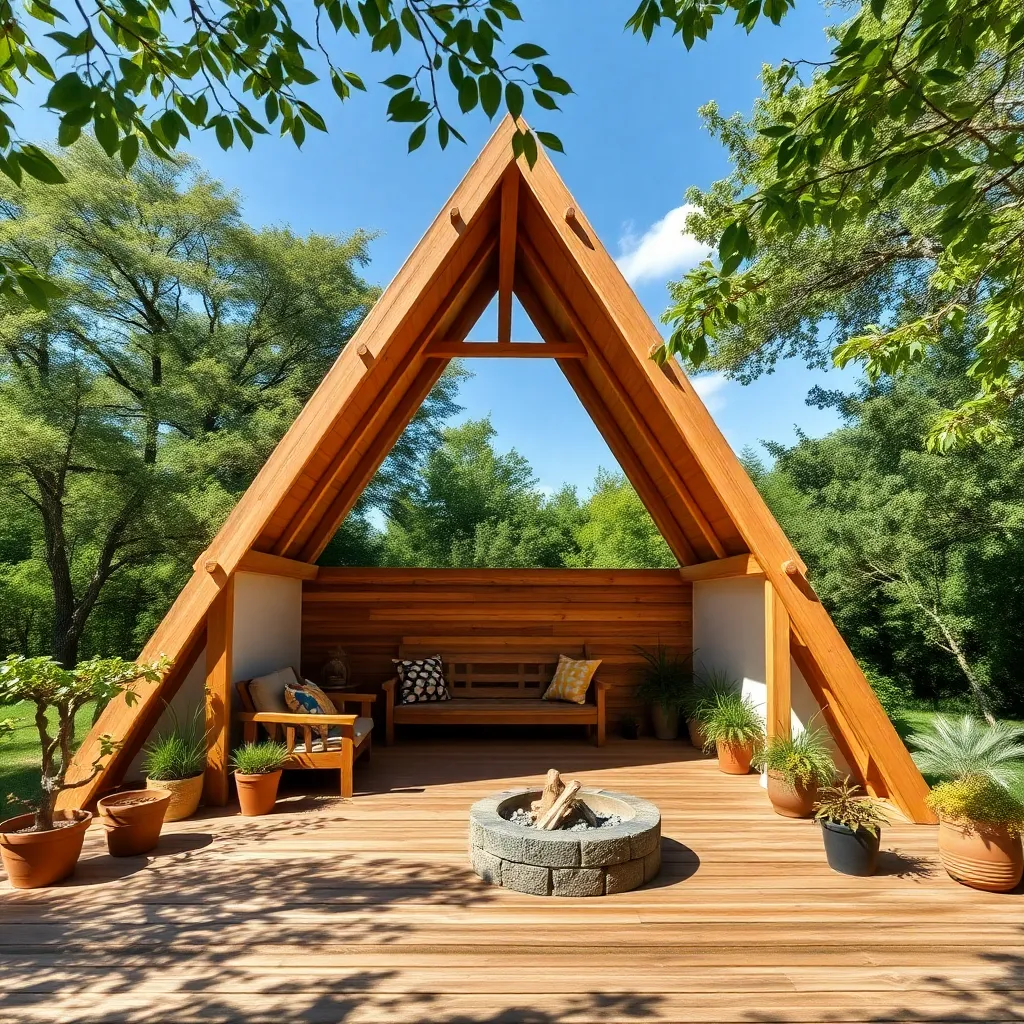
Constructing a basic A-frame shelter is an excellent project for beginners, offering both simplicity and practicality. Start by gathering essential materials: you’ll need two sturdy poles around 8-10 feet long for the frame and a durable tarp for the cover. Position the poles in an inverted “V” shape, securing their bases into the ground for stability. Stretch the tarp over the frame, ensuring it reaches both sides evenly. This straightforward setup can provide effective shelter from rain and sun.
For added stability, consider using rope or bungee cords to tie the tarp securely to the ground. If you’re adventurous, enhance your A-frame with additional features like a ground cover or windbreak by using leaves or brush. Ensure the tarp is taut to prevent water pooling during rain. This project not only enhances your outdoor space but also equips you with fundamental building skills. With just a few materials and a bit of effort, you can create a reliable shelter perfect for various outdoor activities.
Crafting a Cozy Teepee Tent
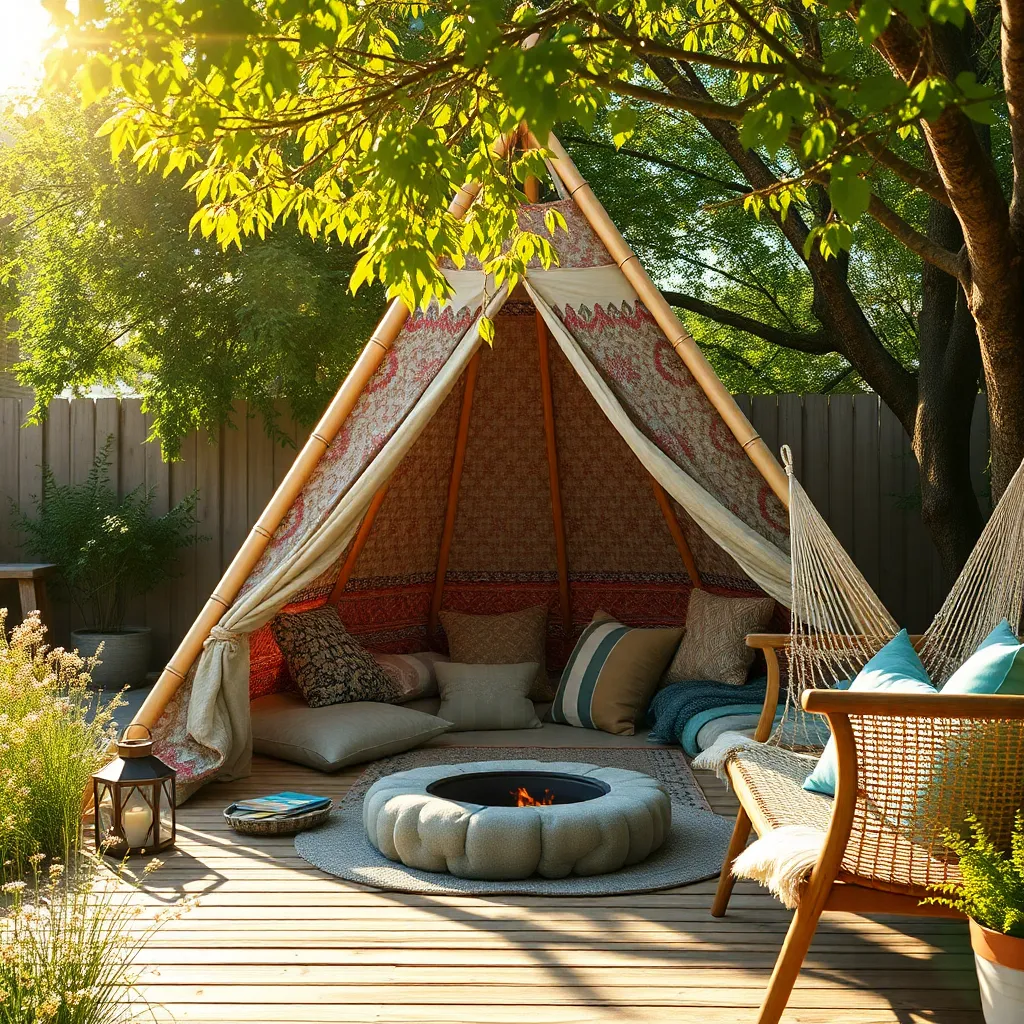
Creating a cozy teepee tent is a delightful project that adds charm and functionality to any backyard setting. Start by selecting sturdy, weather-resistant materials like bamboo or wooden poles, each about 7 to 8 feet long, to form the frame. Secure the poles at the top with durable rope, creating a stable tripod structure. For the covering, choose a breathable yet durable fabric like canvas or a heavy-duty tarp to withstand various weather conditions. Ensure the fabric is large enough to wrap around the frame completely, leaving an opening as the entrance.
Personalizing your teepee can enhance its cozy appeal. Consider adding plush cushions and blankets inside for comfort, and string fairy lights around the poles for a magical evening ambiance. If you’re feeling creative, use non-toxic paints to decorate the fabric with patterns or designs that reflect your personal style. Advanced tip: Anchor the base of the poles with stakes to add extra stability, especially in windy areas. This simple yet effective shelter project offers both an inviting space for relaxation and a playful hideaway for children.
Constructing a Classic Log Cabin
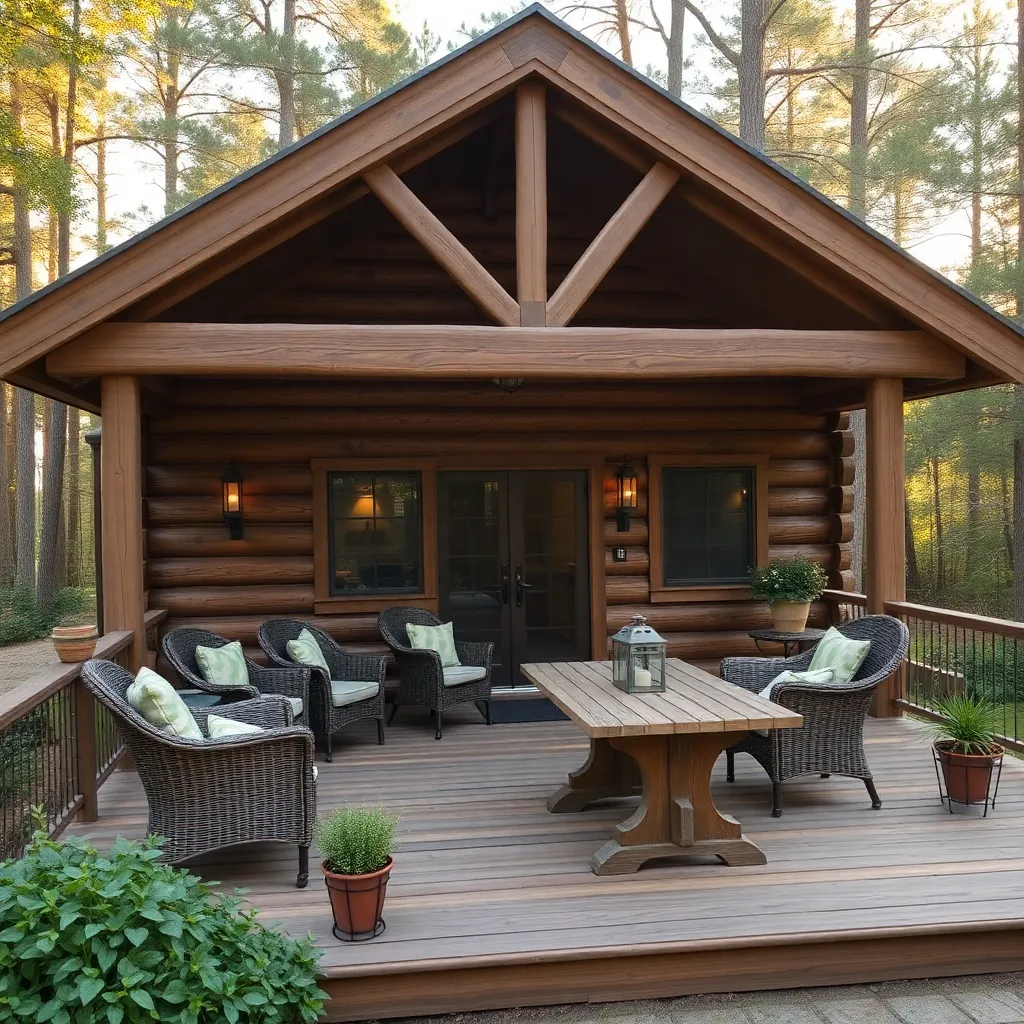
Building a classic log cabin is a rewarding project that combines rustic charm with practical shelter. Begin by selecting straight, sturdy logs, preferably from pine, spruce, or cedar, as these are durable and relatively easy to work with. Plan your cabin size and layout carefully; a basic 10×10-foot structure is manageable for beginners. Be sure to prepare a flat, stable foundation, using concrete blocks or gravel to provide drainage and support. Remember to notch the logs properly at the corners to ensure a snug fit, enhancing both stability and insulation.
For the roof, consider using metal sheets or shingles for longevity and weather resistance. Insulation is key to comfort, so fill gaps between logs with natural materials like moss or modern alternatives like foam chinking. To add a professional touch, sand and seal the exterior with a protective finish to safeguard against the elements. For more advanced builders, adding a small porch or extending the roofline can enhance both functionality and aesthetics.
- Use a chainsaw or drawknife for shaping logs.
- Ensure the structure is level throughout construction.
- Position windows and doors to maximize natural light and ventilation.
Designing a Rustic Pallet Shelter
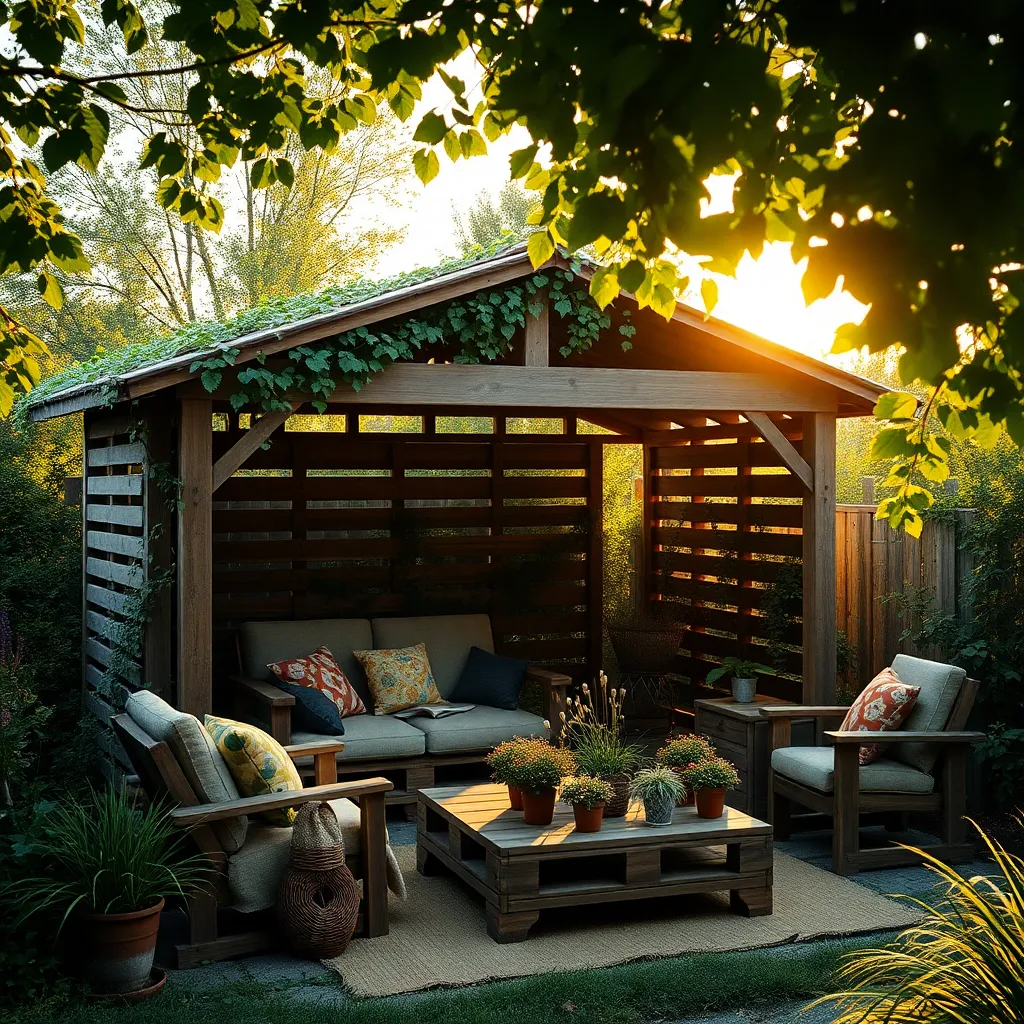
Embarking on a rustic pallet shelter project is an excellent way for beginners to dive into DIY construction. Start by sourcing sturdy, untreated wooden pallets, which are often available for free from local businesses. Choose pallets with uniform sizes for a cohesive look, and consider using a total of 10-12 pallets for a small shelter. Begin by constructing a simple frame using four pallets for the base and upright pallets for the walls, securing them with heavy-duty screws and metal brackets for stability.
Personalize your shelter by incorporating rustic design elements like a slanted tin roof, which provides both charm and weather protection. For a touch of comfort, add a pallet bench inside, sanding down the wood to prevent splinters. Advanced builders can enhance durability by treating the wood with a weatherproof sealant, ensuring longevity against the elements. Remember to paint or stain your pallets to blend with the natural surroundings, creating an inviting and functional outdoor retreat.
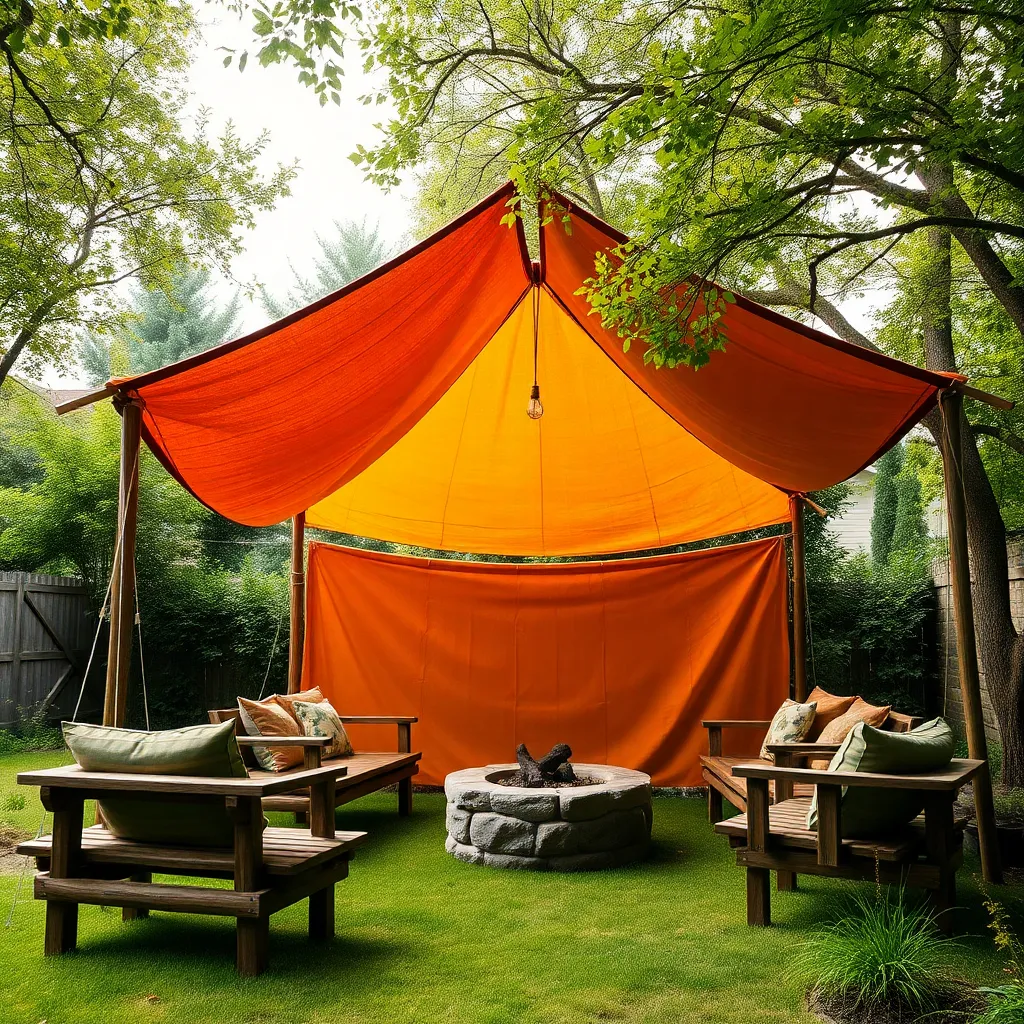
Easy Canopy Setup Techniques
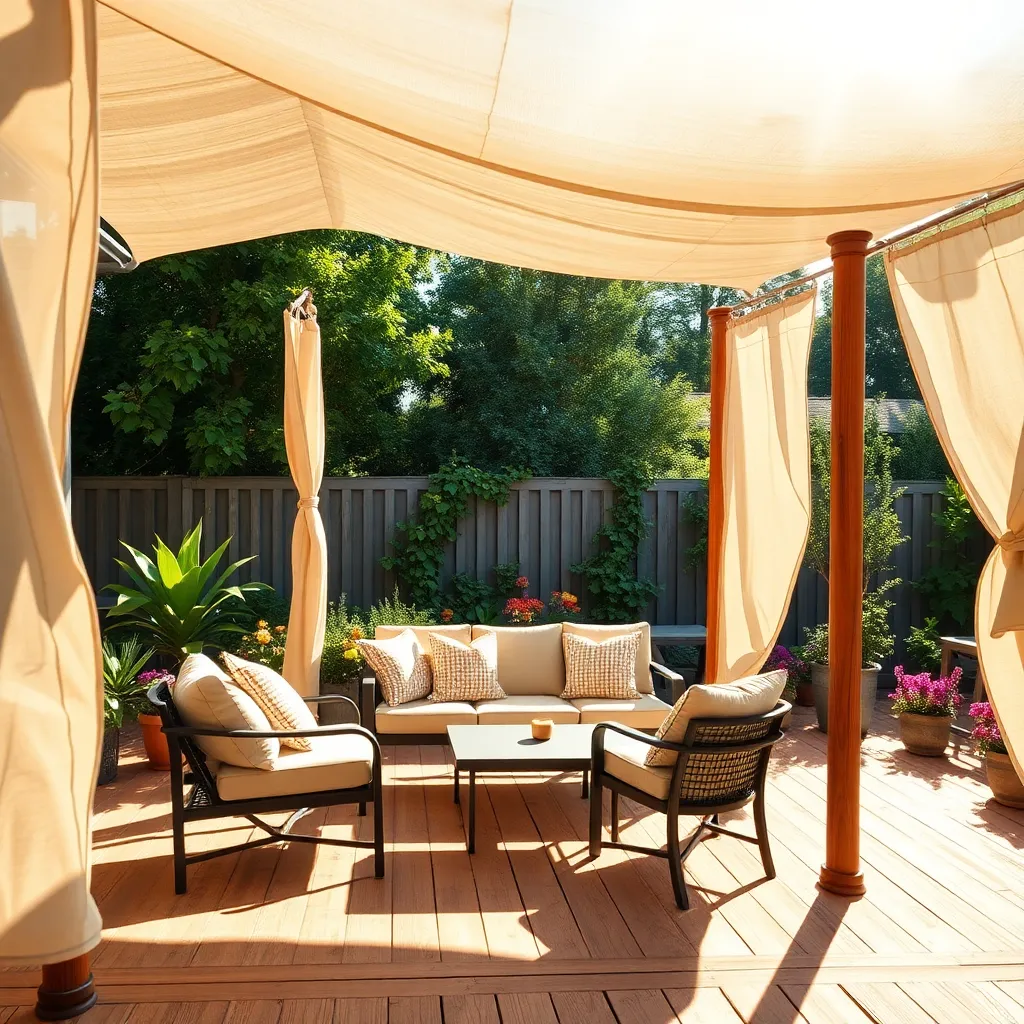
Setting up a canopy in your garden can be a straightforward process with the right approach. Begin by selecting a sturdy frame made from materials like aluminum or steel, which offer excellent durability. Opt for a fabric canopy top that is both UV-resistant and waterproof to withstand various weather conditions. For beginners, consider a pop-up canopy as it is easy to assemble and dismantle without requiring tools. Simply expand the frame, attach the cover, and secure it with stakes or weights for a stable setup.
For a more custom touch, advanced gardeners might explore building a fixed canopy. Use pressure-treated wood or metal for the frame, ensuring it is securely anchored into the ground with concrete footings. This approach not only provides a more permanent solution but also allows for personalized design elements like adding curtains or string lights for ambiance. Remember to measure your area accurately, typically allowing for a height of at least 7 feet to ensure comfort and functionality. With these techniques, your outdoor space will be perfectly shaded and inviting.
Creating a Durable Tarp Tent
To create a durable tarp tent, start by selecting a heavy-duty, waterproof tarp, ideally one that is at least 10×12 feet to provide ample coverage. Use sturdy rope or paracord to secure the tarp and ensure proper tension, as this will help prevent water pooling and increase stability. For beginners, a simple A-frame design is recommended: tie the rope between two trees or poles and drape the tarp over it, securing the corners with stakes to the ground.
Advanced builders can enhance their tarp tent by adding reinforced grommets at key points for better anchoring and using adjustable tensioners for quick adjustments in windy conditions. Consider using a ridgepole under the center of the tarp for additional support and to prevent sagging. Opt for materials like nylon or polyethylene, which are both durable and lightweight, making them easy to transport and set up in various outdoor environments.
Efficient Use of Space in Shelters
Maximizing space in your outdoor shelter starts with clever design planning. Consider using multi-functional furniture such as a bench that doubles as storage or collapsible tables to open up floor space when not in use. For beginners, start by sketching a simple layout to visualize how you can maintain a balance between open space and functional areas. Vertical space is often underutilized, so think about adding shelves or hooks to store items off the ground, making your shelter feel more spacious and organized.
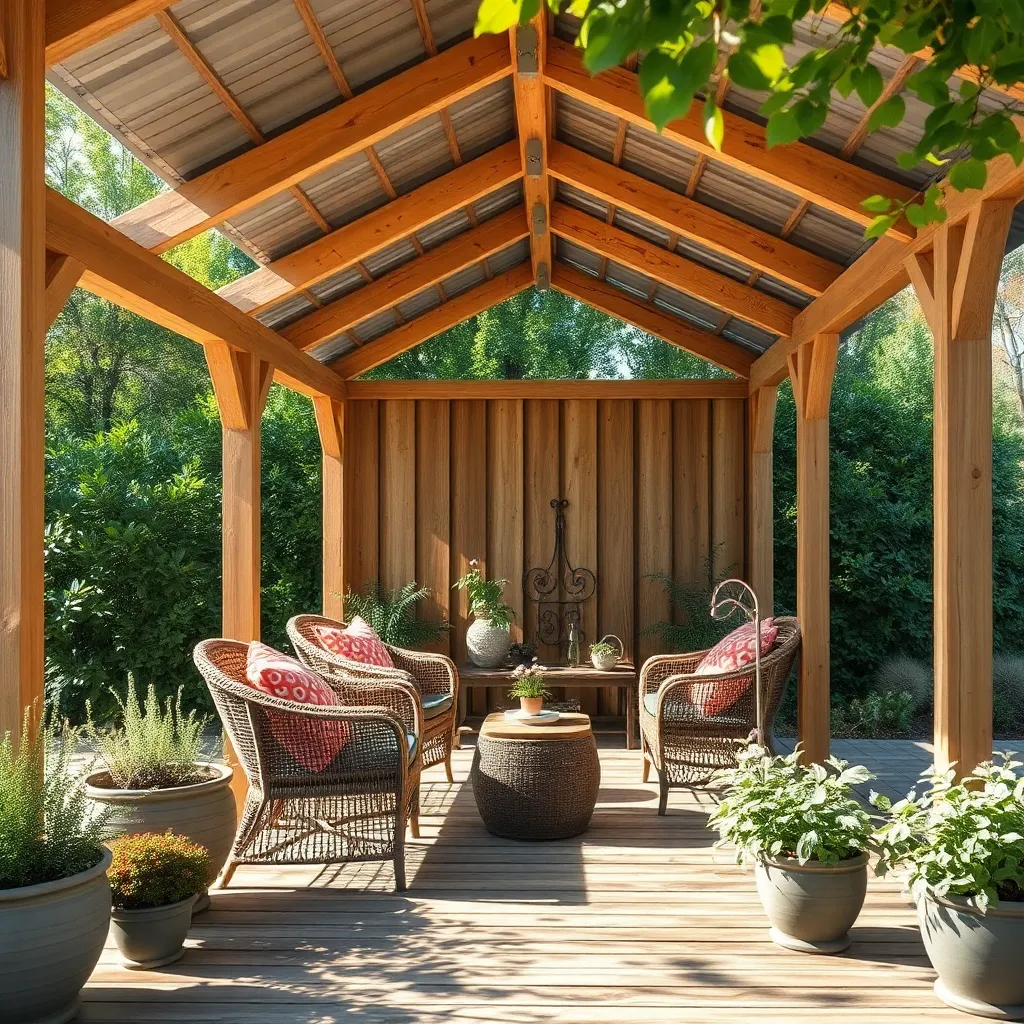
Choosing the right materials can make your shelter not only efficient but also durable. Opt for lightweight, weather-resistant materials like aluminum or treated wood, which can withstand outdoor conditions without taking up too much room. Advanced builders might explore modular designs that allow for easy reconfiguration, adapting the shelter to different needs over time. To enhance the aesthetic while maintaining practicality, incorporate clear roofing panels to let in natural light without sacrificing protection from the elements.
Incorporating Natural Insulation Methods
Embracing natural insulation techniques can significantly enhance the comfort and energy efficiency of your outdoor shelters. Using materials like straw bales, wool, or even packed earth can offer effective insulation while being eco-friendly. For beginners, consider starting with straw bales, which are easy to handle and provide excellent thermal resistance. Simply stack them tightly around the shelter’s base, ensuring they’re secured to withstand weather conditions.
For those ready to delve deeper, incorporating a living roof can be a game-changer. This involves layering soil and planting hardy, low-maintenance vegetation on a waterproof membrane atop your shelter, which not only insulates but also blends your structure with the surrounding environment. Ensure your shelter’s roof is structurally capable of supporting this added weight, and consider using lightweight soil mixes to minimize strain. Whether opting for simple straw or an advanced green roof, these methods will enhance your shelter’s comfort and sustainability.
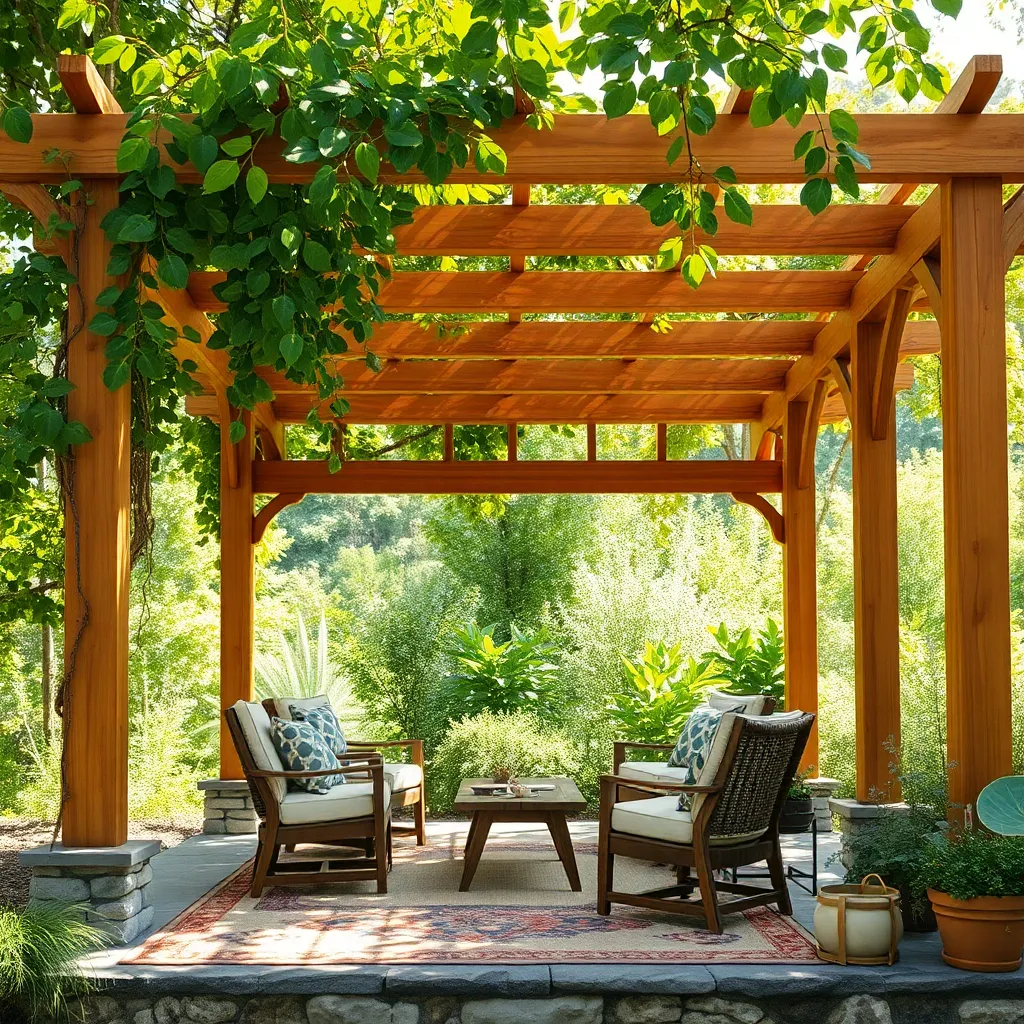
Decorating Your Outdoor Refuge
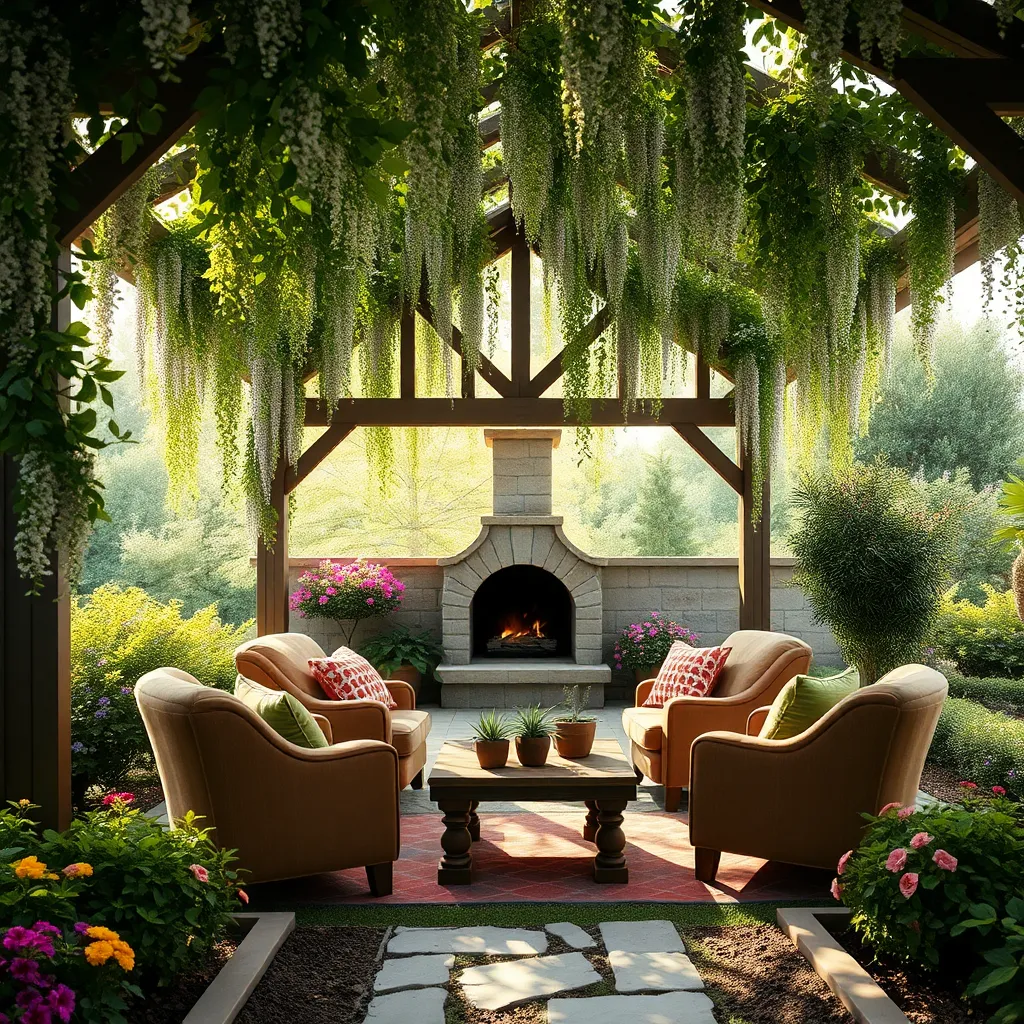
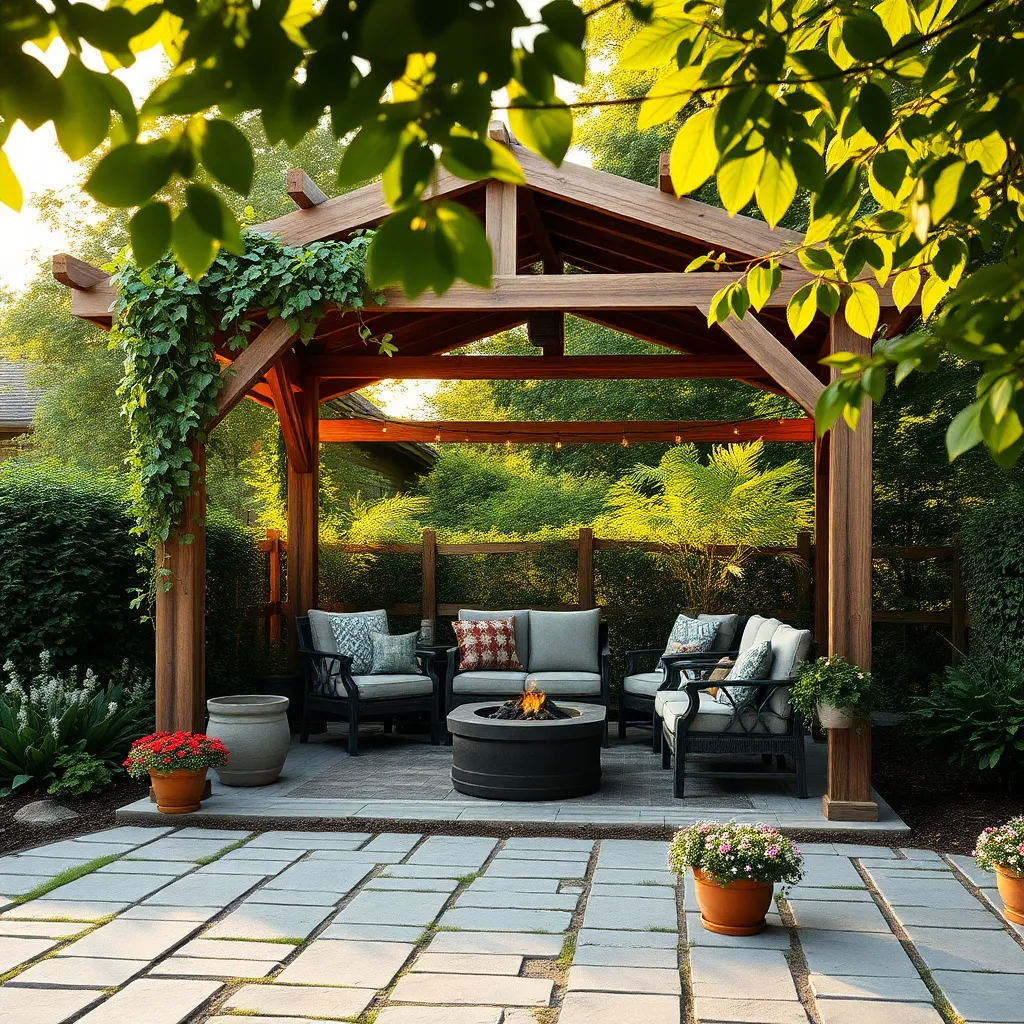
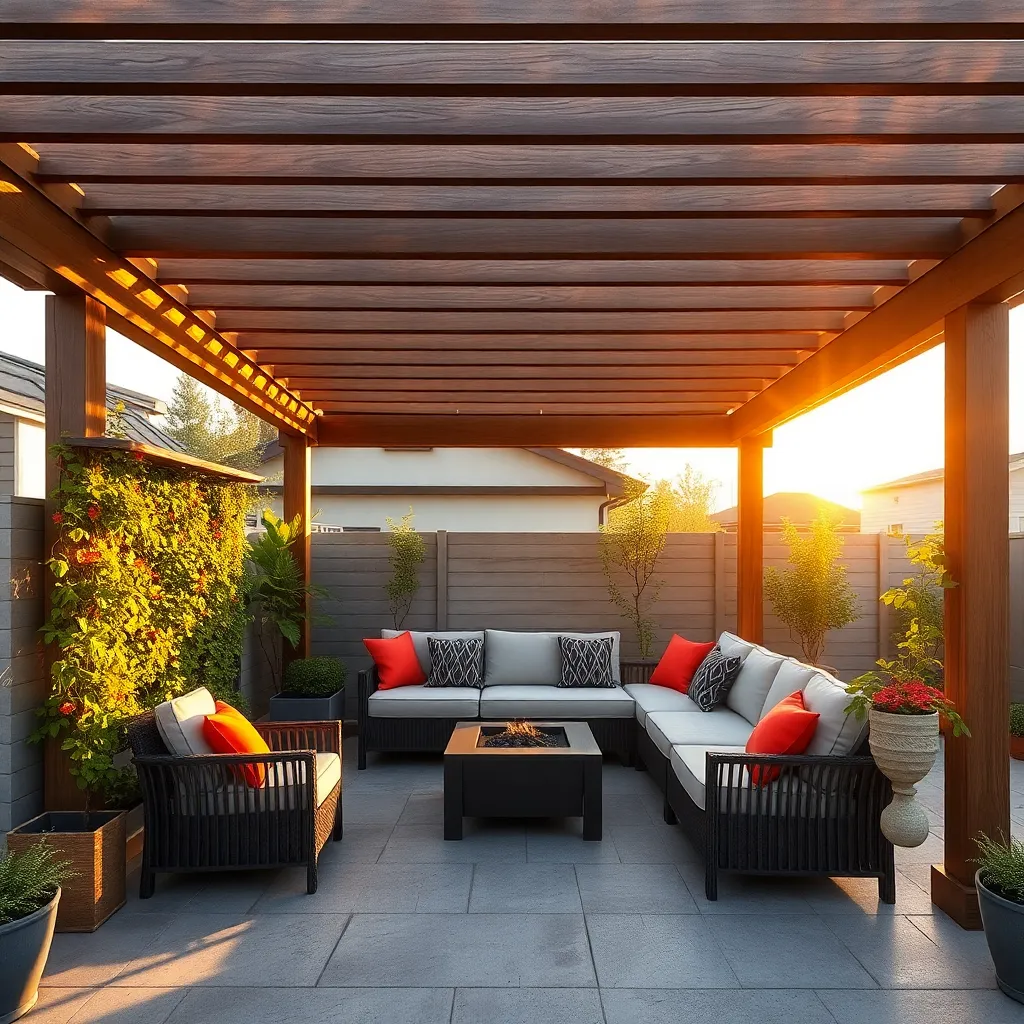
Once your outdoor shelter is built, it’s time to infuse it with character and charm. Start by selecting weather-resistant materials like outdoor fabrics for cushions and curtains, which can withstand the elements while adding comfort. Incorporate string lights or solar lanterns to create a warm ambiance during evenings. For a touch of greenery, consider hanging plants or vertical gardens that can thrive in your local climate, offering both beauty and a natural cooling effect.
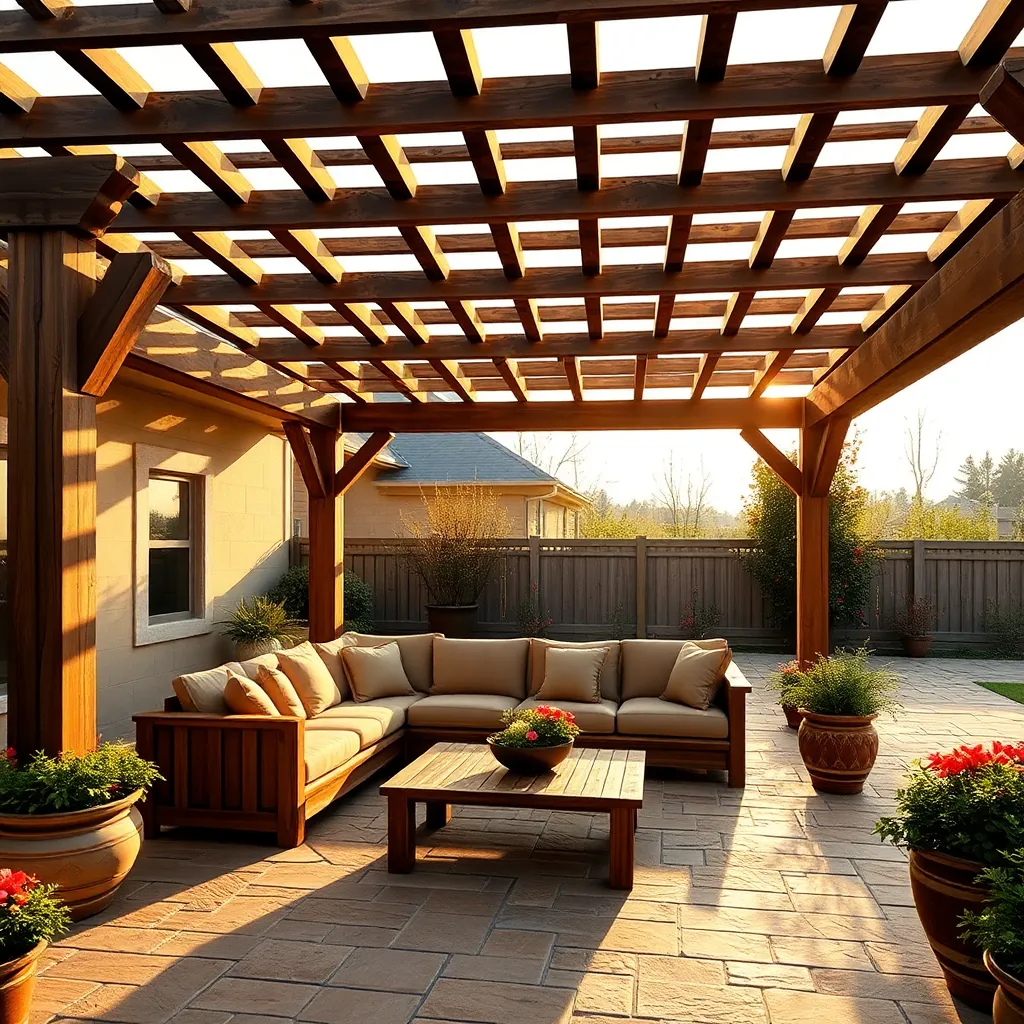
Experiment with decorative elements such as wooden furniture or repurposed items to add personality to your space. A reclaimed wood table or a set of mismatched chairs can provide a rustic, inviting feel. If you’re looking to try something more advanced, consider building a custom pergola with adjustable slats to control sunlight and shade. These enhancements not only elevate the aesthetic but also boost the functionality of your outdoor refuge, making it a perfect retreat for relaxation and social gatherings.
Ensuring Shelter Stability and Safety
Stability and safety are crucial when constructing an outdoor shelter. Begin with a solid foundation by using pressure-treated lumber or concrete blocks, which are resistant to moisture and pests. Ensure the frame is securely anchored to the ground to withstand strong winds; metal brackets or hurricane ties can offer additional reinforcement. For more advanced stability, consider cross-bracing the structure with diagonal supports, especially in areas prone to severe weather.
Safety should never be compromised, so incorporate elements like fire-retardant materials if you plan to use heaters or grills nearby. Regularly inspect your shelter for any signs of wear or damage, such as loose bolts or rotting wood, and address them promptly. For added safety and durability, invest in quality roofing material, like polycarbonate panels or treated canvas, to protect against the elements. These practical steps ensure your outdoor haven remains a secure and enjoyable retreat for years to come.
Maintenance Tips for DIY Structures
To ensure your DIY outdoor shelter remains sturdy and safe, regular maintenance is essential. Begin by inspecting the structure every few months for any signs of wear, such as loose screws or bolts, and tighten them as needed. Choose weather-resistant materials like pressure-treated wood or galvanized steel to minimize corrosion and damage from the elements. For wooden shelters, apply a protective sealant annually to prevent rot and extend the lifespan of the wood.
Keeping your shelter clean is also crucial for longevity and aesthetics. Clear debris like leaves and dirt from the roof to avoid moisture buildup, which can lead to mold or mildew. Consider adding a sloped roof design to facilitate water runoff and reduce maintenance efforts. For a more advanced touch, install UV-resistant tarps or shade cloths to provide additional protection against harsh sunlight, ensuring comfort and durability. Regular care not only preserves your structure but enhances its functionality and appeal.
Adapting Shelters for Seasonal Use
When adapting outdoor shelters for seasonal use, consider using **removable panels**. These panels can be made from materials like clear acrylic or treated wood, providing versatility and protection against elements like wind or rain. In warmer months, simply remove the panels to allow for more airflow, and during colder seasons, reinstall them to offer extra insulation and comfort.
Incorporating **adjustable roofing** can significantly enhance your shelter’s utility throughout the year. Consider using retractable awnings or pergola systems with adjustable slats. This allows you to control the amount of sunlight or shade your space receives, making it suitable for both sunny summer afternoons and cooler, shaded retreats. For beginner DIY enthusiasts, start with a simple tarp on a pulley system, while those looking for a more advanced project might explore motorized options.
Conclusion: Creating Beautiful Outdoor Spaces
In exploring the ’15 DIY Outdoor Shelter Projects for Beginners,’ we’ve uncovered key relationship concepts that align with building something meaningful together. From the importance of communication as you draft your design to fostering patience while navigating challenges, each project reflects vital aspects of nurturing a relationship. The collaborative spirit of choosing materials mirrors decision-making in partnerships, while the satisfaction of completing a project symbolizes shared achievements. Embracing creativity and adaptability, just like in relationships, leads to deeper connections.
Now, it’s time to put this knowledge into practice. Choose a project from the list and embark on this journey with your partner, turning the blueprint into a symbol of your bond. As you do, observe how each step strengthens your relationship, and let these experiences fuel your growth together.
Don’t let these insights slip away—bookmark this article to revisit these valuable lessons and projects. They will serve as a reminder of the joy and fulfillment that teamwork brings to both your outdoor creations and your relationship. By embracing these projects, you’re not just building shelters; you’re laying the foundation for a resilient and thriving partnership. Here’s to crafting both enduring shelters and lasting love!