
Transforming your garden into a haven of beauty and function doesn’t have to be a daunting task. Whether you’re just starting out or you’re a seasoned green thumb, “15 Garden Storage Ideas for Your Next Project” is your perfect companion to declutter and enhance your outdoor living space. With a sprinkle of creativity and a dash of enthusiasm, you’ll discover innovative ways to store tools, pots, and more, all while adding charm and character to your garden.
Imagine stepping into a garden oasis where everything has its place, and every corner inspires tranquility and joy. This guide promises not only to spark your creativity but also to arm you with practical solutions that maximize space and elevate your outdoor experience. Embrace the confidence to transform your garden into a well-organized, beautiful sanctuary where functionality meets aesthetic delight.
Utilize Vertical Storage Solutions
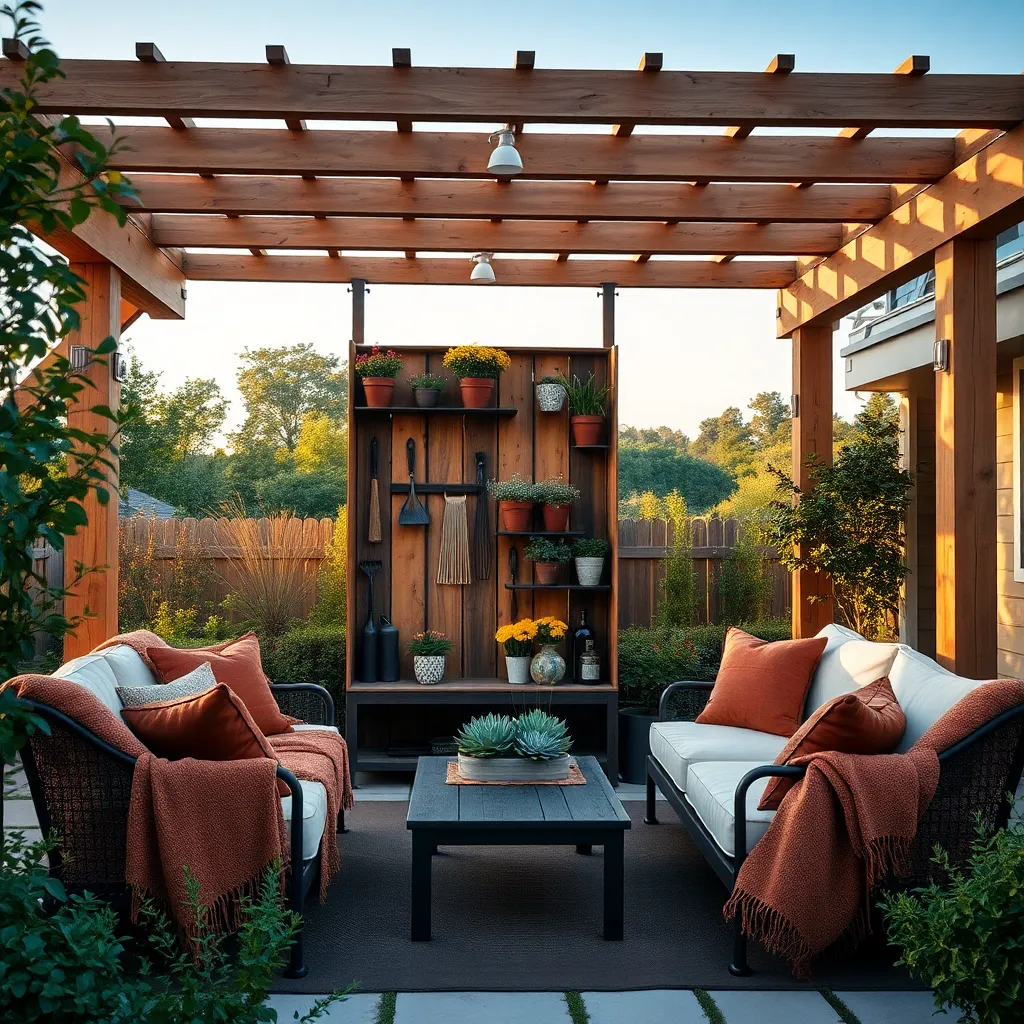
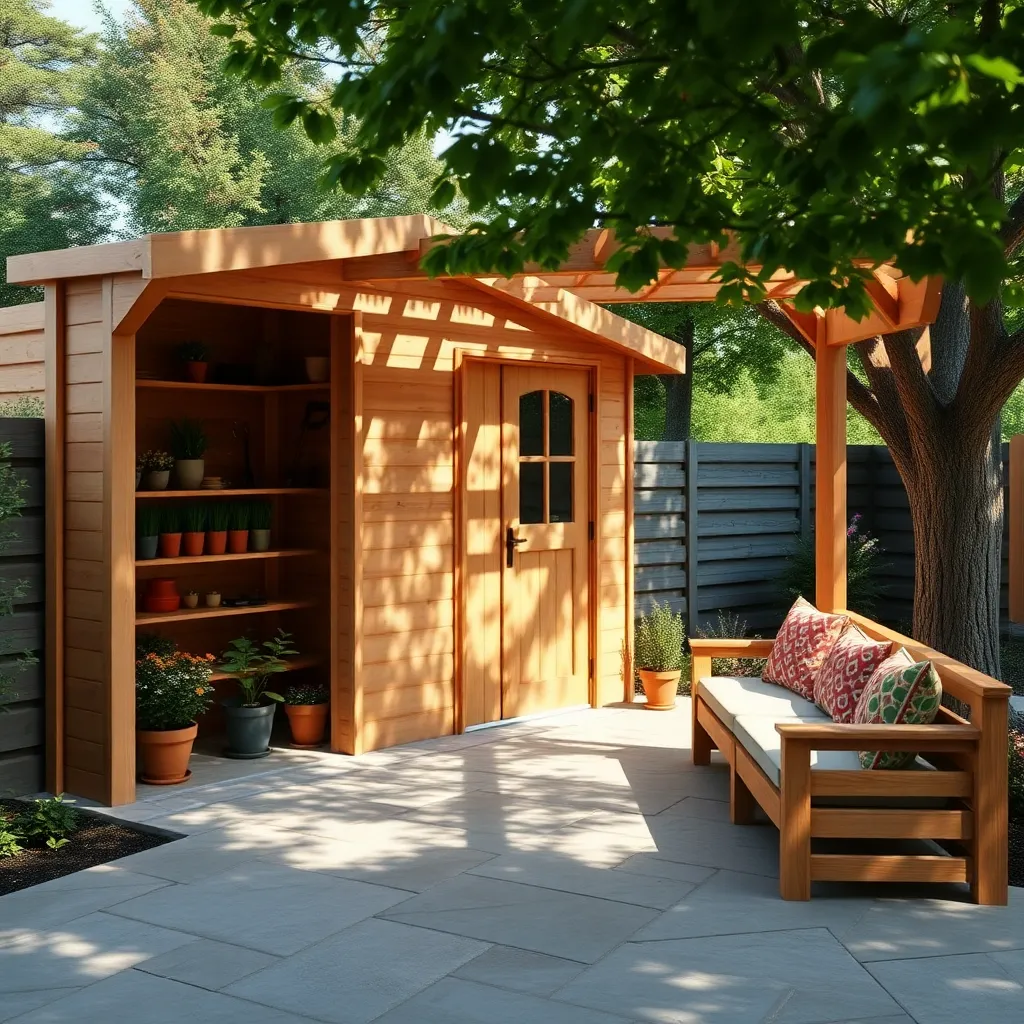
Maximizing your garden space can be as simple as looking up. Utilizing vertical storage solutions is a highly effective way to keep your outdoor area tidy and organized. Start by installing sturdy shelves or hanging racks on the walls of your garden shed or fence. Opt for weather-resistant materials like treated wood or metal to ensure they withstand the elements. For beginners, consider ready-made kits that are easy to install with basic tools. Advanced gardeners might explore custom-built options to fit specific dimensions and aesthetic preferences.
Incorporating vertical garden storage not only saves space but also adds a visual element to your garden. Use hooks or pegboards to hang tools, keeping them within easy reach and off the ground. Consider adding a vertical plant wall for a combination of storage and greenery—use planters that can be attached directly to the structure. For a refined look, paint or stain your storage units to match your garden’s color palette. Whether you’re storing tools or displaying plants, vertical solutions are a versatile and stylish way to enhance your outdoor shelter.
Incorporate Multi-Functional Furniture Pieces
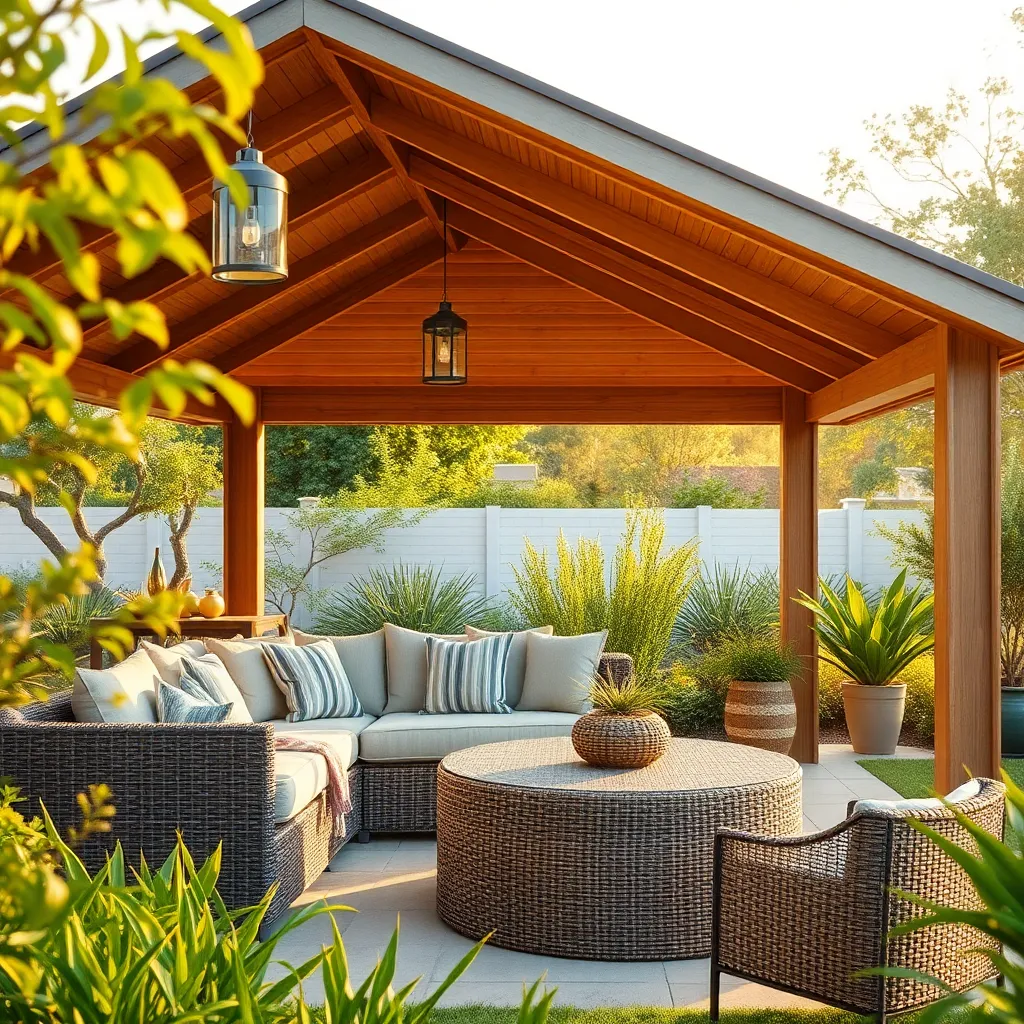
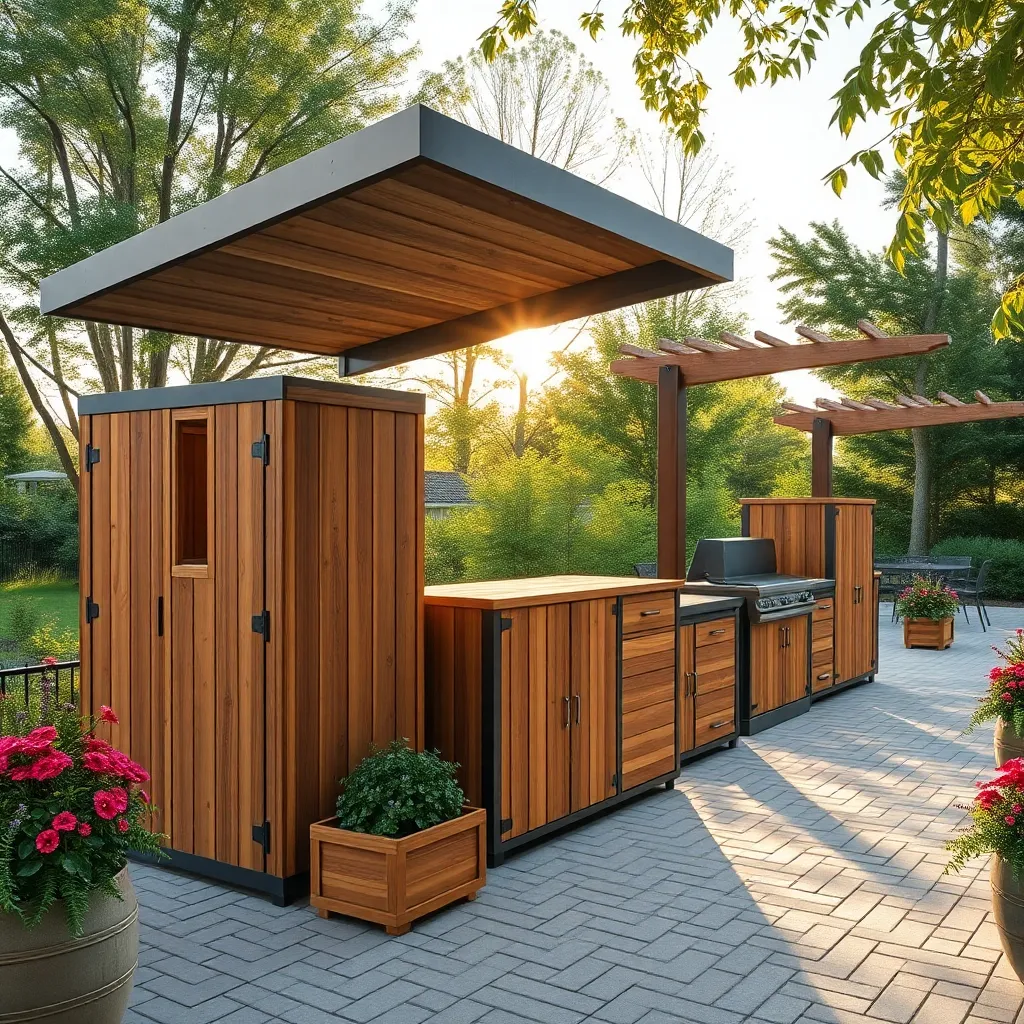
To maximize both space and functionality in your garden, consider incorporating multi-functional furniture pieces into your outdoor shelter. Look for furniture that can serve dual purposes, such as a bench with built-in storage for gardening tools or cushions. When choosing materials, opt for durable options like teak or weather-resistant wicker, as these can withstand various weather conditions and require minimal maintenance. For beginners, a simple garden bench with a hinged seat can provide immediate storage solutions, while more experienced DIY enthusiasts might consider constructing a custom-built piece using reclaimed wood for a sustainable and personalized touch.
Advanced gardeners can also explore modular furniture systems that adapt to changing needs. These systems often include interlocking components that can be rearranged or expanded over time, perfect for accommodating seasonal changes or growing family requirements. Consider adding elements like pull-out tables or foldable chairs that can be easily stored when not in use. For those with a creative flair, integrating vertical planters into your furniture design not only adds a green touch but also maximizes space efficiency. Remember to measure your outdoor area accurately before purchasing or building any pieces to ensure a perfect fit.
Opt for Weatherproof Storage Bins
For effective garden organization, weatherproof storage bins are a practical choice that can withstand the elements while keeping your tools and supplies safe. Choose bins made from durable materials like resin or heavy-duty plastic, which offer excellent resistance to rain, UV rays, and temperature fluctuations. To ensure easy access and ventilation, look for bins with secure lids and built-in drainage holes. For those with limited space, consider stackable designs that maximize vertical storage without compromising on accessibility.
Advanced gardeners might opt for bins with lockable lids for added security, especially if storing valuable equipment. Incorporating color-coded bins can help in organizing different types of gardening supplies efficiently. Consider bins with wheels for easier movement around the garden, especially if you frequently rearrange plants or have a large area to cover. By selecting the right weatherproof storage bin, you can keep your gardening essentials organized, protected, and ready for use whenever you need them.
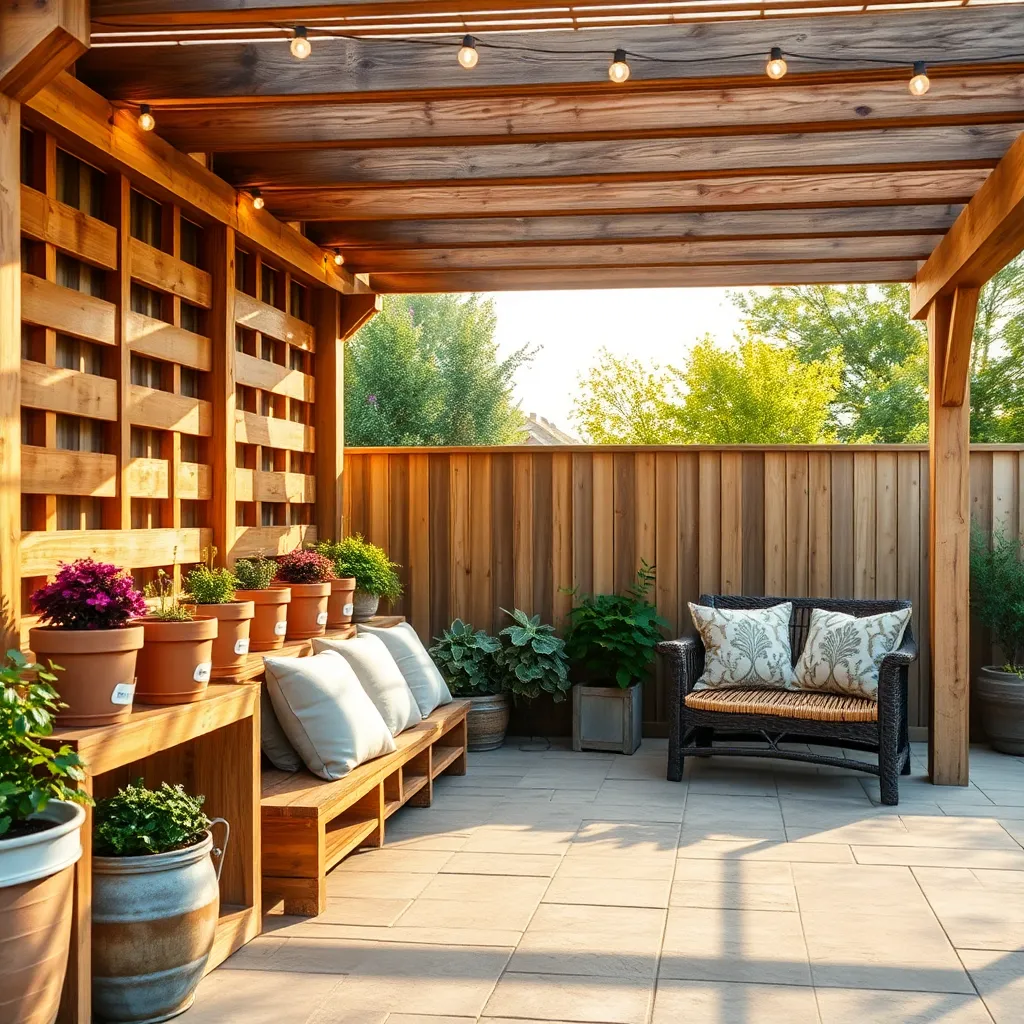
Create Hidden Storage Beneath Benches

Transform your garden benches into multifunctional fixtures by creating hidden storage beneath them. Start by choosing sturdy, weather-resistant materials like cedar or teak, which are naturally rot-resistant and perfect for outdoor use. Consider adding a hinged seat to your bench design, allowing easy access to the storage area below. Ensure the dimensions of the storage space are practical for your needs; a depth of at least 18 inches can accommodate gardening tools, cushions, or even small pots. Incorporating a waterproof liner inside the storage space will also protect your items from moisture.
For a seamless look, match the bench style with your garden’s overall aesthetic. Beginners can opt for ready-made benches with built-in storage, while more advanced DIY enthusiasts might enjoy customizing their benches with decorative elements like latticework or built-in planters. Ensure proper ventilation by drilling small holes in the storage compartment to prevent mold growth. To enhance security, consider adding a simple lock or latch to keep contents safe. With these steps, you’ll not only gain extra storage but also add a charming, functional element to your garden.
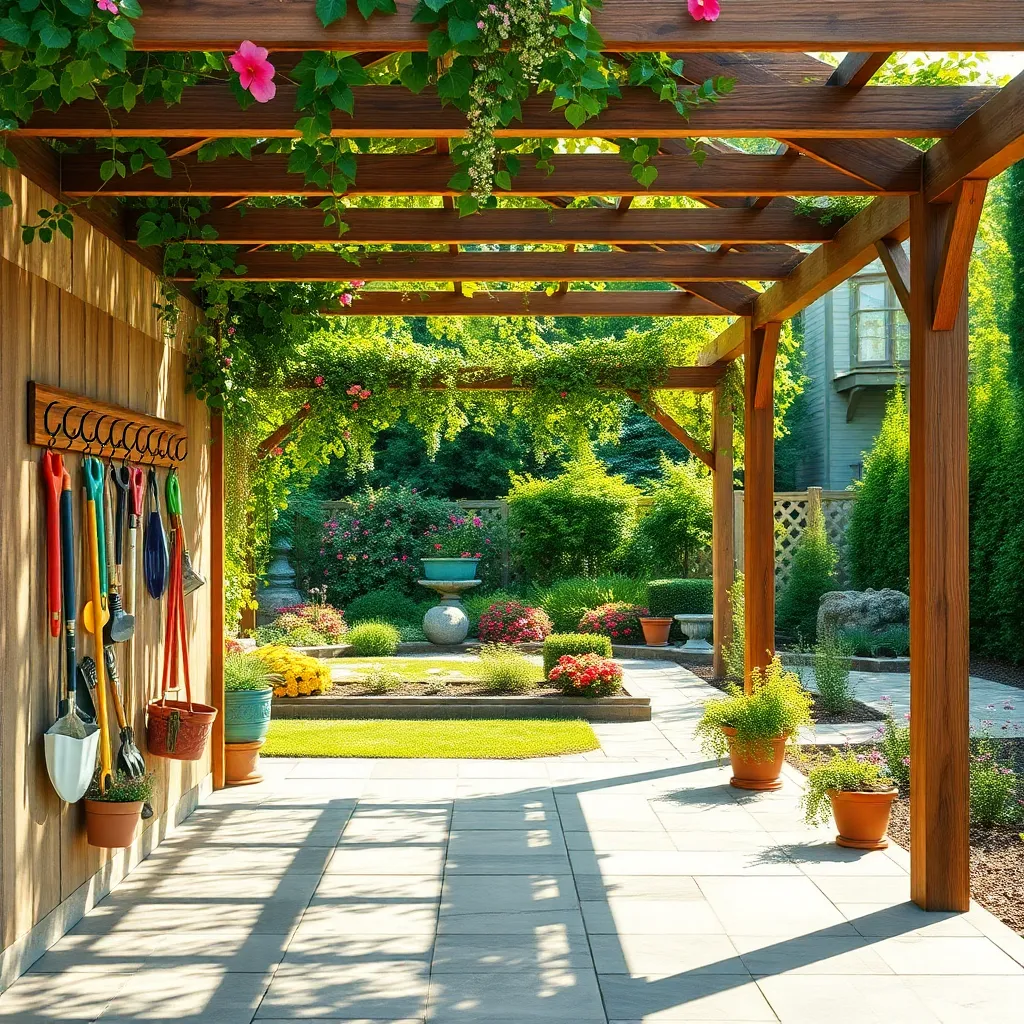
Install Wall-Mounted Tool Racks
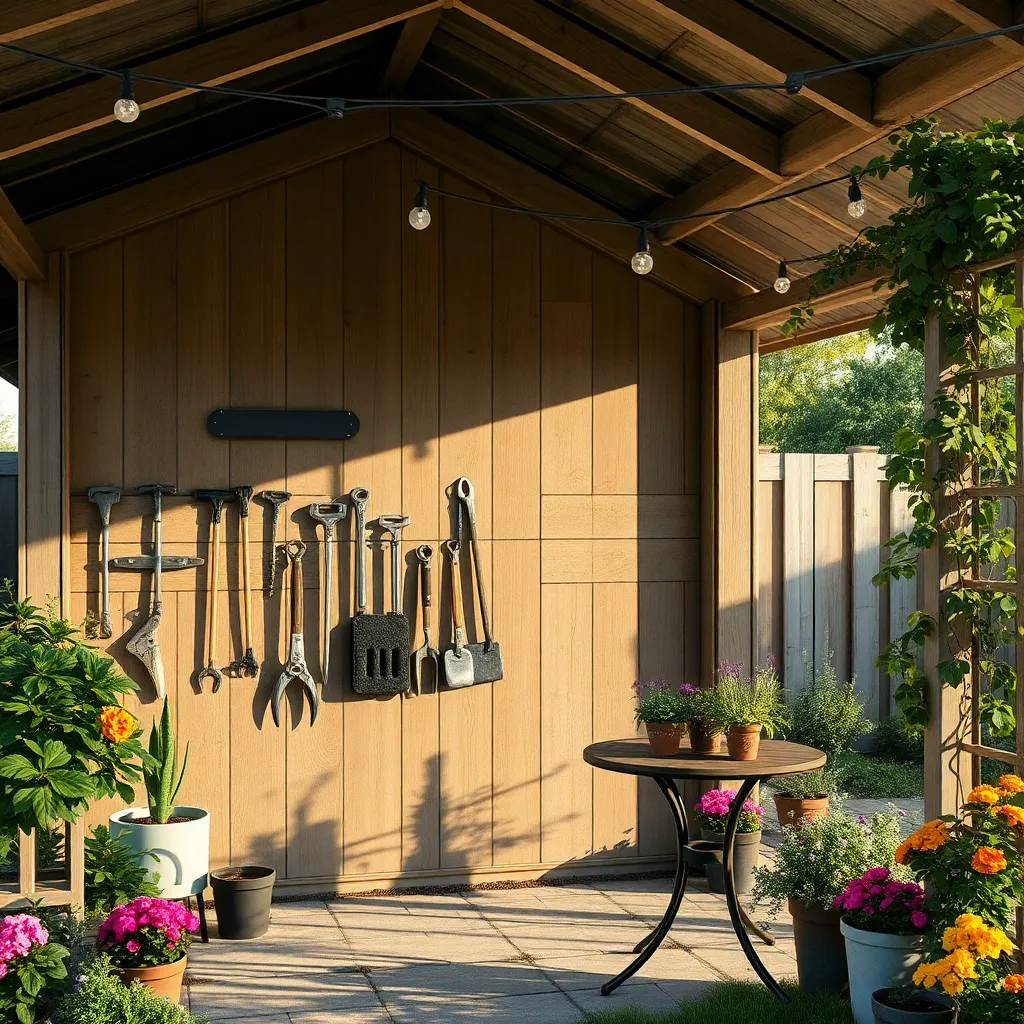
Wall-mounted tool racks are a superb solution for organizing your gardening tools efficiently while saving valuable floor space in your outdoor shelter. Start by choosing a durable material like galvanized steel or treated wood to withstand the elements. Install these racks on a sturdy wall, ensuring they are anchored properly to support the weight of your tools. Spacing the hooks or slots at regular intervals can make it easier to access each tool, while using adjustable racks allows flexibility as your collection grows.
For beginners, starting with a basic setup—perhaps a simple pegboard with hooks—can be both economical and effective. More advanced gardeners might consider customized options, such as racks with built-in charging stations for power tools. Labeling specific sections for different types of tools can further streamline your gardening process, making it easy to find exactly what you need. Whether you’re a novice or a seasoned pro, these racks can enhance both the functionality and aesthetics of your garden storage area.
Add Shelving to Garden Sheds
One of the most effective ways to maximize space in your garden shed is by adding shelving. Consider using robust materials like treated wood or metal to ensure longevity against the elements. Beginners can start with simple DIY kits available at most home improvement stores, which typically include pre-cut shelves and brackets. For a more customized approach, advanced DIY enthusiasts might want to design and build their own shelves tailored to specific tools or gardening supplies, ensuring every inch of space is utilized efficiently.
When planning your shelving layout, think about the height and depth that will best accommodate your tools and supplies. A good starting point is to install shelves at varying heights: lower for heavier tools and pots, and higher for lighter items like seed packets and gloves. Use adjustable brackets to allow flexibility as your storage needs change. To further enhance organization, consider adding labels or small bins to keep smaller tools and accessories neatly sorted. This practical approach not only organizes your garden shed but also makes your gardening tasks more enjoyable and efficient.
Choose Space-Saving Foldable Furniture
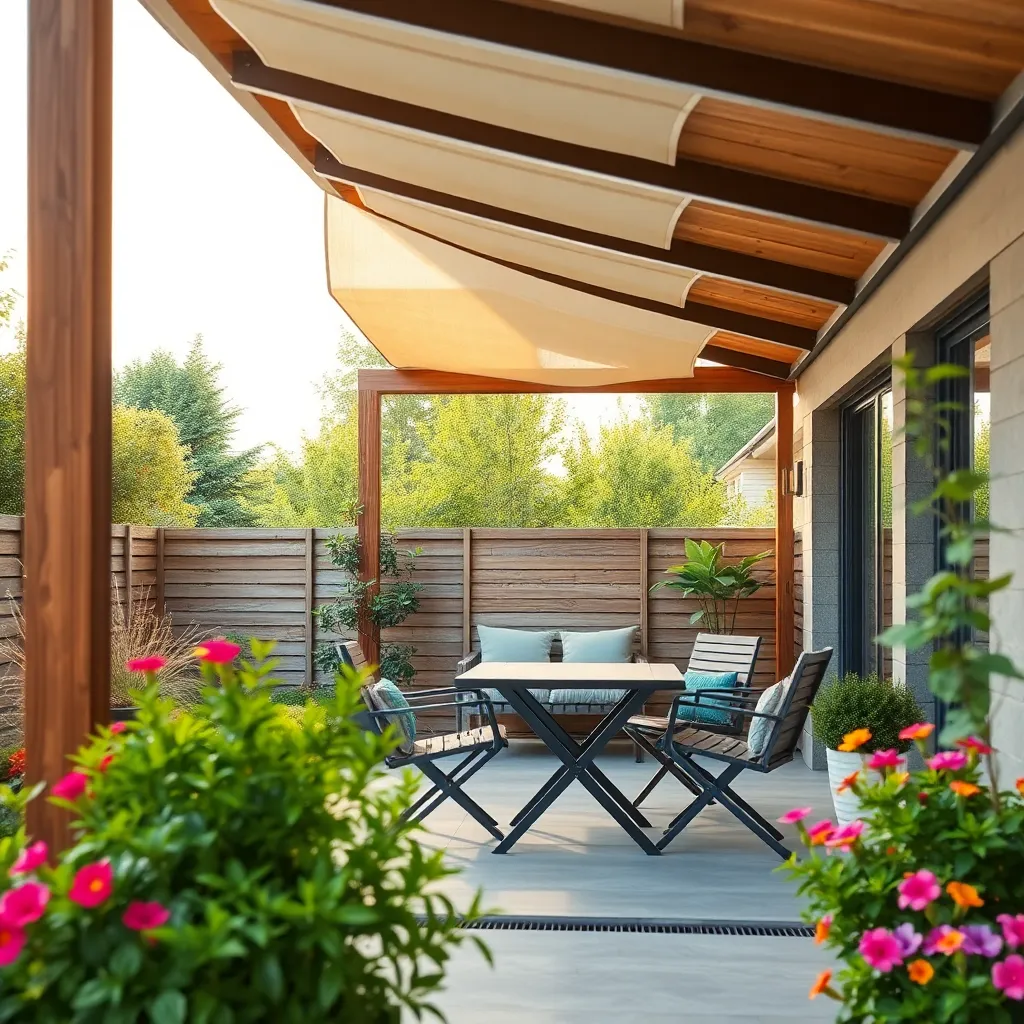
Maximize your garden’s potential by incorporating space-saving foldable furniture into your outdoor setup. Opt for materials like weather-resistant aluminum or treated wood to ensure durability against the elements. Consider foldable chairs and tables that can be easily stored when not in use, freeing up space for other activities. For beginners, look for pieces with simple mechanisms for ease of use, while more advanced gardeners might explore custom designs that blend seamlessly with their existing garden aesthetic.
When choosing foldable furniture, focus on multi-functional designs that enhance your outdoor experience. Look for tables with adjustable heights or benches with hidden storage compartments to optimize functionality. For a cohesive look, select pieces in neutral tones or natural wood finishes that complement your garden’s theme. Remember to measure your available space before purchasing to ensure a perfect fit, and consider investing in a quality outdoor cover to extend the lifespan of your furniture during off-seasons.
Designate Zones for Specific Items
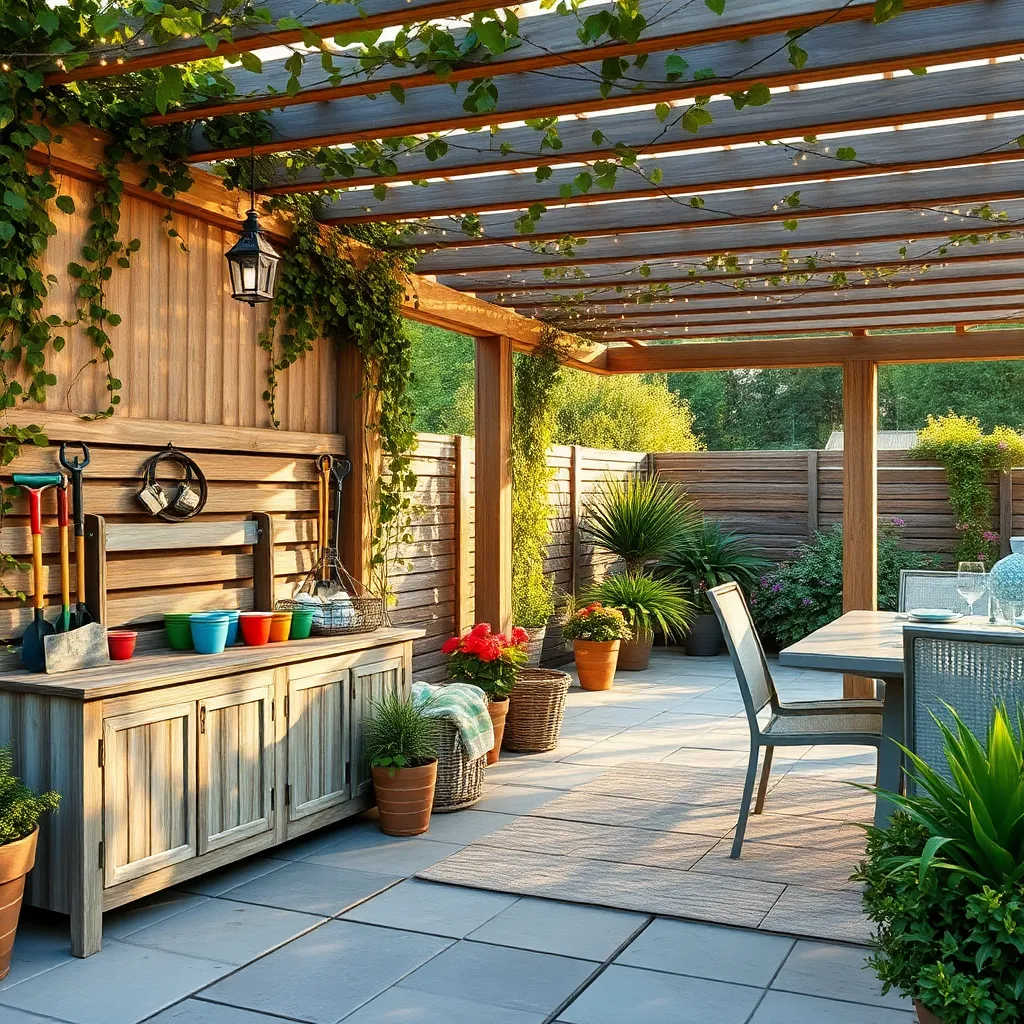
When organizing your garden storage, it’s essential to designate specific zones for different items. Begin by assessing the types of tools and equipment you have—this could include gardening tools, fertilizers, pots, and seasonal decorations. Allocate distinct areas within your outdoor shelter for each category. Consider using durable materials like treated wood or metal for shelving, which can withstand the elements and support heavy items. For beginners, start with a simple layout, such as placing frequently used tools at eye level and heavier items on lower shelves.
Advanced gardeners might consider integrating custom-built storage solutions, like cabinets with adjustable shelves or pegboards for hanging tools. This not only maximizes space but also keeps everything easily accessible. For a more polished look, use weather-resistant paint or sealant to protect wooden structures. If your shelter includes a workbench, assign drawers or containers for smaller items like seeds and gloves. By thoughtfully organizing your storage zones, you can enhance both the functionality and aesthetics of your garden space, making maintenance tasks more efficient and enjoyable.
Use Storage Ottomans for Flexibility
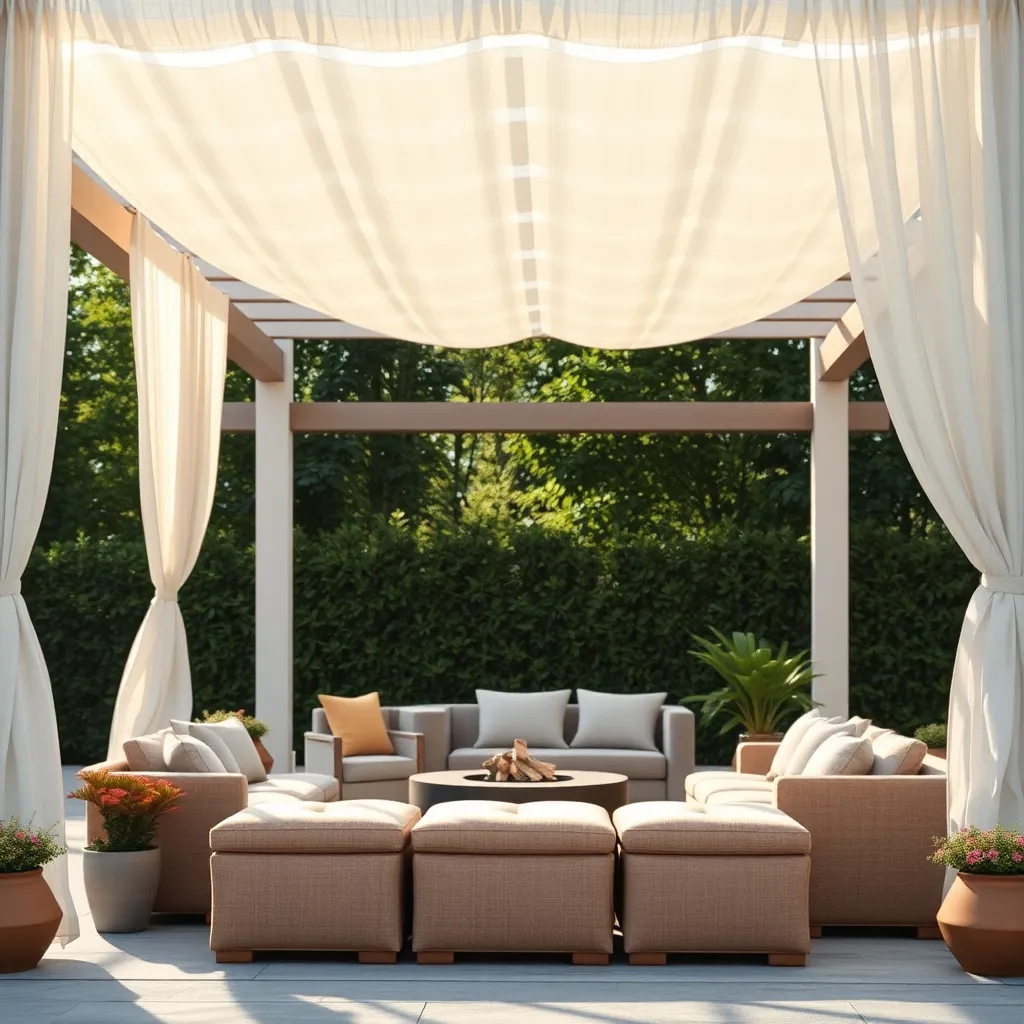
Storage ottomans offer a versatile solution for garden storage, seamlessly combining functionality with style. These pieces can be used as seating, footrests, or tables, while also providing hidden storage for gardening tools, cushions, or seasonal decor. For durability in outdoor environments, opt for weather-resistant materials like teak, resin wicker, or powder-coated metal. Look for ottomans with a hinged lid for easy access and consider a waterproof liner to protect contents from moisture.
Integrating storage ottomans into your garden design enhances flexibility and aesthetics. Place them strategically in seating areas to maximize their dual-purpose benefits—acting as both practical furniture and storage. For a cohesive look, match the ottoman’s design to your outdoor furniture, using similar colors or materials. Advanced users can even customize their ottomans with outdoor fabric covers or paint to better fit their garden’s theme. Whether you’re a beginner or a seasoned gardener, these storage solutions add both function and flair to your outdoor space.
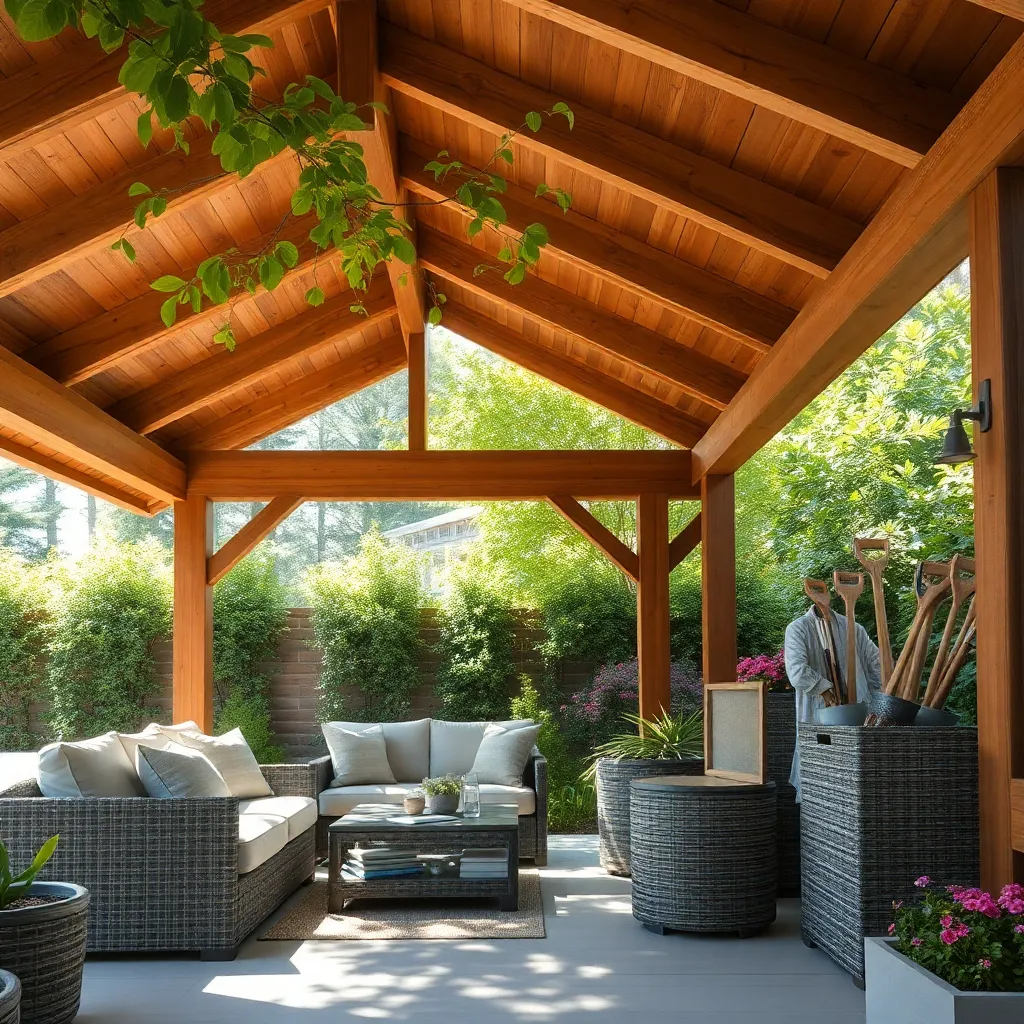
Build Customizable Modular Units
For a versatile and stylish garden storage solution, consider building customizable modular units. These units can be tailored to fit your specific needs, whether you require shelving for tools or a covered area for larger equipment. Begin with a sturdy frame, using weather-resistant materials such as pressure-treated wood or galvanized steel. **Ensure the units are modular**—this allows you to expand or rearrange them as your storage needs change. Consider incorporating adjustable shelves and hooks to maximize storage efficiency and accessibility.
For those with a bit more experience, adding features like sliding doors or lockable compartments can significantly enhance the functionality of your modular units. **Design-wise, think about integrating your storage unit with the landscape**, using natural colors or planting climbing vines for aesthetic appeal. For a seamless look, use materials that complement your garden’s existing features. Aim for a depth of at least 18 inches for ample storage, and remember to anchor the units securely, especially in windy areas. By personalizing these units, you can create a storage solution that is both practical and visually pleasing.
Employ Stackable Crates for Versatility
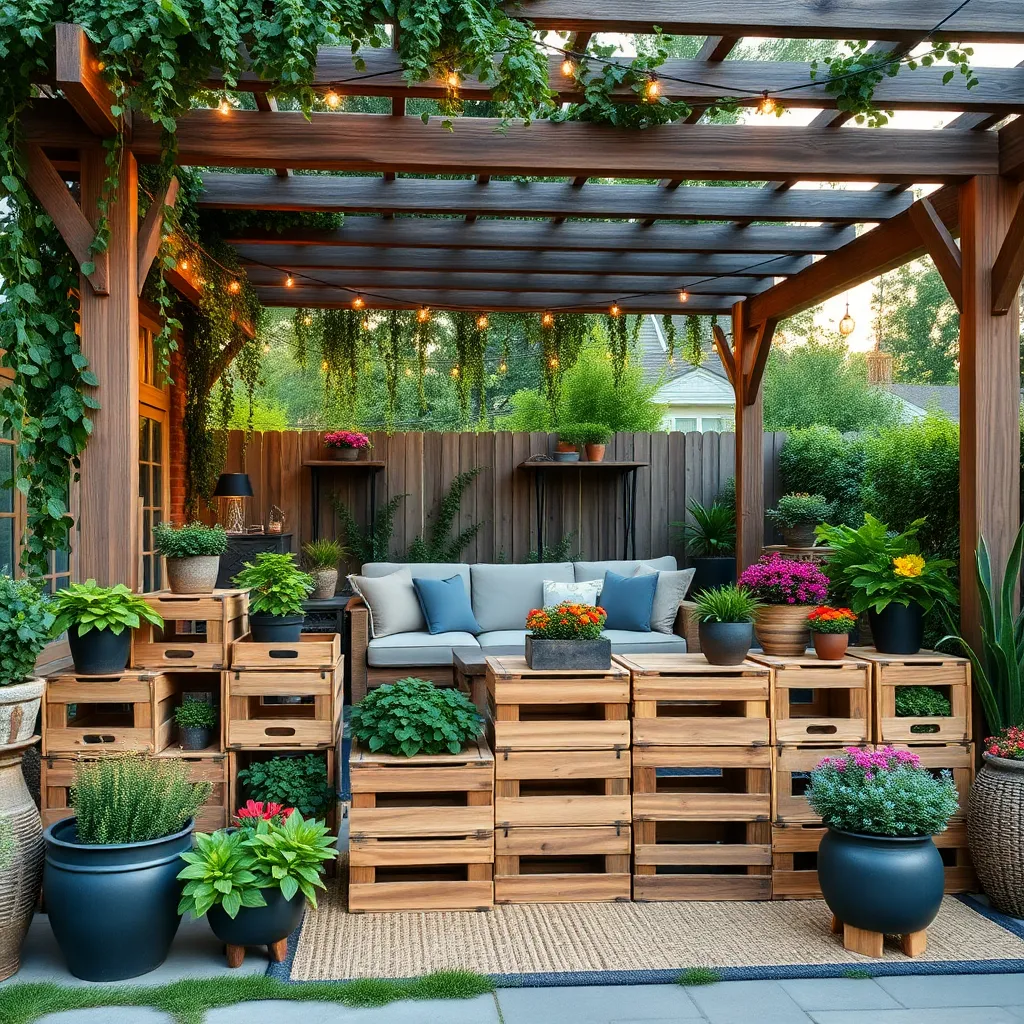
Stackable crates offer a versatile solution for garden storage, allowing you to create customizable shelving or enclosed storage without the need for complex construction. Begin by selecting durable, weather-resistant materials such as plastic or treated wood to ensure longevity. Arrange the crates to suit your space—stack them vertically for a space-saving solution or spread them out horizontally to create a low-lying unit that can also serve as a bench. Secure each crate with zip ties or screws for added stability, especially in windy areas.
For beginners, start with a few crates to create a simple, effective storage solution for smaller tools, pots, and accessories. Advanced gardeners might consider adding a plywood top to the crates for a sturdy work surface or incorporating casters to make the structure mobile.
- Remember to drill drainage holes if storing wet items
- Consider painting or staining the crates for aesthetic appeal
- Use weatherproof covers to protect contents from the elements
With these versatile units, you can easily reconfigure your setup as your gardening needs change.
Implement Transparent Storage Containers
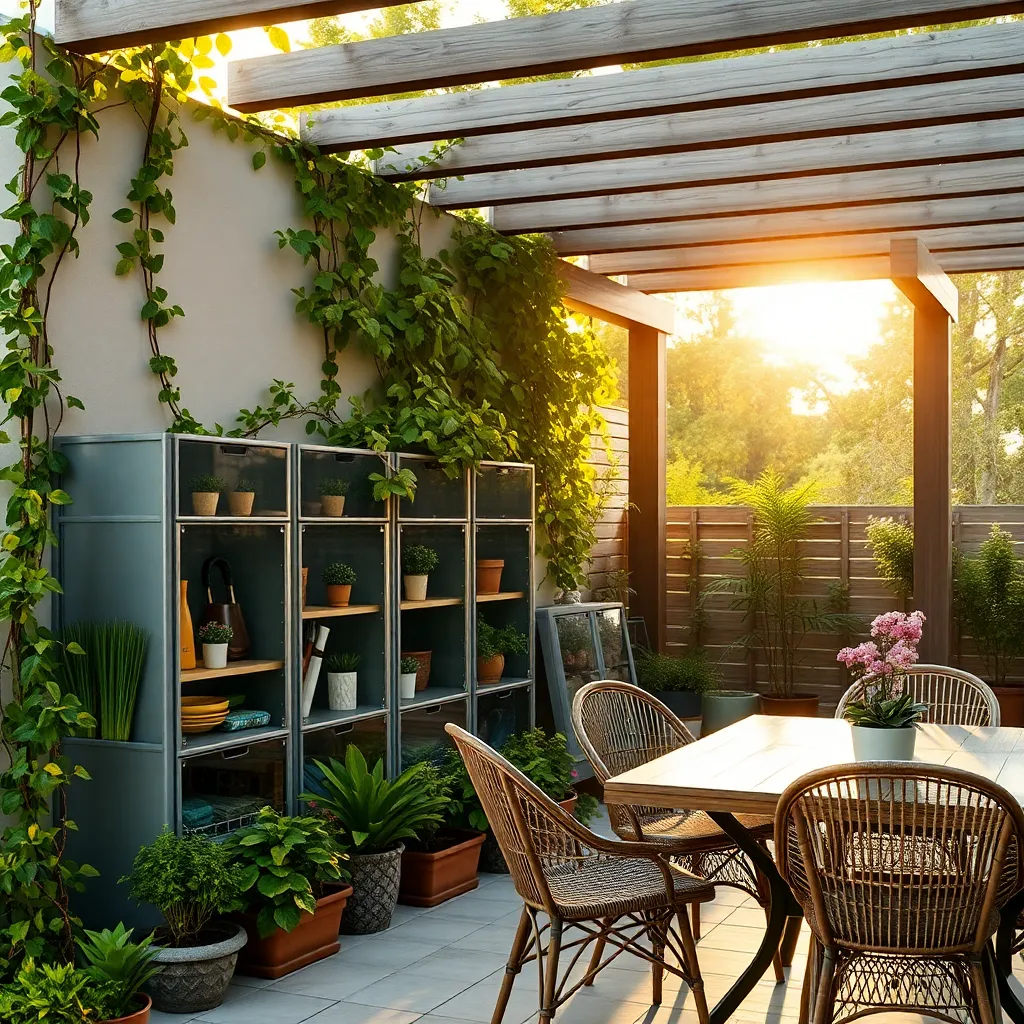
Transform your garden storage with the strategic use of transparent storage containers. These containers offer visual access to tools and supplies, reducing the time spent searching for items. Opt for durable materials like polycarbonate or acrylic, which withstand outdoor conditions while maintaining clarity. For a basic setup, choose containers that are UV-resistant and feature airtight seals to protect contents from moisture and pests.
To enhance organization, consider grouping containers by purpose or frequency of use. Stack them on sturdy shelves or dedicated racks to maximize vertical space. For more advanced applications, label each container for easy identification and incorporate a color-coded system to streamline access. When selecting sizes, ensure they are large enough to hold your equipment but compact enough to fit within your designated storage area. By implementing transparent containers, you create a tidy, efficient storage system that enhances your garden’s functionality.
Label Containers for Easy Access
Organizing your garden supplies can be a game-changer, and labeling containers is a simple yet effective method to achieve this. Use weather-resistant labels or a permanent marker on waterproof tape to ensure your labels remain intact through various weather conditions. For beginners, start by categorizing items such as tools, seeds, and fertilizers—this way, you’ll always know where to find what you need, saving time and preventing frustration.
For those looking to enhance their organization further, consider implementing a color-coded system. Assign specific colors to different categories, such as green labels for fertilizers, blue for tools, and yellow for seeds. This visual cue can expedite your search process, especially if you have numerous containers. Advanced gardeners might opt for custom stencil labels or engraved wooden tags, adding a touch of personalization while maintaining order and accessibility in your outdoor space.
Attach Hooks for Hanging Tools
Installing hooks in your outdoor shelter is a simple yet effective way to keep your gardening tools organized and within easy reach. Choose heavy-duty, weather-resistant hooks to ensure they can support the weight of tools like shovels, rakes, and hoses. Galvanized steel or powder-coated hooks are excellent options for durability. Install the hooks on a sturdy wall, ideally made of treated wood or metal, to provide a stable and long-lasting mounting surface.
To maximize efficiency, arrange your hooks according to tool size and frequency of use. Position frequently used tools at eye level for quick access, while less commonly used items can be placed higher or lower. For a more advanced approach, consider installing a pegboard system, which allows for flexible arrangement and easy reconfiguration as your tool collection grows. This setup not only keeps your space neat but also adds to the visual appeal of your garden storage area.
Enhance Aesthetic with Decorative Baskets
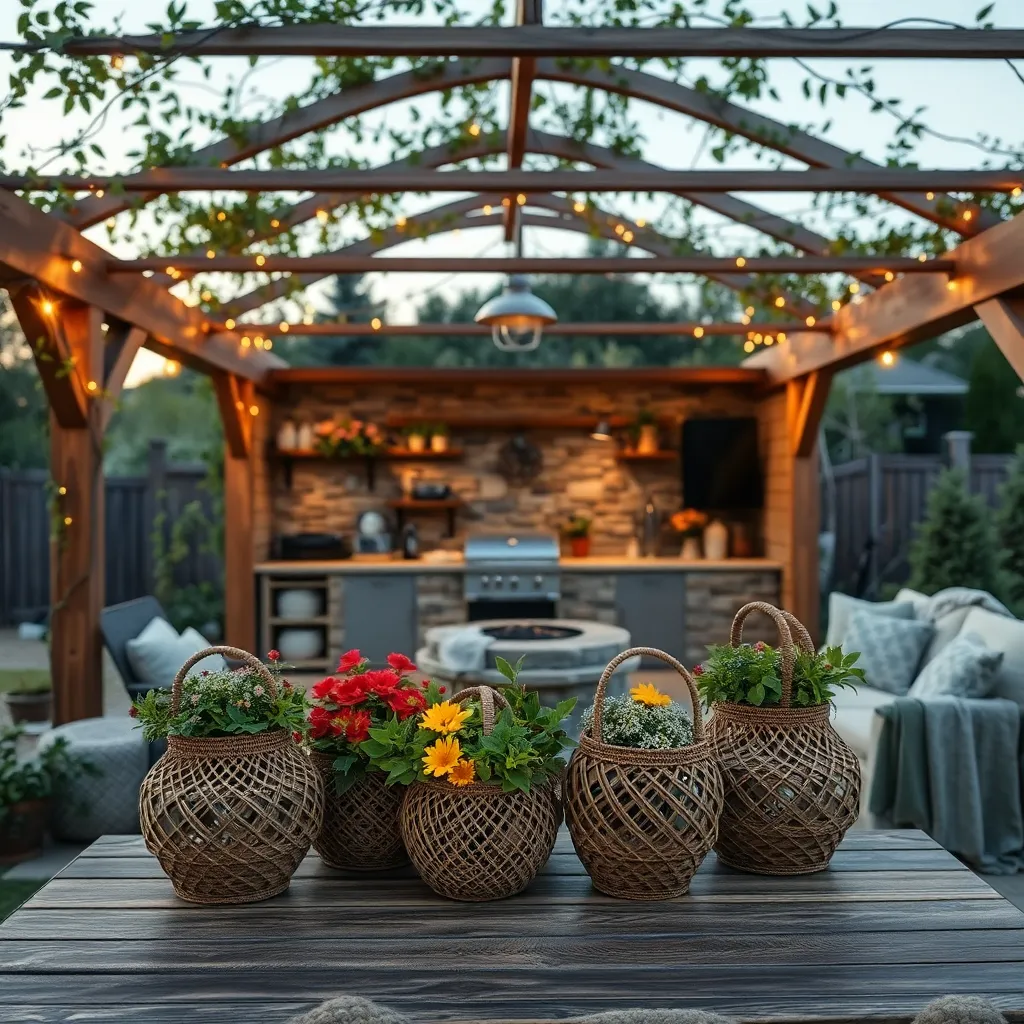
Incorporating decorative baskets into your garden shelter is a simple yet effective way to enhance its aesthetic appeal. Opt for baskets made from weather-resistant materials like wicker, rattan, or even recycled plastic to ensure durability outdoors. Arrange these baskets on shelves or hang them from hooks to store smaller garden tools, gloves, or twine, keeping your space tidy and visually pleasing. Beginners can start with a few baskets, while more advanced gardeners might consider organizing them by purpose or size.
For a cohesive look, consider selecting baskets in colors or textures that complement your garden’s existing decor. Mix different shapes and sizes to add visual interest and functionality. Advanced gardeners might want to line baskets with burlap or fabric to protect contents from the elements. When selecting baskets, ensure they have sturdy handles or loops for easy hanging. This versatile storage solution not only adds charm but also encourages organization, making it a must-try for any garden enthusiast.
Conclusion: Creating Beautiful Outdoor Spaces
In exploring the ’15 Garden Storage Ideas for Your Next Project,’ we’ve uncovered a treasure trove of relationship wisdom. Each idea mirrors a key relationship concept—from communication, trust, and compromise to nurturing growth and creating space for individuality. Just as each garden storage solution is crafted to maximize space and beauty, these concepts are designed to enrich and strengthen the bonds you cherish.
Now, it’s your moment to cultivate these insights in your life. Begin by choosing one concept that resonates most and actively implement it in your relationship today. Whether it’s setting aside time for meaningful conversations or recognizing the importance of trust, small steps can yield bountiful rewards.
Remember, relationships, like gardens, thrive with care and attention. Bookmark this article as your go-to guide, ensuring that these principles are always within reach to inspire and guide your journey. By doing so, you lay the foundation for ongoing growth and happiness.
As you nurture these concepts, envision a flourishing future for your relationships. With commitment and dedication, success is not just possible—it’s inevitable. Embrace this opportunity to grow and strengthen your connections, turning insights into action and dreams into reality.