
Imagine stepping into your backyard oasis, where every season invites you to enjoy the open air under a perfect shelter, rain or shine. Whether you’re a beginner dreaming of your first outdoor project or a seasoned homeowner looking to elevate your existing space, our guide to “15 Weatherproof Shelter Ideas for Your Next Project” is your key to creating a beautiful, resilient retreat. With these inspiring ideas, you’ll transform your outdoor area into a haven of comfort and style, ready to withstand any weather.
In this guide, you’ll discover practical solutions that blend aesthetics with functionality, ensuring your outdoor living space is as delightful as it is durable. From cozy pergolas to stylish gazebos, each idea is designed to spark your creativity and boost your confidence in making your vision a reality. Dive in and start your journey toward an outdoor sanctuary that welcomes you, your family, and friends, no matter what Mother Nature brings your way.
Choose Durable Weather-Resistant Materials
When building an outdoor shelter that withstands the elements, choosing the right materials is crucial. Opt for weather-resistant options like pressure-treated wood, which is resistant to rot and insects, or metals like galvanized steel, which offer excellent durability. For roofing, consider polycarbonate panels or asphalt shingles, both known for their resilience against harsh weather. By selecting these materials, you ensure your shelter is not only sturdy but also low-maintenance, saving you time and effort in the long run.
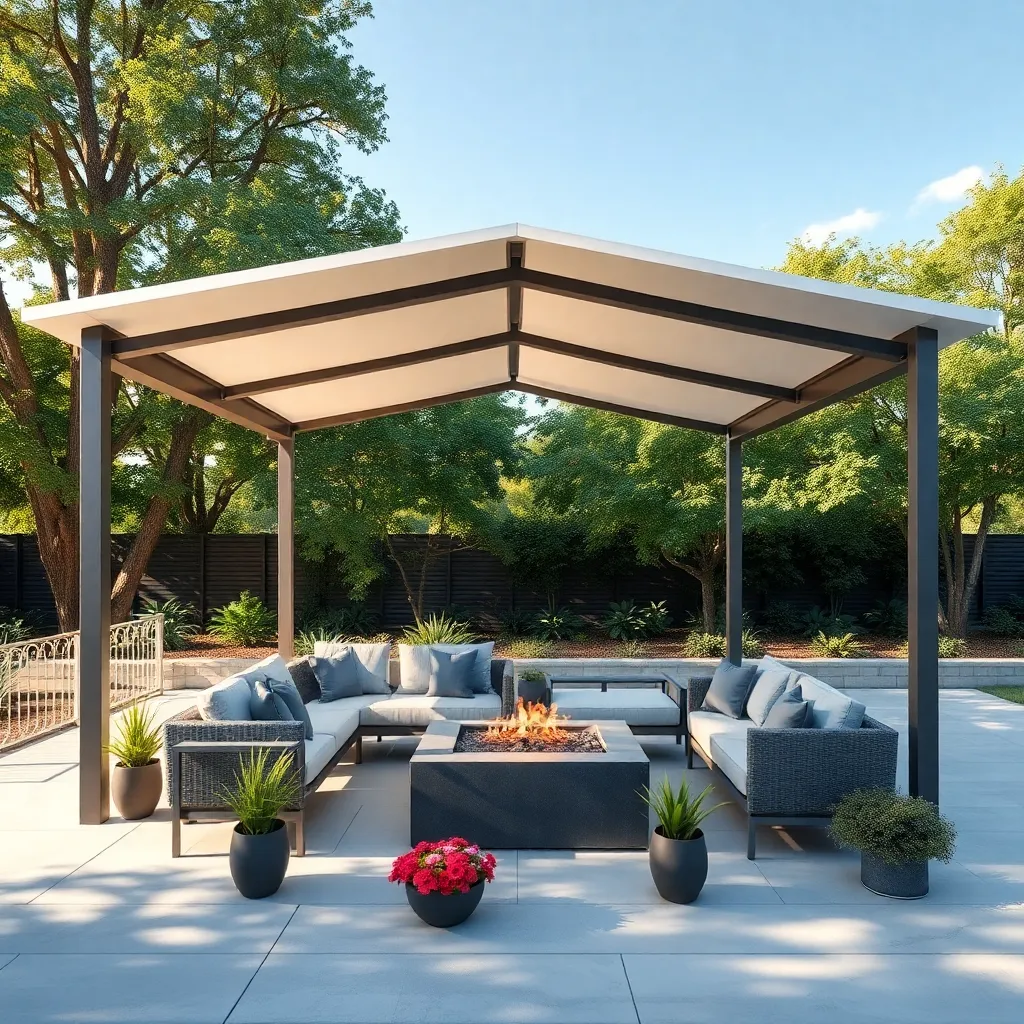
For a shelter that combines durability with style, integrate thoughtful design elements. Use rust-proof hardware to prevent corrosion and add a layer of protection. Consider incorporating a sloped roof design, which effectively channels rain away, reducing water pooling and potential leaks. For advanced builders, installing a gutter system can further safeguard your structure by directing water away from its foundation. This attention to detail ensures your shelter remains a functional and attractive part of your outdoor space for years to come.
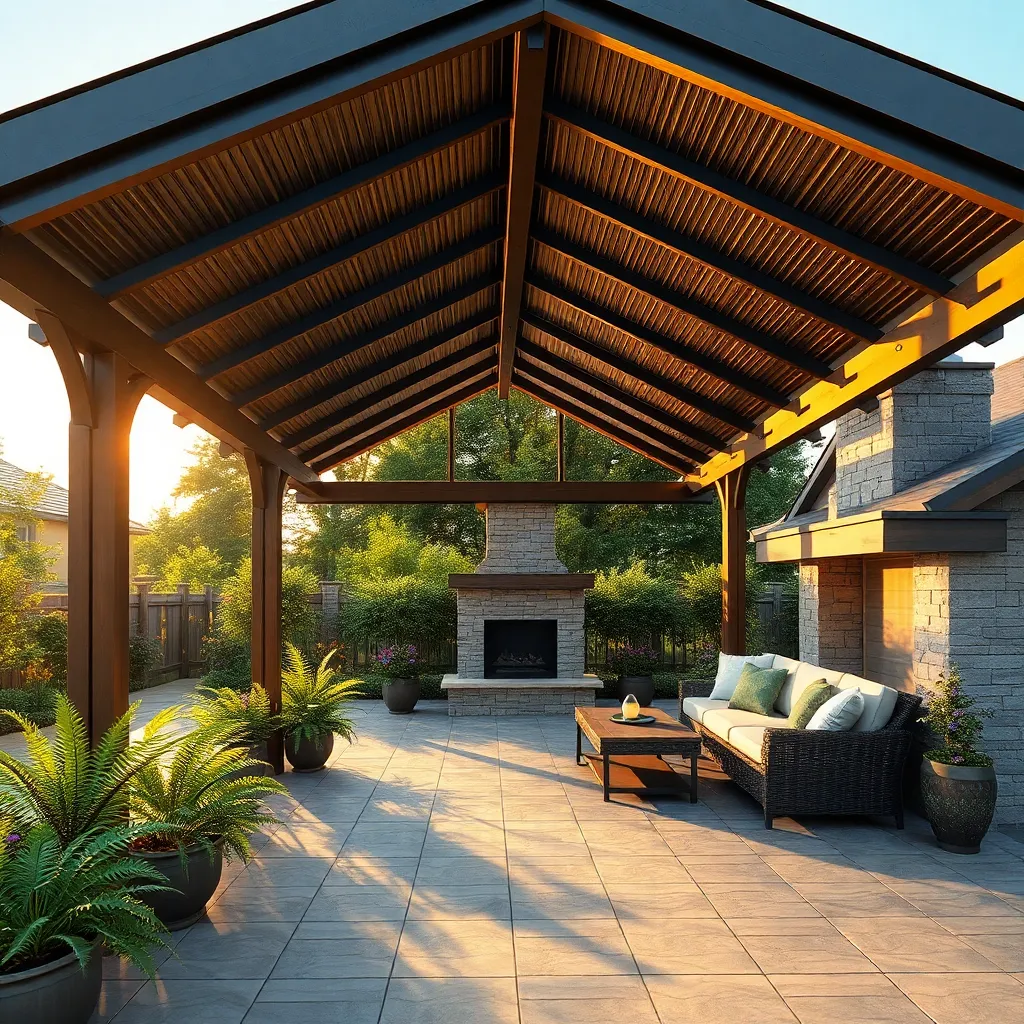
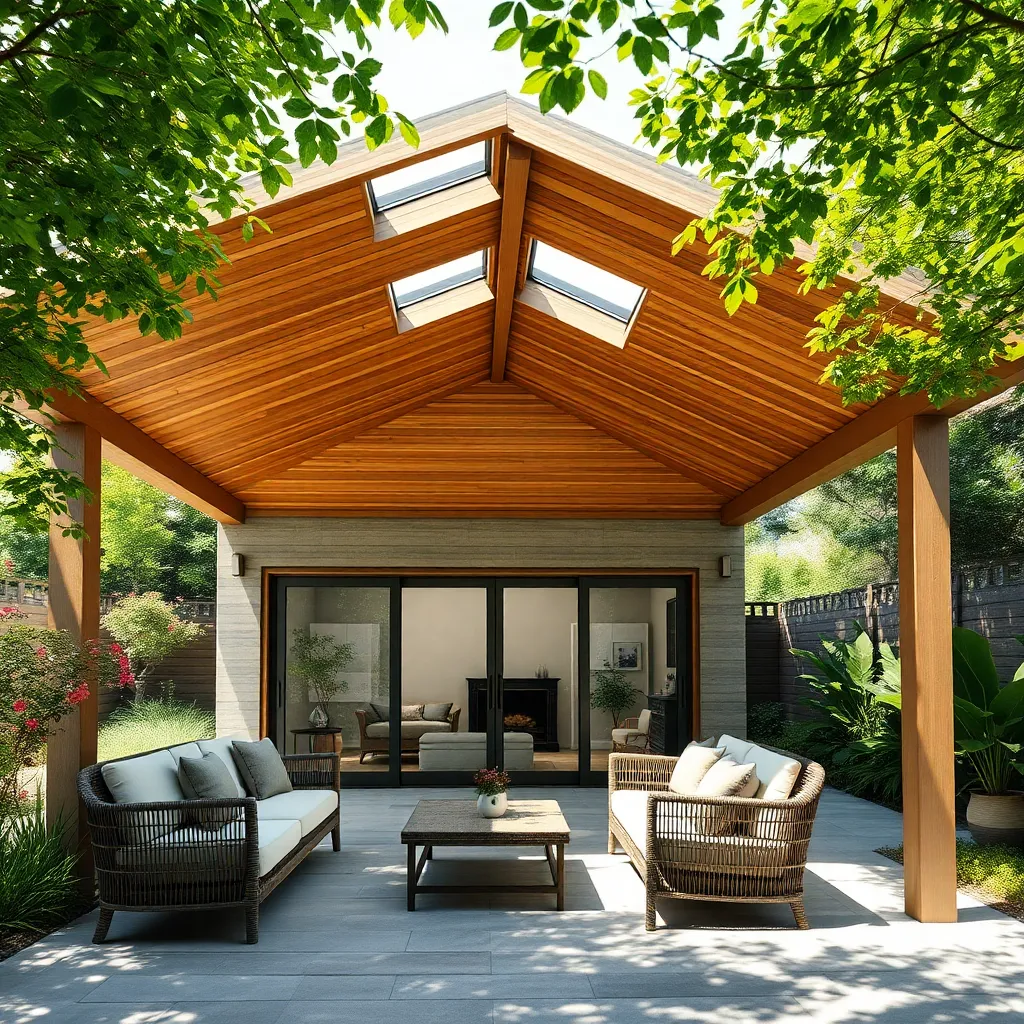
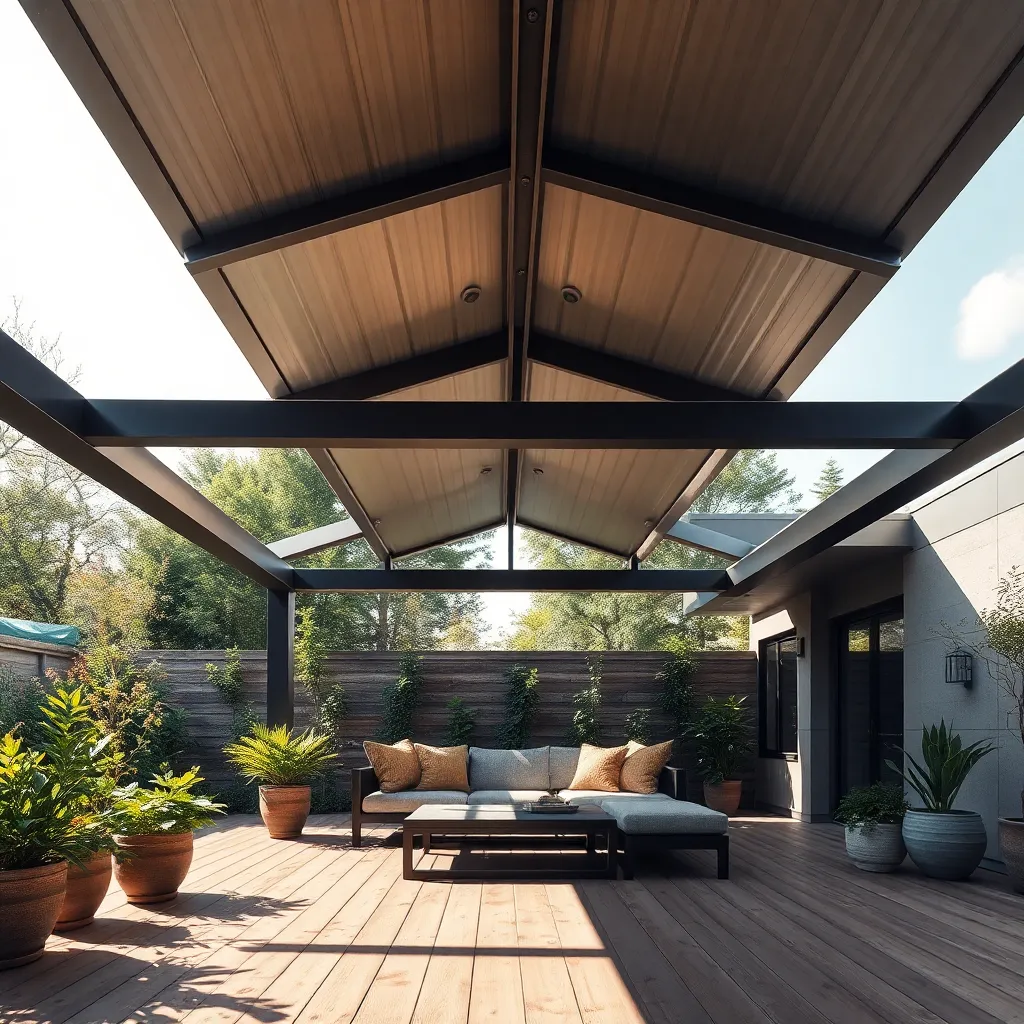
Incorporate Sloped Roofs for Drainage
Incorporating a sloped roof into your outdoor shelter design is essential for effective water drainage. A slope of at least 10 degrees is recommended to ensure rainwater flows off efficiently, preventing water pooling and potential damage. Consider using durable materials like metal or polycarbonate for the roofing, which are both lightweight and capable of withstanding harsh weather conditions.
Beyond the basics, advanced builders might explore installing gutters and downspouts along the edges of the sloped roof to further manage water flow. This addition can channel rainwater away from the foundation of your structure, minimizing erosion and water damage over time. For a modern touch, opt for seamless gutters that blend seamlessly with your design, enhancing both the functionality and aesthetics of your outdoor shelter.
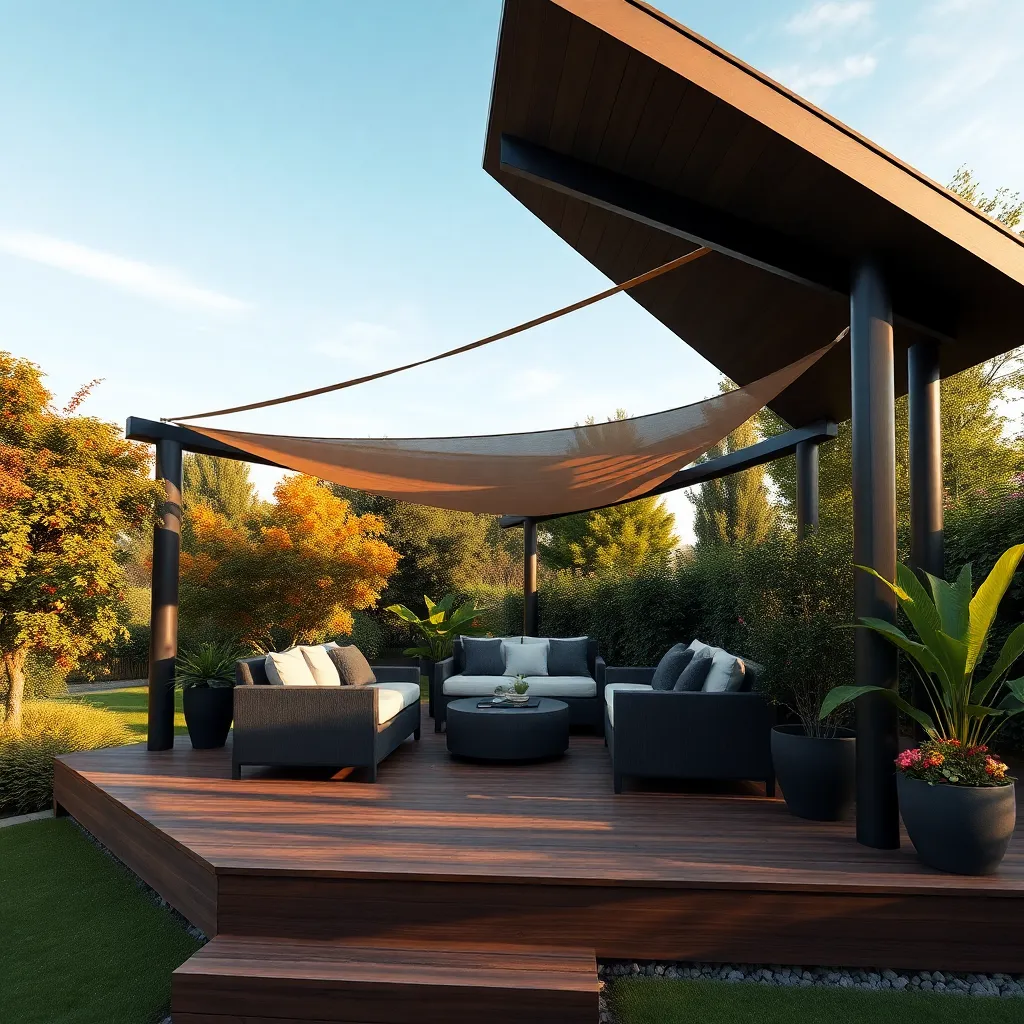
Utilize Waterproof Outdoor Fabrics
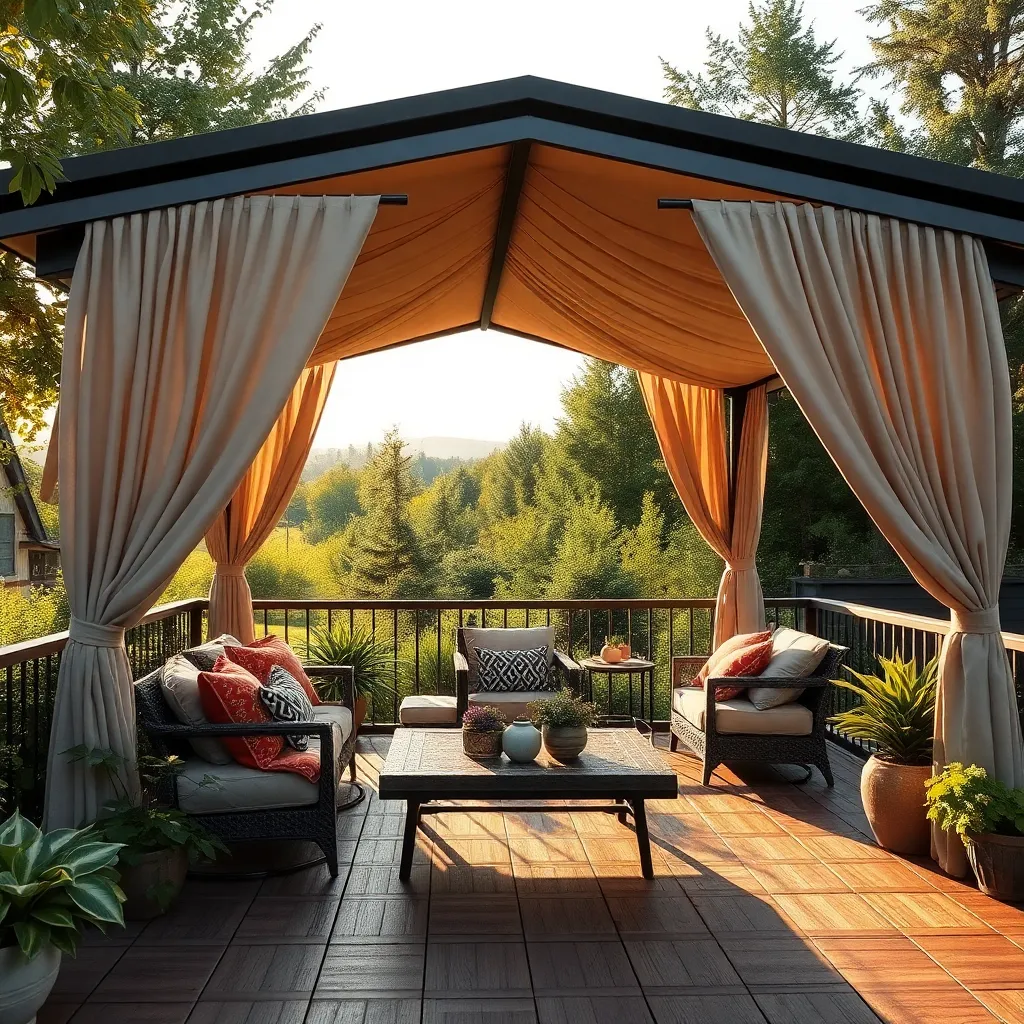
Maximize the durability of your outdoor shelter by utilizing waterproof outdoor fabrics. Water-resistant materials, such as polyester or acrylic, are excellent choices for covering pergolas, gazebos, or awnings, as they repel water while adding a stylish touch. For an easy DIY project, consider using canvas treated with a waterproofing agent, ensuring a longer-lasting and more reliable cover against the elements.
For those looking to add a professional touch, opt for marine-grade fabrics that withstand harsh weather conditions. These materials are designed to resist fading and mildew, providing a long-term solution for outdoor spaces. Pay attention to proper installation techniques, such as securing fabric edges with rust-proof grommets and tensioning systems, to prevent sagging and water pooling. A well-executed fabric shelter not only protects but also enhances the aesthetic appeal of your garden or patio.
Install Retractable Awnings for Flexibility
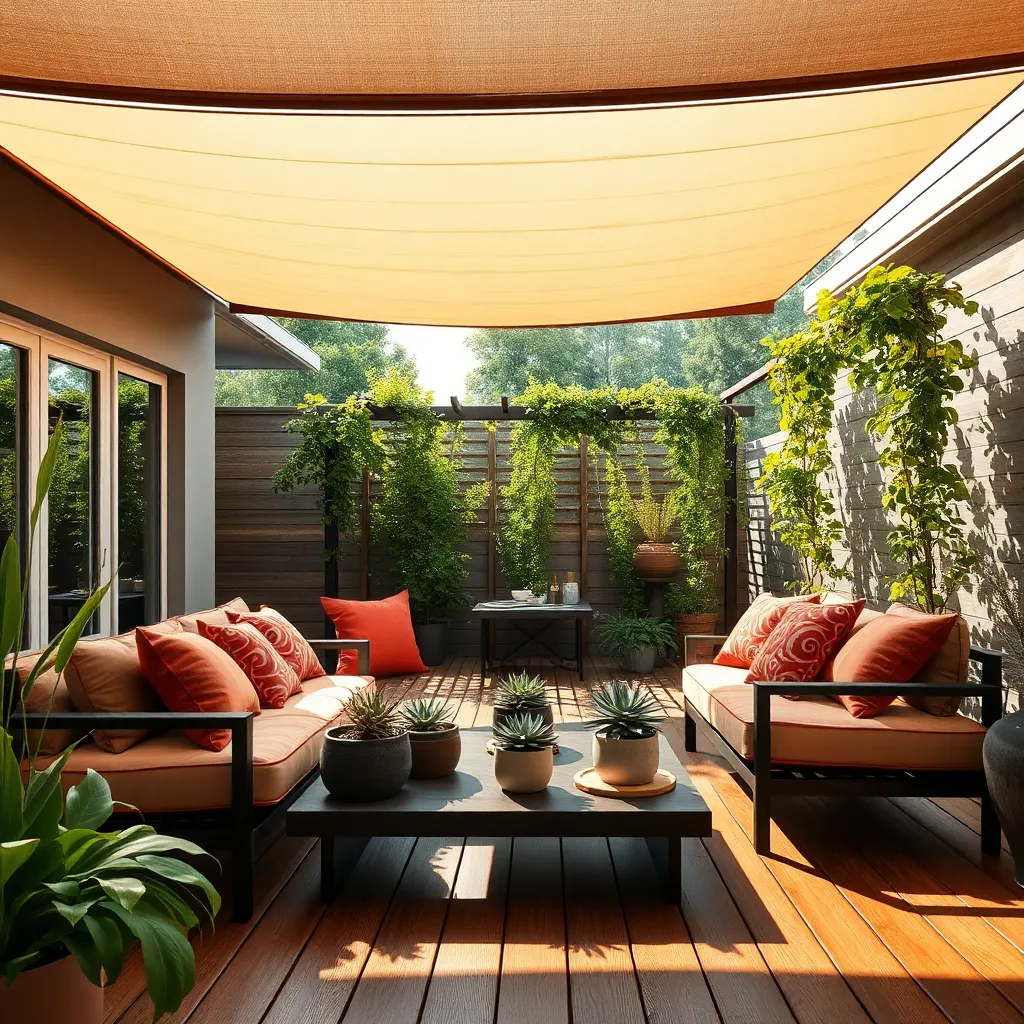
Retractable awnings offer an excellent way to add flexibility to your outdoor space, allowing you to enjoy both shade and sunlight as needed. These versatile structures can be adjusted throughout the day, providing customized comfort for outdoor dining areas, patios, or decks. Choose high-quality, weather-resistant materials such as acrylic fabrics and rust-proof aluminum frames to ensure durability and longevity. Installation can be a straightforward DIY project or professionally done, depending on your skill level and the complexity of your setup.
For beginners, selecting a motorized awning can simplify the process with easy remote control operation. More experienced homeowners might consider integrating a smart home system to automate the awning’s retraction based on weather conditions. Pay attention to dimensions—ensure the awning extends at least 8 to 12 feet from the wall for adequate coverage. Additionally, consider optional features like wind sensors or LED lighting to enhance functionality and ambiance, creating a truly adaptable outdoor retreat.
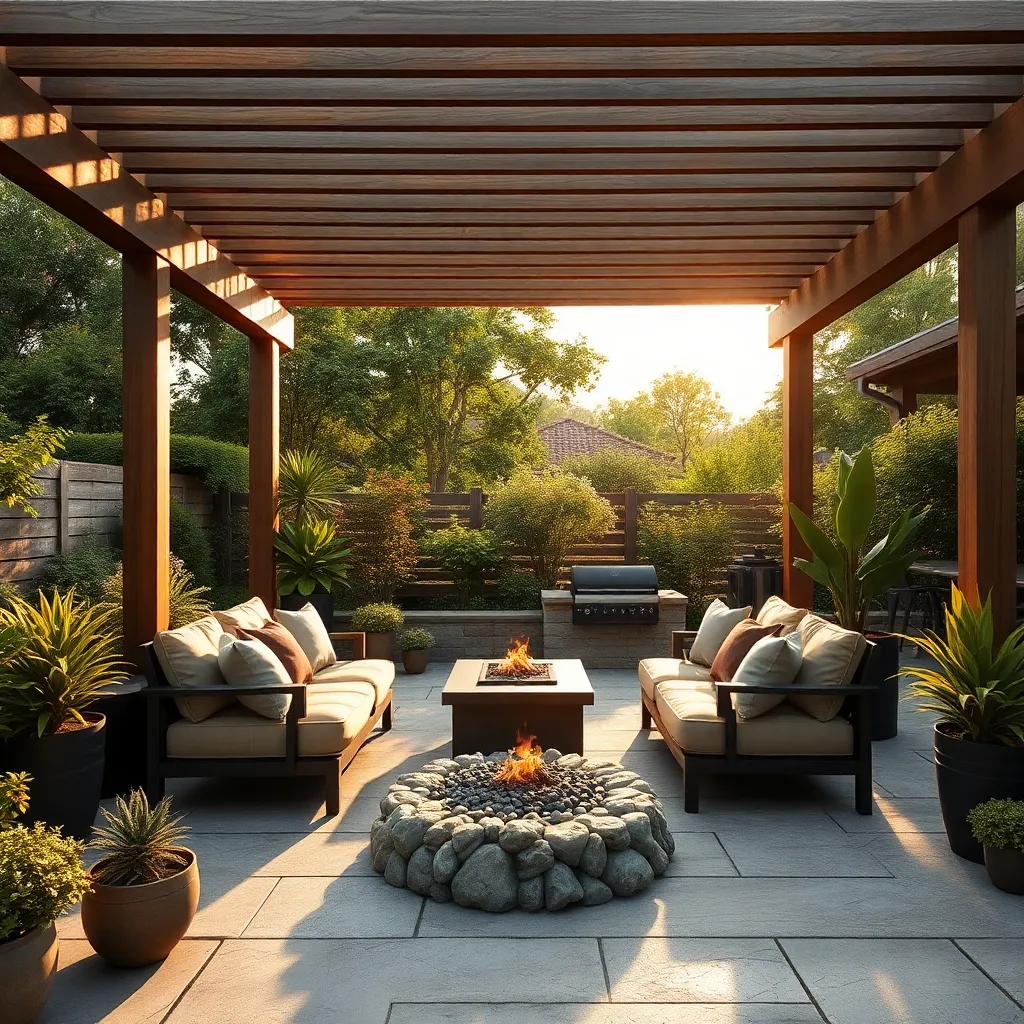
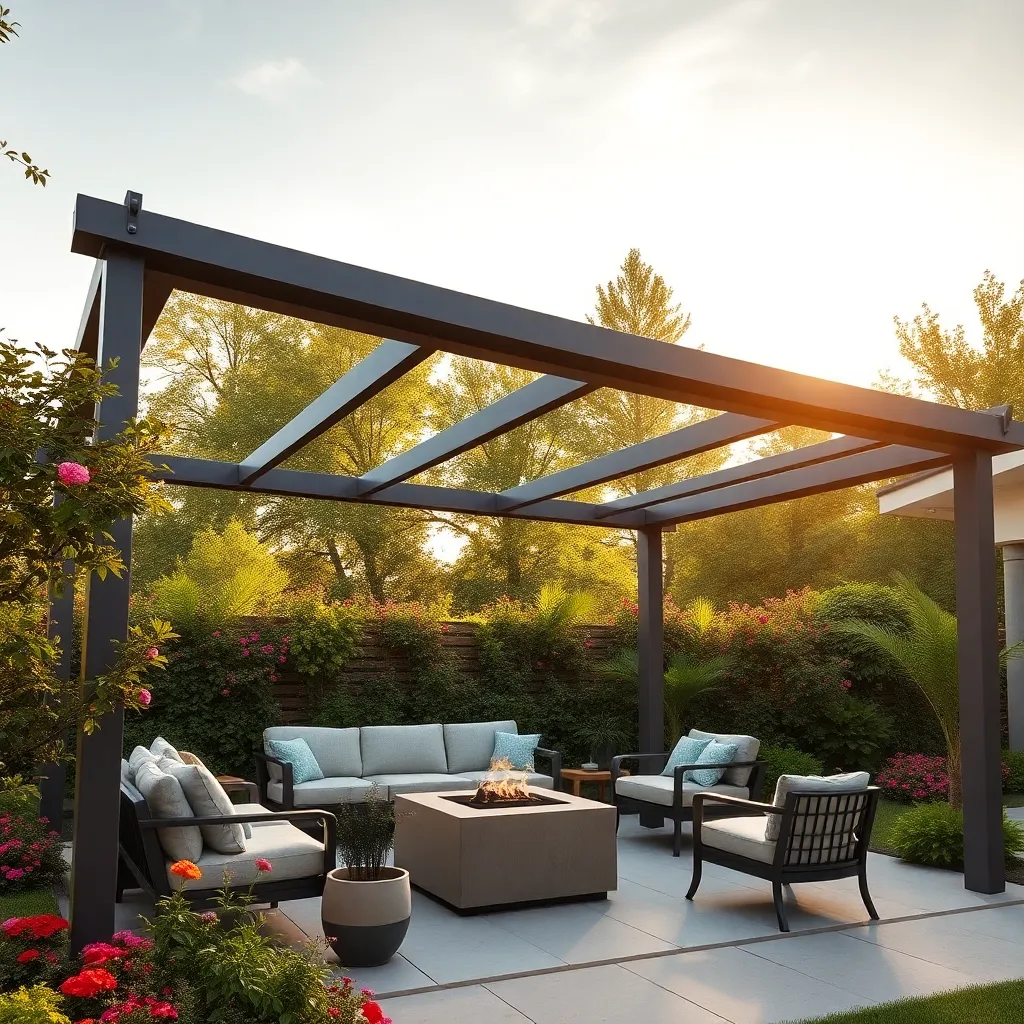
Design with Elevated Platforms
Designing an outdoor shelter with elevated platforms offers a unique way to enhance both the functionality and aesthetics of your backyard. Elevating your shelter not only provides better airflow and views but also helps in keeping the structure dry and free from ground moisture. Consider using weather-resistant materials such as pressure-treated wood or composite decking, which are durable and require minimal maintenance. Beginners can start with a simple raised deck, ensuring the platform is level and securely anchored.
For a more advanced project, incorporate multi-level platforms to create distinct areas for dining, lounging, or outdoor cooking. Integrate built-in seating and planters to maximize space and add greenery to your design. Ensure your elevated structure has a sturdy railing for safety, especially if it’s more than a couple of feet off the ground. Use galvanized steel or powder-coated aluminum for the railings to prevent rust and maintain a sleek look. By thoughtfully combining these elements, you can create a versatile and inviting outdoor space that stands up to the elements.
Add Windbreaks for Extra Protection
To enhance the durability and comfort of your outdoor shelter, consider adding windbreaks for extra protection. Windbreaks can be as simple as strategically planting a row of evergreen trees or as advanced as installing a stylish lattice screen. For beginners, a quick and effective solution is using fast-growing shrubs like arborvitae or privet, which can create a natural barrier within a few seasons. Advanced gardeners might opt for constructing a wooden or metal windbreak panel, ensuring it is firmly anchored to withstand strong gusts.
Moreover, incorporating windbreaks can significantly improve the microclimate of your outdoor area, making it more enjoyable year-round. Materials like bamboo, willow, or recycled pallets can be both sustainable and effective for constructing these barriers. When designing your windbreak, ensure it is at least as tall as the area you wish to protect and positioned perpendicular to prevailing winds for maximum effectiveness. Adding adjustable panels can provide flexibility, allowing you to control exposure to the elements as needed. Whether you’re a novice or an expert, these windbreaks can transform your outdoor space into a more secure and pleasant retreat.
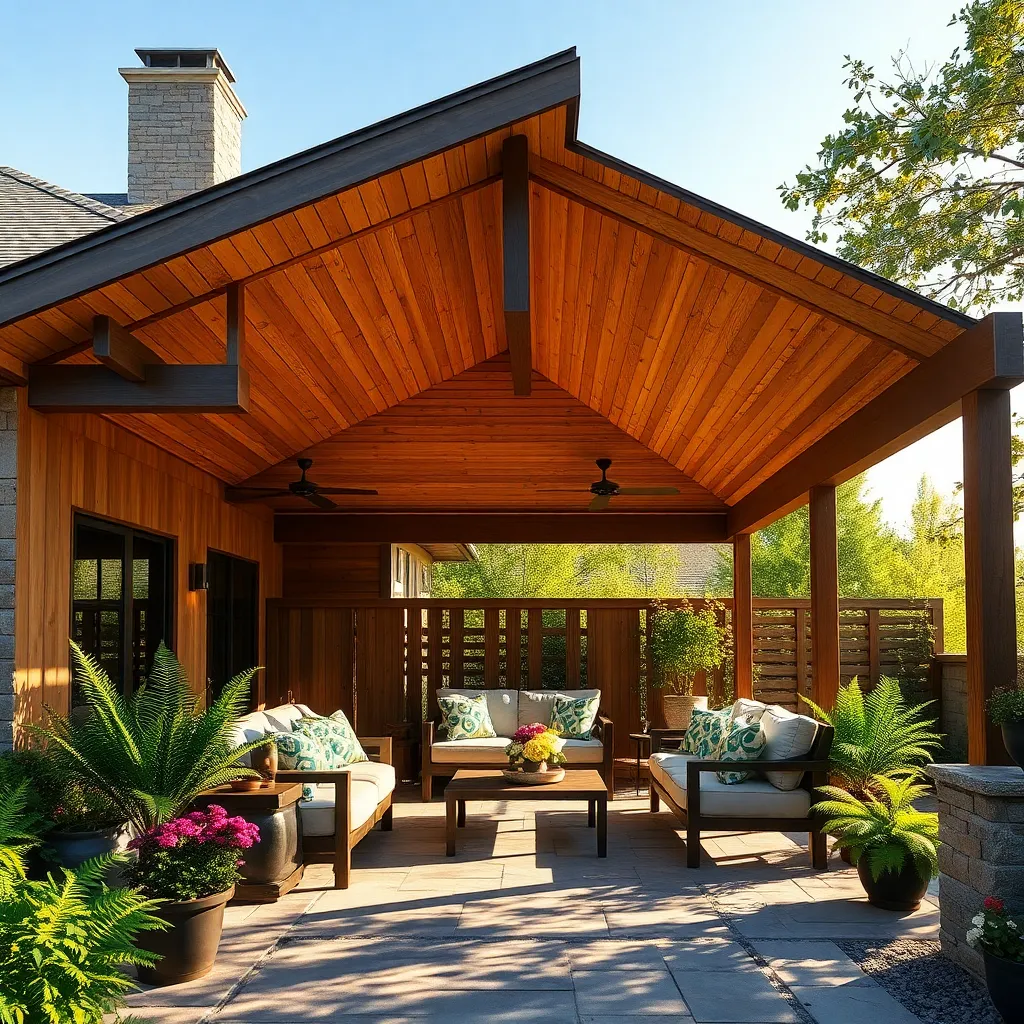
Integrate Natural Ventilation Systems
Incorporating natural ventilation into your outdoor shelter is a smart way to keep the space comfortable while reducing energy use. Consider using adjustable louvers or louvered roof panels that allow you to control airflow and light levels. These systems can be made from materials like aluminum or durable wood, offering both functionality and aesthetic appeal. For a more budget-friendly option, you can install ventilation openings on opposite sides of the structure to create a cross-breeze, ensuring air circulates effectively.
For those with a bit more experience, integrating green walls or vertical gardens can enhance ventilation naturally while adding greenery to your space. These elements not only improve air quality but also act as natural insulators against temperature fluctuations. When designing, ensure that you leave enough space between plants and the shelter walls to maximize airflow. As an advanced tip, consider incorporating a solar-powered ventilation fan to further boost airflow on particularly hot days, keeping the area cool and inviting.
Employ UV-Resistant Coatings

To prolong the life of your outdoor shelter, consider applying UV-resistant coatings to protect against sun damage. These coatings are essential for materials like wood, metal, and fabric, which can degrade over time due to prolonged exposure to ultraviolet rays. Look for products specifically labeled as UV-resistant, and apply according to the manufacturer’s instructions to ensure maximum longevity and effectiveness.
For those keen on advanced tips, consider using a combination of UV-resistant varnishes and sealants, especially for wooden structures. Opt for high-quality acrylic or polyurethane-based coatings that offer superior protection. Additionally, metal surfaces can benefit from UV-resistant powder coatings, which provide a durable finish that withstands harsh weather conditions. Regular maintenance, such as reapplying coatings every few years, will keep your shelter looking fresh and structurally sound.
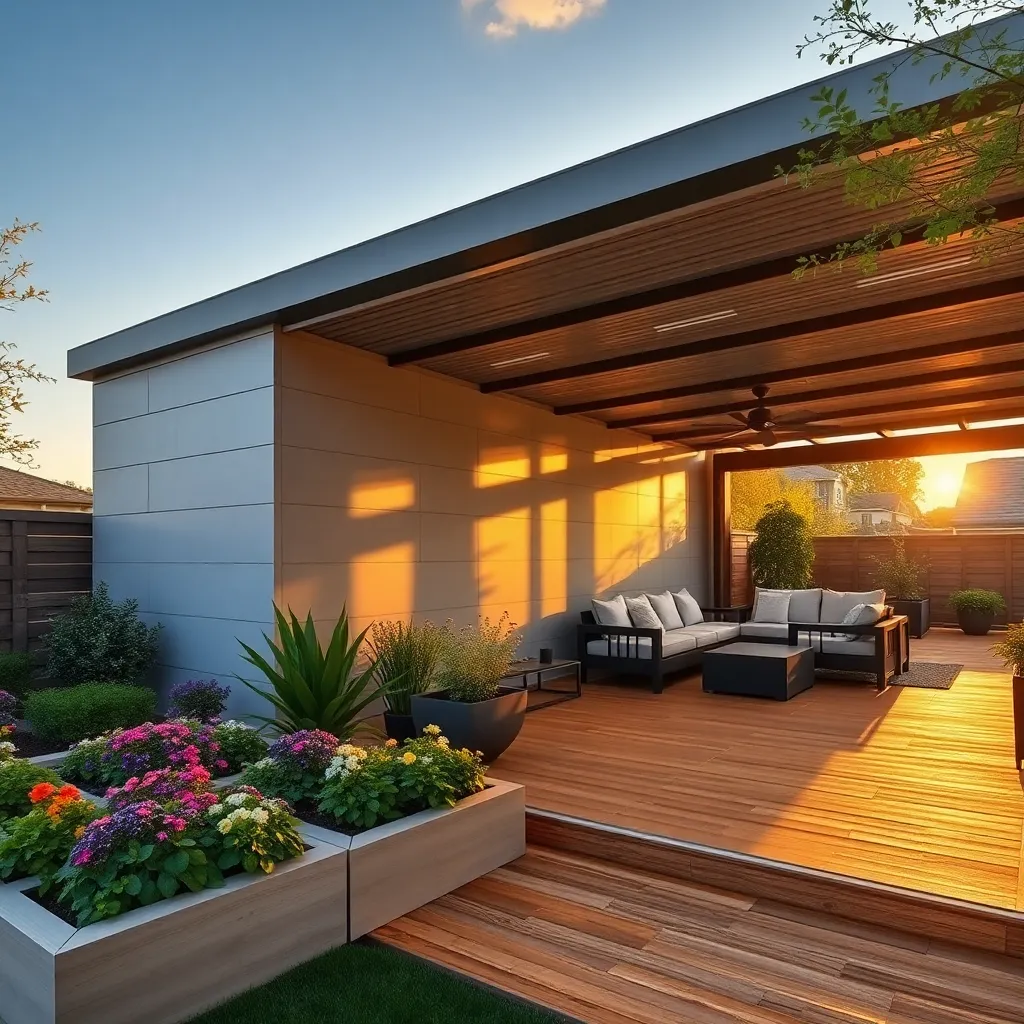
Create Overhangs to Shield Openings
Creating overhangs to shield openings is a practical way to enhance the durability and comfort of your outdoor space. Start by selecting materials like treated wood, metal, or polycarbonate sheets that can withstand various weather conditions. For beginners, attaching a simple wooden overhang above doors or windows can provide shade and protection from rain, reducing wear on these vulnerable areas. Consider a minimum depth of two feet to ensure effective coverage, but adjust based on your region’s specific weather patterns.
More experienced DIYers can experiment with architectural elements such as cantilevered roof extensions or integrated gutter systems to optimize weather protection. When designing overhangs, ensure that they complement the existing architecture of your home for a cohesive look. For a modern aesthetic, use clean lines and minimalistic materials like powder-coated metal. For added functionality, install guttering to direct rainwater away, preserving the integrity of your home’s foundation. Remember to periodically check and maintain these structures to ensure long-lasting performance.
Use Modular Components for Adaptability
Opting for modular components in your outdoor shelter design offers significant adaptability and flexibility. Modular systems allow you to adjust the layout and function of your shelter as your needs change or grow. For instance, using prefabricated panels made from durable materials like aluminum or treated wood can simplify construction and allow for easy expansion. Beginners can start with basic kits that include walls, roof panels, and connectors, while more experienced builders might customize with additional components like adjustable louvered panels for controlling sunlight and airflow.
Consider integrating interchangeable features such as removable walls or roofing sections to adapt to varying weather conditions throughout the year. For a more advanced setup, include elements like sliding doors or retractable awnings to enhance usability and comfort. When planning your modular shelter, ensure that each component is compatible with standard dimensions—such as 4×8 foot panels—to streamline the assembly process. This approach not only makes your outdoor space more versatile but also future-proofs it against lifestyle changes, making it a practical solution for any homeowner.
Select Rustproof Metal Fastenings
When building an outdoor shelter, selecting rustproof metal fastenings is essential to ensure longevity and durability. Opt for stainless steel or galvanized screws and bolts, as these materials resist corrosion effectively. For beginners, ensure fastenings are compatible with the materials you’re using—stainless steel fasteners pair well with wood, while galvanized options are ideal for metal structures. This simple choice can significantly increase the lifespan of your shelter.
For those looking to enhance their project further, consider utilizing fastenings with coated finishes to provide extra protection against harsh weather conditions. Advanced gardeners might explore the use of hidden fastening systems for a cleaner aesthetic, which helps in reducing exposure to moisture and potential rust. When choosing fasteners, pay attention to the length and gauge to ensure a secure and stable assembly, aligning with your specific design needs.
Opt for Insulated Wall Panels
When planning a weatherproof outdoor shelter, consider using insulated wall panels for enhanced thermal efficiency and durability. These panels are designed to withstand various weather conditions, providing excellent insulation against both heat and cold. Beginners should opt for panels with high R-value ratings, which measure thermal resistance, ensuring your shelter remains comfortable year-round. By selecting panels made of materials like polyurethane or polystyrene foam, you can create a space that is not only weatherproof but also energy-efficient.
For those looking to add a touch of sophistication, consider incorporating panels with decorative finishes such as wood or stone veneers. More advanced builders might explore integrating custom-sized panels to fit unique architectural designs, ensuring a seamless look. Remember to use
- weatherproof sealants
- rust-resistant fastenings
- proper ventilation
to enhance the longevity and functionality of your shelter. With these practical steps, you’ll create a comfortable and stylish outdoor retreat that’s ready for any weather challenge.
Incorporate Solar-Powered Heating Elements

Embracing solar-powered heating elements in your outdoor shelter offers a sustainable and efficient way to extend its usability throughout the year. Begin by selecting solar panels that are appropriately sized for your shelter’s energy needs; generally, a 100-watt panel can power small heaters effectively. Mount the panels on the roof of the shelter for maximum sun exposure, and connect them to a battery storage system to ensure warmth even after sunset.
For a seamless installation, consider using portable solar heaters that are easy to position and relocate as needed. These heaters are ideal for maximizing heat distribution without complicated wiring. If you’re looking to enhance your setup, incorporate a smart thermostat to regulate the temperature automatically, ensuring comfort without excessive energy use. This approach not only reduces your carbon footprint but also adds a modern touch to your outdoor retreat.
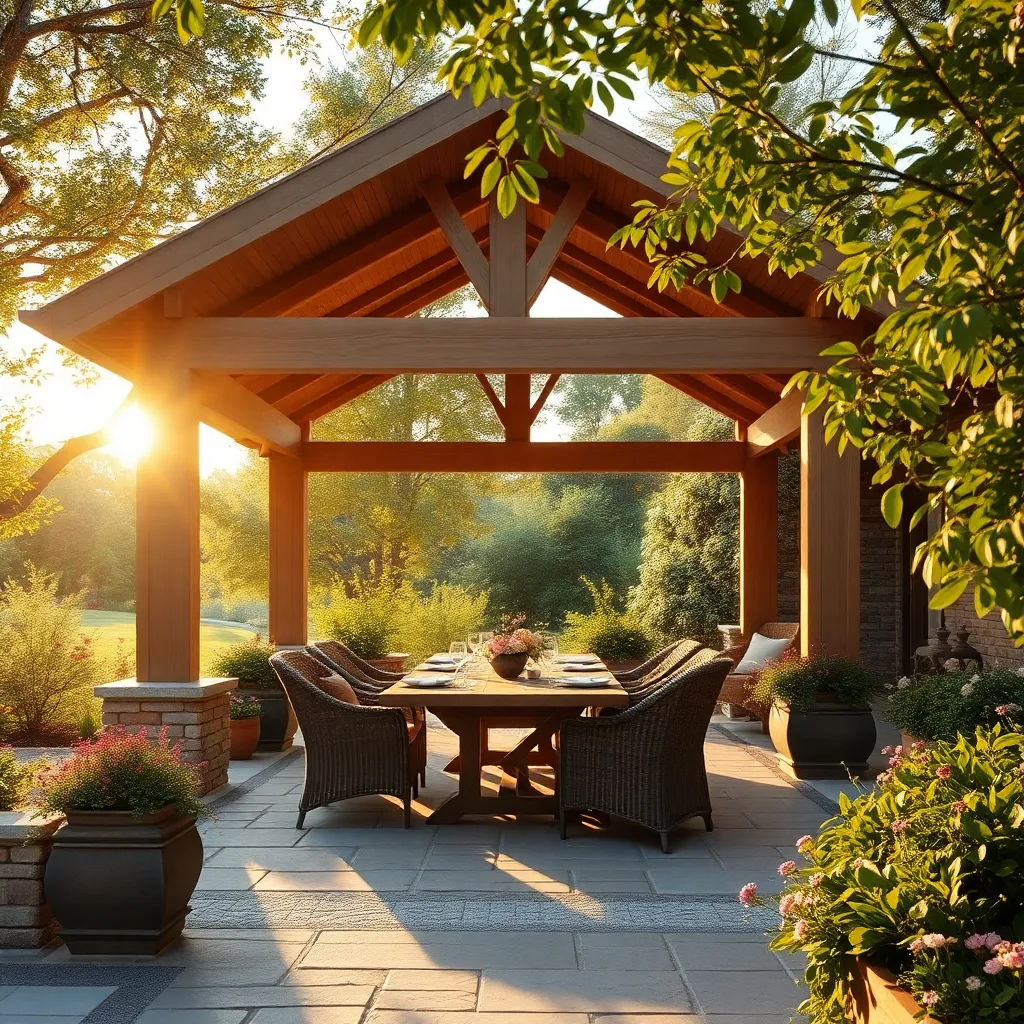
Design with Seamless Water Drainage
When designing an outdoor shelter with seamless water drainage, consider incorporating a sloped roof. A roof pitch of at least 20 degrees helps channel rainwater efficiently, preventing pooling and potential damage. For materials, opt for durable options like metal or treated wood, which can withstand various weather conditions while facilitating proper runoff. Beginners can start by ensuring that the roof edges extend beyond the structure’s walls, providing additional protection and directing water away from the foundation.
Advanced builders might want to integrate a gutter system along the roof’s edge to further enhance water management. Choose gutters made of rust-resistant materials, like aluminum or vinyl, and ensure they lead to a drainage area or rain barrel to make the most of collected water. Additionally, using permeable paving materials such as gravel or permeable concrete for the shelter’s flooring can help manage excess water by allowing it to seep into the ground naturally. By implementing these practical design elements, you’ll maintain a dry and comfortable outdoor space in any weather.
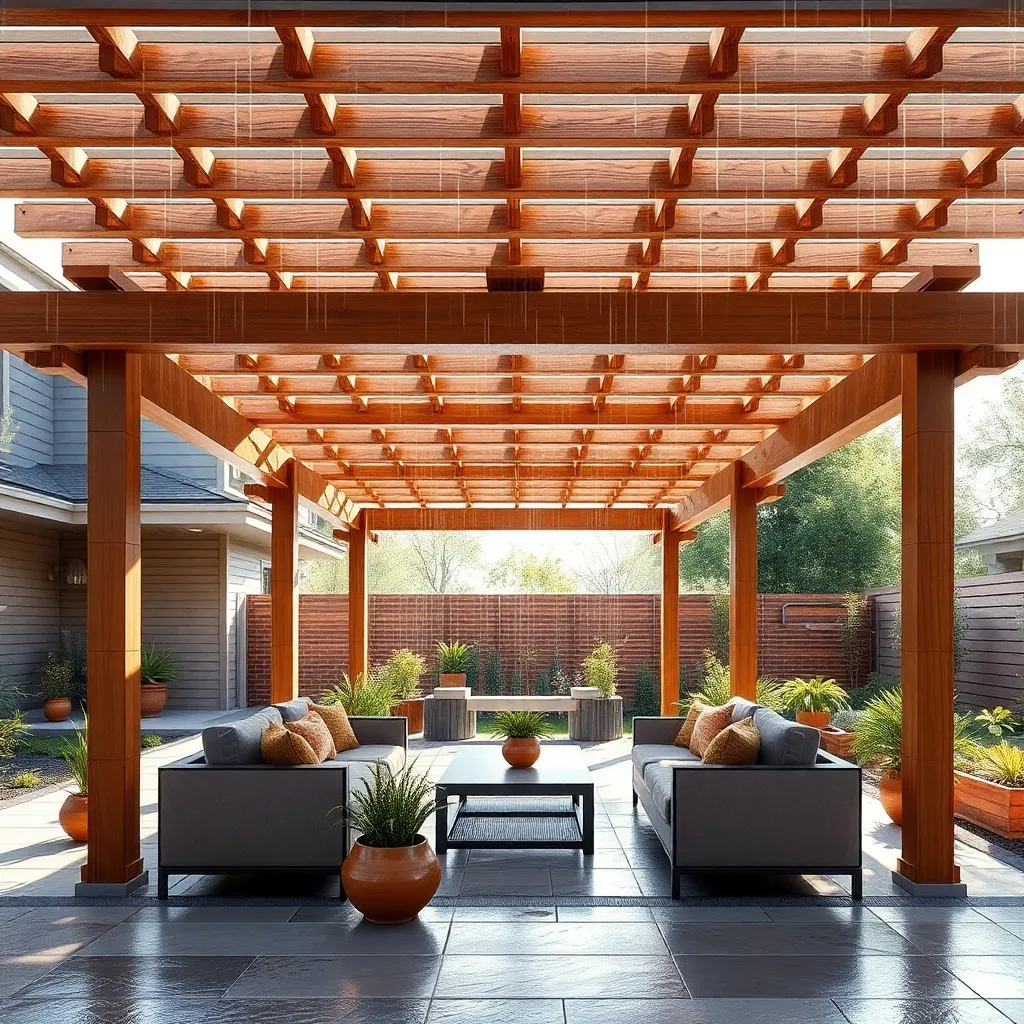
Implement Reinforced Structural Supports
For constructing a weatherproof shelter, incorporating reinforced structural supports is essential to withstand harsh conditions. Start by choosing materials like treated wood, steel, or aluminum that offer durability and strength. Ensure the posts or beams are at least 4×4 inches in dimensions to provide a sturdy framework, and use corrosion-resistant hardware to connect parts securely. These steps will enhance the longevity and stability of your structure.
Beyond the basics, advanced builders can incorporate cross-bracing techniques to further stabilize the shelter against wind forces. Consider using galvanized steel brackets for additional support at key joints and intersections. For those in areas with heavy snowfall, design the roof with a steeper pitch to prevent accumulation. By applying these techniques, you can ensure your shelter remains robust and functional in diverse weather conditions.
Conclusion: Creating Beautiful Outdoor Spaces
As we journey through the 15 weatherproof shelter ideas, we’ve explored concepts that can serve as a metaphor and practical guide for nurturing relationships that stand the test of time. From building strong foundations with trust and communication to creating cozy corners of intimacy and understanding, each idea offers a unique blueprint for fostering resilience and warmth in your partnerships. We’ve also delved into the importance of flexibility, adaptability, and continuous maintenance—crucial elements in ensuring your relationship remains robust amidst life’s unpredictable storms.
Now, take a moment to choose one concept that resonates most with you and discuss it with your partner. This simple step can ignite meaningful conversations and set the stage for deeper connection. As you embark on this journey, bookmark this article to serve as your go-to resource, a reminder of the many ways you can fortify your relationship.
Remember, success in relationships is not about avoiding storms altogether but learning how to weather them together. With these insights at your fingertips, you’re well-equipped to build a lasting partnership. Keep this guide close—your roadmap to enduring love and connection.