
Are you ready to transform your backyard into a cozy haven without breaking the bank? Whether you’re just beginning to dabble in outdoor design or you’re a seasoned pro, “8 Budget-Friendly Shelter Ideas for Your Next Project” is your ticket to creating inviting outdoor spaces that blend style, functionality, and affordability. With a few clever tweaks and a dash of creativity, you can enjoy the satisfaction of a beautiful shelter that offers shade, comfort, and a personal touch to your outdoor retreat.
Imagine the joy of sipping your morning coffee under a charming pergola or hosting a lively dinner party beneath a whimsical canopy. This guide promises practical solutions that cater to any experience level, empowering you to maximize your outdoor living area’s potential. Dive into these innovative ideas and feel confident that you can craft a sanctuary that speaks to your unique taste and brings endless enjoyment to your home life.
Utilize Pallets for Quick Structures
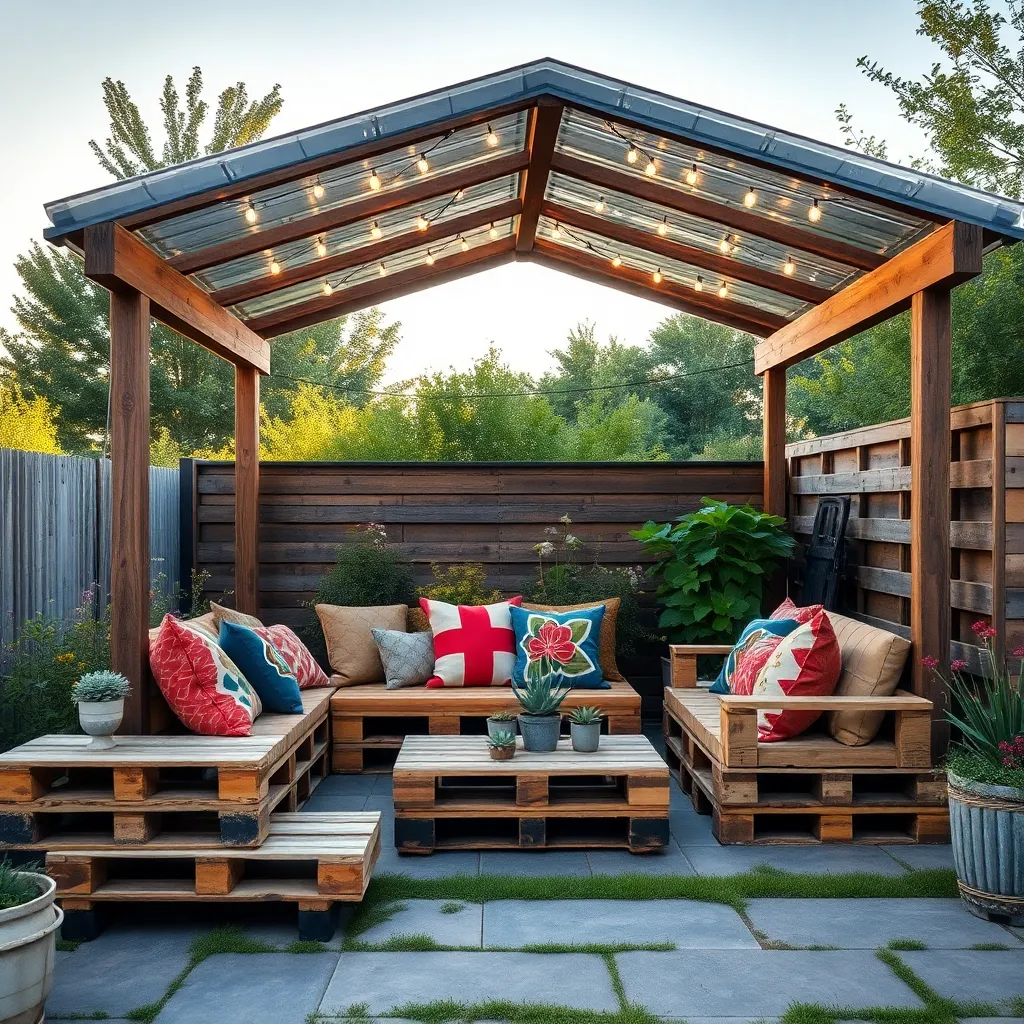
One of the most cost-effective ways to create a quick outdoor shelter is by using pallets. These versatile materials can be easily sourced from local warehouses or hardware stores, often for free or at a low cost. To start, select sturdy, undamaged pallets and stack them to form walls. Secure them with heavy-duty screws and reinforce the structure with corner brackets for stability. For a basic shelter, consider a simple lean-to design by angling the pallets slightly backward and covering the top with a waterproof tarp. This setup provides a functional cover from rain and sun, perfect for a garden tool station or shaded seating area.
For those with a bit more experience, adding additional elements can enhance both the durability and appearance of your pallet shelter. Consider incorporating a pitched roof using recycled corrugated metal sheets or polycarbonate panels for a more permanent solution. Use L-brackets to connect the pallets securely at the corners and add a coat of weather-resistant wood stain or paint to protect against the elements. To personalize your structure, attach hooks for hanging tools or install shelving with additional pallets cut to size. These advanced touches not only boost functionality but also contribute to an aesthetically pleasing outdoor retreat. Whether you’re a novice or a seasoned DIYer, these pallet projects offer a rewarding blend of simplicity and ingenuity.
Incorporate Repurposed Materials Creatively
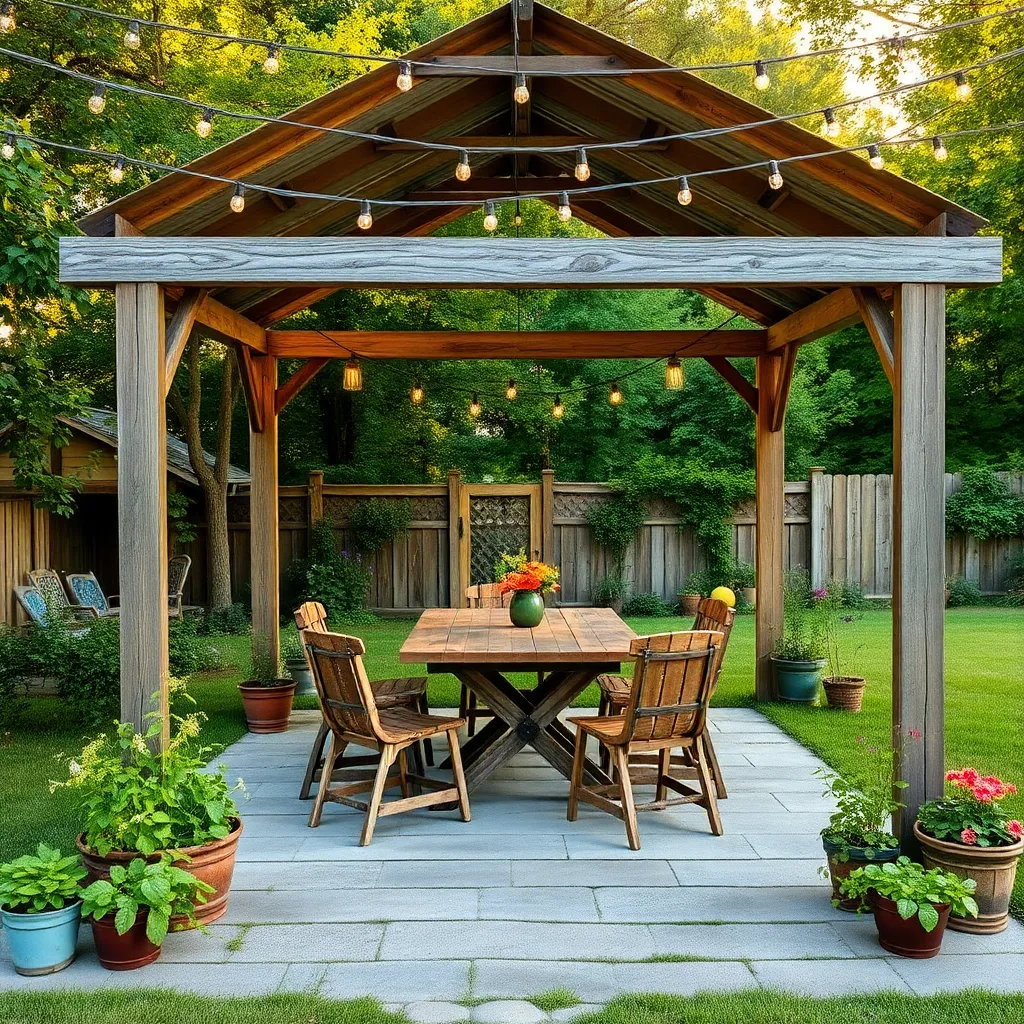
Repurposing materials creatively can transform your outdoor space without breaking the bank. Consider using old windows to create an airy greenhouse effect in your shelter by attaching them to a simple wooden frame. Mix and match different window sizes for a whimsical look, ensuring you seal the edges with weather-resistant caulking for durability. This approach not only provides a unique aesthetic but also maximizes light exposure, ideal for nurturing plants or creating a cozy reading nook.
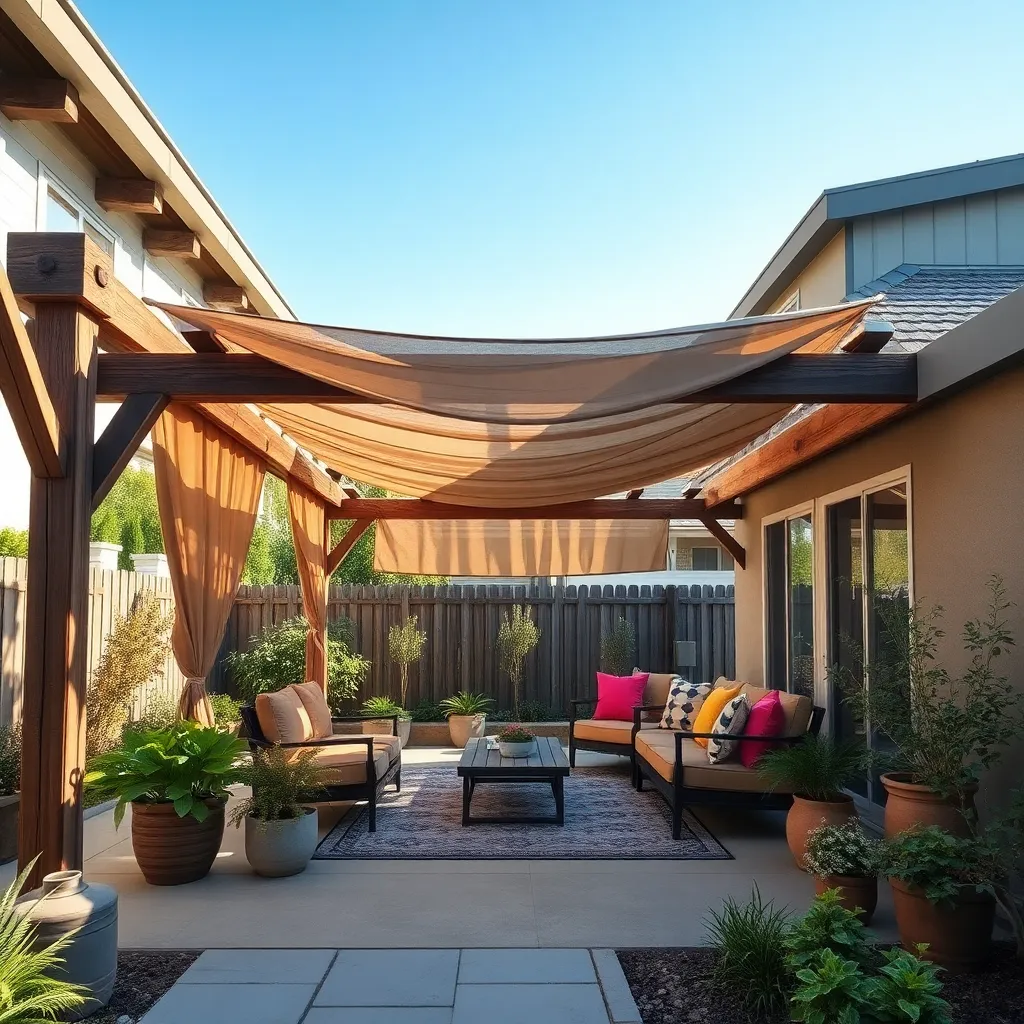
For a more rustic touch, utilize reclaimed wood from barns, fences, or old furniture to build a pergola or shaded seating area. This material offers weathered charm and sustainability, as each piece tells its own story. When constructing, ensure to sand the surfaces and apply a protective sealant to extend the wood’s lifespan. For added flair, incorporate metal accents like old hinges or brackets to enhance the structure’s character and stability, giving your outdoor shelter a distinctive, personalized touch.
Opt for Modular Tent Systems
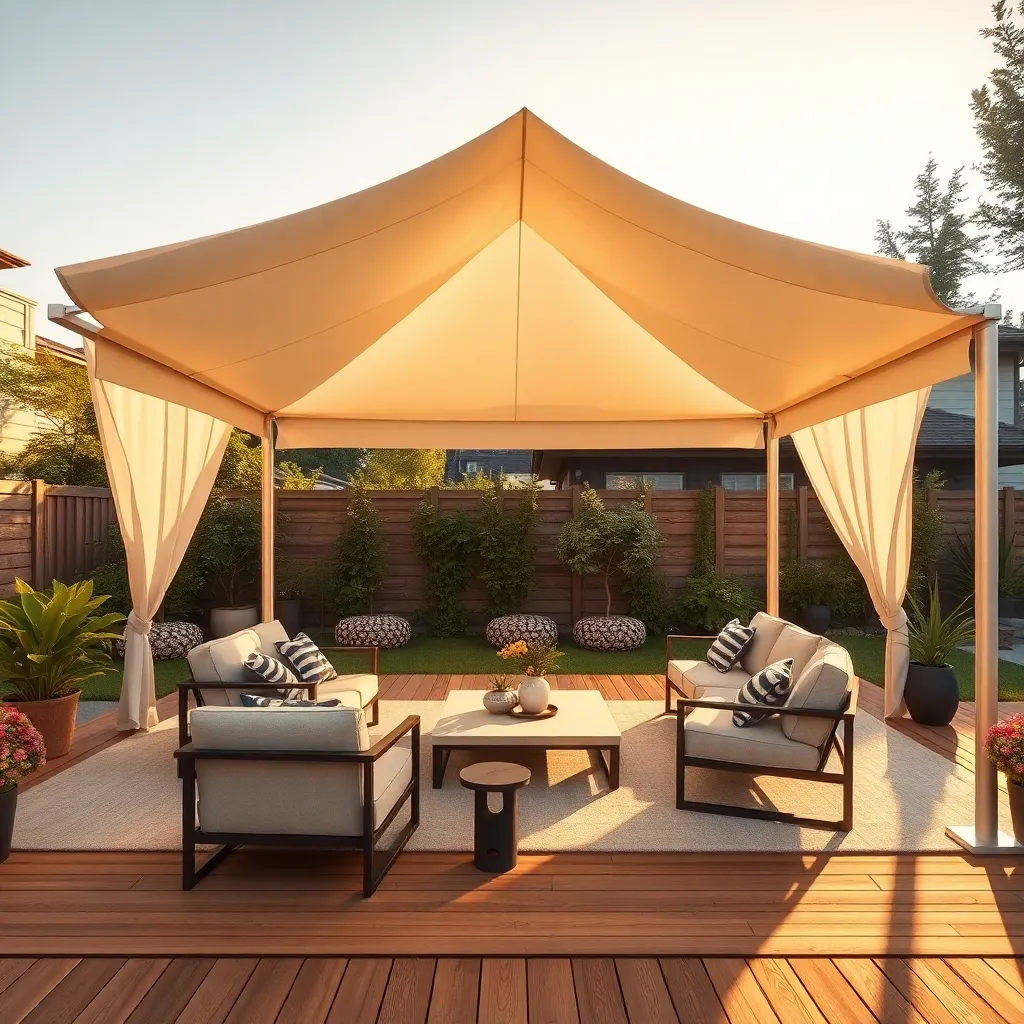
Choosing modular tent systems can be a cost-effective way to create versatile outdoor shelters. These systems are designed for easy assembly and disassembly, making them ideal for temporary setups or seasonal use. Look for **durable materials like polyester or canvas** that offer weather resistance and longevity. Basic models are perfect for beginners as they come with straightforward instructions and require minimal tools for setup.
For a more customized look, consider adding **modular components** like sidewalls, windows, or even a zippered entrance. These features not only enhance functionality but also add aesthetic value, making your outdoor space more inviting. Advanced users might explore incorporating lighting or heating elements using modular kits designed for this purpose. Remember to measure your space accurately and choose a tent system that fits well within your designated area, ensuring a seamless integration with your outdoor environment.
Build with Durable Tarps Economically
Using durable tarps is an economical way to construct a versatile outdoor shelter. Start by selecting a high-quality tarp with UV protection and water resistance, such as polyethylene or vinyl, to ensure longevity. Anchor the tarp securely using sturdy poles and heavy-duty bungee cords or ropes, creating a stable frame that can withstand various weather conditions. Consider a simple A-frame or lean-to design, which is easy to assemble and disassemble, making it perfect for temporary needs or seasonal use.
For added stability, dig shallow holes to secure the poles in the ground, or use weighted bases if you’re setting up on a hard surface. Reinforce corners and stress points with additional grommets or tie-downs. Experiment with different configurations, such as adding side panels for wind protection or leaving sides open for ventilation. This approach allows you to adjust the structure’s dimensions to fit your space, ensuring both functionality and comfort for any outdoor activities.
Choose Portable Canopies for Flexibility
Opting for portable canopies can provide flexibility and versatility for your outdoor space. These canopies come in a variety of sizes, typically ranging from 10×10 feet to 12×12 feet, making them suitable for spaces both large and small. Look for models with durable, water-resistant materials such as polyester or polyethylene to ensure they withstand the elements. For those new to using portable shelters, choose a canopy with a simple pop-up design that allows for quick assembly and disassembly without the need for extensive tools.
For more seasoned gardeners or outdoor enthusiasts, consider canopies with additional features like adjustable heights and sidewalls for added protection. Many portable canopies also offer UV protection, making them perfect for sun-sensitive areas in your garden. Advanced users might want to secure their canopy with weighted bags or stakes for extra stability during windy conditions. These canopies can be easily relocated or stored, providing a practical, budget-friendly solution for any outdoor project.
Design Multi-Functional Outdoor Spaces
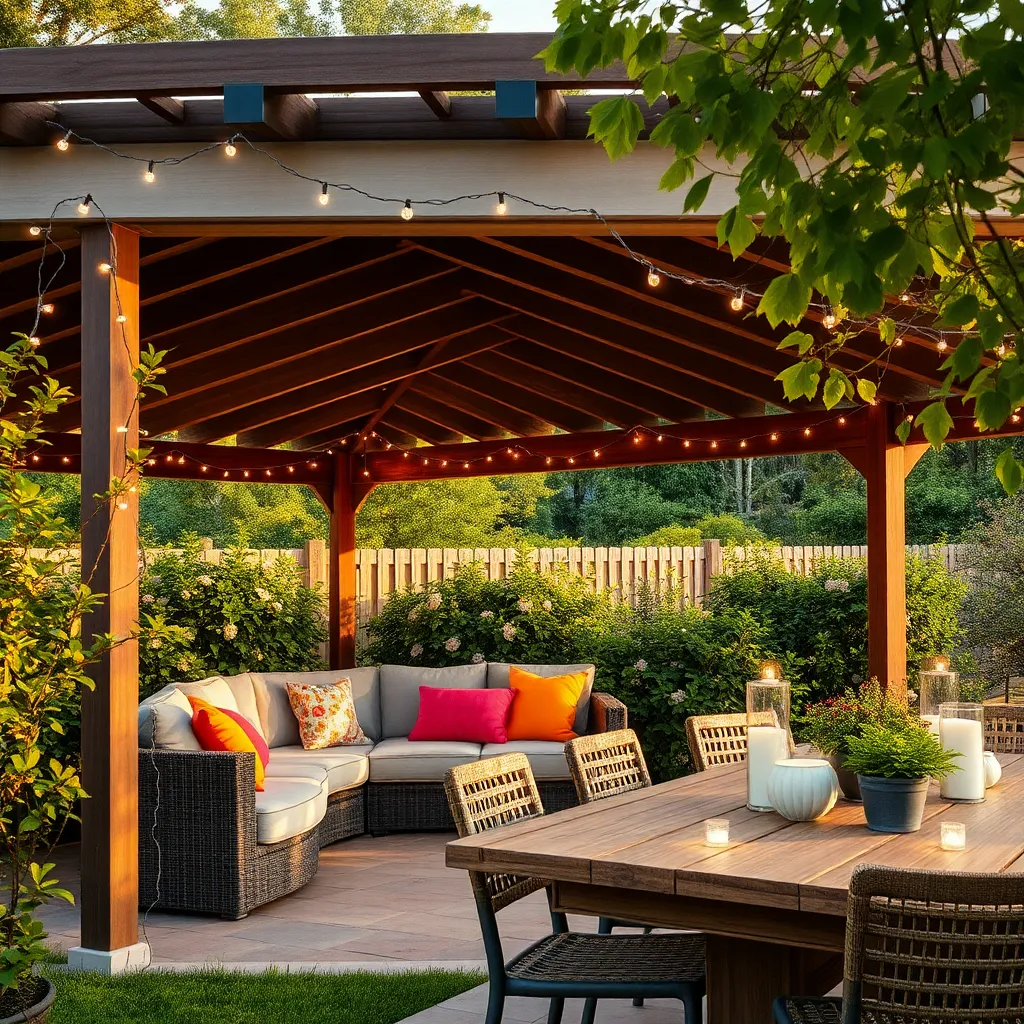
When designing a multi-functional outdoor space, it’s essential to think about how each element can serve more than one purpose. Consider using modular furniture that can be easily rearranged or stored, like benches with built-in storage or tables that double as planters. This approach not only maximizes space but also enhances functionality, allowing your outdoor area to adapt to different needs, whether it’s a cozy family gathering or a lively party with friends.
To create a space that feels both inviting and versatile, incorporate natural materials such as weather-resistant wood or composite decking. These materials provide durability and a warm aesthetic while being easy to maintain. For advanced design, integrate adjustable pergolas or retractable awnings to control sunlight and shade dynamically. This flexibility ensures that your outdoor space remains comfortable and usable throughout the changing seasons. By focusing on adaptable design and robust materials, you can craft a multi-functional outdoor area that truly reflects your lifestyle.
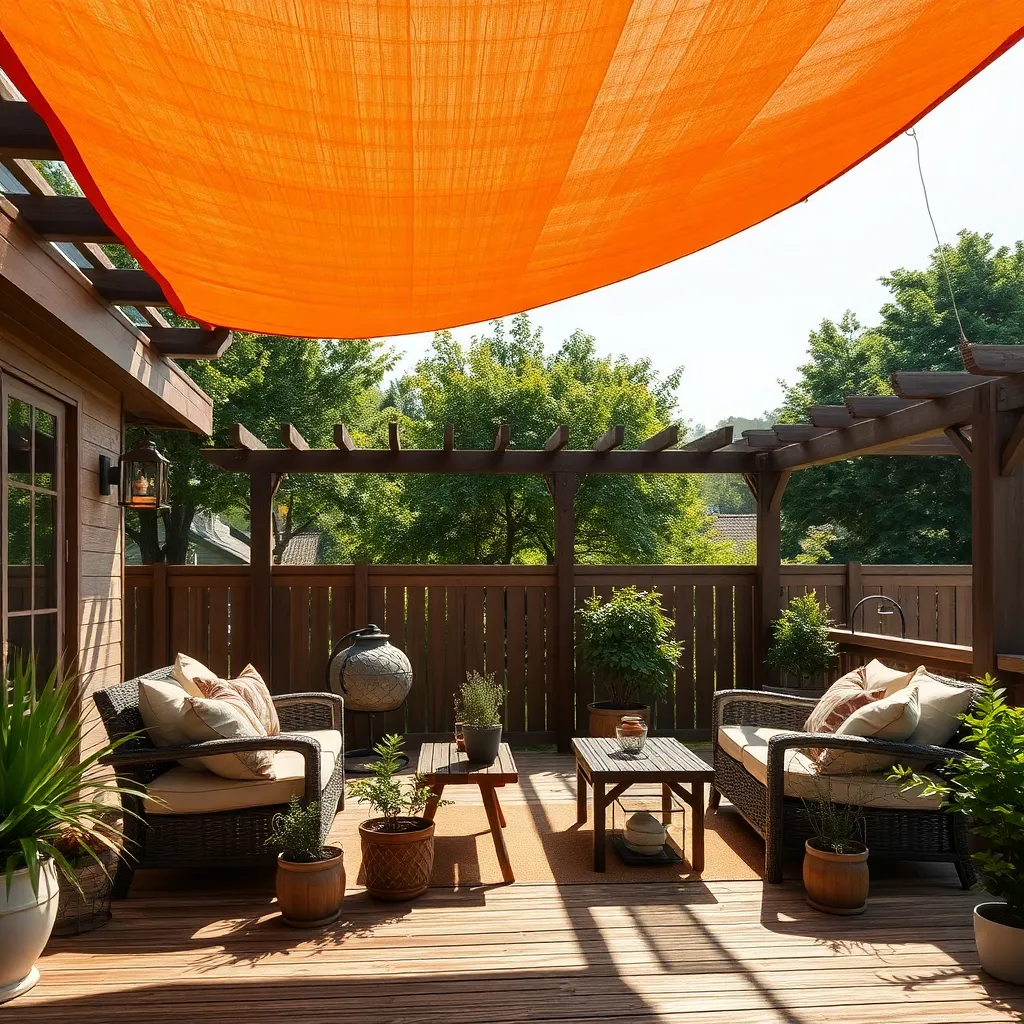
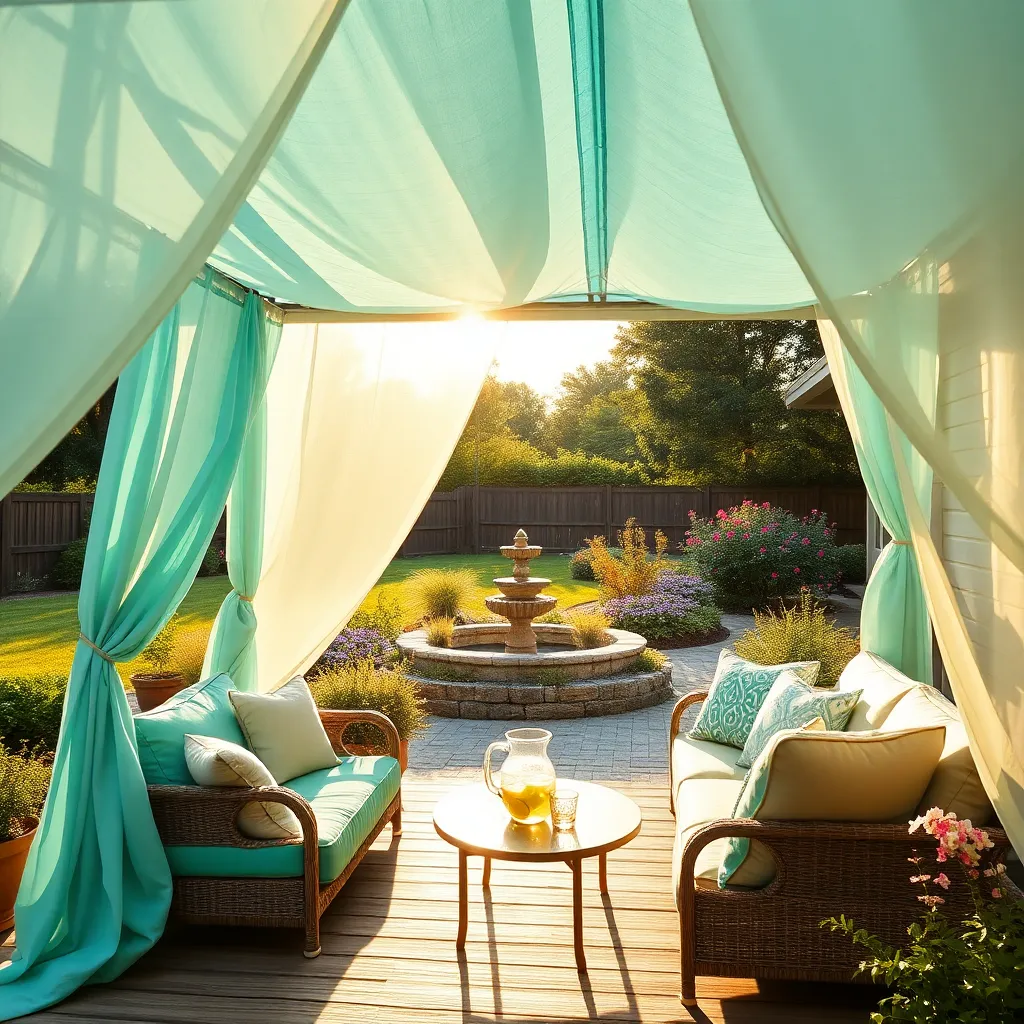
Select Low-Cost, Weatherproof Fabrics
When selecting materials for your outdoor shelter, consider using low-cost, weatherproof fabrics like polyester or polyethylene tarps. These materials are not only affordable but also provide excellent protection from rain and UV rays. For added durability, look for options with reinforced grommets and UV-resistant coatings, ensuring they stand up to varied weather conditions.
For those looking to elevate their project, canvas treated with waterproofing solutions can offer a more aesthetically pleasing option, though slightly pricier. To enhance stability, secure your fabric with robust tie-downs or bungee cords, and consider adding a simple wooden or metal frame for extra support. This approach ensures your shelter remains functional and appealing, regardless of your skill level.
Implement Simple A-Frame Constructions
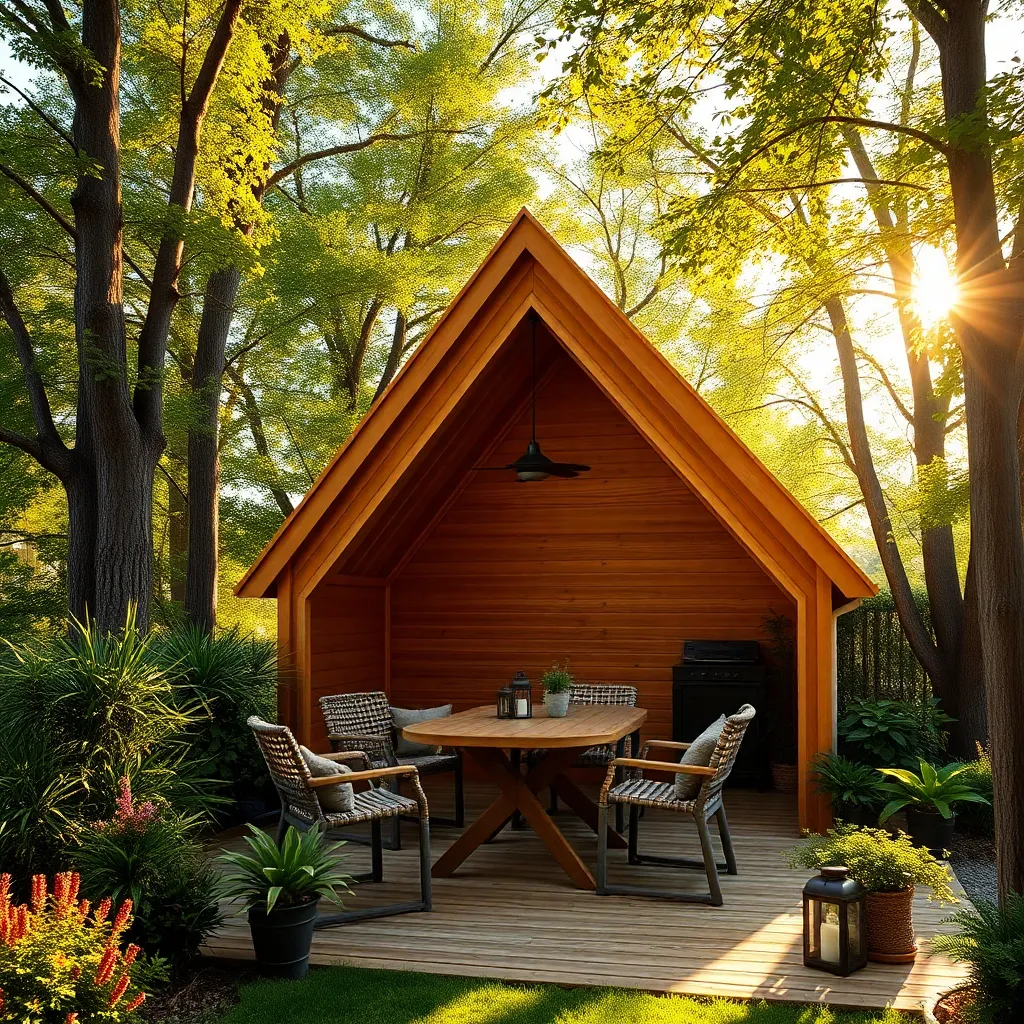
Building a simple A-frame shelter is a budget-friendly way to add a functional and charming outdoor space. To start, gather basic materials such as pressure-treated lumber for durability and galvanized screws for weather resistance. Cut two pairs of 8-foot 2x4s at a 30-degree angle for the roof’s spine and attach additional 2x4s horizontally to stabilize the structure. Beginners will appreciate the straightforward assembly, while more advanced DIYers can explore adding features like a corrugated metal roof for enhanced protection.
For added comfort and style, consider incorporating waterproof tarps or canvas over the A-frame to provide shelter from rain and sun. Secure the fabric tightly using grommets and bungee cords to withstand wind. If you’re looking to personalize your shelter, paint the frame or hang solar-powered lights for evening ambiance. This simple project can be completed in a weekend, making it an accessible and rewarding endeavor for any homeowner looking to enhance their outdoor living area.
Conclusion: Creating Beautiful Outdoor Spaces
As we wrap up our exploration of ‘8 Budget-Friendly Shelter Ideas for Your Next Project,’ let’s reflect on the diverse concepts we’ve uncovered. From embracing the simplicity of DIY shelters and repurposing materials to harnessing the power of nature and community collaboration, each idea presents an opportunity to nurture creativity and connection without stretching your budget. We’ve also delved into the importance of sustainable choices, the beauty of multifunctional spaces, and the profound impact of personalization on creating a haven you truly cherish.
Now, it’s time to take action. Choose one concept that resonates with you and start a conversation with your partner or loved ones. Discuss how you can incorporate it into your next project together, fostering teamwork and shared goals.
Remember, relationships thrive on mutual effort and creativity. Bookmark this article now to keep these valuable insights at your fingertips for future inspiration. As you embark on your journey of creating meaningful spaces, know that each step forward is a step towards deeper connection and lasting relationship success. You have the tools; now, let’s build those bonds stronger than ever.