
Imagine stepping into your backyard and finding a haven that not only withstands the elements but also elevates your outdoor experience to new heights. Whether you’re just beginning your journey into outdoor design or you’re a seasoned pro looking to add another layer of beauty and function, our guide to “8 Weatherproof Shelters Ideas for Your Next Project” is your passport to a more enjoyable outdoor space. These shelters offer the perfect blend of style and durability, ensuring your gatherings are never cut short by surprise showers or intense sun.
In this guide, you’ll discover practical solutions that promise to transform your backyard into a year-round retreat. From cozy pergolas to elegant gazebos, each idea is crafted to inspire confidence and creativity, empowering you to create a sanctuary that reflects your personal style. Embrace the joy of outdoor living with shelters designed to bring comfort and beauty to every moment spent under the open sky.
Incorporate Waterproof Roofing Materials
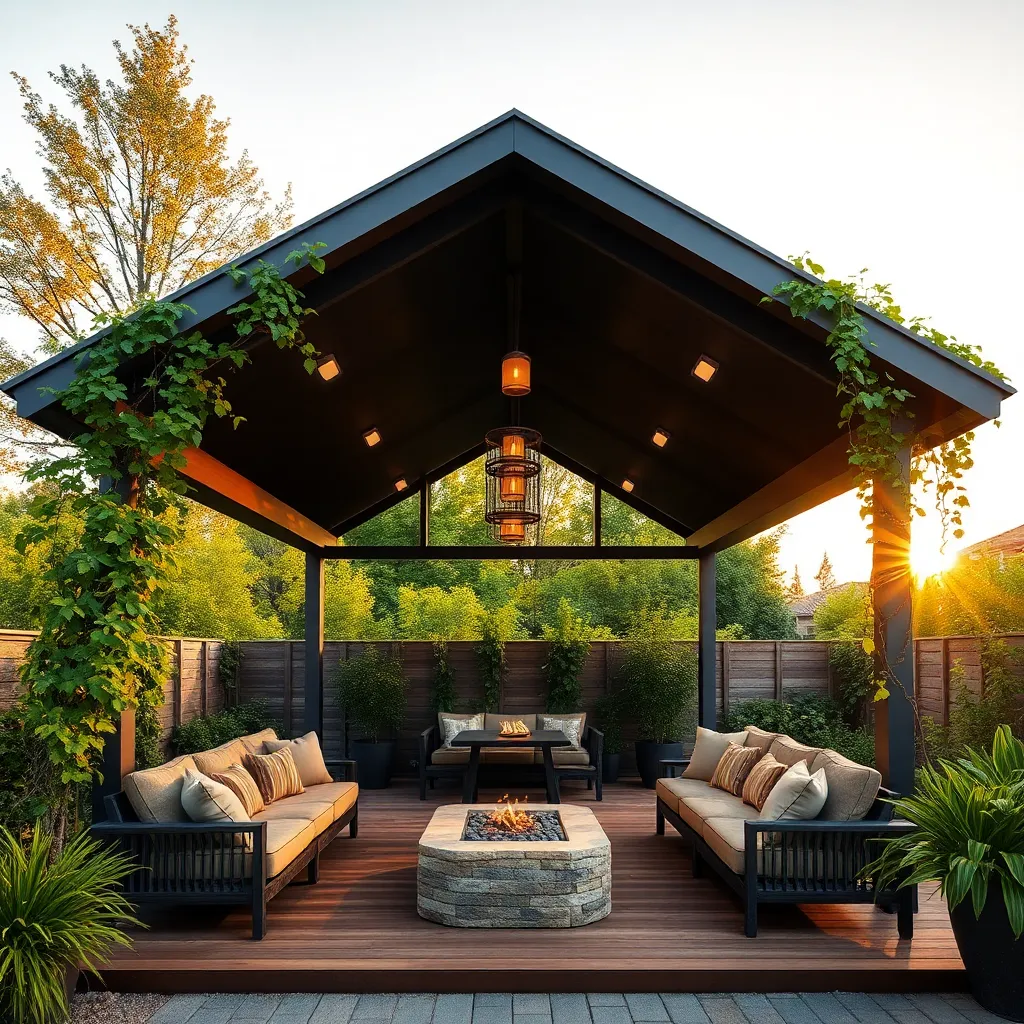
To effectively incorporate waterproof roofing materials, start by choosing durable options like corrugated metal, asphalt shingles, or polycarbonate panels. These materials are excellent for withstanding harsh weather conditions and can be customized to fit various shelter styles. For beginners, consider using asphalt shingles due to their ease of installation and cost-effectiveness. Ensure your roof has a minimum slope of 3:12 to facilitate water runoff, which helps in preventing leaks and prolonging the lifespan of your shelter.
Advanced builders might explore using EPDM rubber roofing for its superior waterproofing capabilities, particularly for flat or low-slope roofs. This material is highly resistant to UV damage and temperature fluctuations. When installing any roofing material, use galvanized or stainless-steel fasteners to prevent rust and ensure longevity. Consider adding
- drip edges
- sealed seams
- flashing
to prevent water infiltration at critical junctions. With the right materials and techniques, your outdoor shelter will remain dry and functional for years to come.
Utilize Wind-Resistant Structural Supports

Building a robust outdoor shelter requires strategic use of wind-resistant structural supports to ensure durability and safety. To start, consider using materials like steel or pressure-treated wood, which offer excellent strength and resilience against high winds. For added stability, use cross-bracing techniques, such as X-braces, to reinforce the framework. This not only helps in distributing the wind load but also prevents swaying, making your shelter more reliable during stormy weather.
Additionally, it’s crucial to anchor your structure securely to the ground. Employing concrete footings with metal anchors is a reliable method to enhance wind resistance. For those with some construction experience, integrating hurricane ties or straps can provide extra reinforcement by connecting the roof and walls more securely. These small adjustments can dramatically increase the lifespan of your shelter, allowing you to enjoy your outdoor space with peace of mind.
Select Durable, Weatherproof Fabrics

Choosing the right fabric for your outdoor shelter is crucial to ensure it withstands the elements. Look for materials like solution-dyed acrylic and vinyl-coated polyester, which offer excellent resistance to UV rays, mold, and mildew. These fabrics are not only durable but also come in a variety of colors and patterns, allowing you to customize your shelter’s aesthetic to match your outdoor space. For beginners, starting with a canvas that has a water-repellent finish can provide a good balance of durability and ease of installation.
For more advanced projects, consider incorporating polyester blends with PVC coatings to enhance waterproof properties and longevity. When selecting fabric, ensure that it has a high denier count, as this indicates the thickness and durability of the weave. Additionally, using reinforced seams and double stitching can significantly improve the fabric’s resistance to tearing, especially in windy conditions. Always measure and cut your fabric with precision to avoid waste and ensure a snug fit that won’t flap or sag under harsh weather.
Elevate Foundations Against Flooding

To protect your outdoor shelter from flooding, it’s essential to elevate the foundation. This can be achieved by using concrete piers or adjustable steel post bases to lift the structure off the ground. For beginners, consider using pre-cast concrete blocks, which are easy to install and provide a stable base. Advanced builders might opt for a more customized solution, such as helical piers, which offer excellent stability in flood-prone areas and can be adjusted for uneven terrain.
Enhancing drainage around your shelter is another critical step. Incorporate a gravel base beneath the foundation to facilitate water runoff and prevent pooling. Ensure the ground slopes away from the shelter, ideally with a gradient of at least 2% to direct rainwater elsewhere. For additional protection, install a French drain system around the perimeter to efficiently channel excess water away, keeping your shelter dry and secure during heavy rains.
Enhance Insulation With Thermal Panels

To enhance the insulation of your outdoor shelter, consider incorporating thermal panels. These panels are an excellent solution for maintaining a comfortable interior temperature, regardless of external weather conditions. Opt for materials like polyisocyanurate or extruded polystyrene, which offer high R-values, indicating superior insulation capabilities. Beginners can start by lining the walls and roof with these panels, while more experienced builders might explore double-layer installations for extra efficiency.
Incorporating thermal panels not only improves insulation but can also enhance the shelter’s overall structural integrity. Ensure panels are cut precisely and fitted snugly to avoid gaps where heat might escape. For advanced insulation, consider using reflective thermal barriers alongside your panels to reflect radiant heat. To maximize benefits, seal all panel edges with weather-resistant tape or caulk to prevent moisture infiltration, which can degrade insulation performance over time. By making these enhancements, you’ll create a shelter that’s both cozy and energy-efficient.
Apply Weather-Resistant Coatings

To ensure your outdoor shelter withstands the elements, it’s crucial to apply weather-resistant coatings to all exposed surfaces. Start by choosing a high-quality sealant or paint that is specifically designed for outdoor use, such as a UV-resistant polyurethane or marine-grade varnish. These products not only shield your structure from moisture and sunlight but also help prevent cracking and peeling.
When applying these coatings, use a brush or roller to achieve even coverage, paying special attention to seams and joints where water might seep in. For wooden structures, consider using a penetrative oil-based stain to protect against rot and insects. More advanced users might explore epoxy resin coatings for added durability, particularly on surfaces prone to heavy wear. Remember to reapply these coatings every few years to maintain optimum protection.
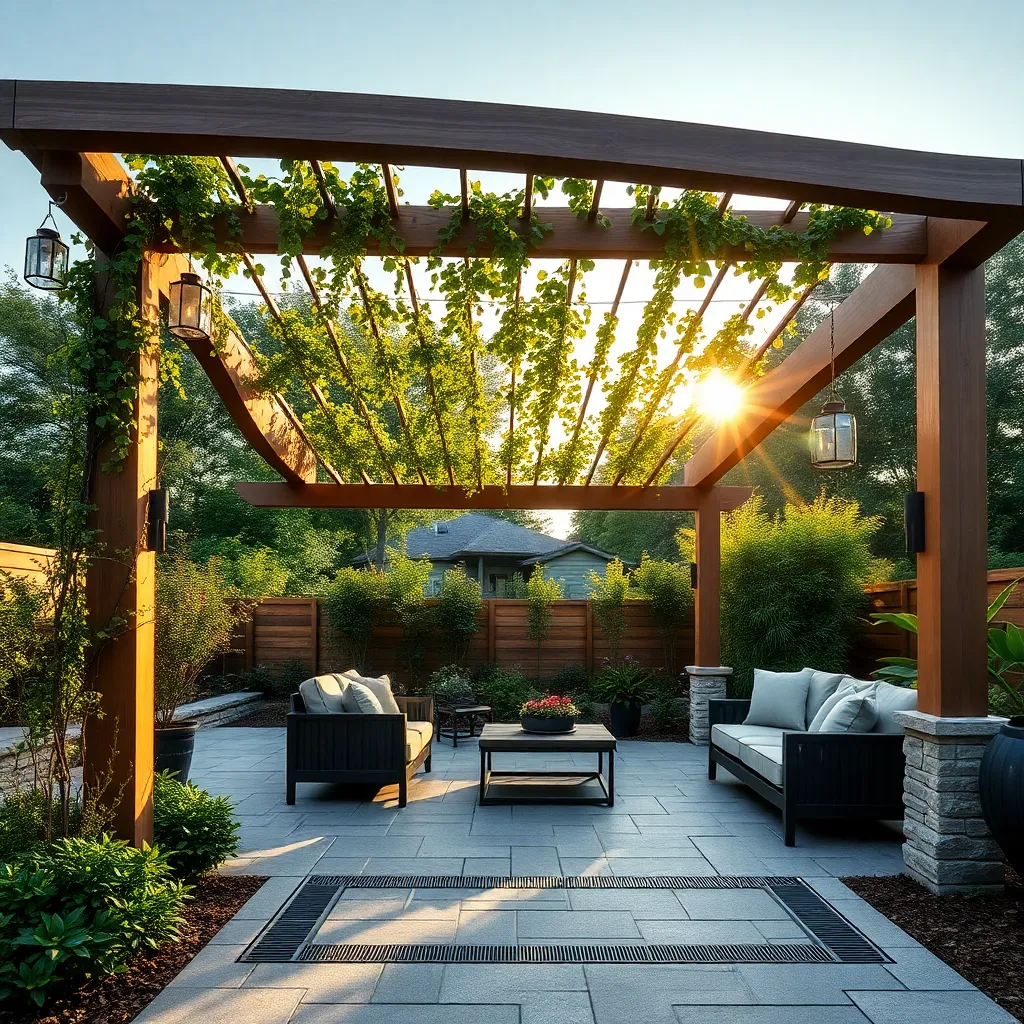
Design With Natural Ventilation Paths
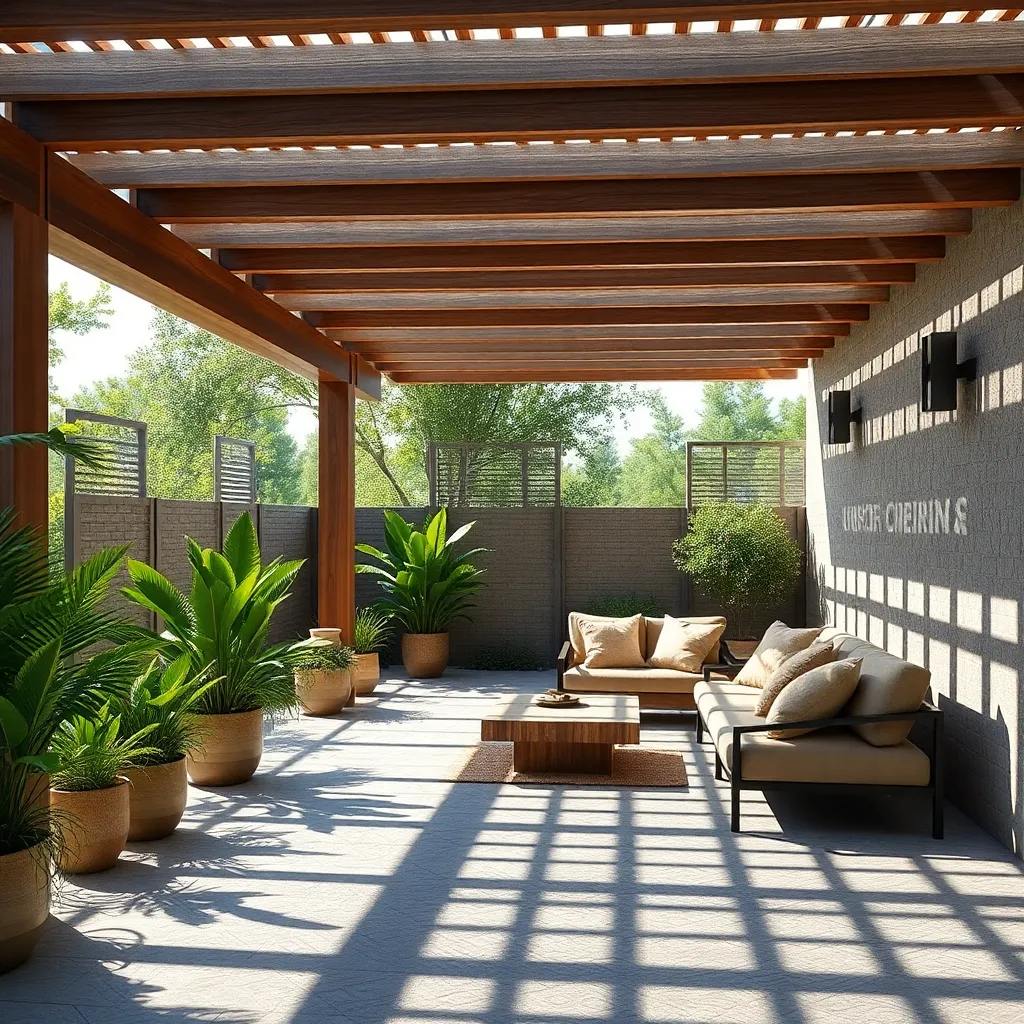
When designing an outdoor shelter, incorporating natural ventilation paths is crucial for comfort and air quality. Position your shelter to take advantage of prevailing winds by aligning openings or vents towards windward sides. This encourages fresh air flow while minimizing heat buildup. For beginners, using lattice panels or spaced wooden slats can create effective ventilation paths without compromising on aesthetics. Consider materials like weather-resistant wood or metal, ensuring they blend well with the surrounding landscape.
For a more advanced approach, integrate adjustable louvers or operable skylights that can be opened or closed depending on weather conditions. This allows for precise control over airflow and temperature regulation. When planning your design, ensure that vent openings are placed both high and low to facilitate cross-ventilation, effectively pushing warm air out while drawing cooler air in. Additionally, incorporating a sloped roof can further enhance airflow by channeling air through the structure naturally. Following these strategies will make your shelter not only weatherproof but also a refreshing and inviting retreat.
Implement Drainage Systems for Runoff
Effective drainage is crucial for protecting your outdoor shelter from water damage and ensuring its longevity. Start by designing the site with a slight slope away from the structure, which will encourage natural runoff. For more controlled drainage, install a French drain system using perforated pipes surrounded by gravel. This setup helps direct water away from your shelter efficiently. A rain garden is another excellent option to absorb excess water while adding a touch of nature to the landscape.
For those looking to go a step further, consider implementing a gutter and downspout system. Choose durable materials like aluminum or vinyl for gutters, and ensure they are securely attached to withstand weather conditions. Extend downspouts at least six feet from the foundation to effectively redirect water. Additionally, regularly clear debris from gutters to maintain optimal flow. By combining these strategies, you can safeguard your outdoor shelter and enhance its usability, rain or shine.
Conclusion: Creating Beautiful Outdoor Spaces
As we wrap up our exploration of ‘8 Weatherproof Shelter Ideas for Your Next Project,’ it’s essential to recognize the foundational relationship concepts each idea embodies. We’ve touched on the importance of communication, the strength of trust, the reliability of consistency, the nurturing of intimacy, the adaptability to change, the value of shared goals, the necessity of mutual respect, and the beauty of growth together. Each concept serves as a sturdy pillar in building a resilient and enduring relationship, much like a weatherproof shelter.
To put these ideas into action, choose one concept to focus on this week—perhaps initiating a heartfelt conversation or planning a shared activity that strengthens your bond. This small step can initiate a ripple effect, enhancing the stability and warmth of your relationship.
Don’t forget to save or bookmark this article, so you can revisit these concepts whenever you need guidance or a reminder of your relationship goals. As you build upon these principles, envision a future where your relationship stands strong against any storm, thriving with mutual support and love. Let’s embark on this journey with confidence and commitment, ensuring your relationship not only endures but flourishes.