
Imagine stepping into your backyard and feeling instantly at ease, sheltered from the elements yet fully immersed in the beauty of the outdoors. Whether you’re just beginning your outdoor living journey or you’re a seasoned pro, “9 Weatherproof Shelters Ideas for Your Next Project” is your ticket to creating a haven that combines comfort, style, and practicality. This guide is bursting with inspiration that will empower you to transform your outdoor space into a year-round retreat.
From sleek pergolas to rustic pavilions, each idea in this guide is designed to withstand the weather while elevating your outdoor experience. With these innovative and durable shelter solutions at your fingertips, you’ll discover how easy it is to create a space that not only enhances your lifestyle but also boosts the value of your home. Dive in and start your transformation—your ideal outdoor oasis awaits!
Select Durable Waterproof Materials
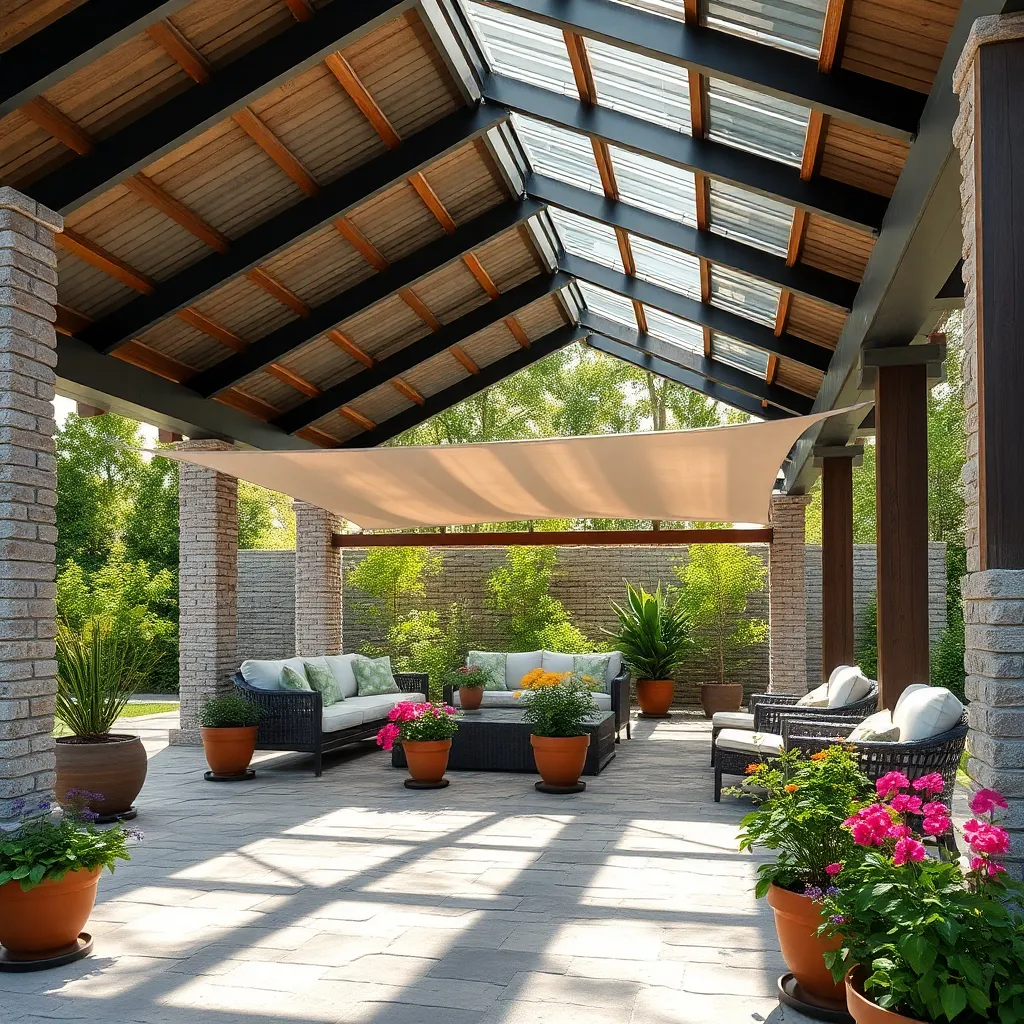
When selecting materials for your outdoor shelter, prioritize durability and water resistance. Materials like treated wood, metal, and high-grade vinyl are excellent choices for withstanding harsh weather conditions. Consider using pressure-treated lumber for wooden structures, as it resists rot and insects. For roofs, opt for corrugated metal or high-quality polycarbonate panels, both of which provide excellent water runoff and durability.
For a more advanced touch, incorporate design elements that enhance both form and function. Utilize a sloped roof design to facilitate water drainage and prevent pooling. Ensure your shelter’s foundation is elevated slightly to avoid water accumulation, especially during heavy rain. If you’re ready to invest in long-term solutions, explore options like powder-coated steel frames, which offer superior rust resistance. These steps will not only extend the lifespan of your shelter but also provide a stable, weatherproof haven for any outdoor setting.
Incorporate Wind-Resistant Structures
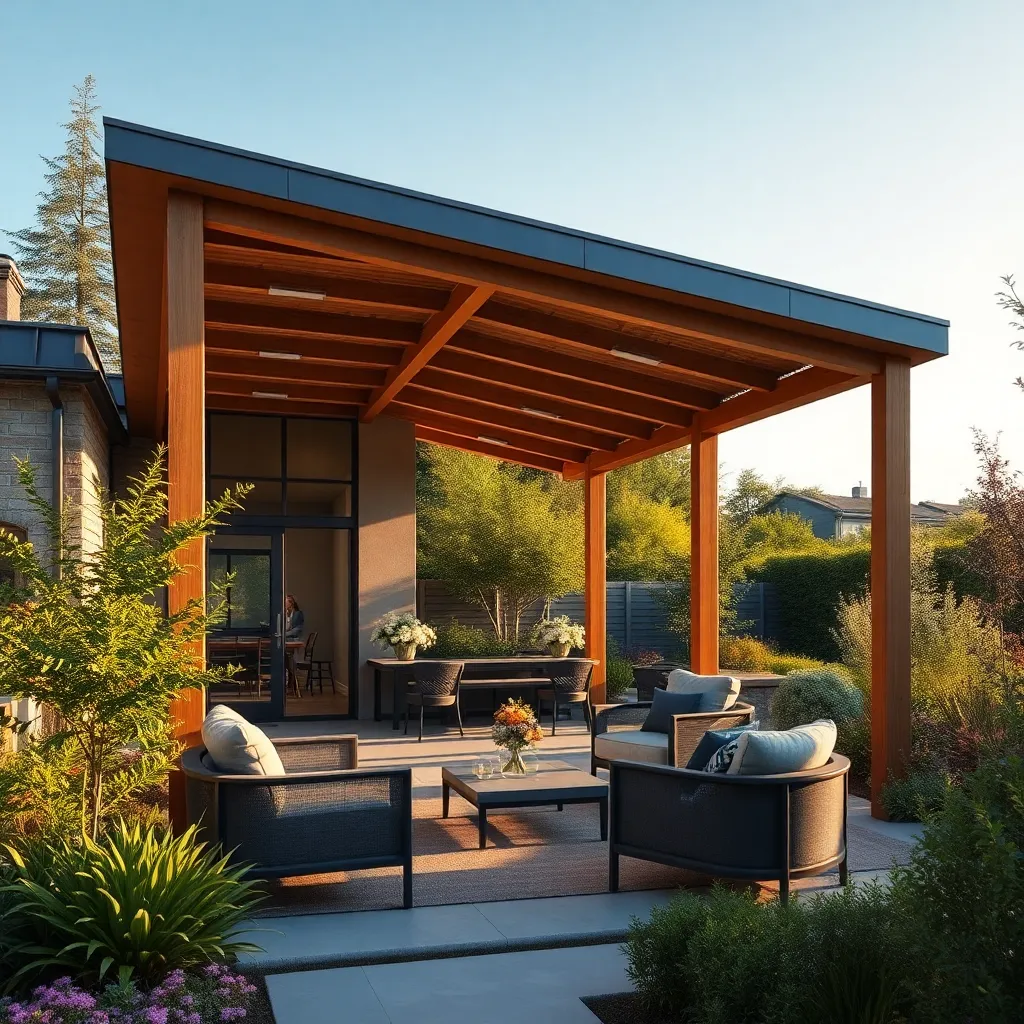
When designing a wind-resistant outdoor shelter, it’s crucial to focus on structural stability. Consider using heavy-duty materials like reinforced steel or aluminum, which provide excellent durability and strength. For the foundation, anchor your structure with concrete footings to prevent it from shifting during high winds. Incorporating cross-bracing in the framework can further enhance stability by distributing wind loads more effectively.
Opt for design features that minimize wind resistance, such as aerodynamic shapes or sloped roofs that deflect wind rather than resist it. Choose windbreak options like strategically placed shrubs or fences to reduce the direct impact of gusts on your shelter. Advanced builders might consider installing adjustable shutters or louvers, which not only offer protection but can also be adjusted to control airflow and light. These strategies will ensure your shelter remains sturdy and safe, providing peace of mind in any weather.
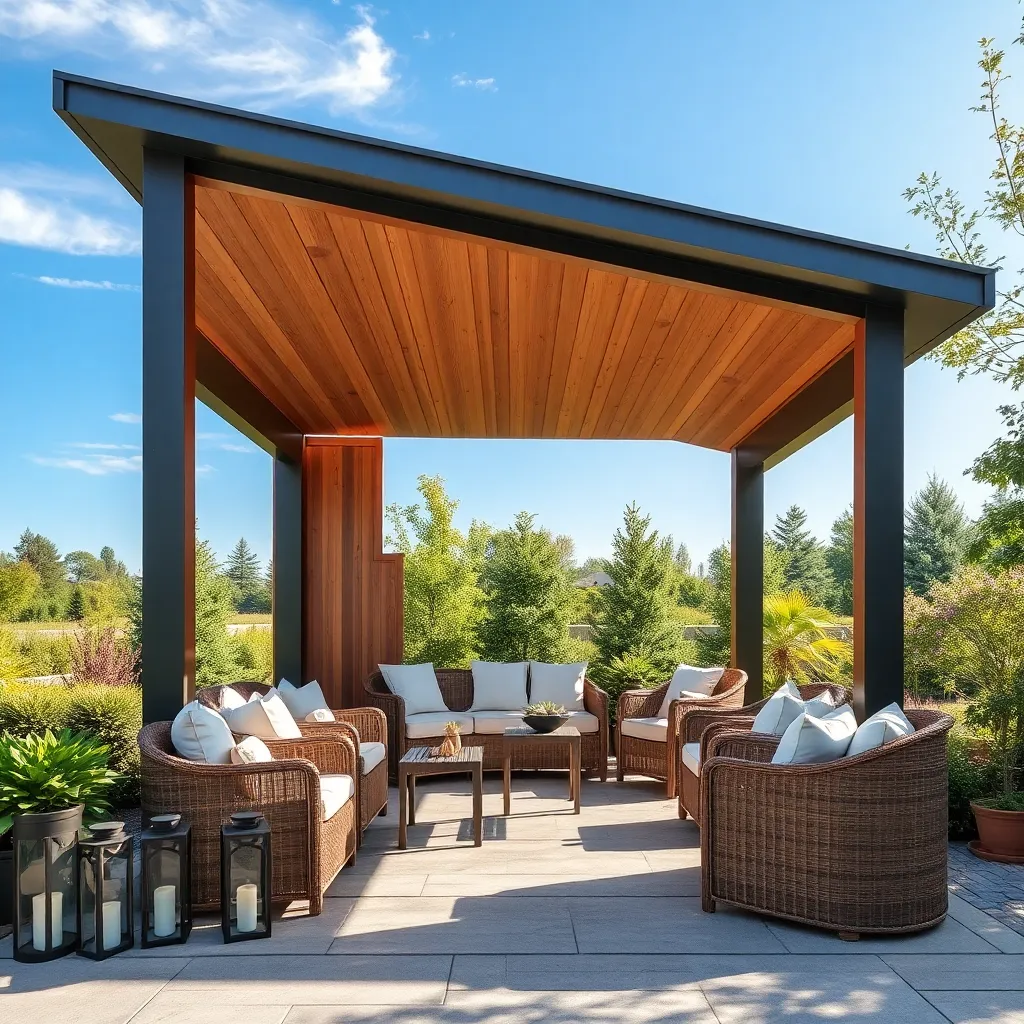
Design Sloped Roofs for Drainage
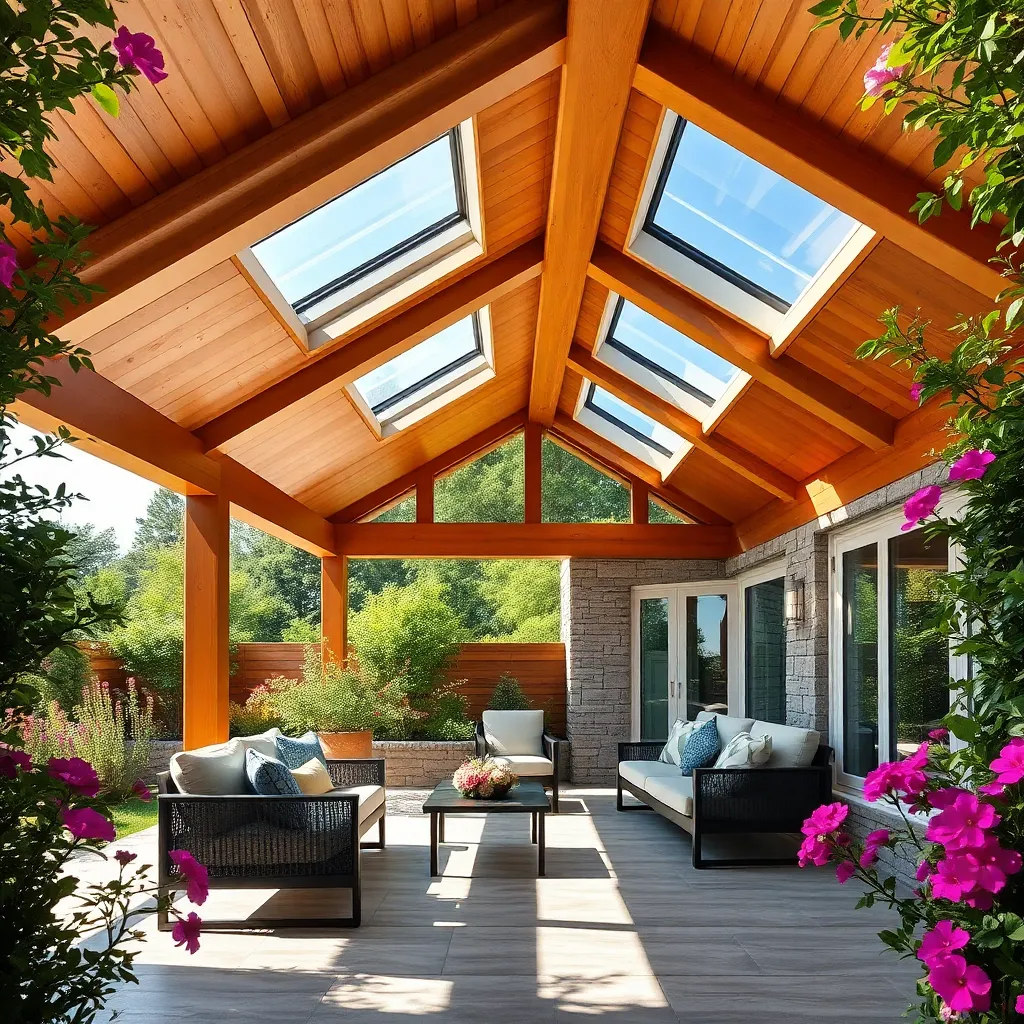
To ensure effective water drainage, it’s essential to design sloped roofs with a minimum pitch of 1:12—meaning for every 12 horizontal inches, the roof should rise at least 1 inch. This slope allows water to flow off efficiently, preventing pooling that can lead to leaks or structural damage. Opt for durable materials like corrugated metal or treated wood, which are not only weather-resistant but also easy to install and maintain. Consider using gutters or drip edges to further guide water away from the shelter’s foundation.
Beginner or seasoned DIYer, remember to focus on the roof’s orientation; ideally, the slope should face away from prevailing wind directions to minimize water-driven rain. For advanced builders, integrating a rainwater harvesting system can be a sustainable add-on, capturing runoff for garden irrigation. Also, ensure all roofing materials are securely fastened with weatherproof screws or nails to withstand storms and high winds. By thoughtfully designing your sloped roof, you’ll enhance your shelter’s durability and functionality, making it a valuable addition to your outdoor space.
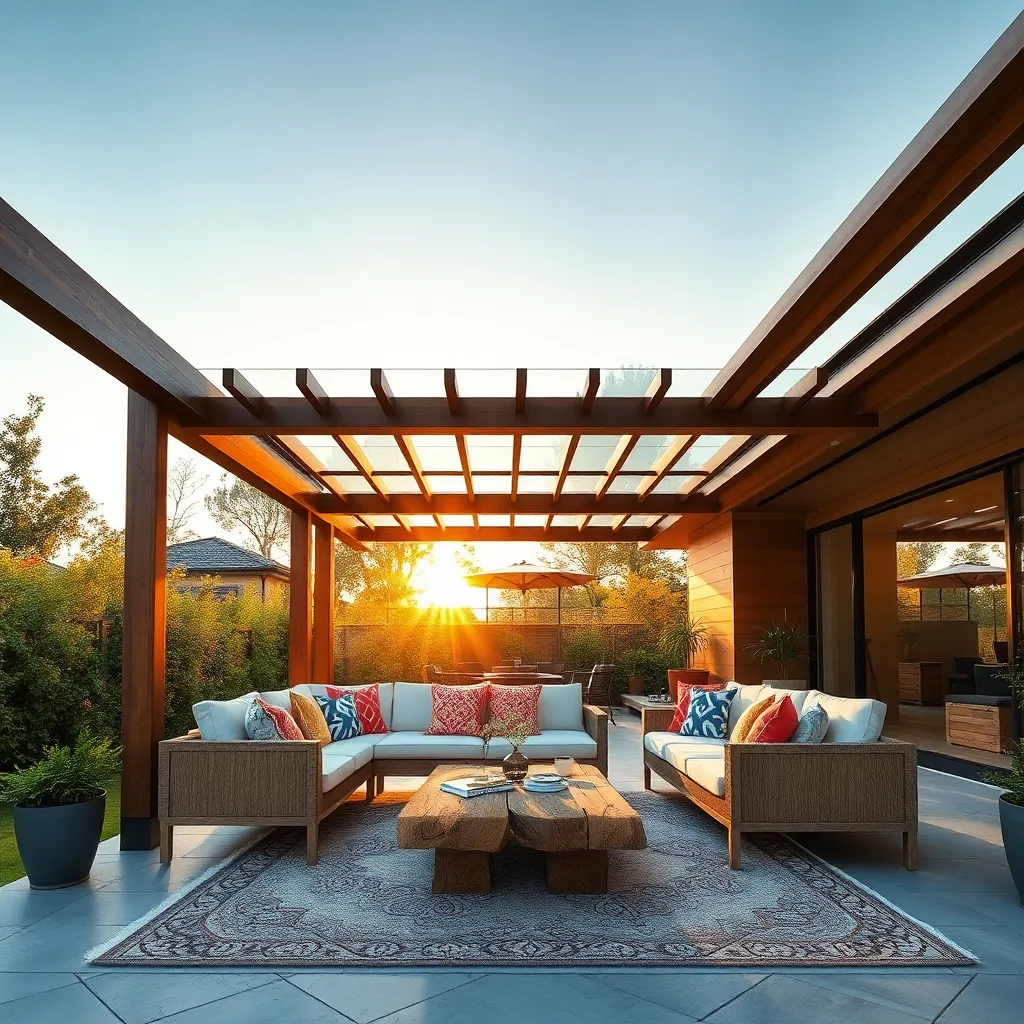
Use UV-Protective Coatings
When creating an outdoor shelter, applying UV-protective coatings is essential to extend the lifespan of materials exposed to the elements. These coatings help shield surfaces from harmful UV rays that can cause fading, cracking, and deterioration over time. Consider using products like UV-resistant varnishes or paints specifically designed for outdoor use. For beginners, start with a simple, clear UV-protective sealant on natural wood structures to maintain their appearance and durability.
For more advanced projects, you might explore using specialized UV-blocking films or laminates for transparent surfaces like glass or polycarbonate. These materials not only protect but can also enhance the aesthetic appeal of your shelter by reducing glare and heat. When applying these coatings, ensure the surface is clean and dry to promote strong adhesion, and consider reapplying every few years to maintain optimal protection. This proactive approach ensures your outdoor space remains inviting and well-maintained.
Install Adjustable Ventilation Panels
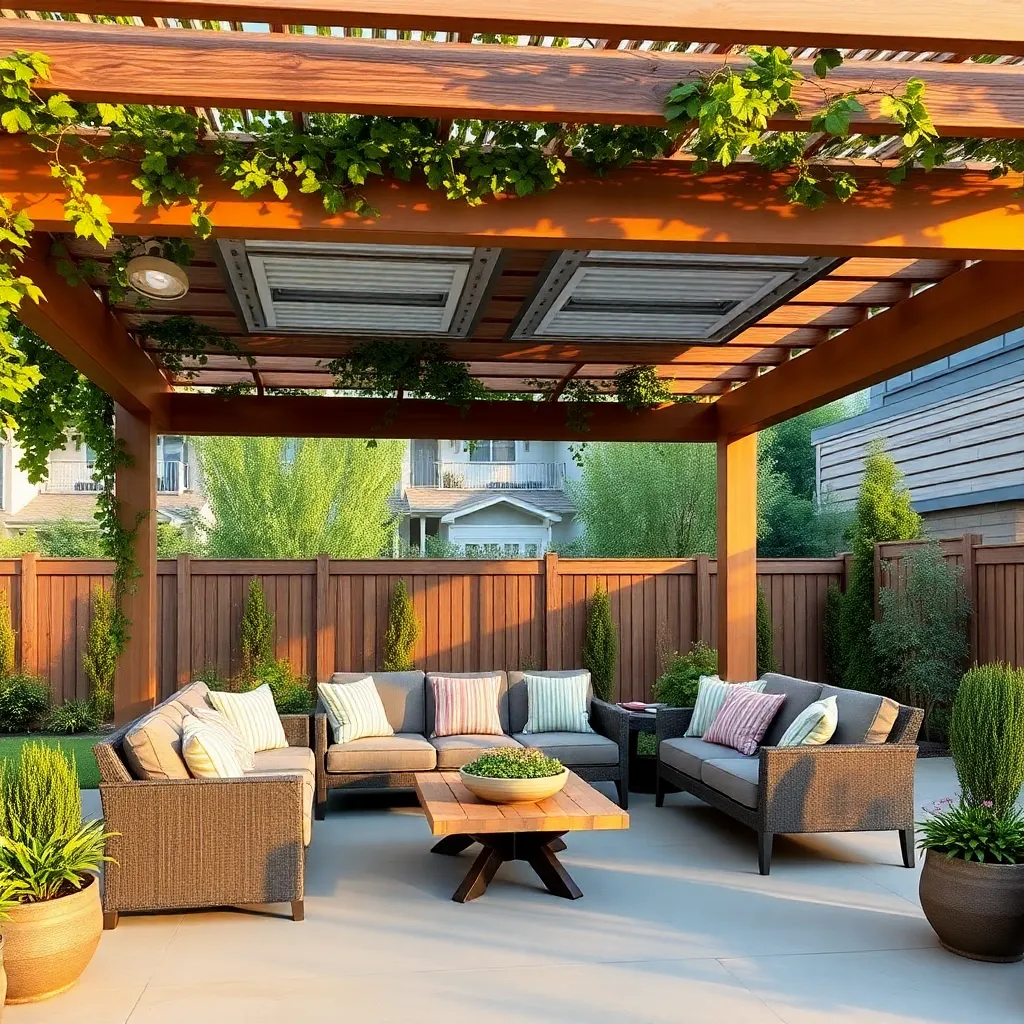
To enhance the functionality of your outdoor shelter, consider installing adjustable ventilation panels. These panels allow you to control airflow, which is crucial for maintaining comfort in varying weather conditions. You can choose materials like weather-resistant aluminum or treated wood, ensuring durability against the elements. For beginners, pre-made kits are available, which simplify installation with clear instructions and all necessary components included.
Advanced DIYers might opt to customize their ventilation panels by incorporating features such as mesh screens to keep insects out while allowing fresh air in. When designing your panels, consider using dimensions like 24×36 inches for optimal airflow without compromising structural integrity. Additionally, positioning panels on opposite sides of the shelter can enhance cross-ventilation. Remember, the key is to balance aesthetics with functionality, making your shelter both attractive and practical.
Choose Insulated Wall Solutions
When considering insulation for your outdoor shelter, opting for effective wall solutions is crucial for maintaining comfort during varying weather conditions. Use materials like structural insulated panels (SIPs) or insulated concrete forms (ICFs) to enhance thermal efficiency. These materials not only provide excellent insulation but also offer structural strength, making them ideal for year-round use. For beginners, starting with SIPs could be more manageable, as they are easier to install and come in pre-fabricated sizes.
To enhance the efficiency of your insulated walls, consider incorporating a vapor barrier to prevent moisture build-up, which can compromise insulation. Advanced builders might explore using recycled denim or wool insulation for an eco-friendly alternative that offers both insulation and soundproofing benefits. Additionally, ensure proper sealing around doors and windows with weatherstripping to maximize energy efficiency. Always tailor the insulation thickness to your regional climate needs, aiming for at least R-13 to R-21 ratings for walls, depending on your local weather conditions.
Implement Elevated Flooring Systems
Implementing elevated flooring systems in your outdoor shelter can greatly enhance its durability and weather resistance. Elevating your floor helps protect against moisture, pests, and uneven ground surfaces, making it a vital design consideration for any climate. Consider using pressure-treated lumber or composite decking for your flooring, as these materials are designed to withstand harsh weather conditions. For beginners, a simple raised deck design with a few inches of elevation can suffice, while more experienced builders might explore complex framing techniques for added stability.
For those looking to dive deeper, consider adding an underfloor drainage system to prevent water pooling beneath your shelter. Use gravel or sand as a base layer to improve drainage and ensure your elevated floor remains dry and stable. An advanced tip is to incorporate adjustable pedestals under your flooring boards, allowing for precise leveling over uneven terrain. This approach not only extends the lifespan of your outdoor structure but also adds an element of sophistication to your design. Embrace these strategies to create a functional and aesthetically pleasing outdoor retreat that stands the test of time.
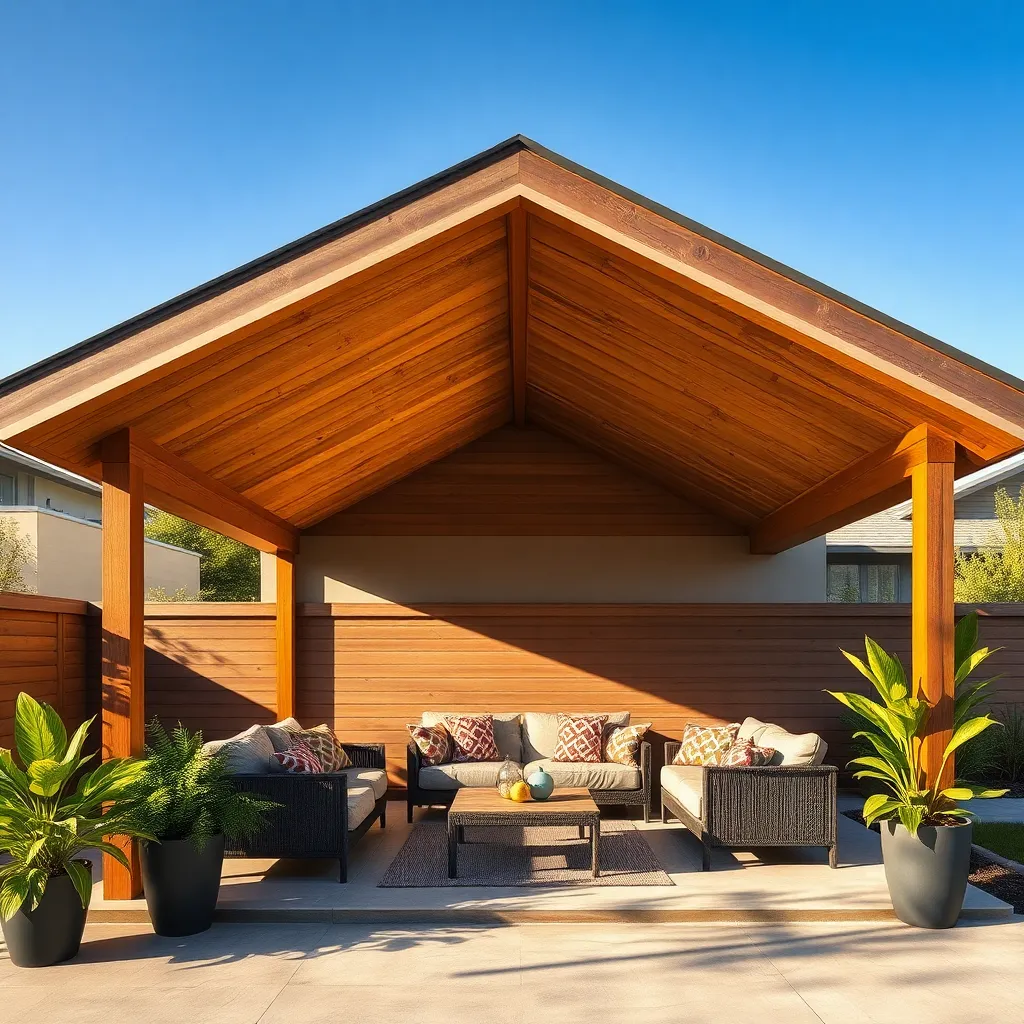
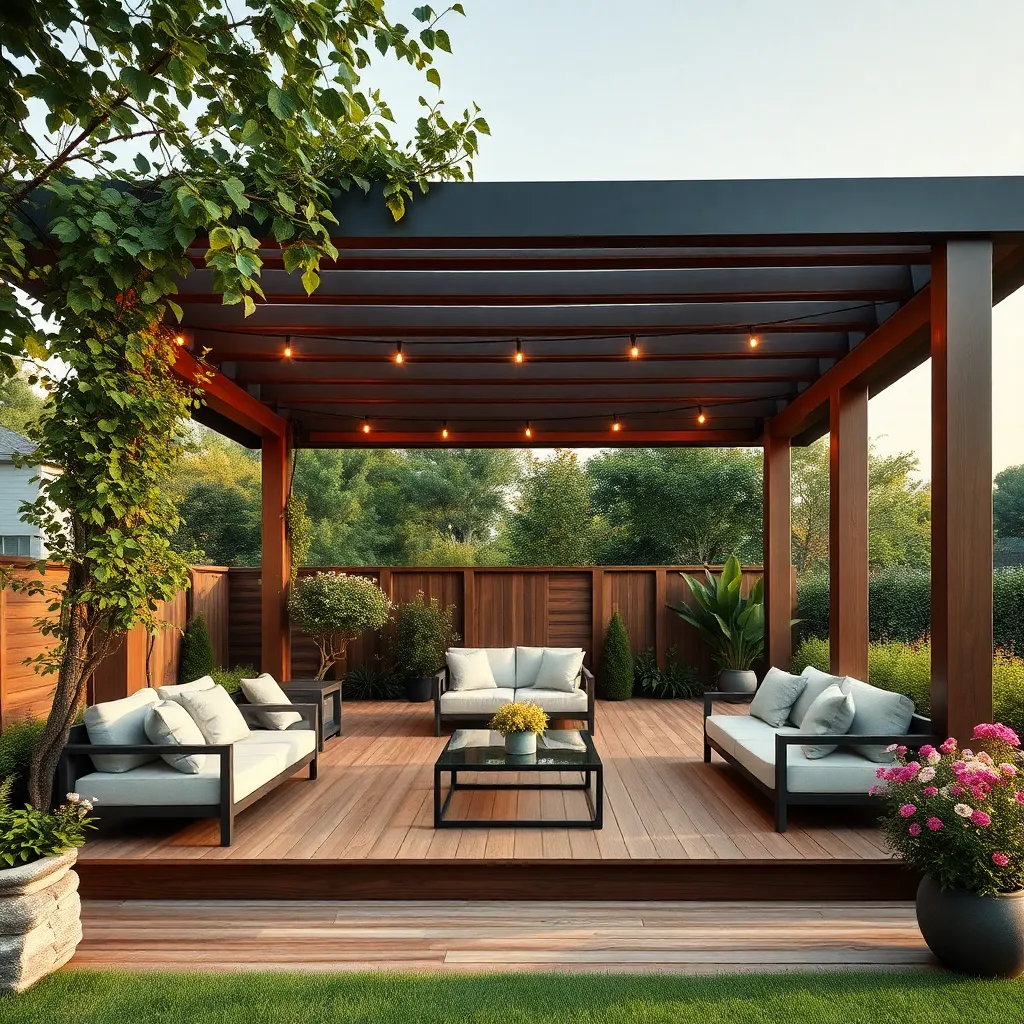
Opt for Modular Shelter Designs
Modular shelter designs offer flexibility and customization, making them a smart choice for any outdoor space. These structures can be expanded or reconfigured to suit changing needs, providing versatility in design. For beginners, start with basic pre-fabricated units that are easy to assemble. More advanced users might explore custom options using materials like aluminum frames and polycarbonate panels for durability and weather resistance.
Consider integrating features like adjustable louvers or removable panels to enhance the functionality of your modular shelter. This allows you to control sunlight and airflow, creating a comfortable environment year-round. When choosing materials, opt for weather-resistant options such as treated wood or stainless steel to withstand the elements. To ensure stability, use a solid foundation like concrete footings or paver stones, which can easily support the structure’s weight and offer a level base.
Integrate Natural Weather Barriers
Integrating natural weather barriers into your outdoor shelter can create a more resilient and sustainable design. Consider using strategically placed trees or hedges as windbreaks to reduce exposure to harsh winds. Opt for native species that thrive in your climate to ensure minimal maintenance and long-term success. For a more immediate solution, plant fast-growing species like bamboo, which can quickly form a dense barrier that also offers privacy and shade.
Incorporate earthen elements such as berms or raised soil mounds to deflect cold winds and help regulate temperature around your shelter. These features can be easily designed using local soil, rocks, or even recycled materials like broken concrete. When building berms, ensure that they are high enough—typically 2-3 feet is effective—and gently sloped to prevent erosion. For an advanced touch, integrate a living roof with hardy, low-maintenance plants to further insulate your shelter and blend it seamlessly with the environment.
Conclusion: Creating Beautiful Outdoor Spaces
In exploring the ‘9 Weatherproof Shelter Ideas for Your Next Project,’ we’ve delved into key relationship concepts that fortify and protect the bonds we hold dear. From building strong foundations and fostering open communication to prioritizing adaptability and nurturing trust, each idea serves as a steadfast pillar in weatherproofing your relationship against life’s unpredictable storms. We’ve also emphasized the importance of mutual support, shared goals, emotional resilience, and the practice of gratitude, ensuring that your relationship remains a haven of connection and understanding.
As an actionable next step, take a moment today to engage in open dialogue with your partner about one of these concepts that resonates most with your current situation. Whether it’s practicing gratitude or setting shared goals, this focused effort can spark meaningful growth.
Remember, the journey to a thriving relationship is ongoing. Bookmark this article to revisit these vital concepts, allowing them to guide you through challenges and celebrate successes. By doing so, you pave the way for a future filled with enduring love and partnership. Together, let’s commit to nurturing relationships that stand the test of time, empowering each other to weather any storm life may bring.