
Imagine stepping into your backyard, greeted by a stunning shelter that not only stands up to the elements but also enhances your outdoor living experience. Whether you’re a beginner just dipping your toes into the world of outdoor projects or a seasoned pro looking to elevate your space, our guide, “11 Weatherproof Shelters Ideas for Your Next Project,” is your key to creating a personal oasis that withstands all weather conditions.
In this guide, you’ll discover creative and durable shelter ideas that promise to transform your outdoor spaces into beautiful, functional retreats. From boosting your property’s value to enjoying year-round comfort, these projects offer practical benefits that will make you eager to start. Let us inspire and empower you to craft an outdoor environment that you can enjoy, rain or shine.
Use Waterproof Fabrics for Coverings
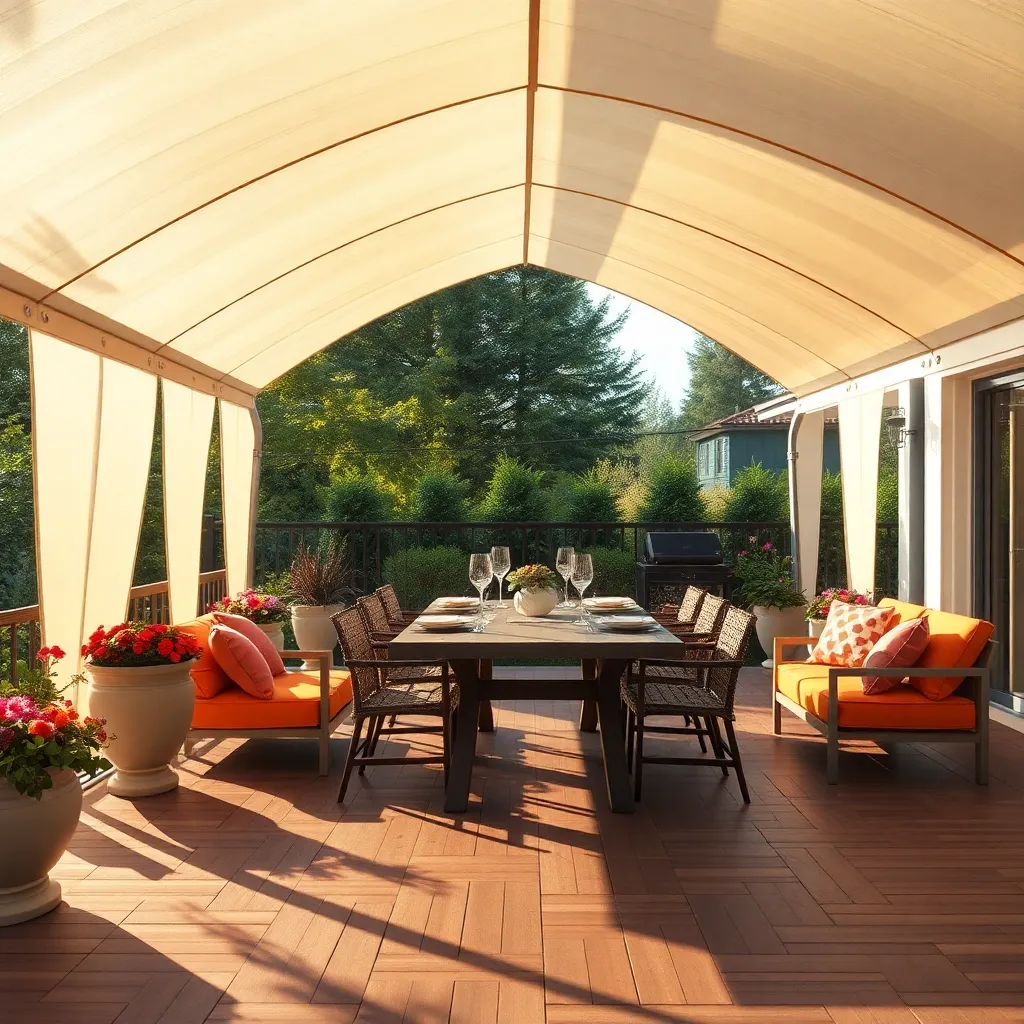
When constructing an outdoor shelter, using waterproof fabrics for coverings is essential to ensure durability and protection against the elements. Consider materials like canvas, polyester, or vinyl-coated fabrics, which are known for their water resistance and longevity. For a basic setup, you can opt for a simple tarp made from these materials, ensuring it is tautly secured to prevent water pooling.
For those looking to elevate their shelter design, consider adding a pitched roof structure that allows rainwater to run off easily. Advanced options include incorporating grommets and reinforced edges for added strength and stability in windy conditions. Always ensure your fabric measurements accommodate an overhang of at least 12 inches on each side to provide adequate coverage and protection for your space.
Incorporate Retractable Awnings for Flexibility

To achieve a versatile outdoor space, consider incorporating retractable awnings. These provide the flexibility to enjoy the sun or shade depending on the weather, making them ideal for patios or decks. When selecting materials, look for durable, weather-resistant fabrics such as acrylic or polyester, which can withstand sun exposure and rain. Installation is straightforward for most DIY enthusiasts, but professional installation is recommended for larger or motorized units.
Retractable awnings come in various sizes, typically ranging from 8 to 18 feet in width, and can extend up to 10 feet. For a seamless look, choose a color that complements your home’s exterior. Advanced users can opt for motorized models with remote controls or weather sensors, which automatically retract the awning during high winds. This combination of adaptability and ease makes retractable awnings a smart investment for enhancing outdoor comfort and utility.
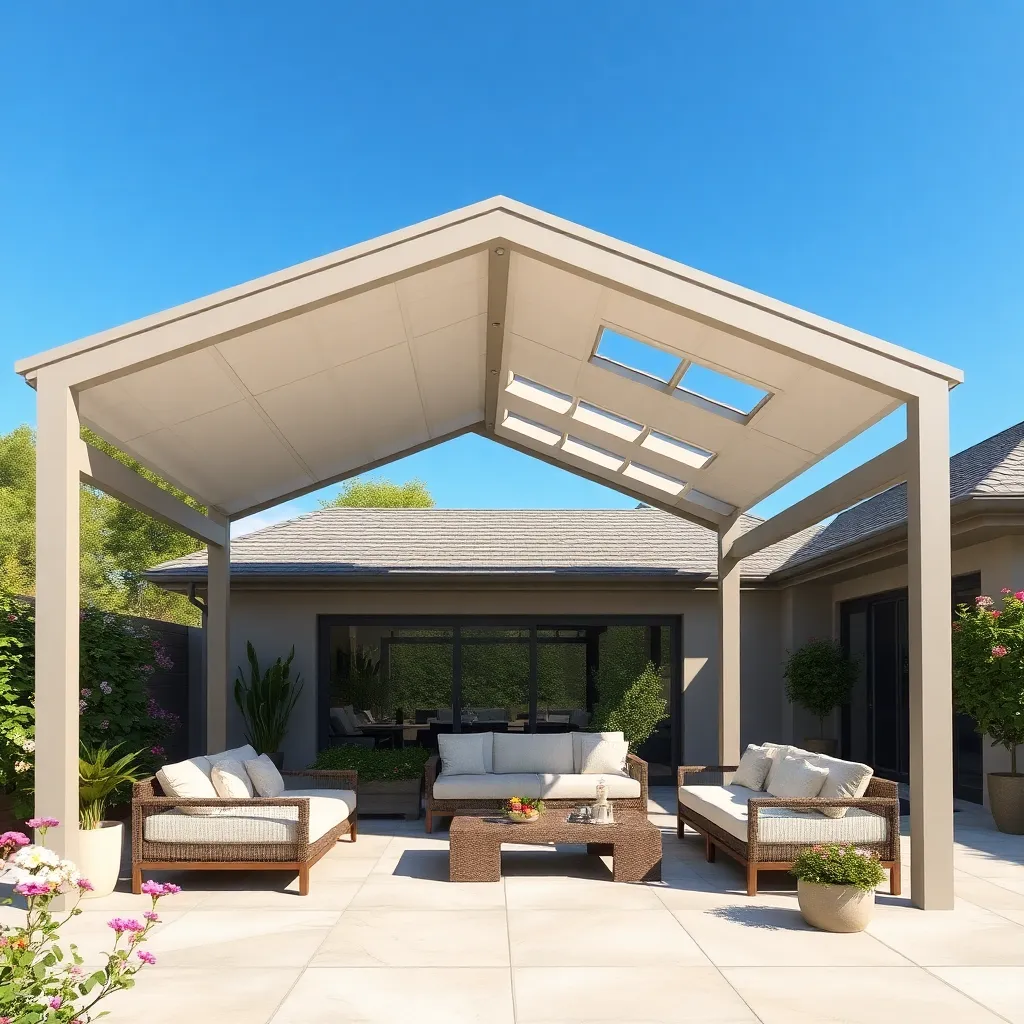
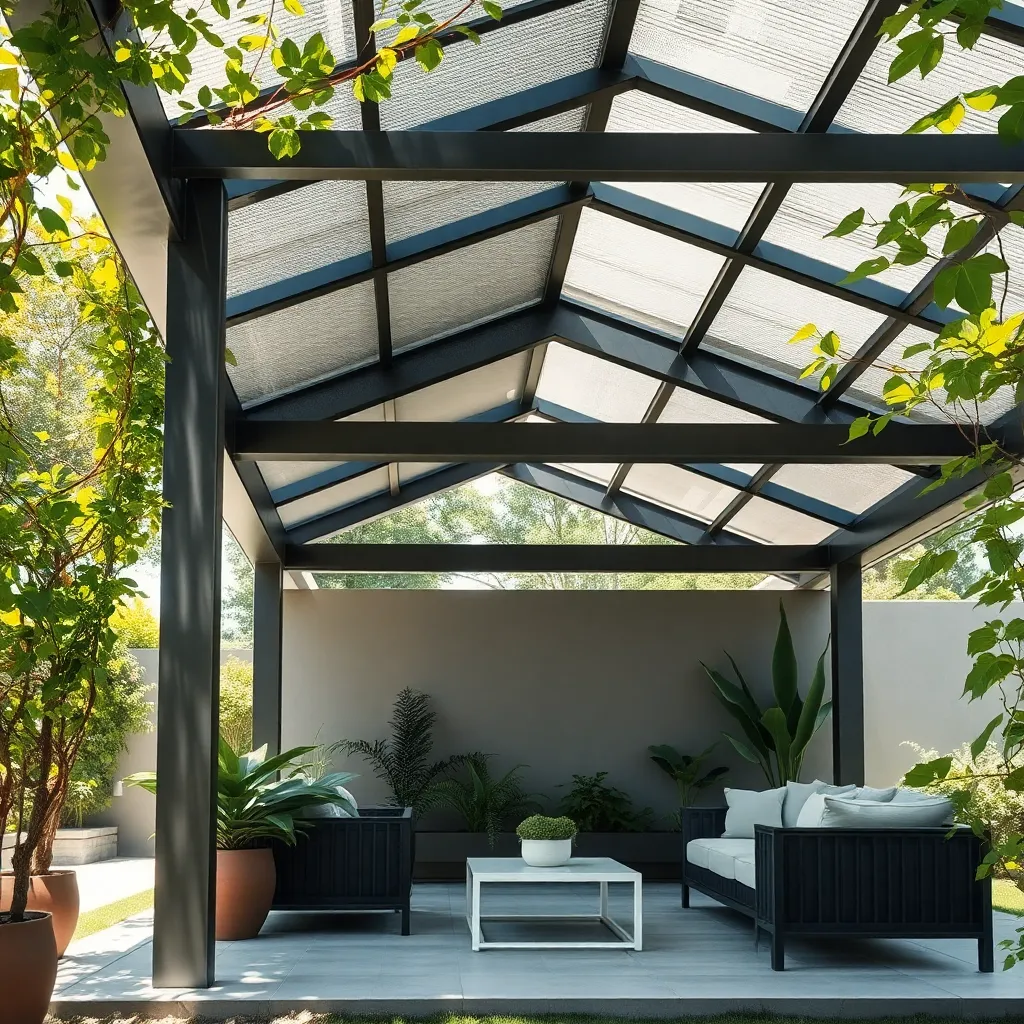
Install High-Durability Roofing Materials
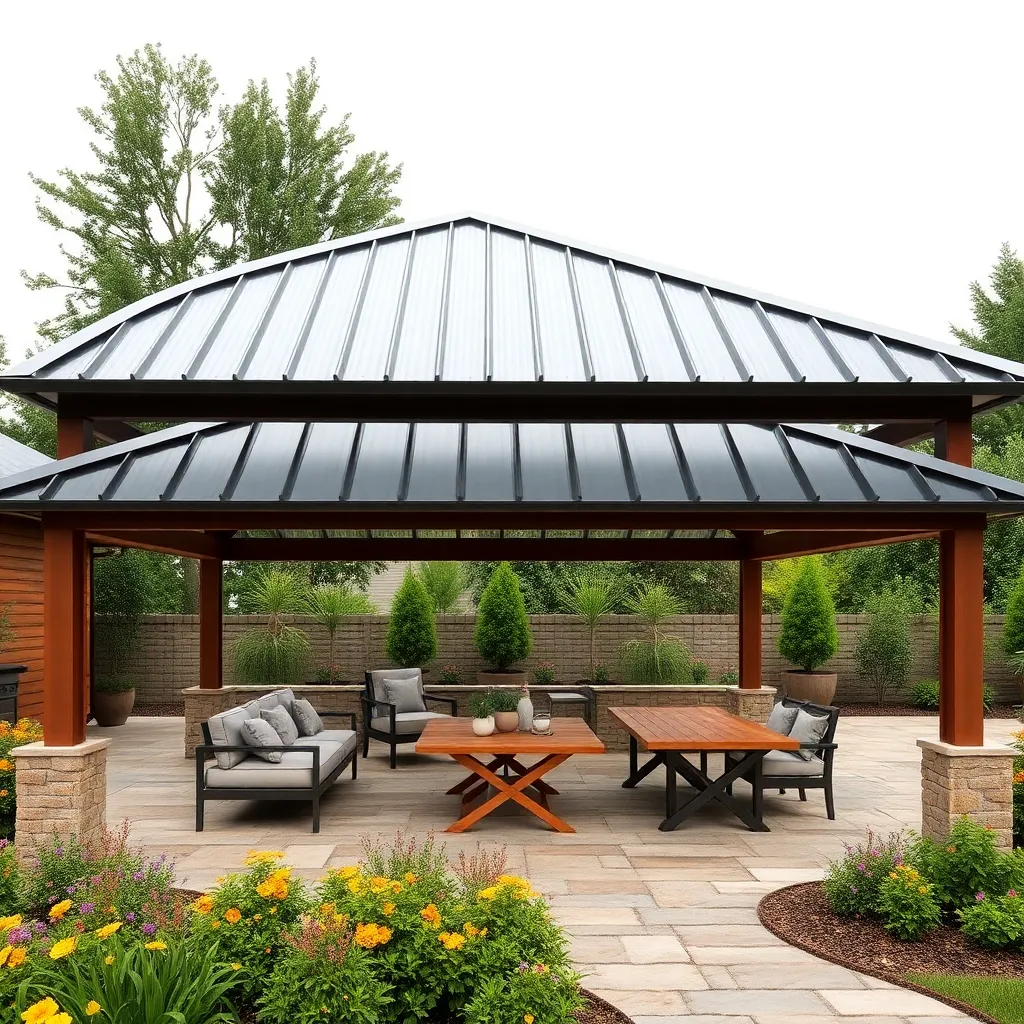
When constructing an outdoor shelter, choosing high-durability roofing materials is crucial for longevity and protection against the elements. Opt for materials such as metal roofing, asphalt shingles, or polycarbonate panels, which are known for their strength and weather resistance. For beginners, metal roofing is a standout choice due to its durability and low maintenance, while advanced DIYers might explore using polycarbonate panels to allow natural light while blocking harmful UV rays.
Consider the design and climate of your area when selecting roofing materials to ensure optimal performance. For areas prone to heavy snow, steeply pitched roofs can help shed snow faster, reducing structural stress. In warmer climates, lighter-colored materials can reflect sunlight, keeping the shelter cooler. Ensure proper installation by following manufacturer guidelines and using appropriate underlayment to prevent leaks, thus extending the life of your shelter.
Choose Wind-Resistant Structural Designs
When choosing a wind-resistant structural design, consider incorporating a aerodynamic shape that can deflect wind rather than resist it. Structures with rounded roofs or sloped walls can significantly reduce wind pressure. For beginners, starting with a geodesic dome or A-frame design can be both practical and effective. These shapes naturally channel wind around the structure, reducing the likelihood of damage.
Advanced builders should focus on reinforcing key areas, such as corners and connections, using hurricane ties or metal brackets for added strength. Opt for materials like pressure-treated wood or steel that can withstand high wind forces. Ensure anchor points are deeply embedded into the ground, ideally using concrete footings, to prevent the structure from being uprooted. These techniques not only enhance durability but also provide peace of mind in storm-prone areas.
Select UV-Resistant Paints and Finishes

To ensure your outdoor shelter withstands the elements, selecting UV-resistant paints and finishes is crucial. These coatings help protect the structure from sun damage, preventing fading and cracking over time. Look for paints and finishes specifically labeled for exterior use, which often contain UV inhibitors. For beginners, starting with a water-based acrylic paint is a user-friendly choice, while more experienced DIY enthusiasts might consider using two-part epoxy finishes for maximum durability.
When choosing your paint or finish, consider the material of your shelter. Wood structures benefit from a primer followed by a UV-resistant topcoat to seal and protect the surface. Metal shelters require a rust-inhibiting primer before applying the final coat. For added longevity, reapply the finish every few years, especially in areas with high sun exposure. Implementing these techniques will keep your shelter looking vibrant and functional for many seasons to come.
Opt for Elevated Flooring to Avoid Flooding
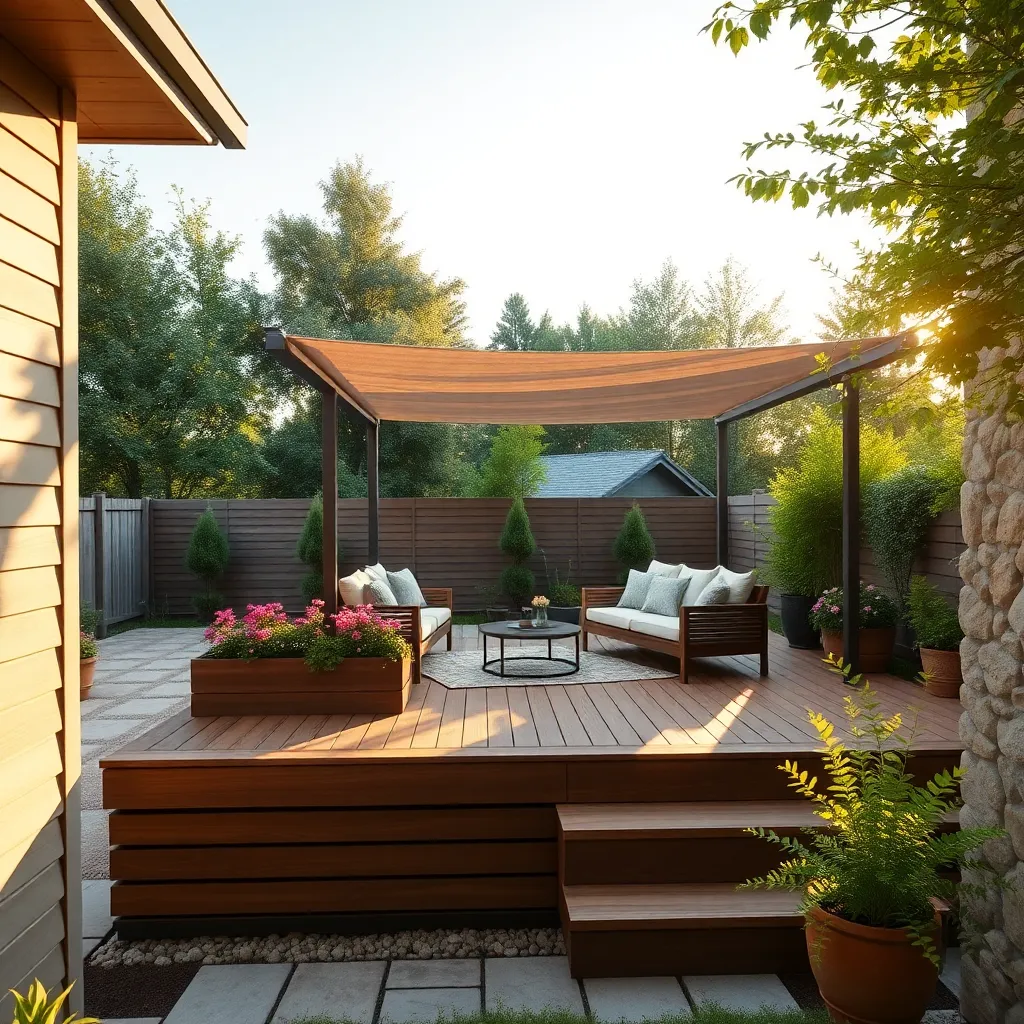
Creating an outdoor shelter with elevated flooring is a smart way to protect your space from potential flooding. For beginners, using treated wood or composite decking materials can offer durability and longevity. A simple design involves raising your flooring by at least 6 inches using pressure-treated 4×4 posts. This not only keeps water at bay but also improves air circulation beneath the structure, minimizing moisture buildup and extending the life of your shelter.
More advanced builders might consider integrating drainage systems beneath the flooring to ensure water is efficiently redirected away from the area. Incorporating gravel or crushed stone beneath your elevated structure can further enhance drainage. For a polished finish, use skirting to conceal the space beneath the shelter, which also acts as a barrier against pests. By investing a little extra time in these details, you ensure your outdoor haven remains dry and inviting, regardless of the weather.
Add Insulated Panels for Temperature Control
Enhancing your outdoor shelter with insulated panels can significantly improve temperature control, making it a more comfortable space year-round. These panels are designed to manage heat and cold effectively, reducing the need for additional heating or cooling systems. For beginners, start with polyurethane foam core panels, which offer excellent insulation and are relatively easy to install. For a more advanced approach, consider incorporating structural insulated panels (SIPs), which provide greater durability and energy efficiency.
When selecting materials, ensure that the panels are weather-resistant and suitable for outdoor use. Aim for panels with a minimum thickness of 4 inches for optimal insulation. To enhance the aesthetics, choose panels with decorative finishes like wood grain or textured surfaces that blend seamlessly with your existing design. Additionally, consider including ventilation options such as adjustable louvers or operable skylights to maintain airflow and prevent moisture buildup. This combination of functionality and design will transform your shelter into a cozy retreat, regardless of the weather conditions.
Integrate Natural Barriers for Wind Protection
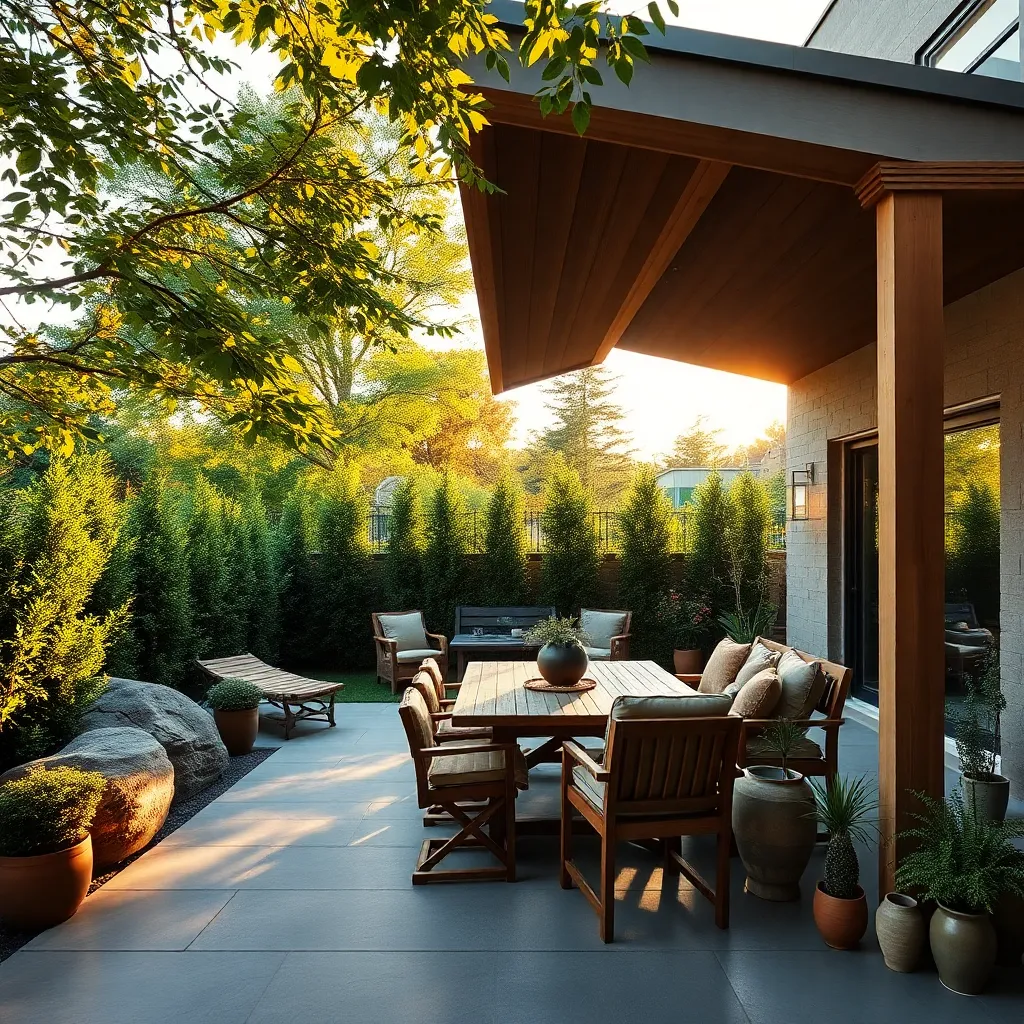
Enhancing your outdoor shelter with natural barriers can effectively protect against wind while adding beauty to your space. Consider planting a row of evergreen trees or shrubs along the windward side of your shelter. Species like arborvitae or juniper are excellent choices, as they maintain foliage year-round, providing consistent protection. Space these plants about 3 to 5 feet apart to form a dense barrier that can diffuse strong winds, reducing their impact on your shelter.
For a more advanced approach, combine your natural barrier with hardscape elements. You can install a short stone wall or wooden fence to act as a windbreak, enhancing the strength of your natural barrier. Ensure the wall is at least 4 feet high to effectively redirect wind over your shelter. Incorporating a mix of these elements will not only shield your space but also create a visually appealing and cohesive outdoor design.
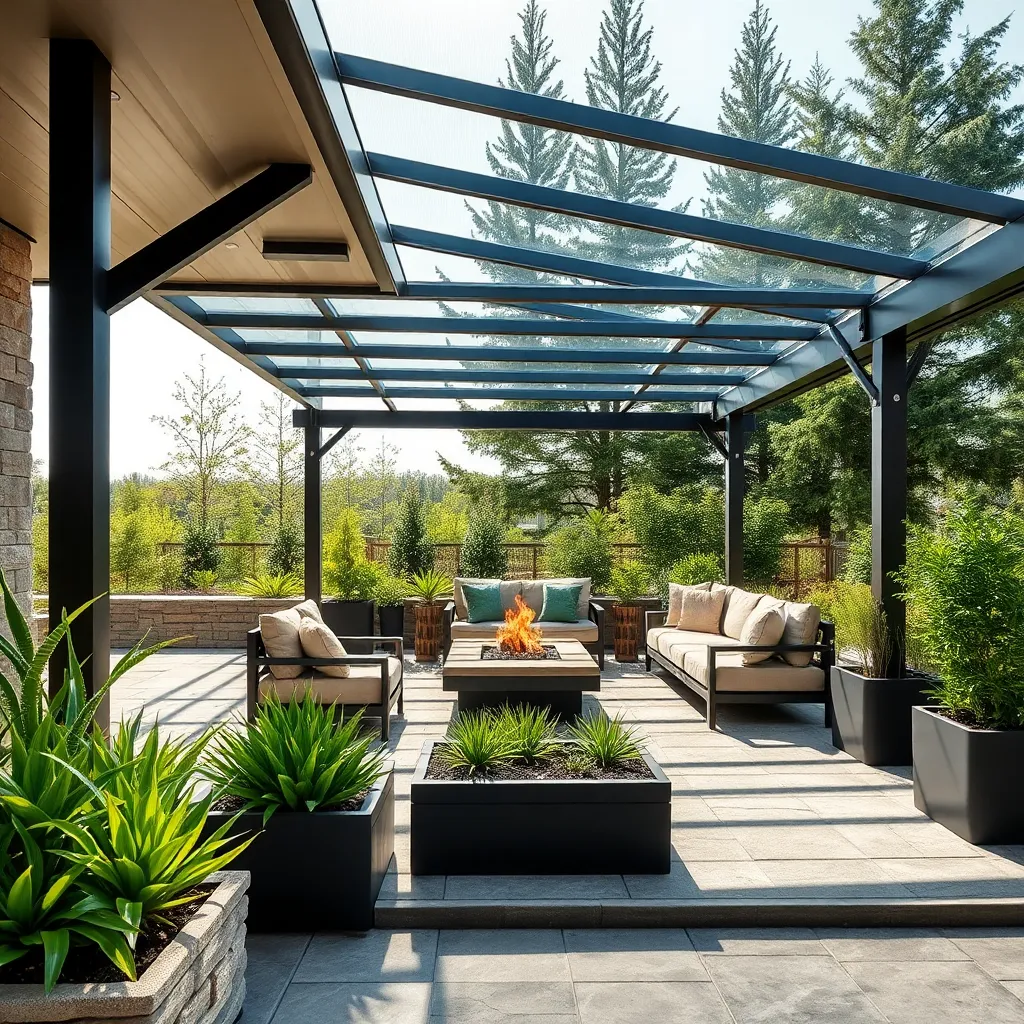
Utilize Modular Shelters for Easy Relocation
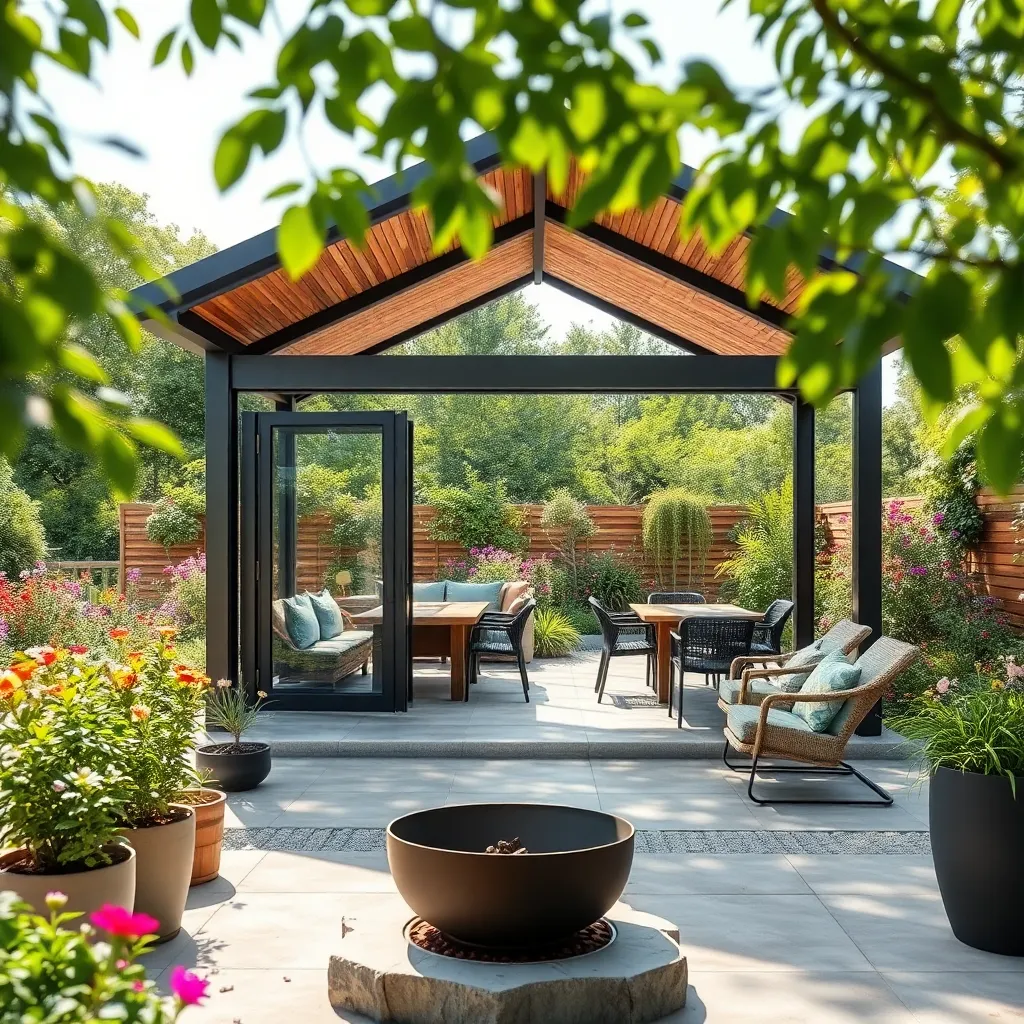
Modular shelters offer a versatile solution for homeowners seeking flexibility and convenience in their outdoor spaces. These shelters are composed of pre-fabricated components, making them easy to assemble, disassemble, and relocate as needed. Materials like aluminum, steel, and treated wood are commonly used due to their durability and weather resistance. Beginners can start with basic kits that include all necessary components, while more advanced users might customize their shelter with additional features like integrated lighting or retractable walls.
Consider incorporating elements that enhance the usability and comfort of your modular shelter. For example, adding adjustable louvers can help control sunlight and airflow, creating a comfortable environment year-round. Opt for a size that suits your space and needs—common dimensions range from 10×10 feet to 12×16 feet. An elevated platform is recommended to prevent water accumulation beneath the structure. For those looking to enhance their design, incorporating sliding panels or weatherproof blinds can offer additional privacy and protection against the elements.
Include Rainwater Drainage Systems
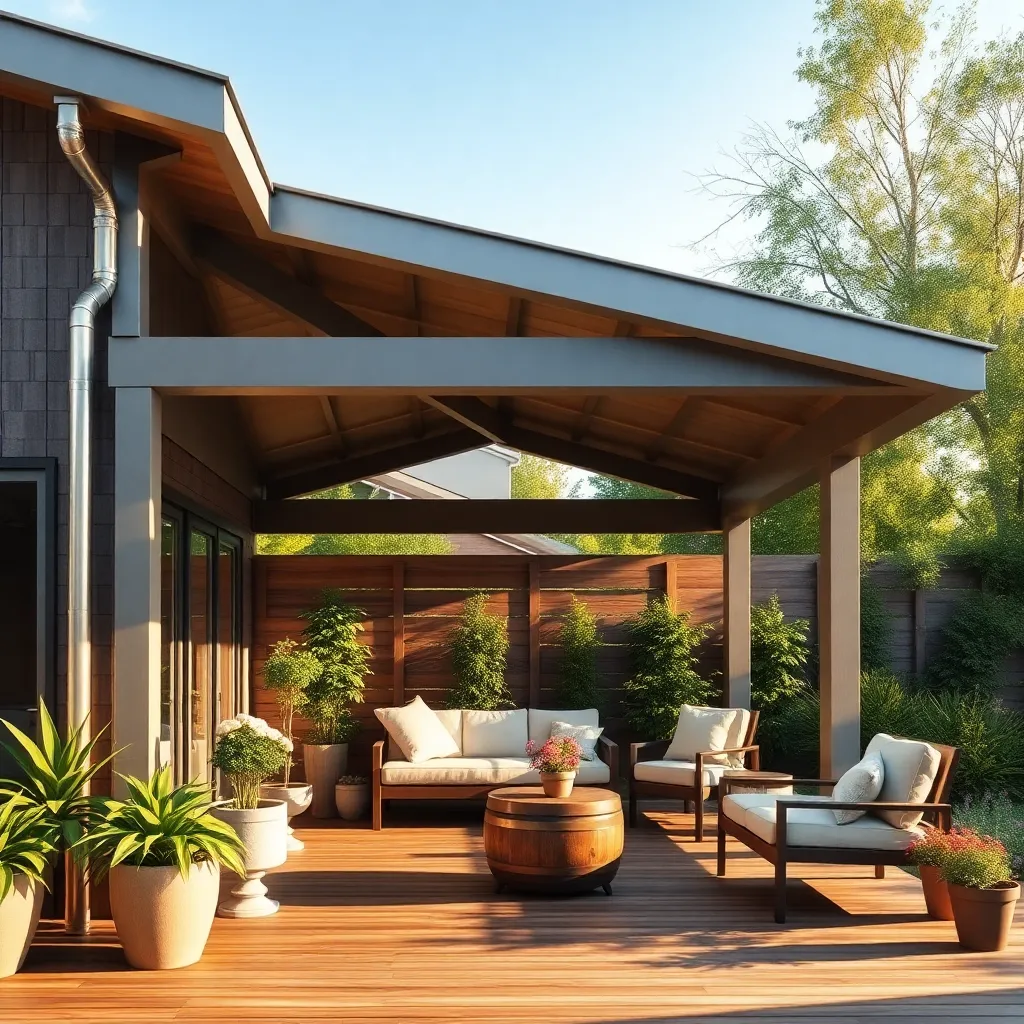
When designing your weatherproof outdoor shelter, it’s essential to integrate an effective rainwater drainage system to protect both the structure and surrounding areas. Consider using materials like PVC or metal gutters along the edges of your shelter’s roof to channel water away effectively. For beginners, a basic tip is to ensure the gutters have a slight slope—typically a quarter inch per foot—towards downspouts to facilitate proper water flow.
For those seeking a more advanced approach, incorporate a rainwater harvesting system by connecting your drainage to a storage barrel. This not only manages excess water but also provides a sustainable water source for your garden. Ensure the drainage pipes are adequately sealed and angled to prevent leaks and pooling. Whether you’re working with a fixed gazebo or a modular shelter, investing time in a well-planned drainage system will extend the life of your structure and enhance its functionality.
Choose Rust-Proof Metal Framework
When selecting materials for your outdoor shelter, choosing a rust-proof metal framework is essential for longevity and maintenance-free enjoyment. Opt for metals like aluminum or galvanized steel, which offer excellent corrosion resistance and are perfect for withstanding various weather conditions. For beginners, aluminum is lightweight and easy to work with, making it a practical choice for DIY projects. Advanced gardeners might consider stainless steel, which, although heavier, provides superior strength and durability for larger structures.
Incorporate design elements like powder coating to enhance both the aesthetic appeal and protective qualities of your metal framework. This finish is available in a variety of colors and textures, providing a stylish touch while further preventing rust and weather damage. For those looking to add a personalized touch, consider using metal connectors or brackets to allow for easy assembly and future modifications. Ensuring your framework is rust-proof not only enhances its lifespan but also keeps your outdoor space looking pristine year after year.
Conclusion: Creating Beautiful Outdoor Spaces
As we wrap up our exploration of the ’11 Weatherproof Shelter Ideas for Your Next Project,’ it’s clear that each concept serves as a metaphor for building resilient relationships. From the strength of the A-frame to the adaptability of the geodesic dome, each idea mirrors vital relationship principles: communication, trust, adaptability, mutual support, and shared goals. These are the pillars that ensure your relational shelter withstands any storm.
To transform these ideas into reality, start by picking one concept that resonates with you and discuss it with your partner or loved ones. Whether it’s enhancing communication or fostering flexibility, taking this step can lead to meaningful change.
We encourage you to bookmark this article for future reference, as the journey of nurturing relationships is ongoing and ever-evolving. Keeping these insights handy will empower you to revisit and reinforce them in your daily interactions.
Remember, the key to relationship success lies in continuous effort and intentional actions. By applying these weatherproofing strategies, you’re not just protecting your relationship from potential downpours—you’re paving the way for a flourishing future. Save this article as your go-to guide, and watch your relationships thrive.