
Imagine stepping into your backyard oasis, where a beautifully crafted patio roof shelters you from the sun’s rays, creating a perfect blend of comfort and style. Whether you’re a DIY newbie or a seasoned pro, our guide, “15 DIY Patio Roof Ideas for Your Next Project,” offers a treasure trove of inspiration to elevate your outdoor living space. With every design, you’ll uncover practical solutions that promise not only to enhance your home’s aesthetic appeal but also its functionality.
With this collection of ingenious ideas, you’ll discover how to create a cozy nook for morning coffees or a grand space for entertaining friends under the stars. These patio roof projects are designed to boost your confidence and equip you with the skills to transform your outdoor area into a personal haven. Let the joy of outdoor living fill you with excitement as you embark on your next patio adventure, armed with all the insights you need to succeed.
Select Durable Roofing Materials
When choosing roofing materials for your patio, consider options that balance durability with aesthetic appeal. Metal roofing is an excellent choice for its longevity and resistance to harsh weather conditions. If you prefer a more natural look, opt for cedar shingles, which provide great insulation and a rustic charm. For a modern touch, polycarbonate panels offer a sleek design while allowing natural light to filter through, perfect for those who want to maintain a bright patio atmosphere.
Proper installation is crucial to ensure your patio roof withstands the elements. Ensure roof panels are securely fastened and use weatherproof sealants to protect against leaks. For a DIY-friendly installation, consider using lightweight materials like corrugated plastic sheets, which are easy to cut and install with basic tools. Remember to allow for a slight slope in your roof design to facilitate water runoff, preventing water accumulation and potential damage.
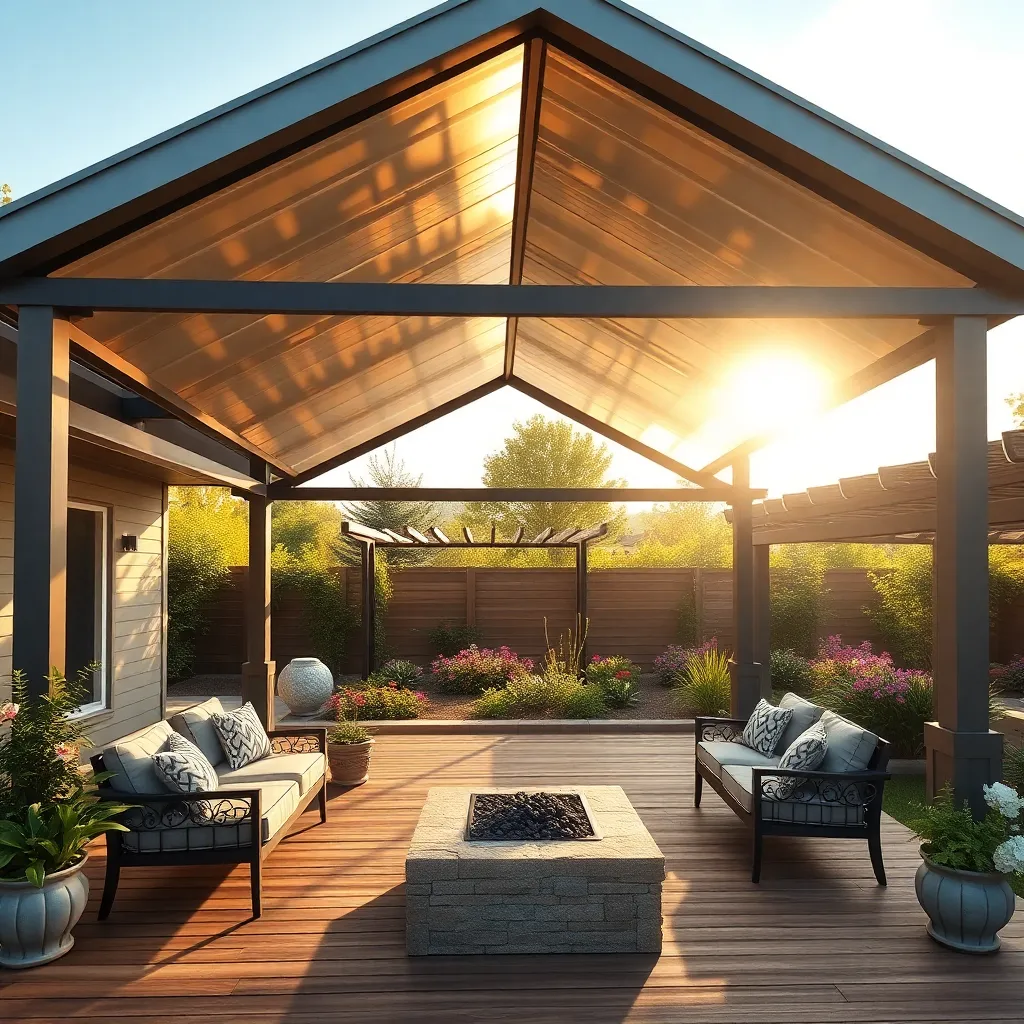
Incorporate Adjustable Pergola Systems
Consider incorporating adjustable pergola systems to add versatility to your patio design. These systems offer a dynamic solution, allowing you to control sunlight and shade with ease. Look for materials like aluminum or weather-treated wood that are both durable and aesthetically pleasing. For the DIY enthusiast, kits are available that include all necessary components, simplifying the installation process. Beginners can start with a basic structure, while more advanced builders might integrate motorized louver systems for enhanced functionality.
When designing your pergola, consider the size and layout of your patio to ensure the structure complements your outdoor space. Adjustable pergolas typically require a sturdy base, so ensure your patio can support the added weight. For a seamless look, match the pergola’s color scheme with existing outdoor furniture and decor. If you’re an advanced DIYer, consider adding LED lighting strips or retractable canopies for added ambiance and comfort. These enhancements not only boost functionality but also elevate the overall aesthetic of your outdoor living area.
Choose Eco-Friendly Roofing Options
When choosing eco-friendly roofing options for your patio, consider using recycled metal roofing or sustainably sourced wood. Recycled metal roofs are not only durable but also reflect sunlight, keeping your patio cooler in hot weather. For a more natural look, opt for sustainably harvested cedar or bamboo, which provide excellent insulation and a rustic charm.
For those looking to enhance the shelter’s environmental impact, integrate green roof systems. These living roofs can be created using a lightweight soil mix and drought-resistant plants. Not only do they improve air quality and biodiversity, but they also offer superior thermal insulation. Beginners will find pre-assembled green roof kits readily available, while advanced gardeners can customize plant selections to suit their climate and aesthetic preferences.
Install Retractable Awning Solutions
Installing a retractable awning is an excellent way to add versatility to your patio space. These awnings provide the flexibility to enjoy sunlight when desired and shade when needed. Start by selecting an awning with durable materials, such as weather-resistant acrylic fabric, which offers protection against UV rays while withstanding the elements. For beginners, a manual retractable awning can be a cost-effective choice, while those with more experience might explore options with motorized systems for ease of use. Consider the size of your patio and choose an awning that extends at least 10-12 feet to cover a substantial area.
When it comes to installation, ensure that the mounting surface is structurally sound, typically a reinforced wall or sturdy beam. Use a level to keep the awning straight and follow the manufacturer’s instructions for secure attachment, which usually involves heavy-duty brackets and bolts. For advanced users, integrating wind sensors and smart controls can enhance functionality, automatically retracting the awning during strong winds. Remember to regularly maintain your awning by cleaning the fabric and checking the mechanism to ensure longevity. By incorporating these practical tips, you can create a comfortable and adaptable outdoor space that enhances your home’s usability.
Design With Transparent Polycarbonate Panels
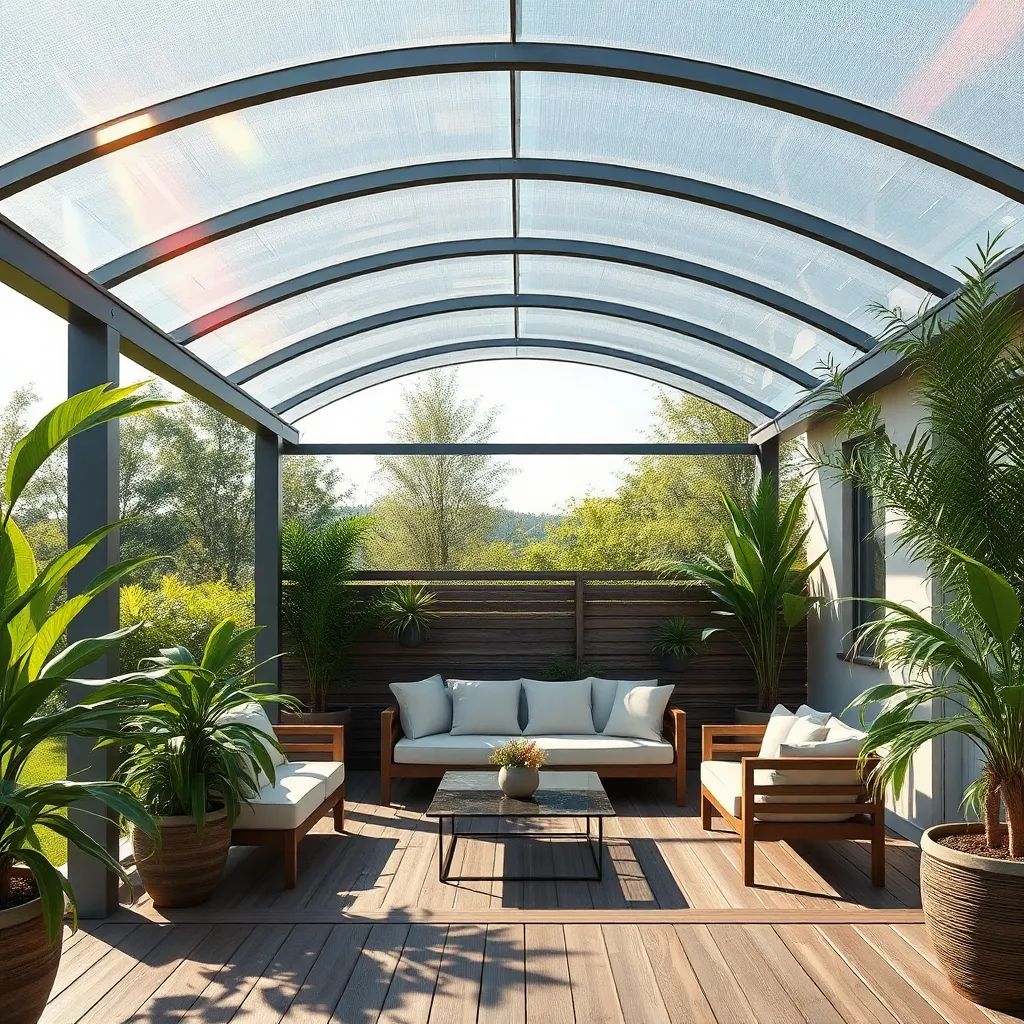
Transparent polycarbonate panels are an excellent choice for creating a sleek and modern patio roof that allows natural light to flood your outdoor space. These panels are lightweight yet incredibly durable, making them ideal for withstanding various weather conditions. When choosing polycarbonate panels, opt for UV-protected options to prevent discoloration and extend the life of the material. Panels generally come in standard widths of about 4 feet and lengths ranging from 6 to 12 feet, allowing you to customize the size of your roof easily. Beginners will find these panels easy to work with, requiring only basic tools like a drill and saw for installation.
To enhance your shelter’s design and functionality, consider incorporating a gentle slope in the roof to facilitate water runoff, preventing pooling and potential leaks. Advanced DIY enthusiasts might want to explore multiwall polycarbonate panels that offer better insulation, which is perfect for maintaining a comfortable temperature year-round. Secure the panels with appropriate fasteners, ensuring they are designed for polycarbonate to avoid cracking. For added stability, use aluminum profiles to frame your panels, creating a professional and polished look. With these tips, you’ll have a stunning, transparent patio roof that’s both functional and visually appealing.
Use Corrugated Metal for Modern Look
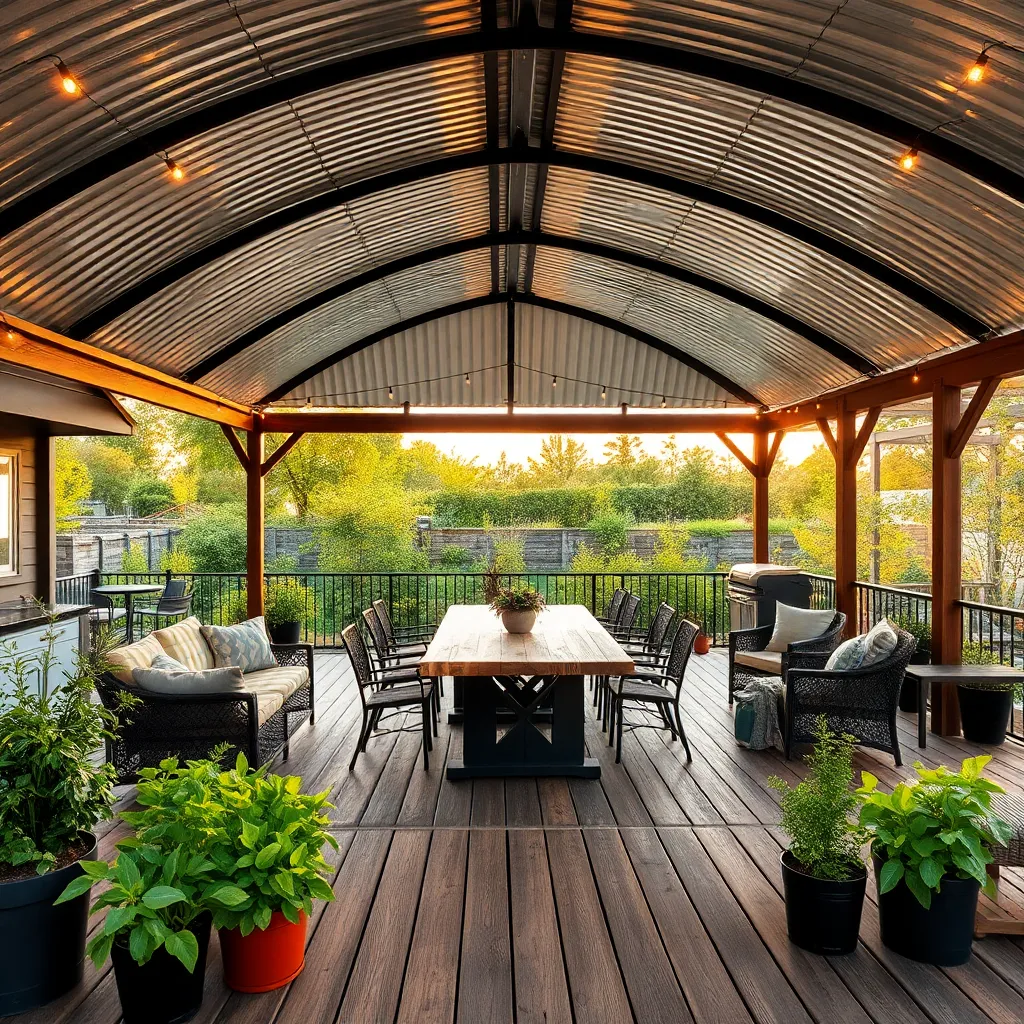
For a sleek and modern patio roof, consider using corrugated metal sheets. These sheets are not only durable and weather-resistant but also provide a contemporary aesthetic that complements various architectural styles. Start by choosing the right gauge of metal—26 or 29 gauge is often ideal for patio roofs due to its balance of strength and weight. When installing, ensure you have a slight pitch to allow rainwater to run off efficiently, preventing pooling and potential rusting.
To enhance the modern look, opt for a clean, galvanized finish or a color-coated option that matches your home’s exterior. Secure the sheets with appropriate fasteners and rubber washers to create a watertight seal. For those with DIY experience, consider adding an insulating layer underneath to maintain comfortable temperatures on sunny days. This combination of functionality and style makes corrugated metal an excellent choice for a contemporary outdoor shelter project.
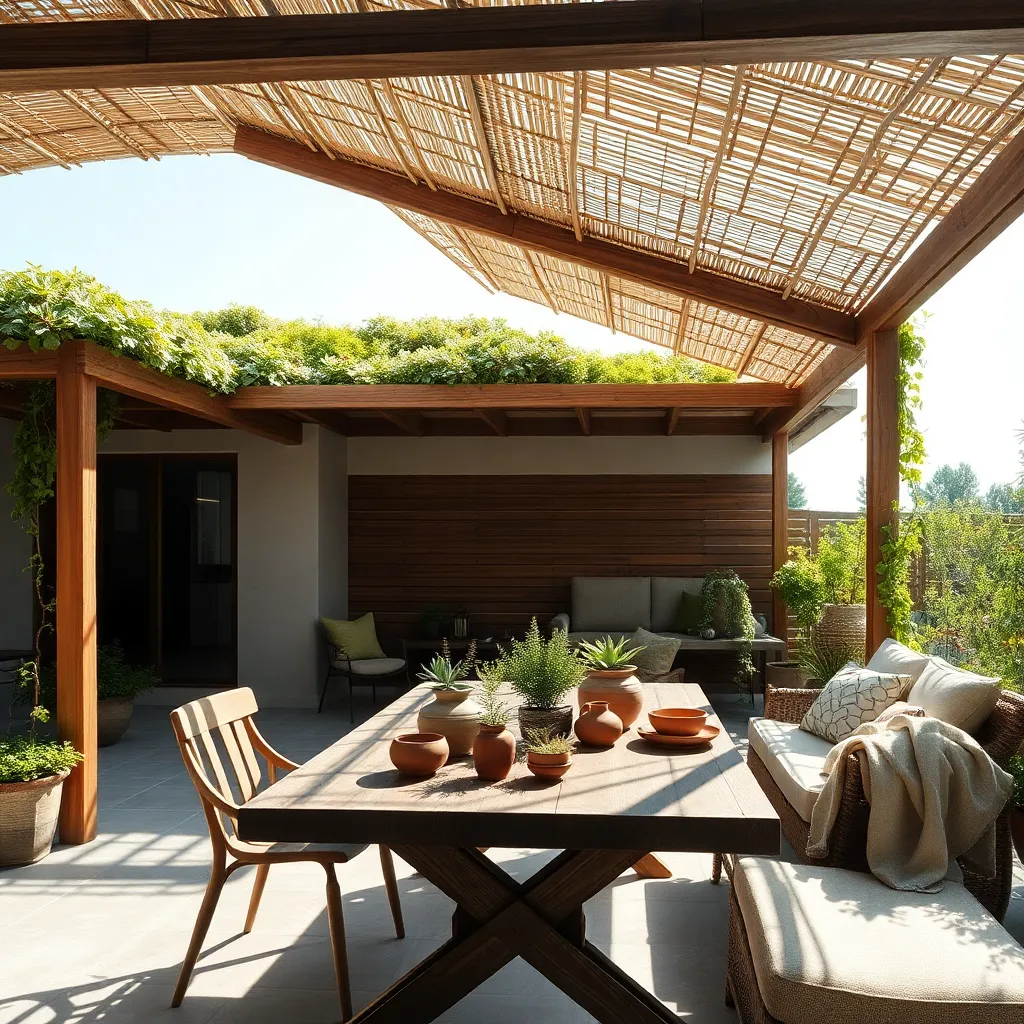
Add Natural Bamboo Roofing Elements
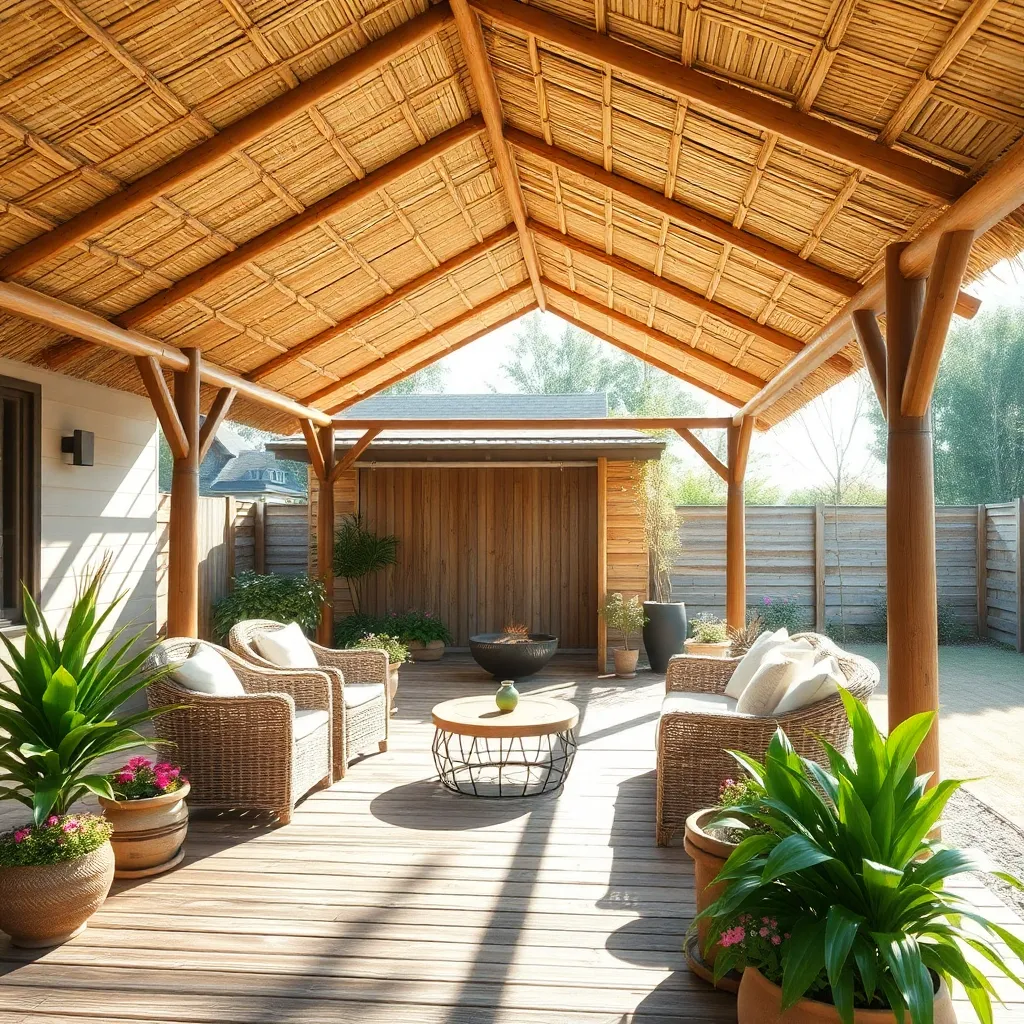
Incorporating natural bamboo roofing elements can add a serene, tropical vibe to your patio while providing ample shade. Bamboo is a sustainable material that is both lightweight and durable, making it an excellent choice for outdoor structures. To start, you can source pre-cut bamboo slats or poles from a local garden or home improvement store. Securely attach them using galvanized or stainless steel screws to a sturdy wooden or metal frame to ensure longevity and stability.
For a basic installation, lay bamboo slats closely together to create a more shaded effect, or space them out for a dappled sunlight experience. Advanced DIYers might consider weaving thinner bamboo strips into a lattice pattern for added visual interest. To enhance durability, treat the bamboo with a clear outdoor sealant to protect against weathering. Remember, bamboo blends beautifully with most styles, complementing both minimalist and lush garden designs effortlessly.
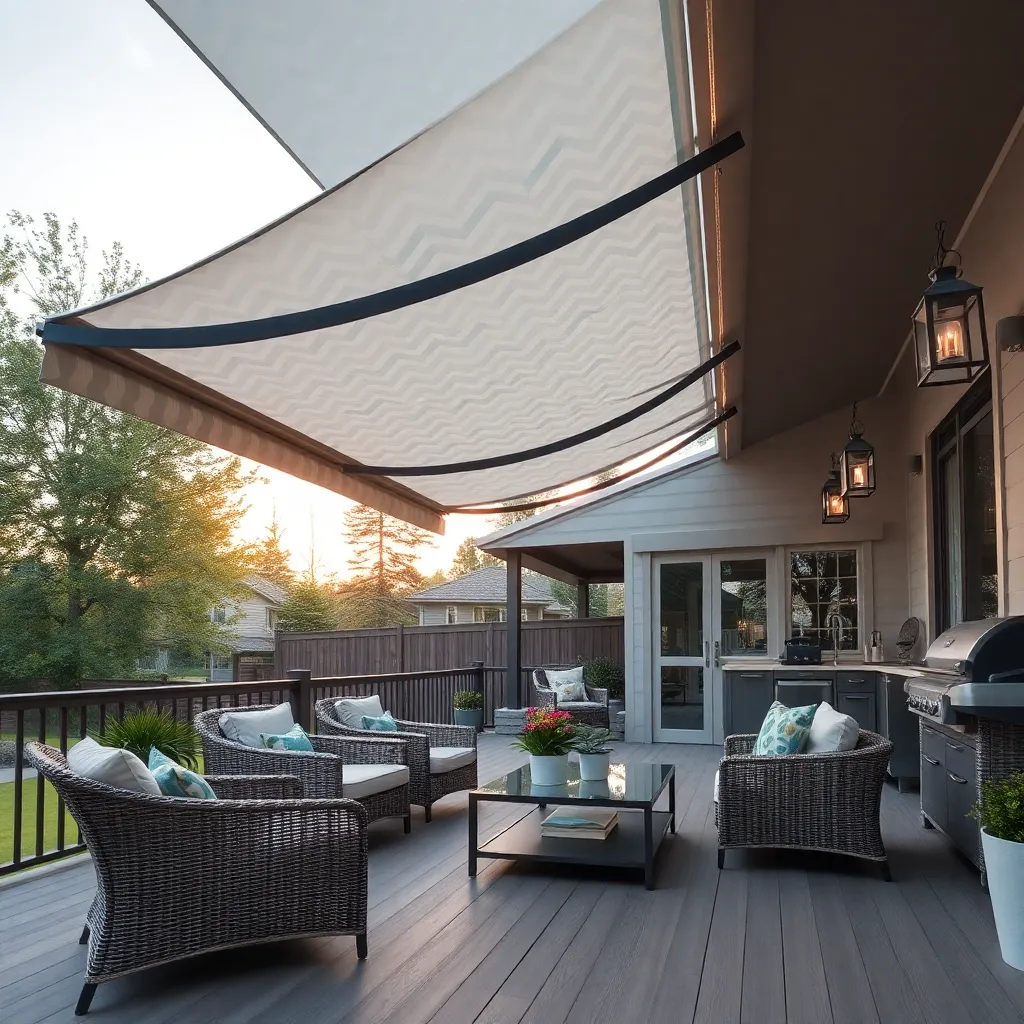
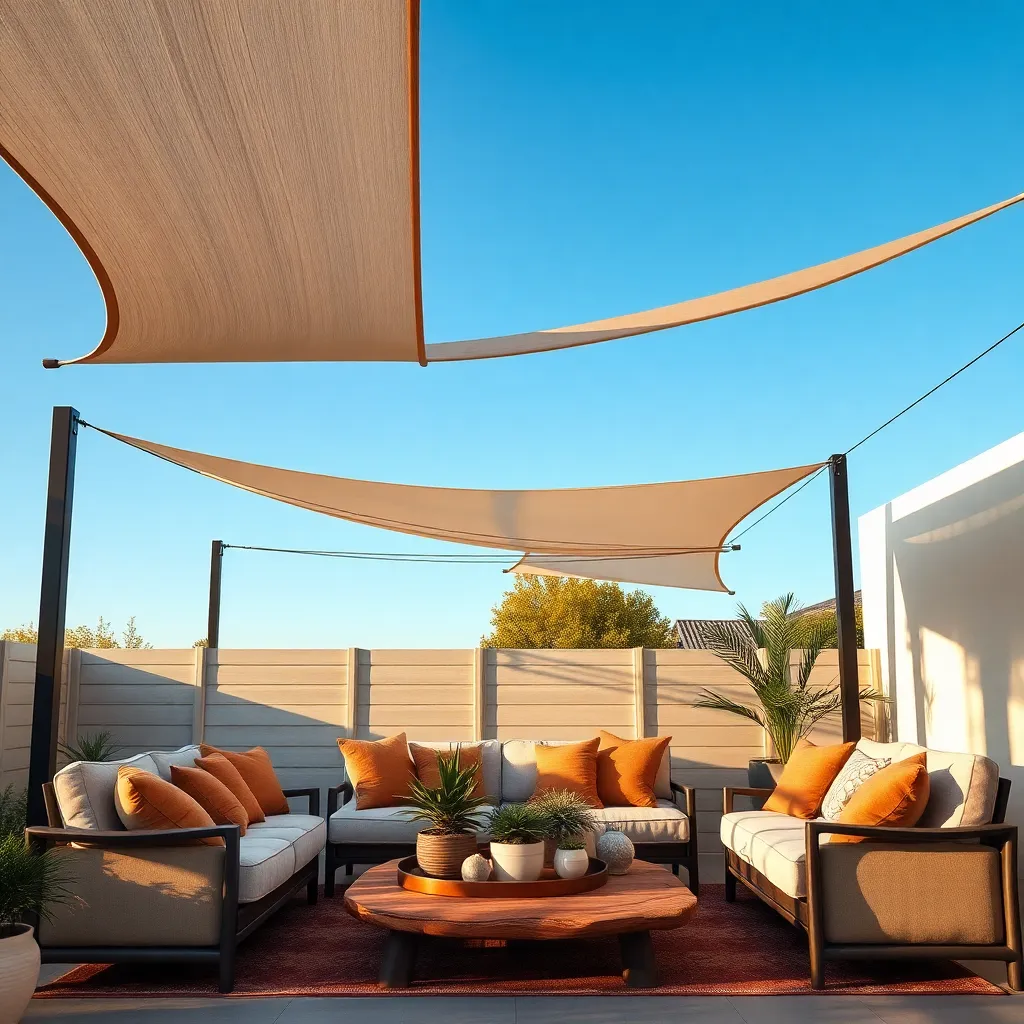
Opt for DIY Sail Shade Covers

For a versatile and stylish shelter option, consider crafting your own sail shade covers. These are not only cost-effective but also add a modern touch to any patio. Begin with selecting durable, UV-resistant fabric like high-density polyethylene (HDPE) to ensure longevity and protection from the sun. You’ll need to measure your patio space carefully to determine the dimensions of your sail. As a general rule, opt for triangular or rectangular shapes for easy installation and coverage. Sail shades are particularly effective when angled or sloped to allow rainwater to run off, preventing sagging.
Installation is straightforward and requires only a few tools, making this a great DIY project even for beginners. Use stainless steel hardware like turnbuckles and eye bolts to secure the sail to points on your home or freestanding poles. For added stability, ensure the attachment points are strong enough to withstand wind and tension. Advanced DIYers might consider adding a pulley system for adjustable shade coverage throughout the day. With a little creativity, sail shades can transform your outdoor space into a comfortable oasis, providing both style and functionality.
Include Built-In Gutter Systems
Incorporating a built-in gutter system into your patio roof design is a smart way to manage rainwater effectively. By directing water away from your home and outdoor space, these systems prevent erosion and protect the structural integrity of your shelter. For beginners, consider using PVC gutters, which are lightweight, easy to install, and resistant to rust. Simply attach them along the roof’s edge using brackets and ensure a gentle slope toward the downspout for optimal drainage.
For those seeking a more advanced approach, seamless aluminum gutters offer durability and a sleek appearance. Custom-cut to fit your patio dimensions, these gutters eliminate joints that can leak over time. Be sure to calculate the correct size based on your roof area and local rainfall intensity. Additionally, installing gutter guards will keep debris out, reducing maintenance. Whether you’re a novice or seasoned DIYer, a well-designed gutter system enhances your shelter’s functionality while keeping your patio dry and enjoyable.
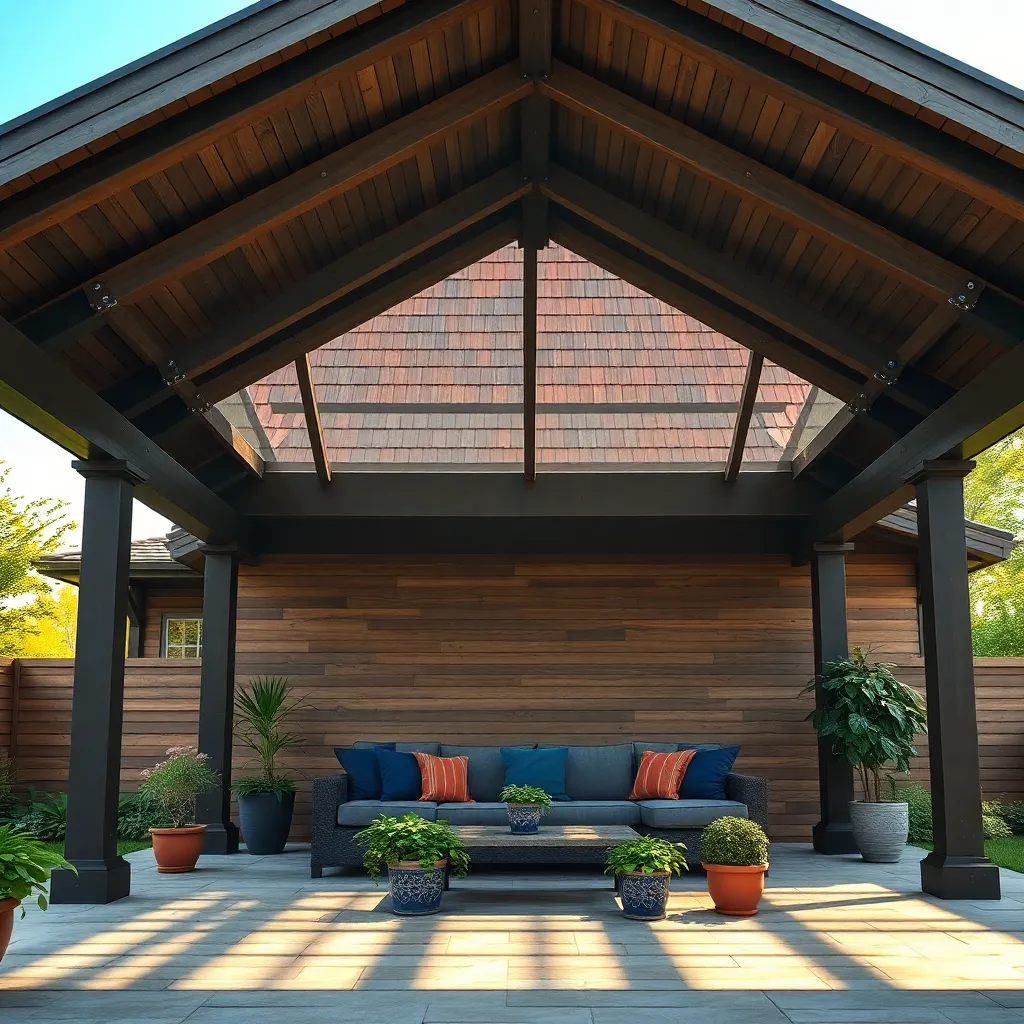
Create Rustic Charm with Reclaimed Wood
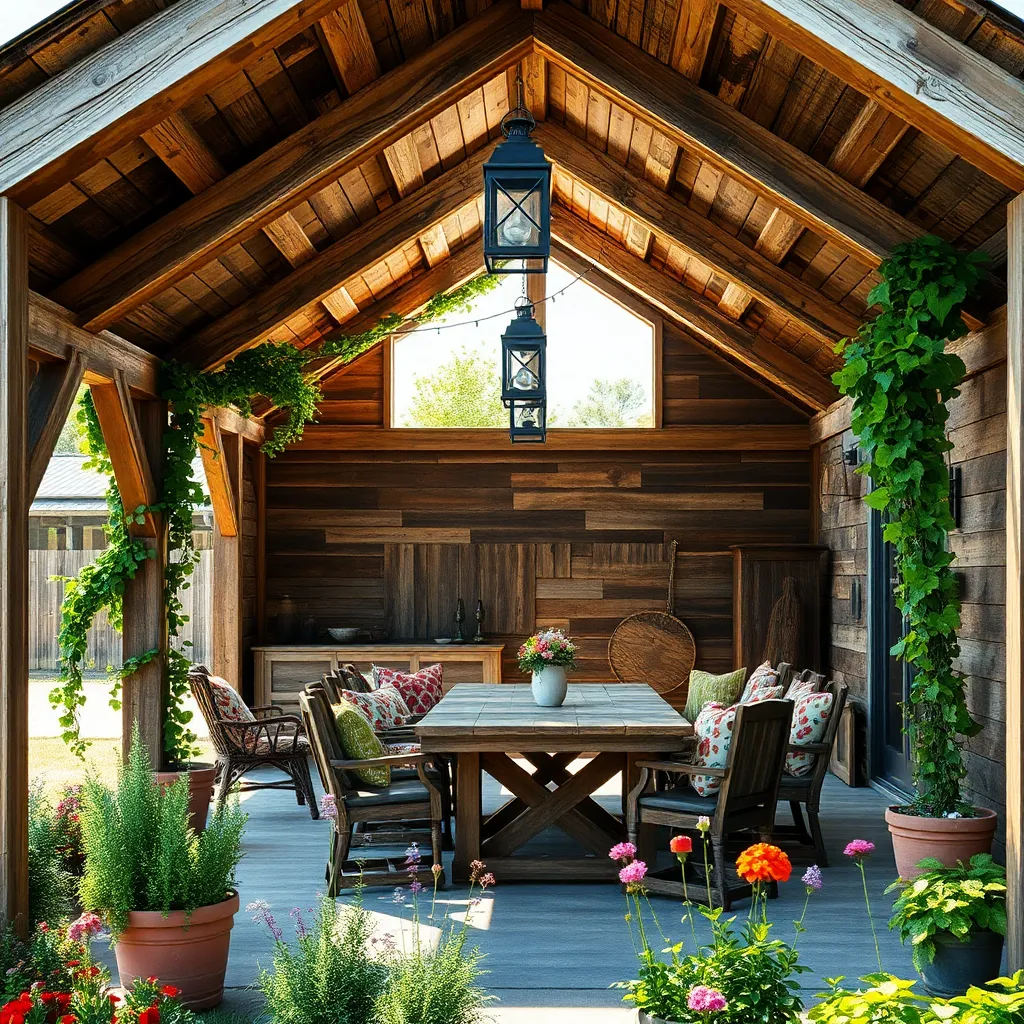
Transform your patio into a cozy retreat with the rustic charm of reclaimed wood. Begin by sourcing quality reclaimed wood from local suppliers or salvage yards, ensuring it’s free from rot or insect damage. Use sturdy beams for the main structure, and consider leaving the natural patina for an authentic, weathered look. For beginners, start with simple designs, such as a basic slat roof, which can provide shade and a touch of rustic elegance.
For a more advanced project, incorporate intricate woodwork like trellises or lattice panels to enhance the visual appeal. Seal the wood with a clear, weather-resistant finish to protect it from the elements while preserving its natural beauty. When constructing, use galvanized screws and hardware to prevent rust, ensuring the longevity of your structure. By embracing imperfections and the unique character of each piece, your reclaimed wood roof will not only provide shelter but also serve as a statement of sustainable design.
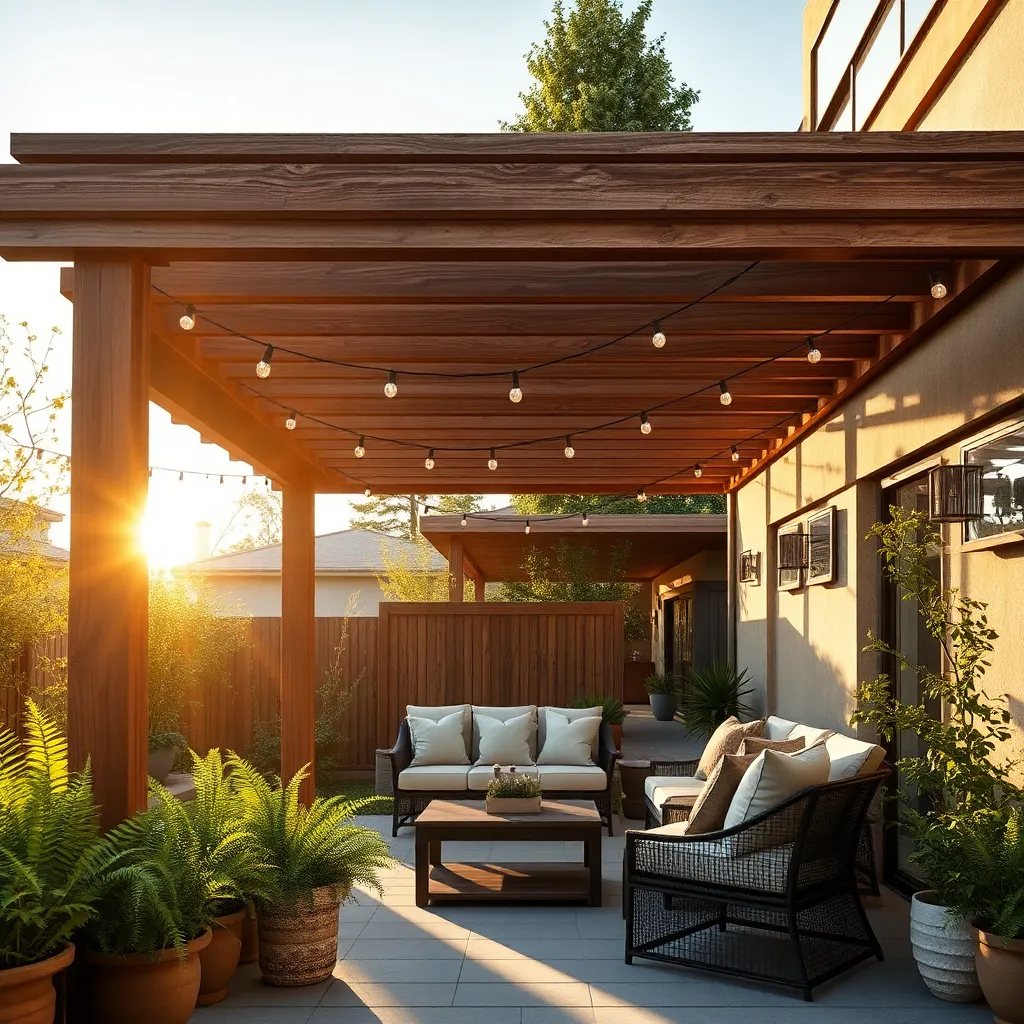
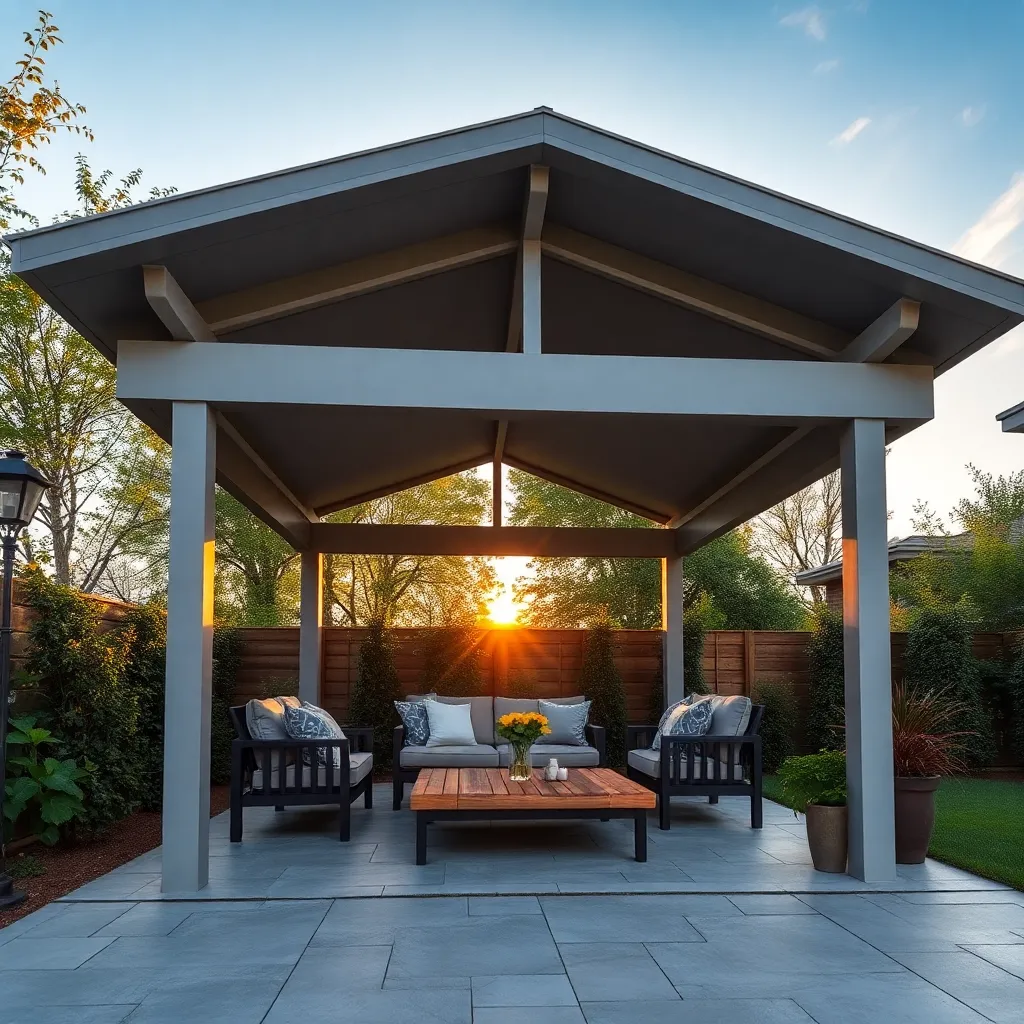
Enhance Aesthetics with Wooden Beams
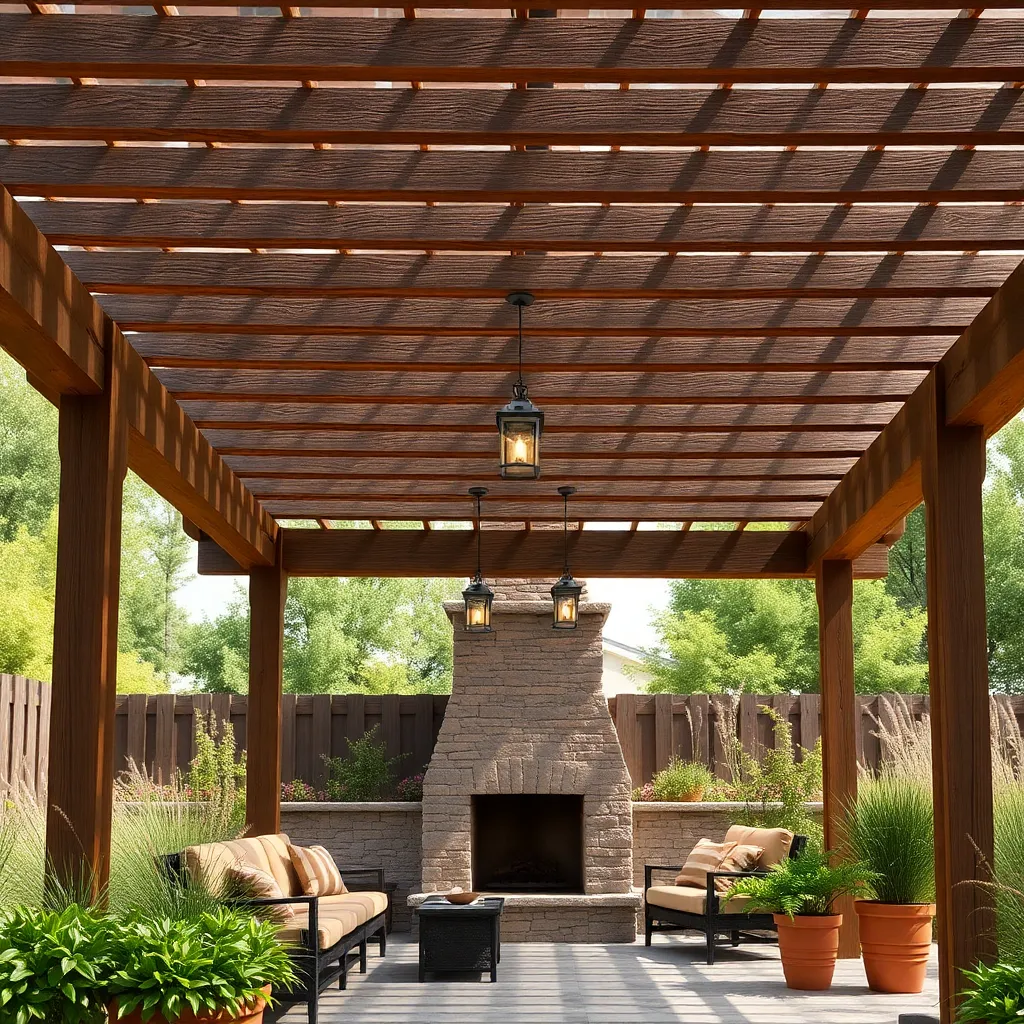
To enhance the aesthetics of your patio roof, consider incorporating wooden beams, which blend functionality and beauty seamlessly. Choose durable woods like cedar or redwood, as they offer resistance to weathering and pests. For a cohesive look, match the color of your beams to your existing outdoor furniture or decking. Beginners can start with simple beam designs, focusing on uniform spacing and secure attachments to the main structure using galvanized brackets. This approach not only enhances visual appeal but also adds structural integrity.
Advanced DIYers might explore more intricate designs, such as exposed beam structures with decorative carving or finishing. Experiment with different beam arrangements like cross-beaming or parallel layouts to create layers and depth. Ensure all beams are treated with a weatherproof sealant to prolong their lifespan and maintain their appearance. Use a spirit level during installation to ensure precision and stability, and consider integrating lighting fixtures along the beams to add ambiance and functionality. These enhancements will transform your patio into an inviting outdoor retreat.
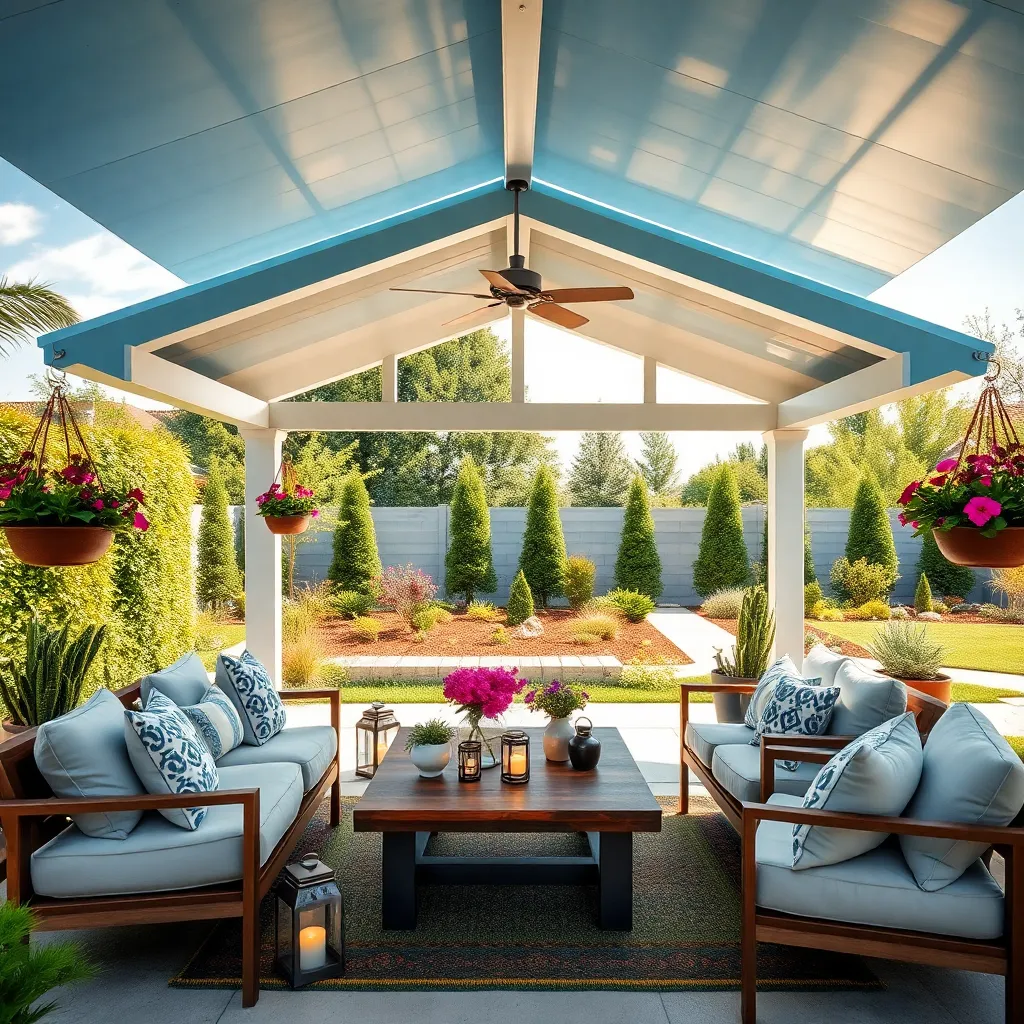
Utilize Simple Tensioned Fabric Structures
For a modern yet practical patio roof, consider using simple tensioned fabric structures. These structures are not only easy to install but also provide a sleek and contemporary look. Start by selecting a durable, weather-resistant fabric such as polyester or high-density polyethylene (HDPE). Ensure the fabric is UV-resistant to protect against sun damage and maintain its color over time. Secure the fabric with tensioning hardware like turnbuckles, which allow you to adjust the tautness easily. This setup is perfect for creating a minimalist and airy shelter that can withstand various weather conditions.
To maximize both functionality and aesthetics, consider the placement and angle of your tensioned fabric structure. Position it to provide the optimal shade during the hottest parts of the day, keeping in mind the sun’s path. For added stability, anchor the structure to sturdy posts made from materials like treated wood or steel. These materials not only enhance durability but also add a touch of elegance to your outdoor space. For those looking to experiment with design, try using two layers of fabric in contrasting colors or patterns for a dynamic visual effect.
Incorporate Solar Panels for Energy
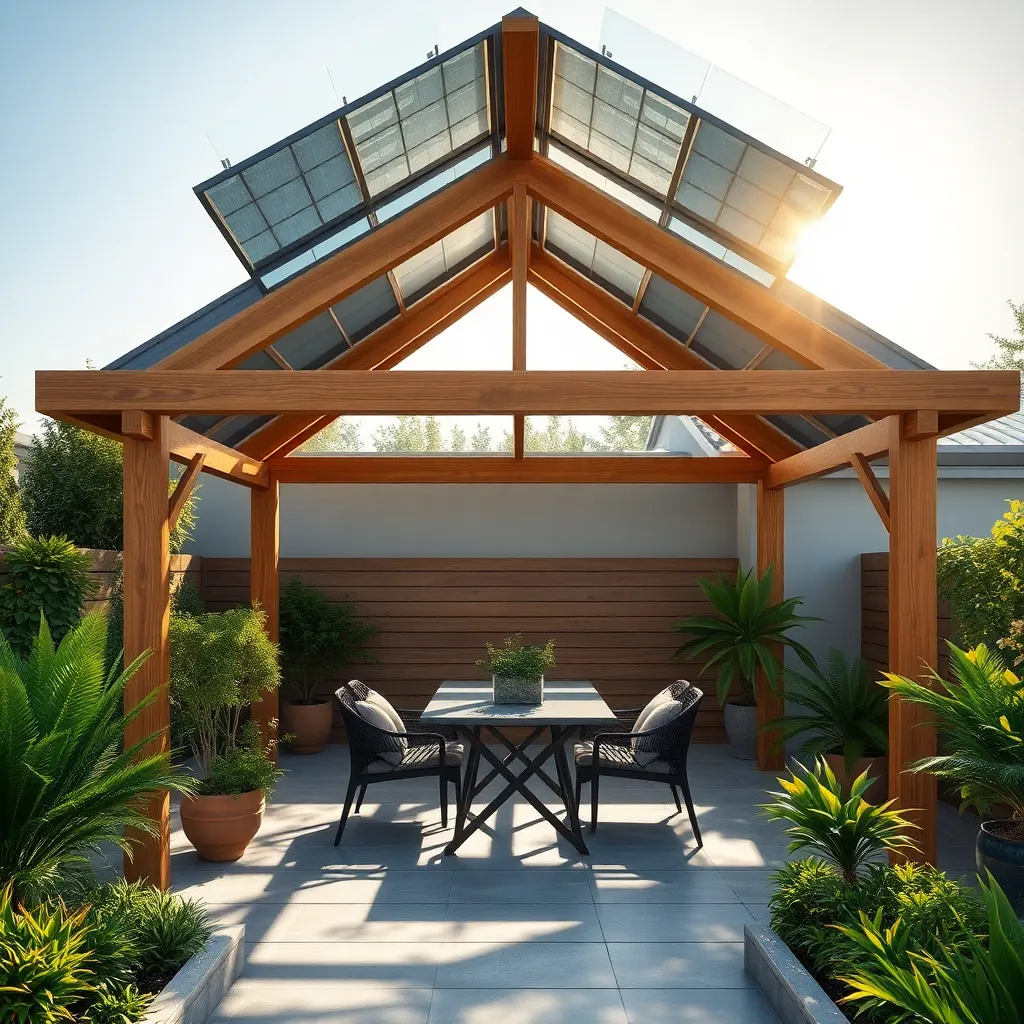
Integrating solar panels into your patio roof not only makes your outdoor space more sustainable but also helps reduce energy costs. To start, consider using polycarbonate roofing material, which is lightweight and allows sunlight to pass through while supporting solar panel installation. Position the panels facing south to optimize sun exposure, and ensure your patio roof has a slope between 15-40 degrees for maximum efficiency. Beginners can opt for simpler solar panel kits, while more experienced DIYers might explore custom configurations for increased output.
For a seamless look, incorporate solar panels directly into the design of your patio roof by using mounting racks that blend with your existing structure. Choose adjustable racks for flexibility in angling panels as the seasons change. If you’re enhancing an existing patio, make sure the roof can support the additional weight of the panels and any necessary cabling. Advanced enthusiasts might consider integrating battery storage systems for energy use after sundown. Whatever your skill level, adding solar panels to your patio roof is a forward-thinking upgrade that enhances both functionality and aesthetics.
Secure Roof with Weather-Resistant Fasteners
To ensure your patio roof withstands the elements, it’s crucial to use weather-resistant fasteners. Opt for stainless steel or galvanized screws and bolts, as they resist rust and corrosion, extending the life of your structure. For beginners, start with a basic set of tools like a drill and a wrench, and make sure to follow the manufacturer’s recommendations for fastener spacing and installation techniques.
Advanced DIYers can reinforce their patio roof by adding metal brackets at key joints for extra stability. Consider using special rubber washers with your fasteners to create a watertight seal, preventing leaks and moisture damage. Pay attention to local building codes, as they might dictate specific fastener types or spacing, ensuring your project is not only durable but also compliant with safety standards.
Paint Roof for UV Protection
To enhance the longevity of your patio roof and protect it from UV damage, consider applying a specialized paint designed for UV protection. Choose a high-quality, acrylic-based paint that is specifically labeled for outdoor use, as these formulations are engineered to resist fading and deterioration caused by sun exposure. Before painting, ensure the roof surface is clean, dry, and free from debris. A primer may also be applied to improve adhesion, especially on metal or plastic roofs.
For best results, apply the paint with a roller or sprayer for an even coat, following the manufacturer’s instructions for drying times and the number of coats. Advanced tip: consider using a lighter color paint, as lighter shades reflect more sunlight, keeping the area underneath cooler. Regular maintenance, like repainting every few years, can significantly extend the life of your patio roof, making it a worthwhile investment in both aesthetics and functionality.
Conclusion: Creating Beautiful Outdoor Spaces
As we explored the ’15 DIY Patio Roof Ideas for Your Next Project’, we uncovered not just creative building concepts, but also key relationship insights that can transform how we connect with our loved ones. From embracing teamwork and fostering communication to understanding personal space and creativity, these ideas remind us of the foundational elements that strengthen bonds. Each project, whether it be a rustic wooden cover or a modern steel frame, symbolizes the importance of collaboration, patience, and shared goals.
To take immediate action, choose one patio project that resonates with both you and your partner. Set aside time this weekend to plan and start building together, using it as an opportunity to enhance your connection and communication.
Don’t forget to save or bookmark this article, ensuring these invaluable insights are just a click away when you need a reminder of how home projects can parallel and nurture relationship growth.
Looking forward, remember that every nail hammered and design chosen can be a step toward a more harmonious relationship. By investing in both your home and your partnership, you’re crafting a future filled with understanding, warmth, and shared accomplishments. Here’s to building not just patios, but lasting love.