
Imagine stepping into your garden and finding everything in perfect order, from the tools that keep your plants thriving to the toys that bring laughter to summer afternoons. Whether you’re new to outdoor projects or a seasoned green thumb, “11 Garden Storage Ideas for Your Next Project” is your key to unlocking a clutter-free, harmonious outdoor sanctuary. These storage solutions blend functionality with style, helping you transform your garden into a seamless extension of your living space.
In this guide, you’ll discover how clever storage can enhance your outdoor experience, making every garden task a pleasure rather than a chore. From sleek sheds to charming benches with hidden compartments, these ideas promise to inspire confidence and creativity in any homeowner. Get ready to embrace the joy of a well-organized garden, where beauty meets practicality, and every corner reflects your personal touch.
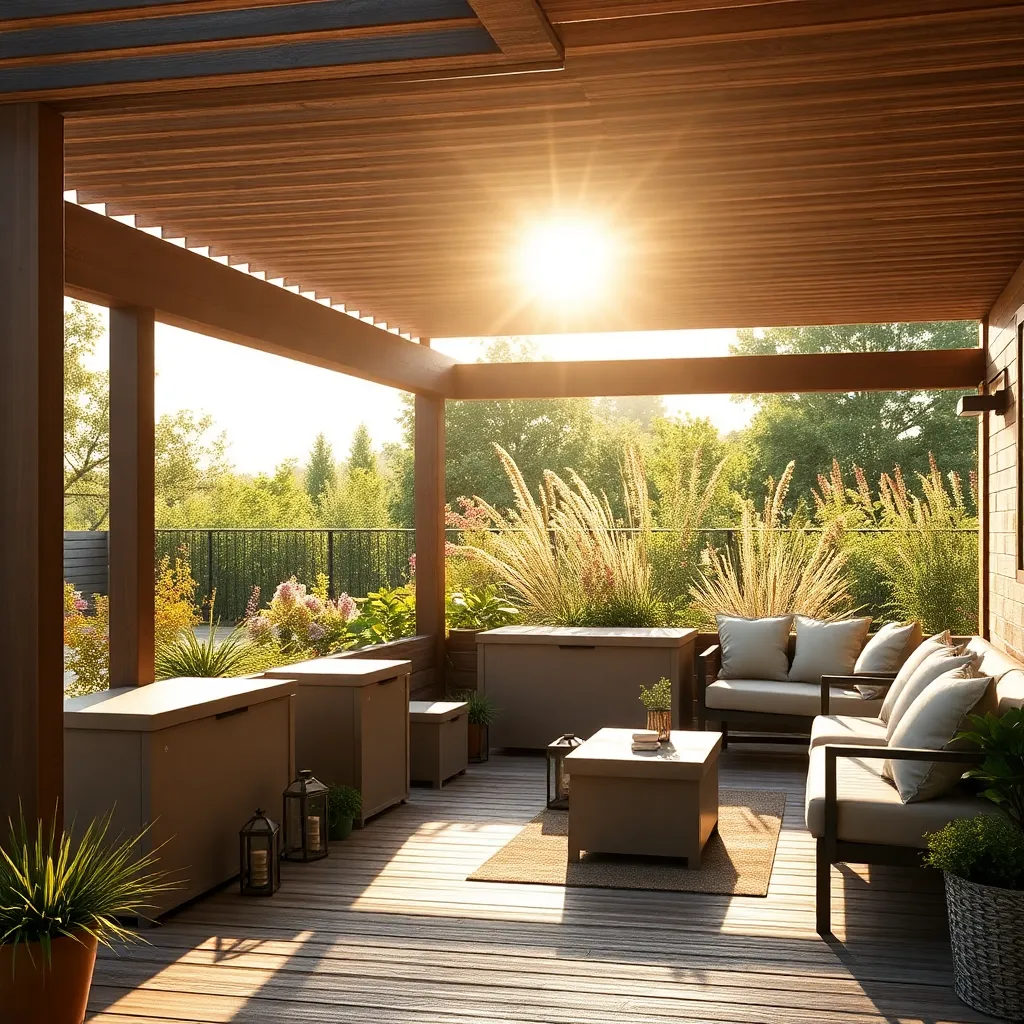
Incorporate Multi-Functional Benches

Incorporating multi-functional benches into your garden can transform your outdoor space by combining seating with storage. Opt for benches that feature built-in compartments beneath the seat to store garden tools, cushions, or kids’ toys. For materials, consider using durable woods like cedar or teak, which are naturally resistant to weathering, or choose metal frames with weatherproof fabric cushions for a modern touch. Beginner gardeners will appreciate the simplicity of a ready-made bench, while more experienced DIYers might enjoy building a custom piece tailored to their space.
For those looking to add a personal touch, integrating benches into existing structures like pergolas or gazebos can create a cohesive look. Advanced gardeners might explore adding a hinged top for easy access or incorporating lattice work for added style and functionality. Remember to consider the dimensions: a depth of 18-20 inches generally provides comfortable seating, and ensuring the lid of storage benches has a secure closing mechanism will protect contents from the elements. With these tips, your seating area will not only be practical but also a beautiful addition to your garden oasis.
Utilize Vertical Wall Planters
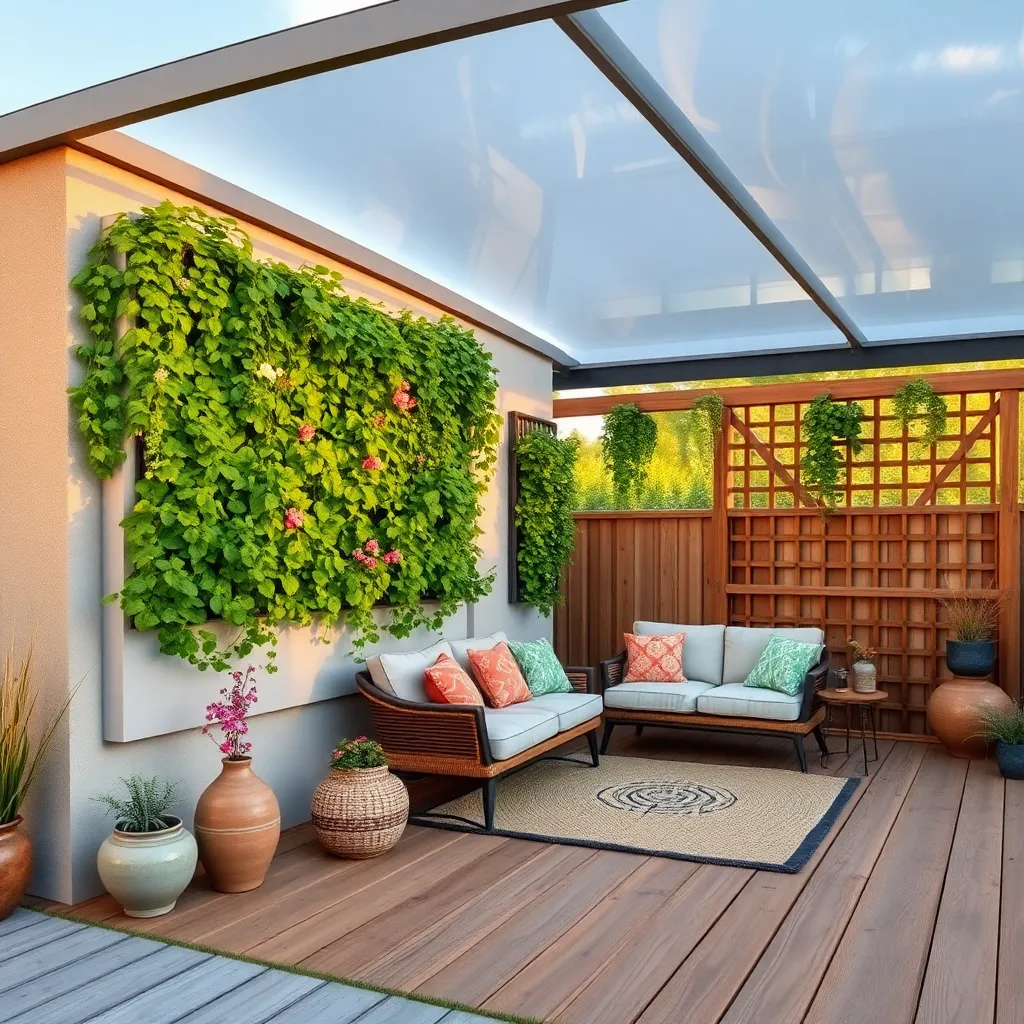
Vertical wall planters are a fantastic way to maximize your outdoor space while adding a green touch to your garden shelter. For beginners, consider starting with a simple DIY project using wooden pallets or metal grids, which can be easily mounted on a wall or fence. Make sure to choose weather-resistant materials such as treated wood or galvanized metal to ensure durability. For advanced gardeners, incorporating an automatic irrigation system into your vertical planters can help maintain your plants with minimal effort.
Position your vertical wall planters strategically to utilize natural sunlight effectively, ensuring placement on a south-facing wall if possible. Vary the types of plants to include a mix of herbs, succulents, and flowering plants to create visual interest and functional benefits. When selecting plants, consider those with shallow roots like lettuce or strawberries for lower sections, while cascading plants like ivy can add a lush look higher up. This setup not only beautifies your space but also offers practical storage and growing solutions for smaller gardens.
Install Wall-Mounted Storage Racks
Wall-mounted storage racks are a fantastic way to maximize space and keep your garden tools organized and easily accessible. Opt for durable materials like galvanized steel or powder-coated aluminum to ensure longevity, especially in varying outdoor conditions. When installing, make sure the racks are mounted on a sturdy wall, such as a brick or concrete surface, using heavy-duty anchors that can support the weight of your tools and supplies.
Consider customizing your storage rack setup to suit your needs. For beginners, a simple rack with hooks and shelves can efficiently store essentials like trowels, hoses, and gloves. Advanced gardeners might benefit from modular systems that allow for adjustable shelves and specialized holders for larger equipment like rakes or garden spades. Remember to leave enough space between racks to ensure easy access and maintain an organized, tidy appearance.
Create Hidden Storage Under Steps
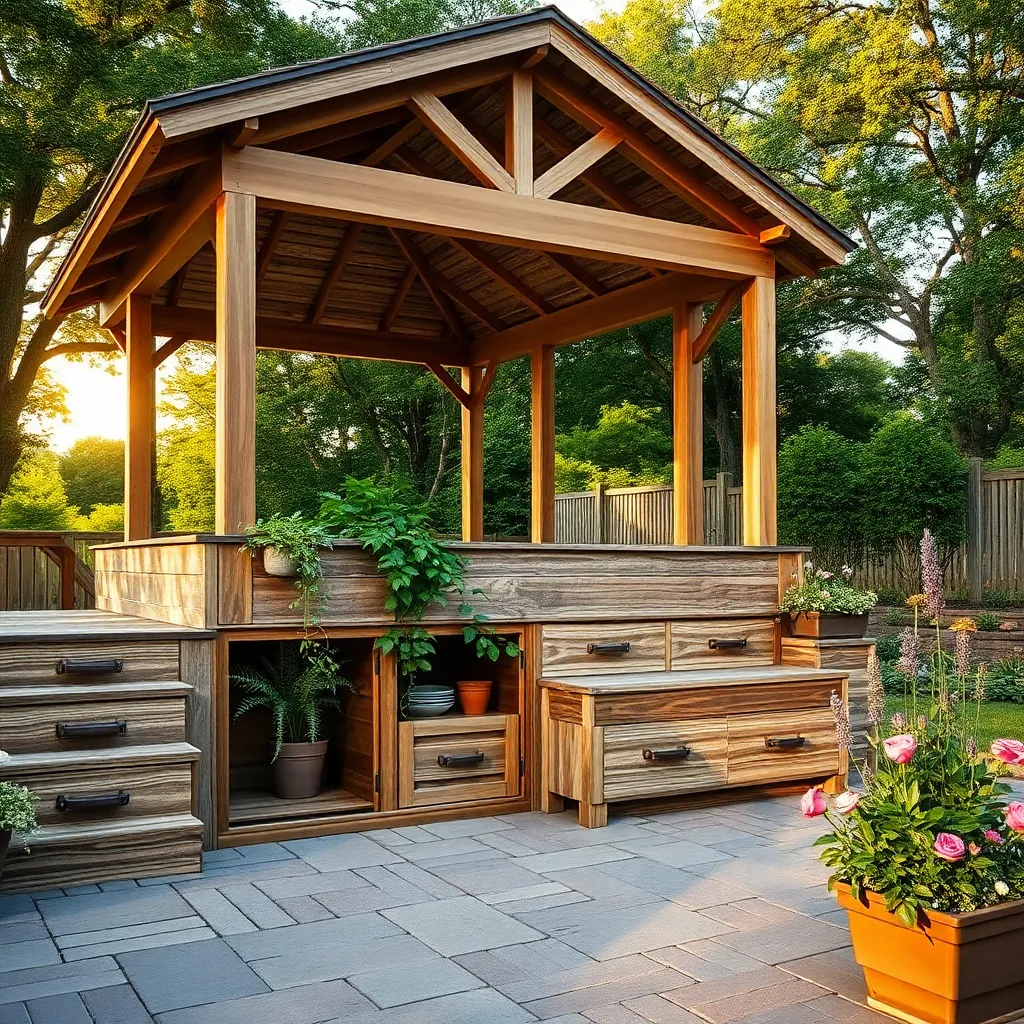
Enhancing your outdoor space with hidden storage under steps can be a clever way to maximize functionality without sacrificing style. By utilizing the space beneath your garden steps, you can create a discreet storage area for tools, pots, or seasonal items. Start by choosing weather-resistant materials such as treated wood or composite decking, which are both durable and blend seamlessly into your garden’s aesthetic. For beginners, focus on simple designs with basic swing or lift-up doors, while more advanced builders might consider sliding panels or hydraulic hinges for easier access.
Consider customizing the dimensions of your storage to fit the available space under the steps, ensuring it’s both practical and efficient. Incorporate ventilation elements like small grilles or perforated panels to prevent moisture buildup, which is essential for keeping stored items in good condition. Additionally, ensure the structure is elevated slightly off the ground to avoid water damage. For a polished finish, match the storage facade to the steps by using similar paint or stain colors, creating a cohesive and hidden storage solution that enhances your outdoor design.
Use Reclaimed Wood for Shelving
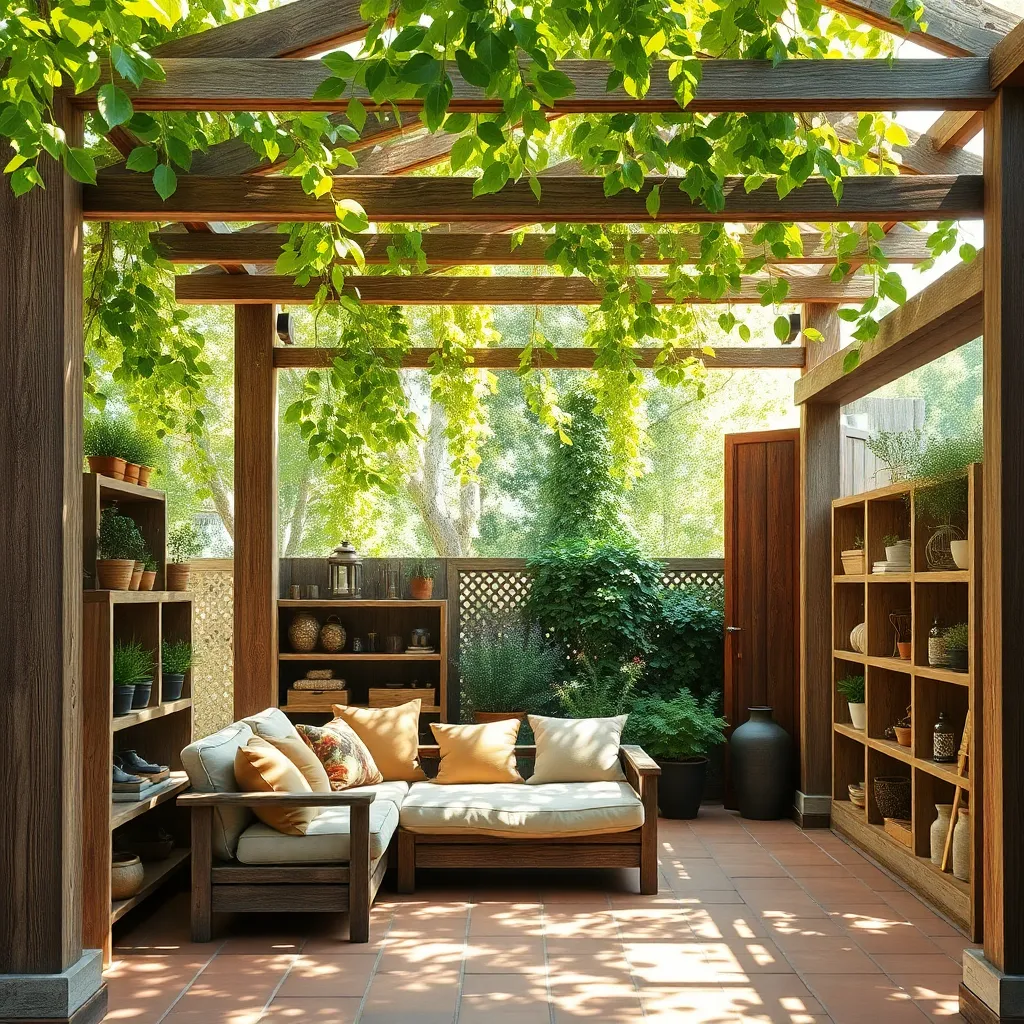
Using reclaimed wood for shelving in your outdoor shelter is an eco-friendly way to add character and functionality. Start by sourcing wood from old pallets, barns, or even discarded furniture, ensuring it is treated for outdoor use. To create sturdy shelves, cut the wood to your desired length, typically between 24 to 36 inches, and secure them with galvanized brackets to prevent rust. Sand and seal the wood to protect against weather elements, ensuring a longer lifespan and a polished look.
For a more advanced touch, consider integrating adjustable shelving systems to accommodate different sizes of gardening tools and supplies. Install metal tracks along the sides of your shelter, allowing for flexibility as your storage needs change. Adding a coat of weather-resistant paint or stain can enhance the wood’s durability while allowing you to match the shelves to your outdoor aesthetic. This approach not only maximizes your storage space but also adds a unique, personal touch to your garden area.
Opt for Waterproof Storage Boxes
Consider investing in waterproof storage boxes to keep your garden tools and supplies safe from the elements. These boxes are available in various materials such as durable plastic, resin, or even treated wood, ensuring they withstand rain and humidity. For beginners, choosing a box with a simple lid and lock mechanism ensures easy access and security, making it an ideal solution for organizing garden essentials.
For a more advanced setup, opt for storage boxes with integrated seating or planter tops to maximize your garden space. Look for models with UV-resistant finishes to prevent fading and deterioration over time. When selecting dimensions, ensure the box fits comfortably in your outdoor area without obstructing pathways or views. This approach not only protects your tools but also adds a stylish and functional element to your garden design.
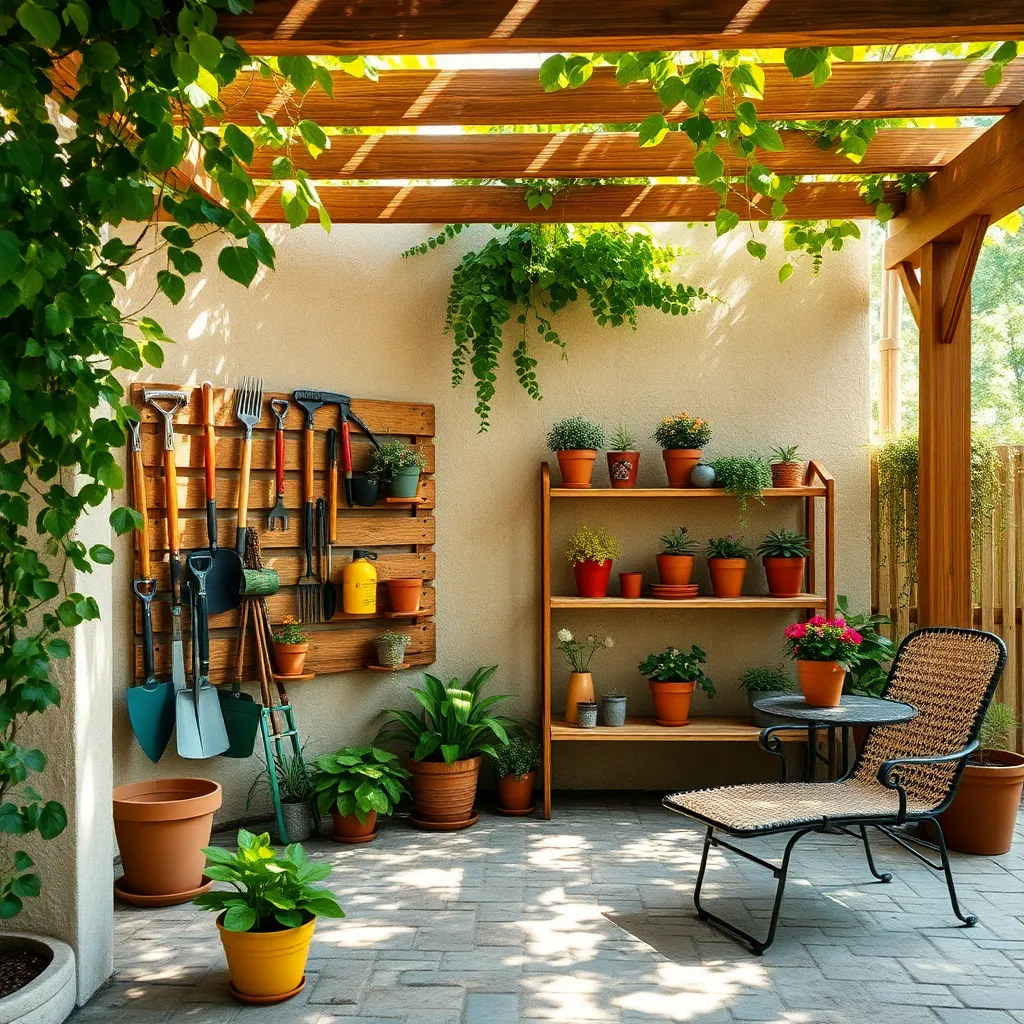
Add Hooks for Garden Tools
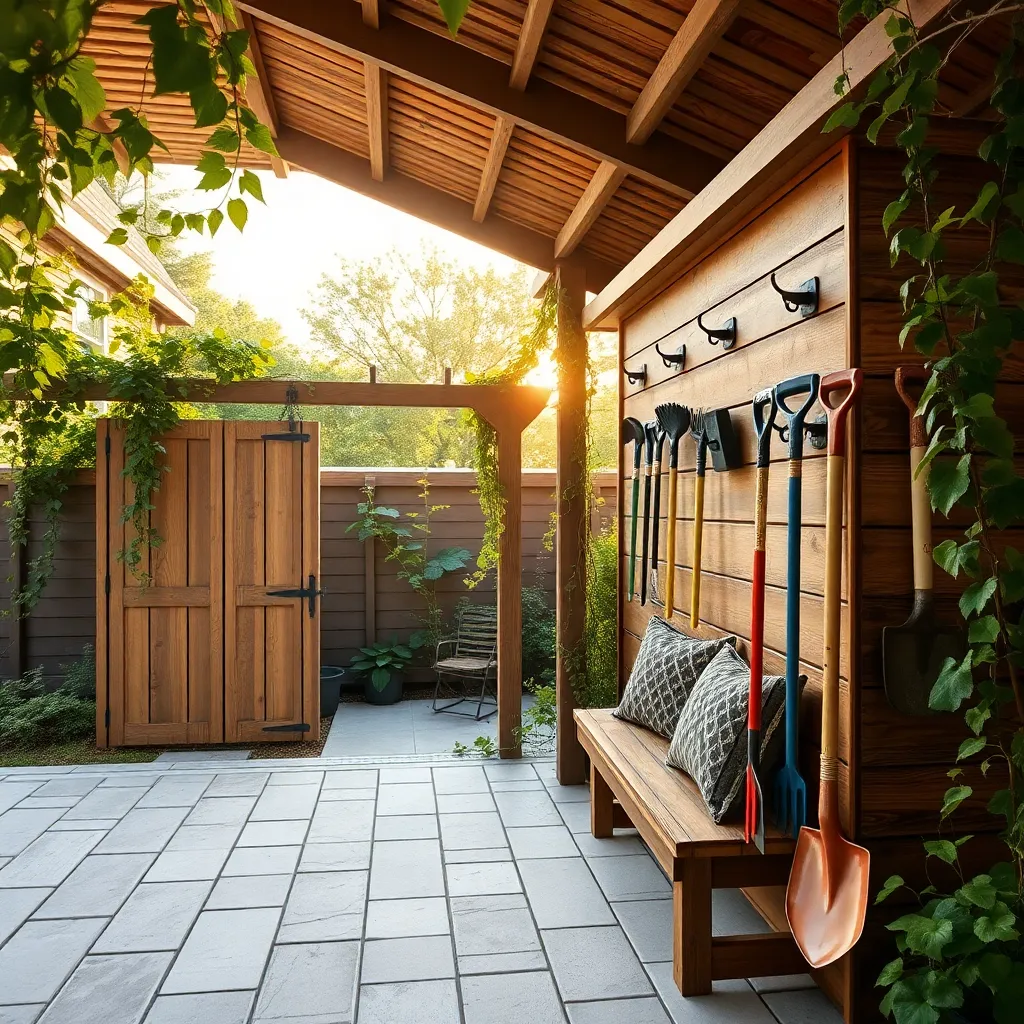
Incorporating hooks into your outdoor shelter is a smart way to organize garden tools and keep them within easy reach. Choose heavy-duty, rust-resistant hooks made from materials like stainless steel or powder-coated metal to ensure they withstand weather conditions. Position hooks on a sturdy wall or beam, ensuring they are securely anchored with appropriate wall plugs and screws, especially if you plan to hang heavier tools like shovels or rakes.
For a more organized arrangement, consider categorizing tools by size or function and use different hook sizes accordingly. Beginners might start with a simple row of hooks, while more advanced gardeners can create a custom pegboard system for added flexibility. Space hooks about 6-8 inches apart to accommodate tools of various widths and shapes, avoiding clutter and tangling. This setup not only declutters your space but also extends the life of your tools by preventing unnecessary moisture build-up and damage.
Design a Sheltered Potting Bench

Creating a sheltered potting bench can transform your gardening experience by providing a dedicated space for planting and organizing supplies. Start by choosing a sturdy, weather-resistant material like cedar or treated wood for the bench, ensuring it can withstand the elements. To protect your workspace, consider installing a simple A-frame roof using corrugated polycarbonate sheets, which are lightweight and allow natural light to shine through. This setup not only shields your tools and plants from rain but also adds a charming feature to your garden.
Incorporate practical design elements to maximize functionality and style. Add shelves above the bench for easy access to pots and soil, and consider installing a small water source nearby for rinsing tools and watering plants. For a more advanced setup, integrate a slatted work surface that allows excess soil and water to fall through, keeping the area tidy. Personalize your space with hooks for hanging tools and a chalkboard for jotting down gardening notes, making your potting bench both functional and enjoyable to use.
Implement Stackable Crate Systems
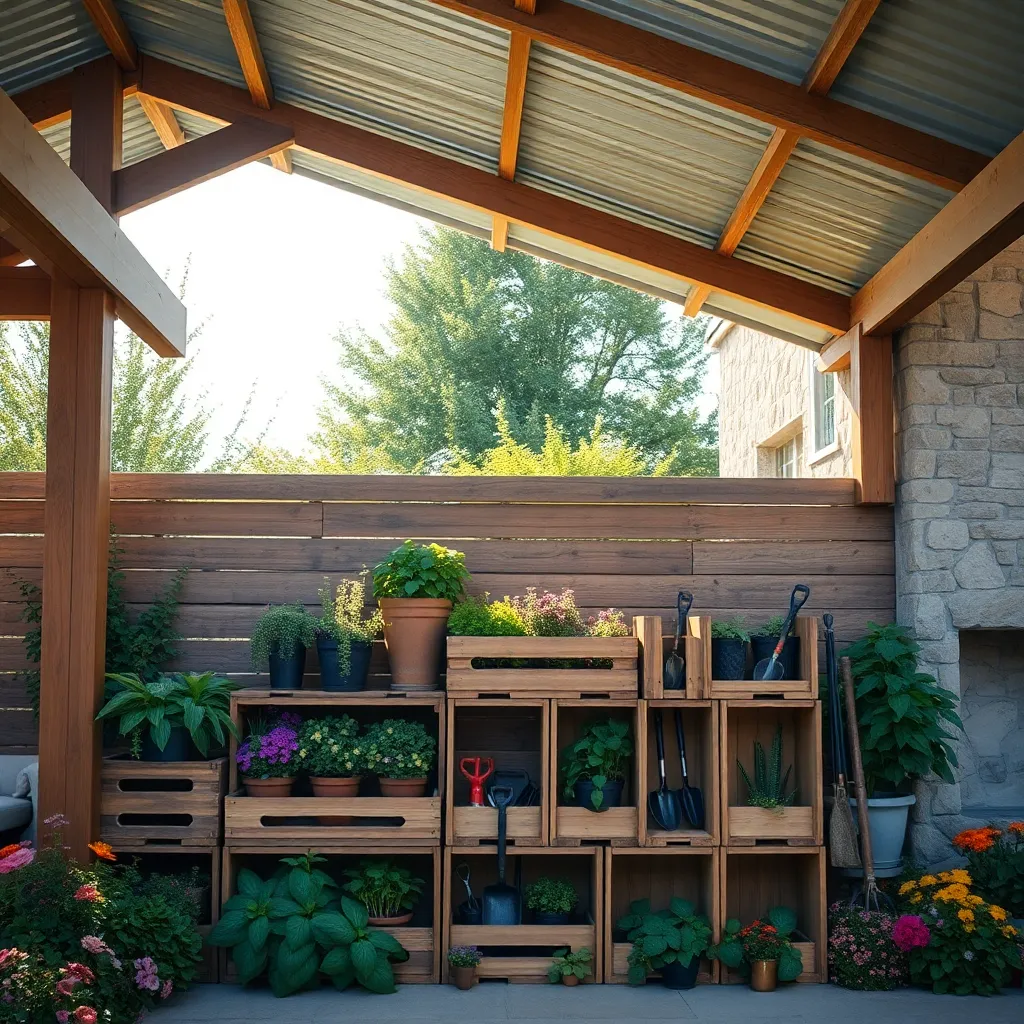
Consider implementing stackable crate systems to maximize your outdoor storage efficiency. These versatile units allow you to organize gardening tools, pots, and seasonal items without cluttering your space. Choose weather-resistant materials like plastic or treated wood to ensure longevity. Opt for crates with slatted designs to aid ventilation, preventing moisture buildup that can damage contents. For a beginner-friendly setup, start with a small stack and expand as needed, customizing the layout to fit your specific area.
For those seeking advanced solutions, mount the crates on casters for easy mobility—ideal for rearranging your garden layout. Additionally, consider adding hooks or pegboards to the sides of the crates for hanging tools or accessories. Secure the stack with bungee cords or ties to prevent tipping, especially in areas prone to high winds. By integrating stackable crate systems into your garden, you create a dynamic, adaptable storage solution that grows with your needs.
Attach Pegboards for Versatility
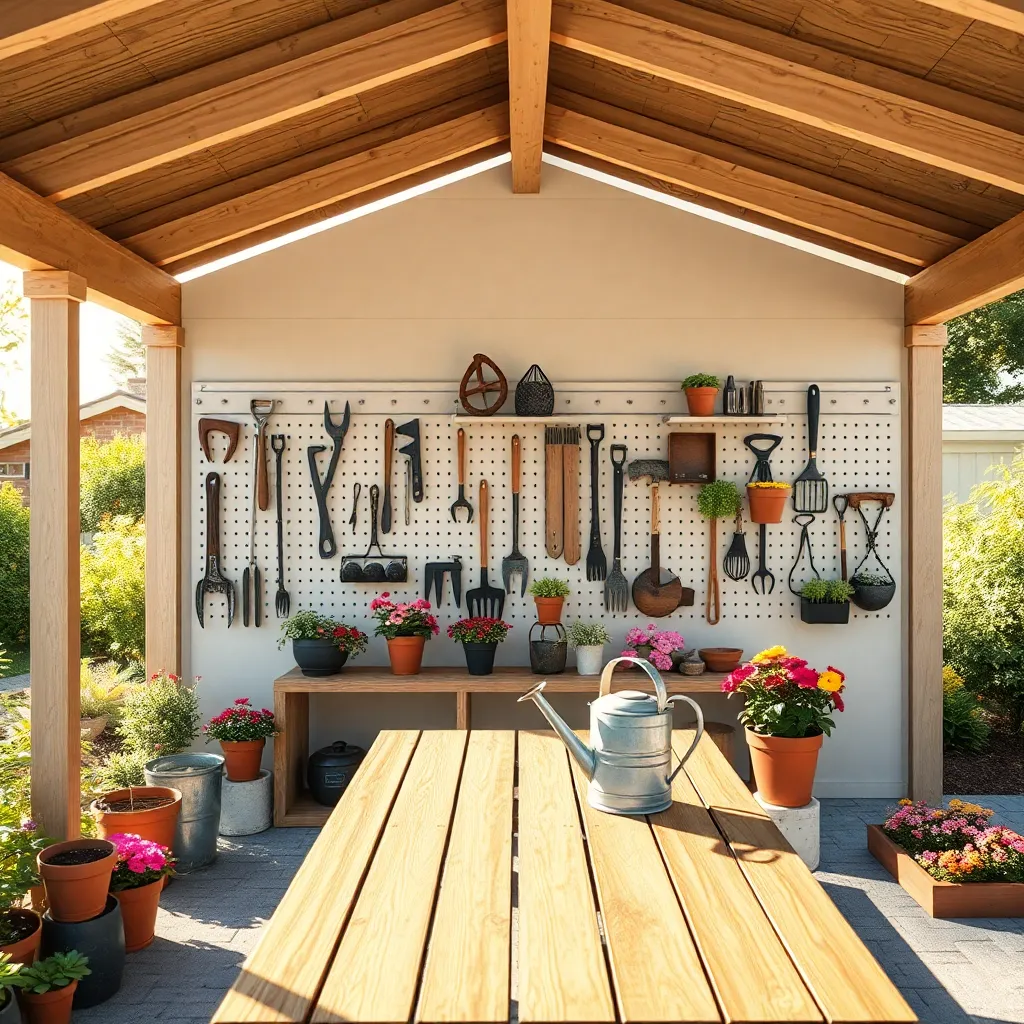
Attaching pegboards to your outdoor shelter walls is a simple yet effective way to increase storage versatility. Choose weather-resistant materials like galvanized steel or plastic to ensure durability and longevity. Measure the area where you plan to install the pegboard, and cut it to fit snugly within the space. Beginners can start with a basic layout, using common hooks to hang tools, while more advanced users might incorporate baskets and shelves for added functionality.
Consider creative layouts to maximize your pegboard’s potential. Use color-coded hooks or labels to organize tools by function or frequency of use. For a clean and professional look, paint the pegboard to match your shelter’s aesthetic, ensuring it blends seamlessly into your garden space. Advanced gardeners might explore modular pegboard systems, which allow for easy reconfiguration as your storage needs evolve. With a little creativity, your pegboard can become a central hub for all your gardening essentials.
Build a Custom Storage Shed

Building a custom storage shed is a fantastic way to enhance your garden’s functionality and aesthetic appeal. Start by choosing durable materials such as treated wood or metal that can withstand various weather conditions. For beginners, a simple rectangular design measuring around 8×10 feet can provide ample space for tools and equipment. Consider incorporating a sloped roof to prevent water accumulation and ensure proper drainage, especially if your area experiences heavy rainfall.
For more advanced builders, integrating features like skylights or windows can improve natural lighting and ventilation inside the shed. Adding shelves and hooks will maximize vertical storage, keeping your garden tools organized and accessible. Consider using pressure-treated lumber for the frame and opt for a sturdy foundation like concrete blocks or gravel to ensure stability. Remember, personalizing the shed with paint or decorative elements will not only make it functional but also a charming addition to your outdoor space.
Conclusion: Creating Beautiful Outdoor Spaces
In exploring ’11 Garden Storage Ideas for Your Next Project,’ we’ve uncovered insightful parallels to nurturing relationships: from creating shared spaces and setting boundaries to cultivating patience and celebrating small victories. Just like a well-organized garden, a thriving relationship requires thoughtful planning, consistent care, and a little creativity. As you consider these concepts, take a moment to envision how you can apply one idea to your relationship today. Perhaps it’s as simple as reorganizing your shared living space to better suit both your needs or planning a small project together to strengthen your bond.
I encourage you to save this article as a handy reference for those days when you need a gentle reminder of the tools that can help your relationship bloom. Bookmark it now to ensure you have these valuable insights at your fingertips whenever you need a boost.
Remember, every relationship is a living entity that grows and evolves. By tending to it with intention and care, you’re sowing the seeds for a resilient and fulfilling future together. Here’s to nurturing your relationships with the same dedication you bring to your garden projects, ensuring both flourish beautifully.