
Imagine stepping into your backyard, greeted by the perfect blend of comfort and style under a beautifully crafted patio roof—your very own oasis. Whether you’re a DIY novice or a seasoned pro, our guide, “14 DIY Patio Roof Ideas for Your Next Project,” is your gateway to transforming ordinary spaces into extraordinary retreats. With each idea tailored to inspire and empower, you’ll discover how easy it is to create an inviting outdoor haven that reflects your personal flair.
In this guide, you’ll find an array of creative solutions that promise both aesthetic appeal and practical benefits. From protecting your gatherings from unexpected weather to enhancing your property’s value, these DIY projects are designed to fit a variety of skill levels and budgets. Let’s embark on this exciting journey together, where every step you take brings you closer to enjoying the ultimate pleasures of outdoor living, all while boosting your confidence in crafting a space you’ll love.
Choose Lightweight Roofing Materials
When choosing roofing materials for your patio, consider options that are not only lightweight but also durable and easy to handle. Polycarbonate panels are a fantastic choice, offering UV protection while allowing natural light to filter through, making them ideal for creating a bright and airy space. Alternatively, corrugated metal sheets provide a sleek, modern look and are highly resistant to weather elements, making them a great option for those living in areas with heavy rainfall.
For a DIY-friendly installation, opt for materials that can be easily cut to size with basic tools, such as a handsaw or power saw. Canvas or fabric covers can add a stylish touch and are perfect for temporary or seasonal use; these can be easily attached and removed with grommets and hooks. To ensure stability, it’s important to secure such materials tightly to prevent wind damage. Advanced DIYers might consider incorporating insulated panels to provide additional comfort and reduce heat transfer, especially in sunny regions.
Incorporate Retractable Canopy Systems
Adding a retractable canopy system to your patio offers both flexibility and style, making it a smart choice for any outdoor space. These systems are ideal for providing shade when you need it and retracting to allow sunlight when you don’t. For easy installation, opt for pre-made kits that come with all necessary hardware and instructions. If you’re a DIY enthusiast, consider designing a custom system using durable fabric like acrylic or polyester, which withstands various weather conditions.
When planning your retractable canopy, ensure that it complements your existing patio design. Consider a color palette that matches or contrasts nicely with your outdoor furniture. For a more advanced setup, integrate a motorized system that you can control with a remote or smartphone app for convenience. Always measure your patio dimensions accurately, allowing for a slight overhang to ensure maximum coverage and protection from the elements. This versatile addition not only enhances comfort but also boosts the aesthetic appeal of your outdoor area.
Utilize Natural Bamboo Coverings
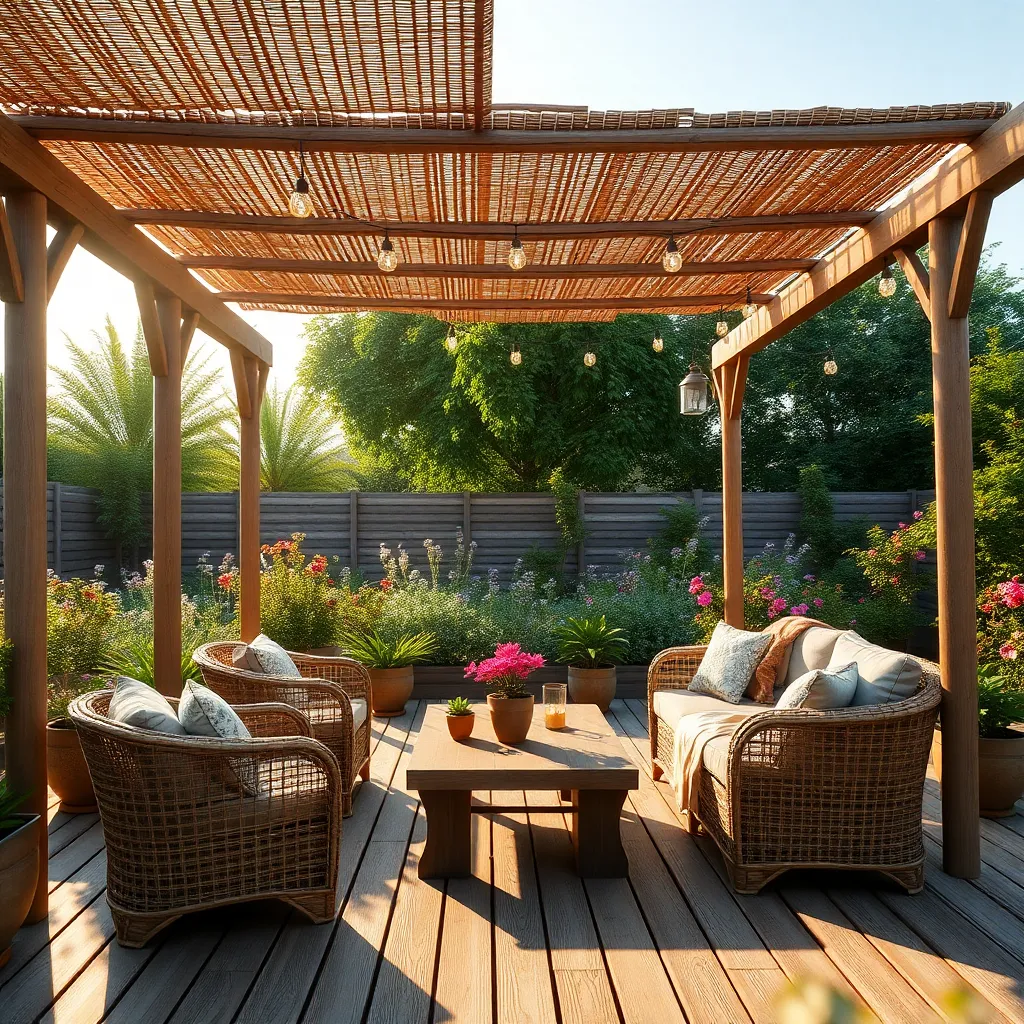
Using natural bamboo coverings for your patio not only adds a tropical aesthetic but also provides a sustainable and eco-friendly shelter option. To begin, select bamboo poles with a diameter of at least 1-2 inches for durability and stability. When constructing your bamboo cover, consider using a simple frame structure with crossbeams to securely hold the bamboo in place. This allows you to create a shaded area that is both stylish and functional, perfect for enjoying summer days.
For a more advanced touch, consider incorporating a woven bamboo mat as a roofing material, which can offer additional shade and texture. These mats can be easily attached to the bamboo framework using zip ties or natural twine, providing a rustic yet elegant finish. Make sure to treat bamboo with a weather-resistant sealant to prolong its lifespan and maintain its natural beauty. With these steps, your bamboo-covered patio will be a charming and practical addition to your outdoor space.
Install Durable Metal Roofing Panels
Installing durable metal roofing panels is a practical way to enhance your patio’s longevity and weather resistance. Start by selecting high-quality materials, such as galvanized steel or aluminum, which are both rust-resistant and sturdy. These panels come in a variety of colors and finishes, allowing you to choose a style that complements your home. For beginners, purchasing pre-cut panels can simplify installation, while experienced DIYers might opt to cut custom lengths for a perfect fit.
Ensure you have the necessary tools, including a drill, metal screws, and safety gloves, to securely fasten the panels to your patio structure. Proper alignment and overlapped seams are crucial to prevent leaks, so take your time during this step. For added protection, consider applying a weatherproof sealant along the seams. Advanced builders might integrate insulation between the roof and the panels to improve energy efficiency, making the space more comfortable year-round. This project not only enhances your patio’s durability but also adds a sleek, modern look to your outdoor space.
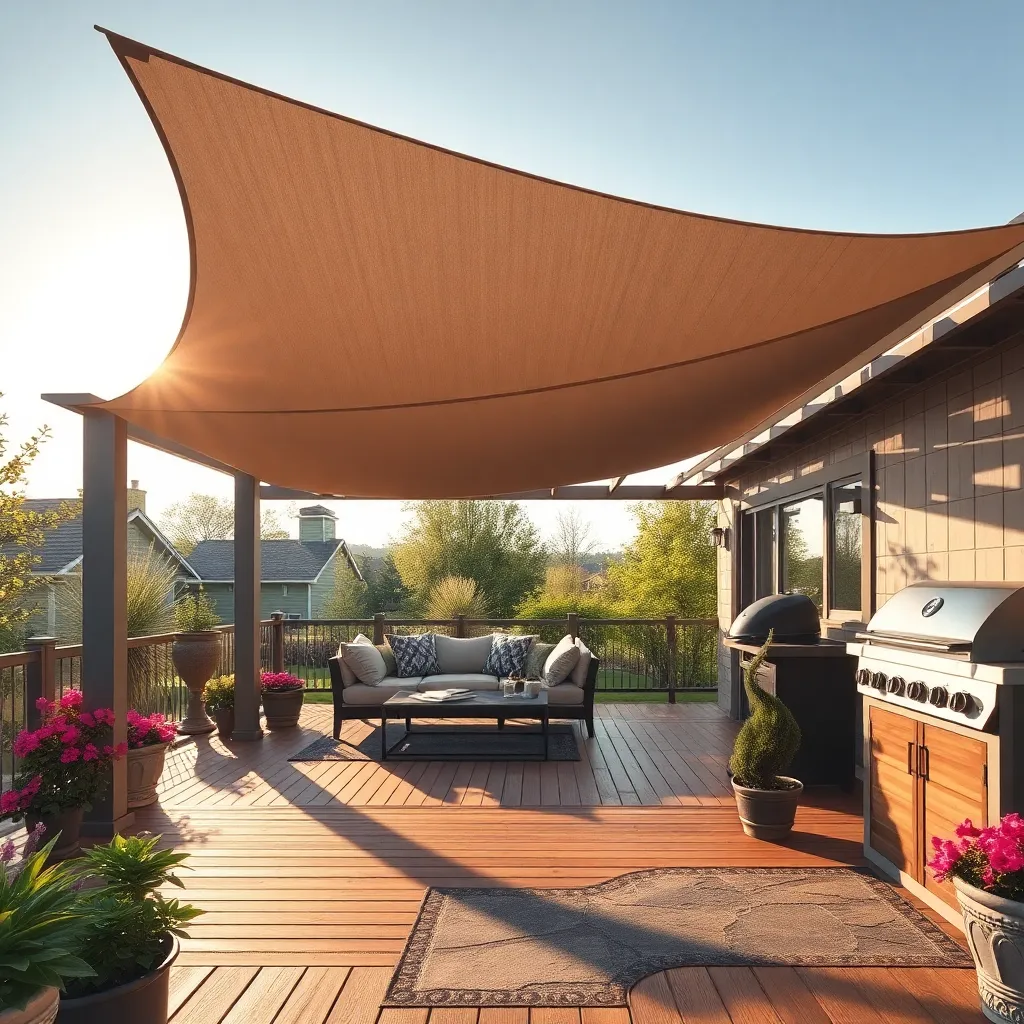
Use Tensioned Fabric Structures
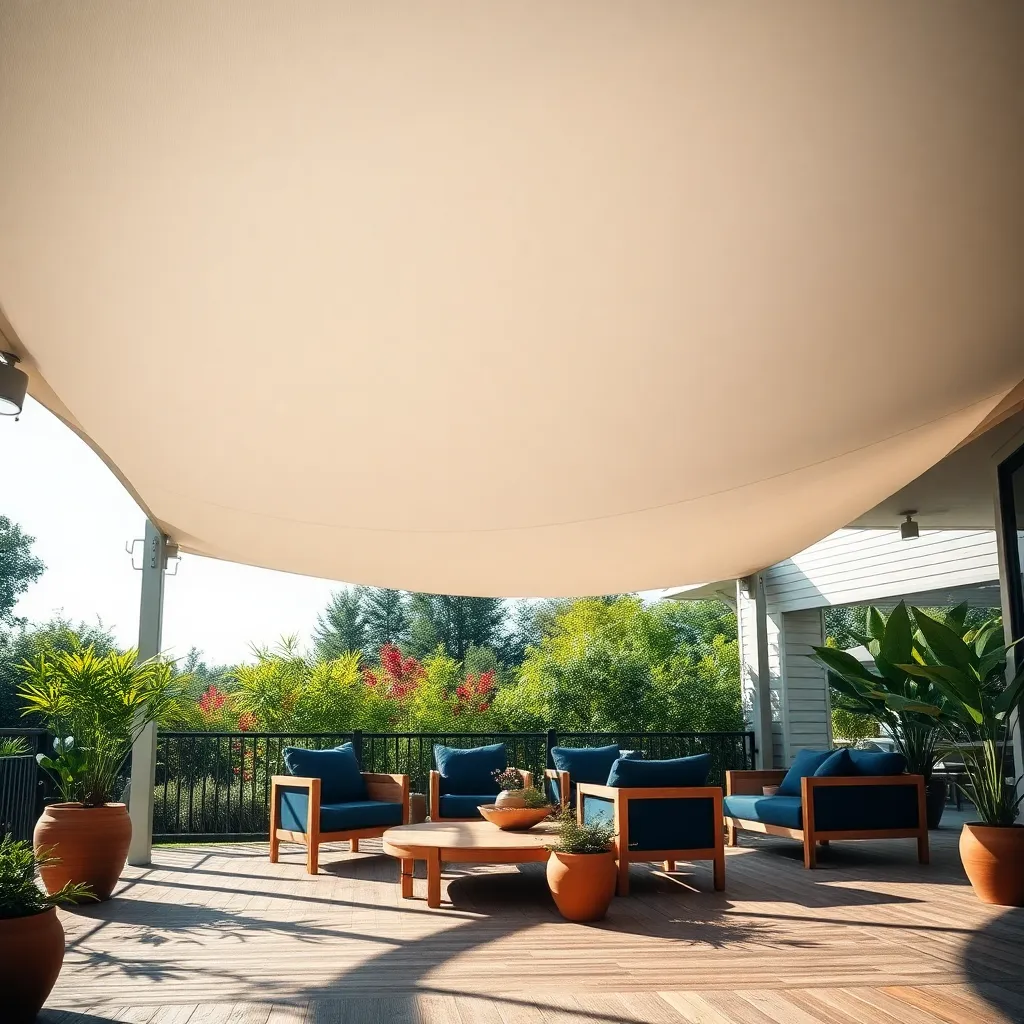
Tensioned fabric structures offer a versatile and stylish option for patio roofing, combining function with aesthetics. These structures use high-quality, weather-resistant fabrics like PVC-coated polyester or PTFE fiberglass that can withstand various weather conditions. Beginner-friendly installation typically involves attaching the fabric to a sturdy frame made from materials like aluminum or steel, which provide durability and support. This setup not only offers shade and protection but also adds a modern touch to any outdoor space.
For those looking to customize their patio, consider the range of design possibilities that tensioned fabric structures provide. You can experiment with different shapes, such as a simple flat canopy, a curved arc, or even a sail-like design to enhance visual appeal. Advanced DIYers might explore incorporating retractable mechanisms to adjust the shade as needed, providing flexibility for changing seasons. Ensure the fabric is tightly secured to prevent sagging and optimize its lifespan, making your patio a year-round retreat.
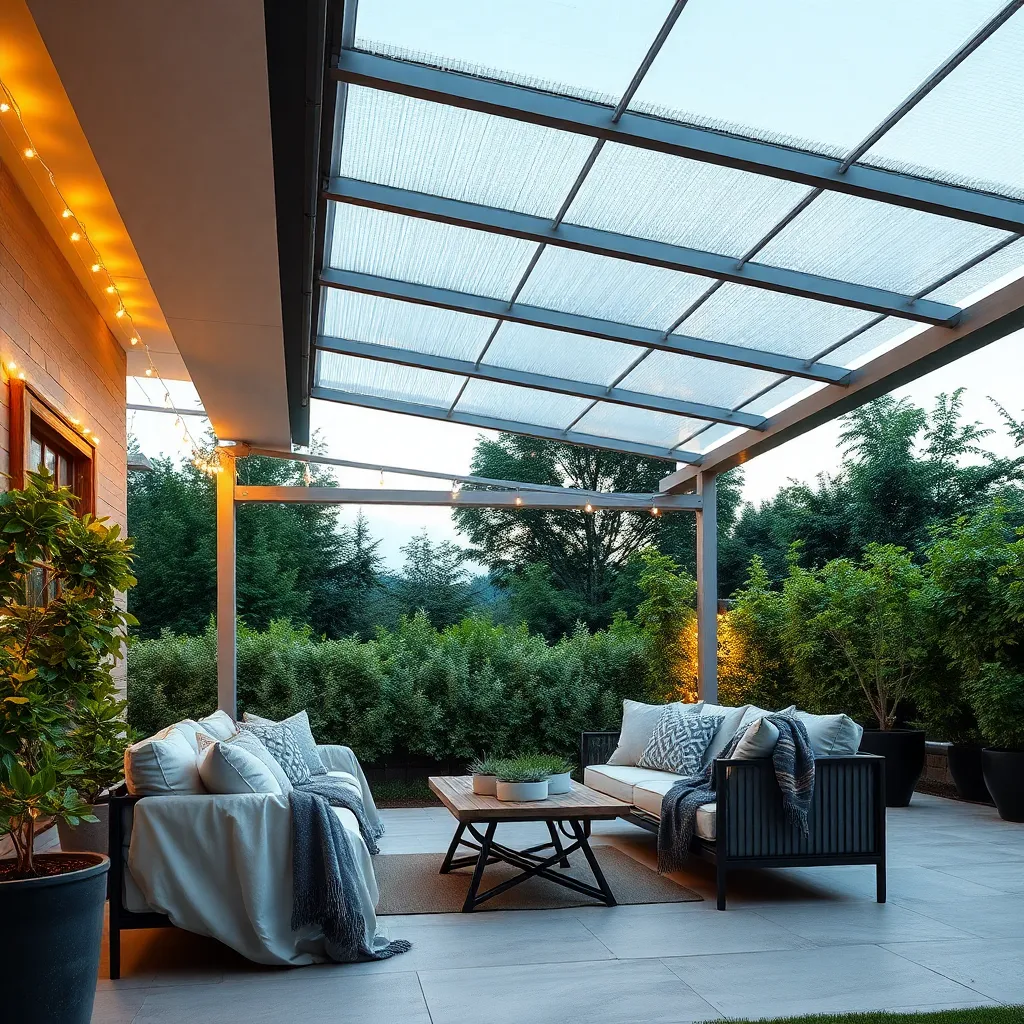
Attach Clear Corrugated Roofing Sheets
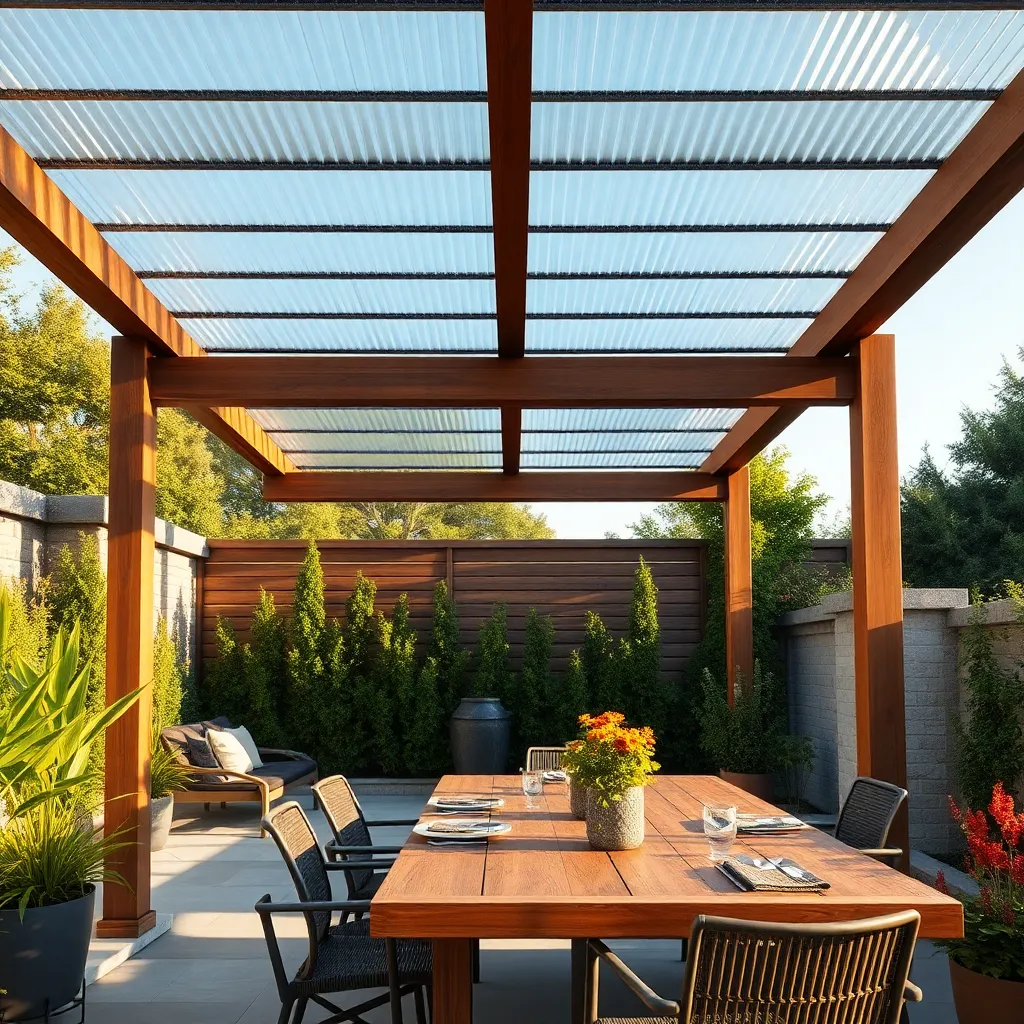
Creating a patio roof with clear corrugated roofing sheets is an excellent way to enjoy natural light while staying protected from the elements. Start by selecting high-quality polycarbonate or PVC sheets, known for their durability and weather resistance. Measure your patio space accurately to determine the number of sheets needed, allowing for a slight overlap between them to ensure a watertight seal. For a beginner-friendly installation, use a simple wooden frame or metal support beams to provide a sturdy base for the sheets.
For a professional finish, make sure to use appropriate fasteners like stainless steel screws with rubber washers, which prevent leaks and rust. Pre-drill holes in the sheets to avoid cracking, and ensure that the sheets are angled slightly to allow for rainwater runoff. If you’re looking to enhance the design, consider adding UV protection coatings to the sheets, which help reduce heat while preserving the clarity of the roof. These advanced tips ensure your patio remains a comfortable, stylish extension of your living space.
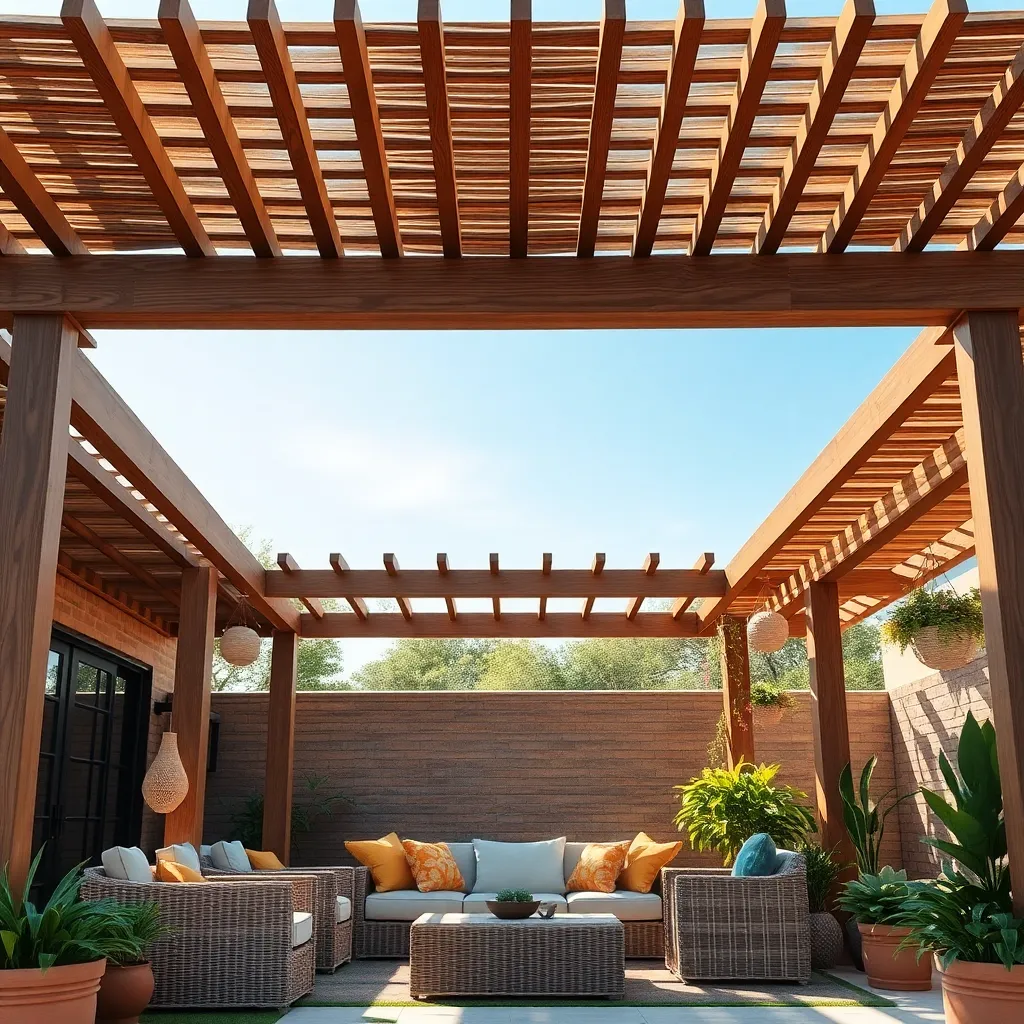
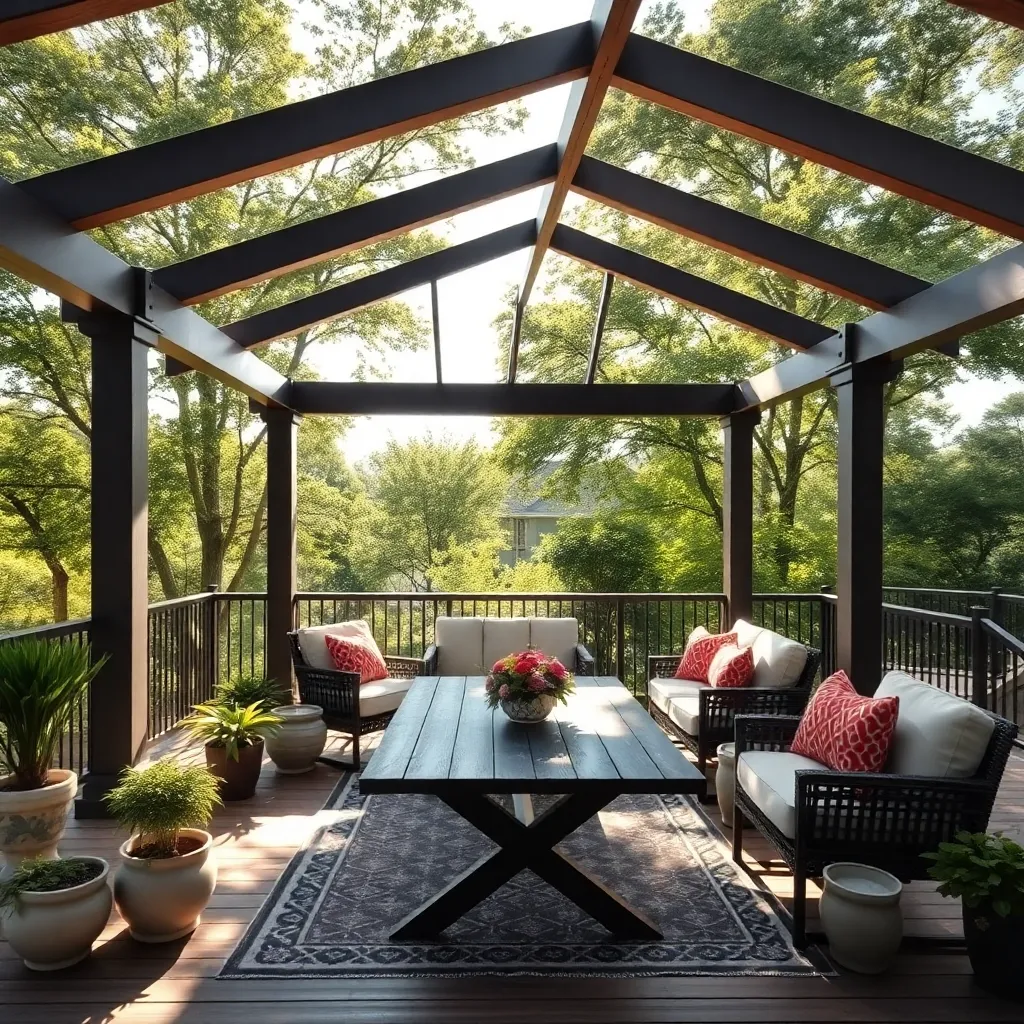
Build a Rustic Wooden Pergola
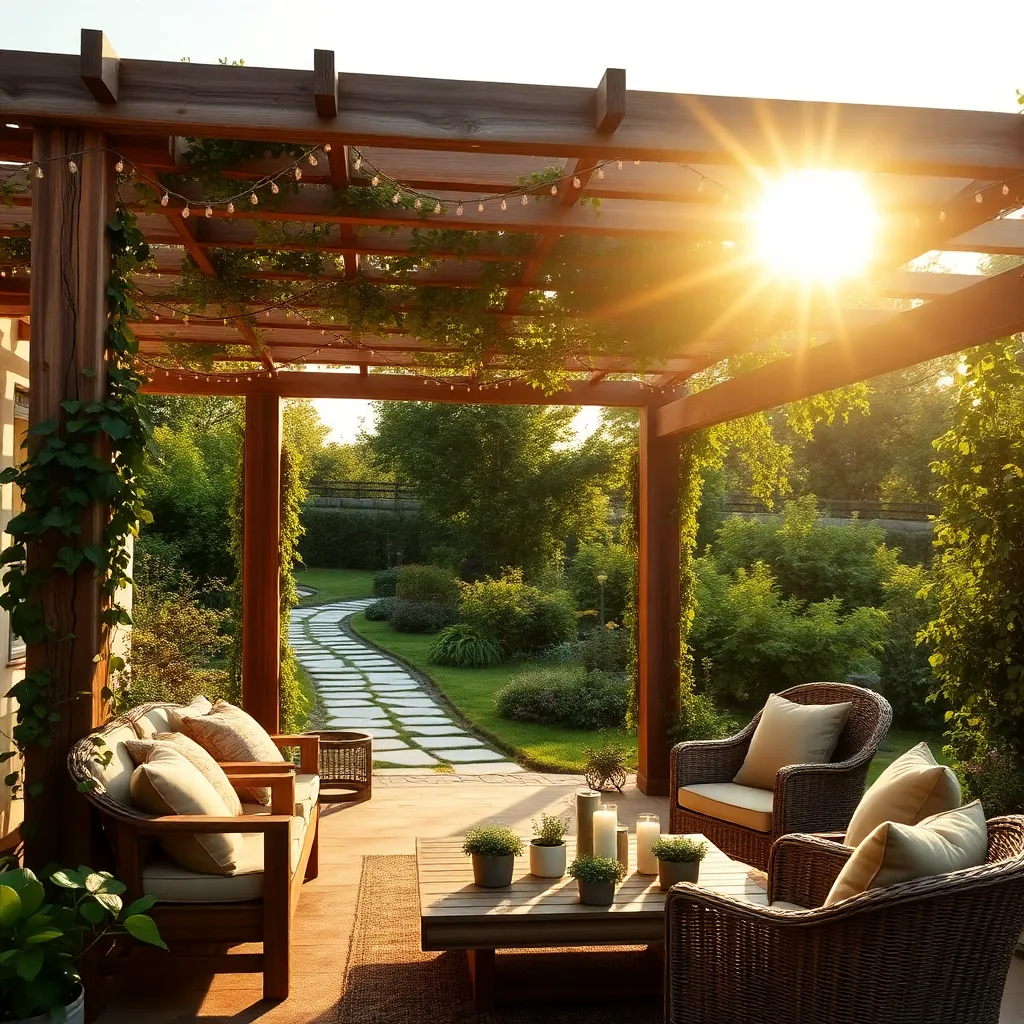
Building a rustic wooden pergola can transform your patio into a charming outdoor retreat. Begin by selecting durable wood such as cedar or redwood, which not only withstands the elements but also adds a natural, rustic appeal. Measure your space carefully to ensure your pergola fits perfectly; a standard size often ranges from 8×10 feet to 12×16 feet. Use sturdy 4×4 posts for the vertical supports and 2×6 or 2×8 beams for the roof structure. For a more inviting touch, consider adding crossbeams or latticework to allow filtered light to pass through, creating a dappled shade effect.
For easy construction, use metal brackets and bolts to secure the beams and posts, ensuring stability and longevity. Beginners can start with a basic square or rectangular design, while more experienced builders might explore adding decorative elements like curved ends or a climbing plant trellis. Stain or seal the wood to protect it from moisture and UV damage, enhancing its rustic charm. To further personalize your pergola, drape outdoor string lights or hang planters for added ambiance. This practical and stylish project will not only enhance your outdoor space but also increase your home’s value.
Opt for Solar Panel Roof Solutions
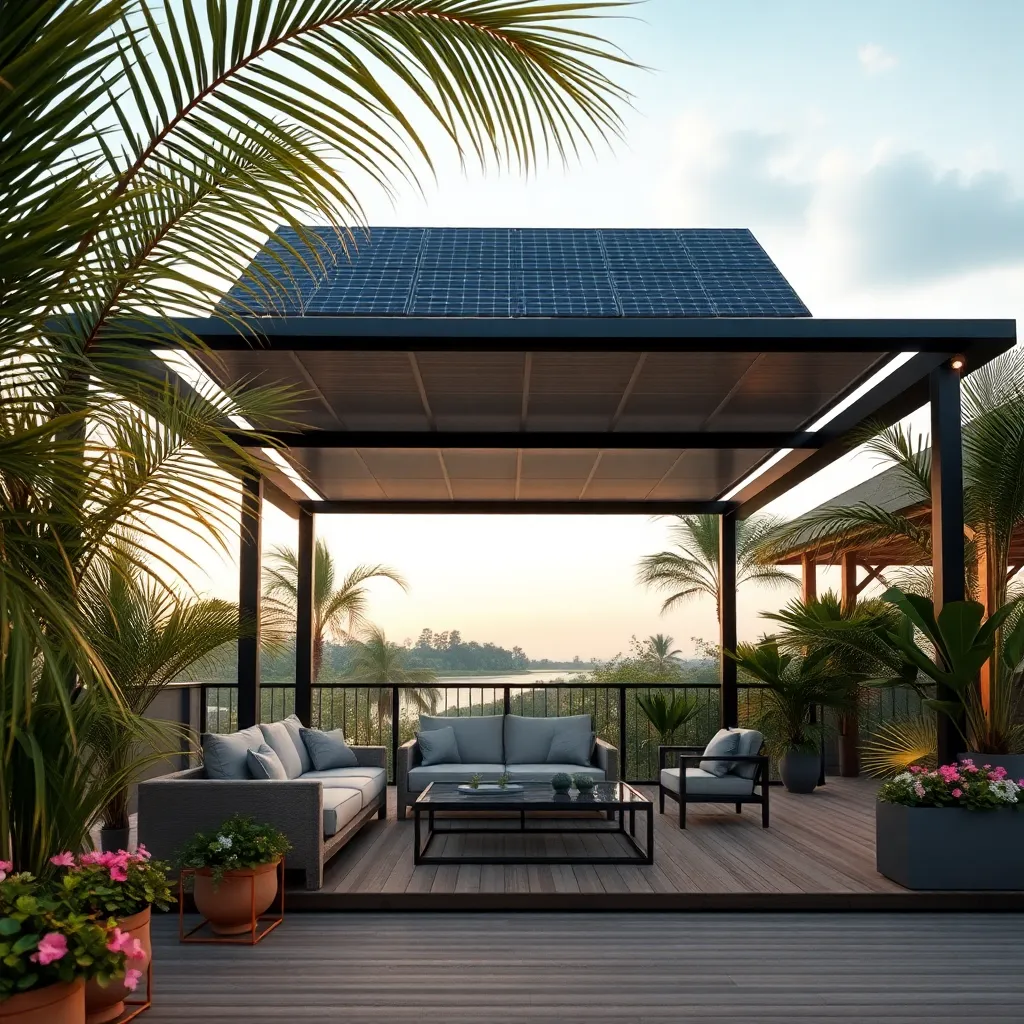
Transform your patio into an eco-friendly oasis by opting for a solar panel roof solution. Not only do solar panels provide a sustainable energy source, but they also double as a protective roof, shielding your space from the elements. Select solar panels with a durable, weather-resistant frame to ensure longevity. For beginners, consider starting with a simple, flat roof design using lightweight racking systems for easy installation. This approach allows you to harness solar energy efficiently while enjoying a shaded retreat.
For those with more experience, integrating solar panels into a sloped or gabled roof design can enhance water runoff and increase sun exposure. Use aluminum or galvanized steel for the framing to support the panels securely. Ensure the angle of the panels is optimized for maximum sunlight—typically between 30 to 45 degrees, depending on your latitude. Additionally, consider installing a battery storage system to capture excess energy for nighttime use. This advanced setup not only reduces your energy bills but also adds a modern, tech-savvy touch to your outdoor space.
Construct a Louvered Roof System
Consider constructing a louvered roof system to add both style and functionality to your patio. These systems feature adjustable slats that can be tilted to control sunlight and ventilation, providing a flexible outdoor experience. Begin with aluminum or weather-resistant wood for the frame to ensure durability. For the louvered panels, lightweight materials like polycarbonate or aluminum work best. Basic tools, such as a drill, saw, and level, will help you assemble this project, making it accessible for DIY enthusiasts.
For an advanced touch, incorporate an automated louver system with a remote control or smartphone app for effortless operation. This feature is particularly useful for adjusting the slats based on weather conditions. When designing your louvered roof, consider a slight pitch for effective water drainage during rainy days.
- Ensure the roof dimensions align with the patio’s footprint for a cohesive look.
- Secure the structure with concrete footings for stability.
With careful planning and execution, a louvered roof system can transform your patio into a versatile and stylish outdoor retreat.
Add Vines for Natural Shade
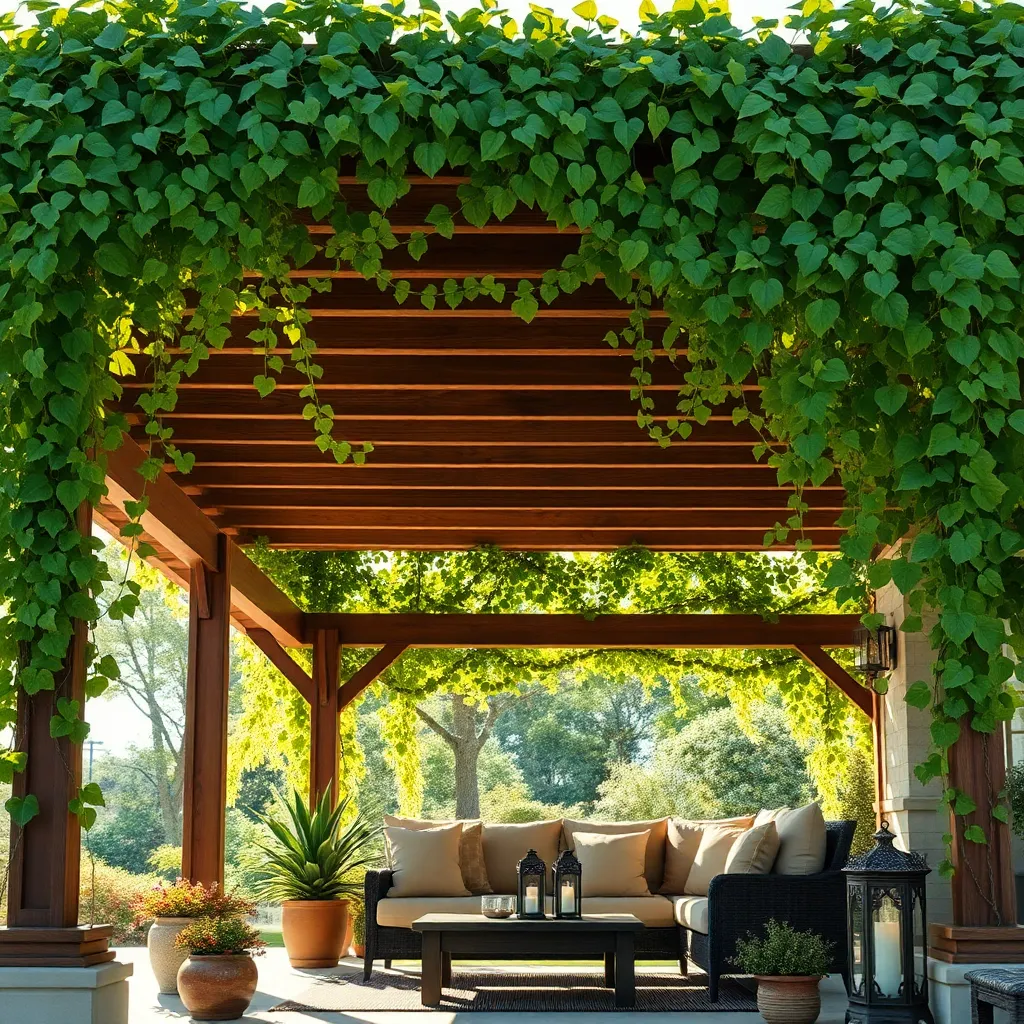
Enhancing your patio with vines provides a charming and effective way to create natural shade. Begin by selecting fast-growing, sun-loving vines like Virginia creeper, wisteria, or trumpet vine, which are known for their dense foliage and ability to cover structures quickly. To support these vines, install a sturdy trellis or pergola using weather-resistant materials such as treated wood or metal; ensure the structure can withstand the weight of mature plants. For beginners, consider using pre-fabricated trellis panels that are easy to install and require minimal maintenance.
For seasoned gardeners, experimenting with creative vine arrangements can elevate your patio’s aesthetic. Train vines to weave through latticework or across a pergola roof for dappled sunlight patterns. To maximize growth and coverage, position your support structures in areas that receive adequate sunlight but avoid placing them directly under roof edges to prevent water pooling. Regularly prune your vines to maintain their shape and promote healthy growth, ensuring they provide ample shade throughout the warmer months. By integrating vines into your patio design, you can achieve a beautiful, eco-friendly retreat right in your backyard.
Create a Green Roof with Plants
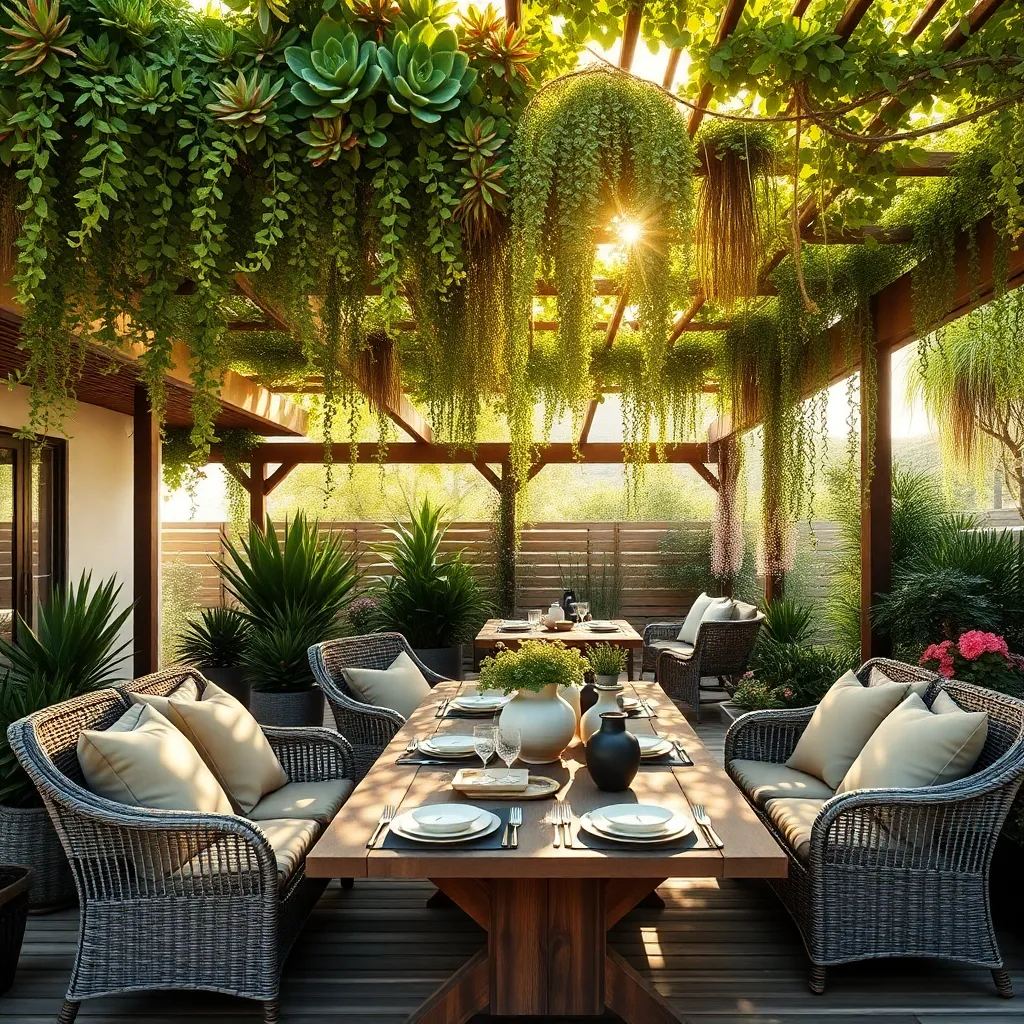
Transform your patio roof into a green oasis by installing a green roof with plants. Begin by ensuring your existing roof can support the extra weight of soil and vegetation; consulting with a structural engineer might be necessary. For those new to this concept, start with a simple modular green roof system, which includes pre-planted trays that are easy to install and maintain. Use lightweight, drought-resistant plants like sedums or succulents, which thrive in shallow soil and require minimal upkeep.
For a more advanced project, consider creating a layered green roof system with drainage, root barriers, and an irrigation system.
- Use a high-quality waterproof membrane to prevent leaks.
- Install a drainage layer to manage excess water.
Opt for native plants to enhance biodiversity and require less water. With thoughtful planning and execution, a green roof can reduce energy costs, provide habitat for wildlife, and offer a stunning natural element to your outdoor space.
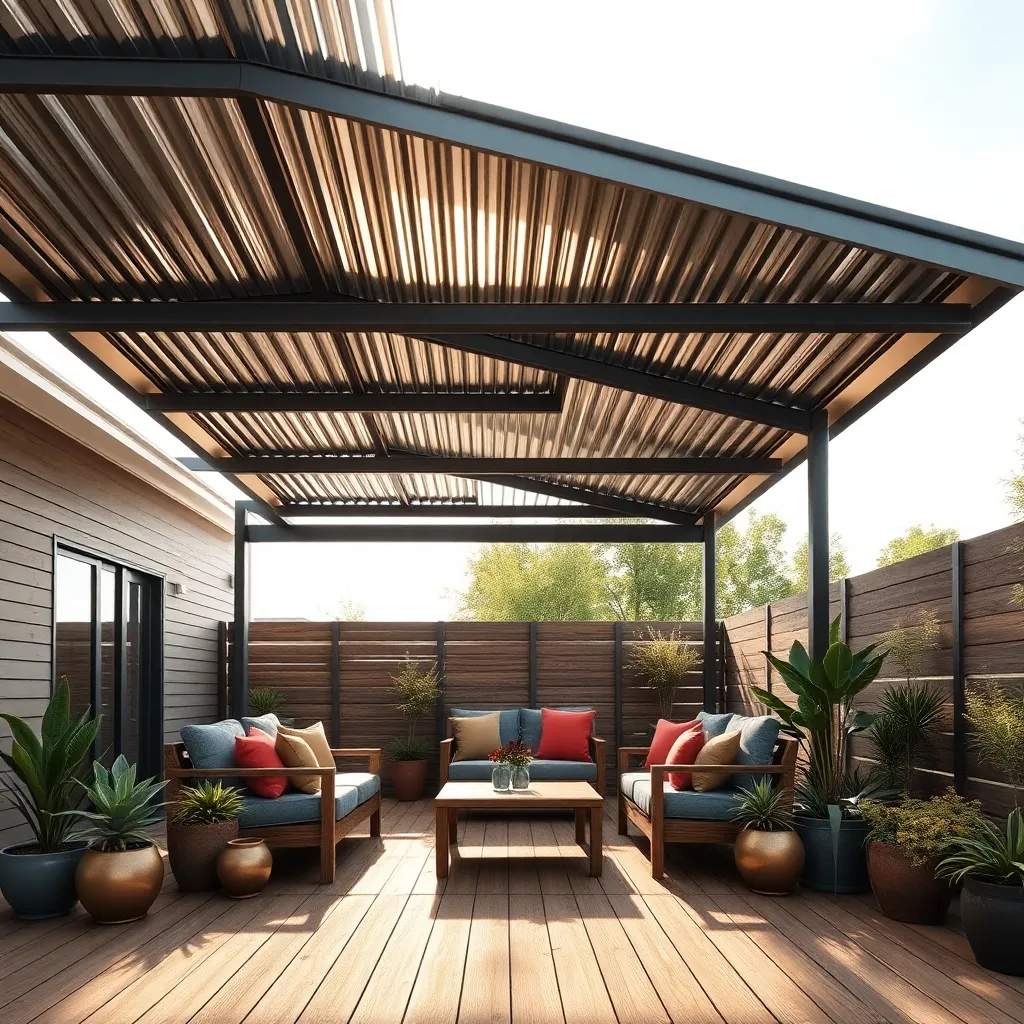
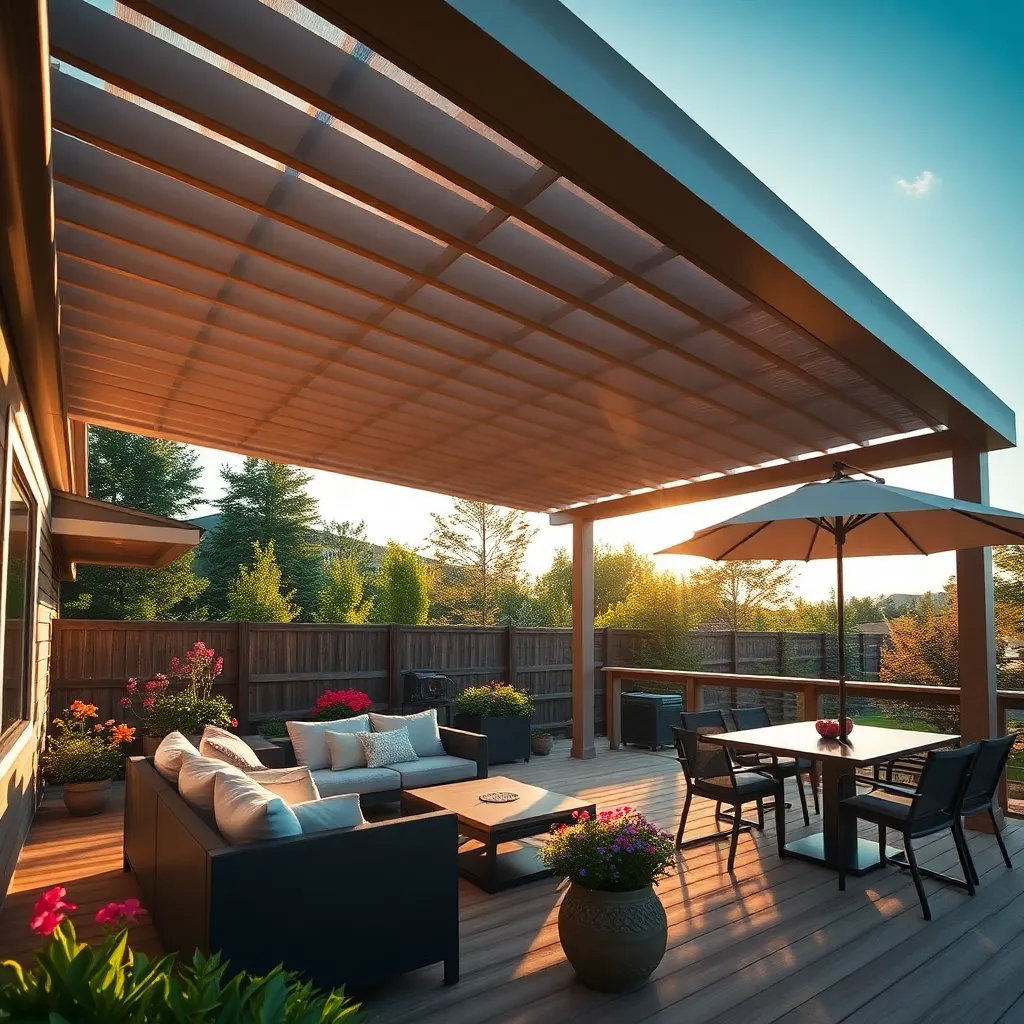
Design a Slatted Roof for Light
Incorporating a slatted roof into your patio design is an excellent way to balance sunlight and shade. To begin, choose durable materials like cedar or pressure-treated wood, which are ideal for withstanding outdoor elements. For a basic design, aim for slats that are spaced about 2 inches apart to allow plenty of light while still providing some coverage from the sun. This spacing can be adjusted to suit your personal preference for light and shade.
For those seeking a more advanced touch, consider installing adjustable slats. This feature allows you to control the amount of light filtering through by changing the angle of the slats, offering flexibility throughout the day. Utilize stainless steel hardware for longevity and ensure your support beams are properly anchored for stability. Remember, a slatted roof not only enhances the aesthetic of your patio but also adds functional value by creating a comfortable outdoor retreat.
Include Skylights for Extra Brightness
Adding skylights to your patio roof can significantly enhance the brightness of your outdoor space, creating a more open and inviting atmosphere. Choose durable materials such as polycarbonate or tempered glass, which can withstand weather conditions while allowing ample natural light to flood through. Beginners can start with pre-fabricated skylight kits that come with all necessary components and instructions, while more experienced DIYers might opt for custom designs to fit specific roof dimensions.
When installing skylights, it’s crucial to ensure proper sealing to prevent leaks. Use high-quality silicone sealant around the edges and make sure the skylight is slightly angled to promote water runoff. For advanced projects, consider incorporating operable skylights that can be opened for ventilation, allowing you to enjoy fresh air while staying sheltered. For best results, position the skylights strategically based on sun patterns, ensuring maximum light exposure throughout the day.
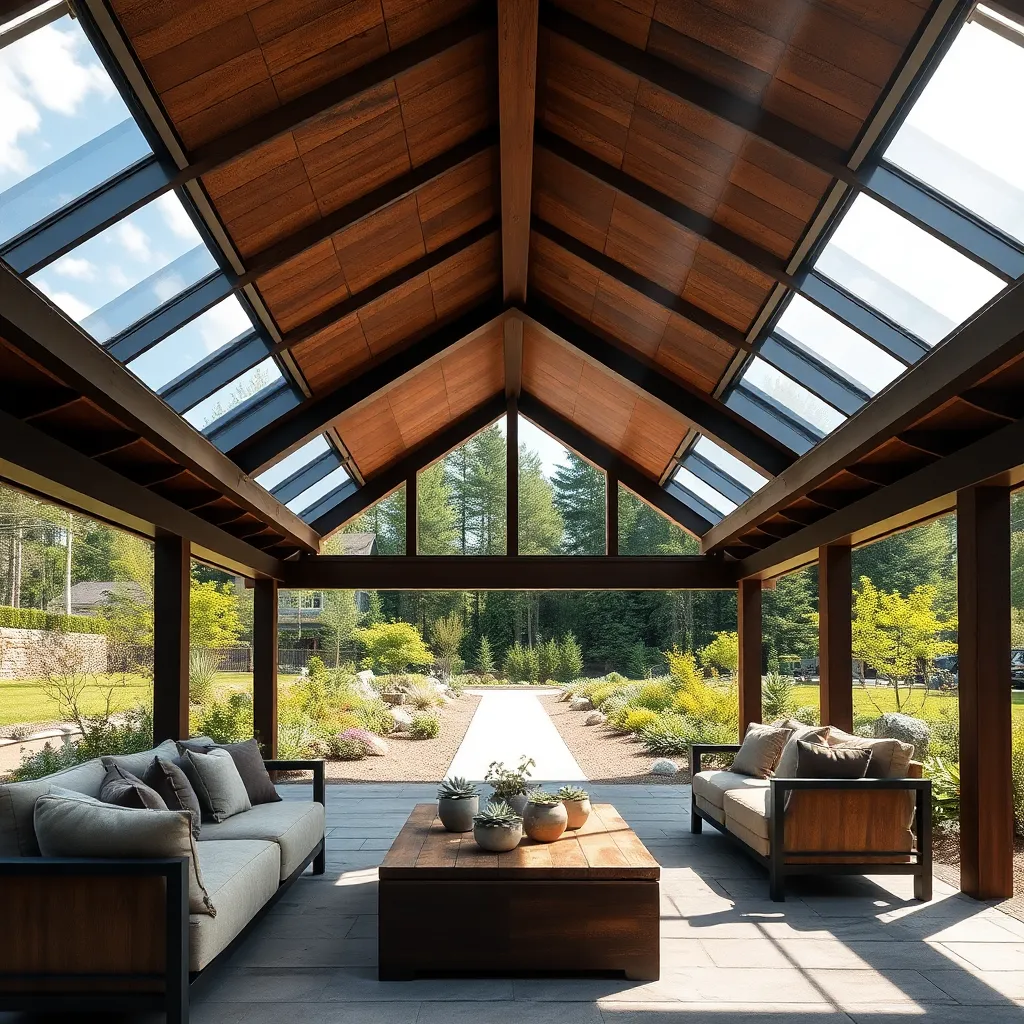
Install Gabled Roof for Rain Protection
A gabled roof can provide excellent rain protection for your patio while adding a touch of classic elegance. To construct a gabled roof, start by selecting durable materials such as pressure-treated wood for the frame and a weatherproof roofing material like asphalt shingles or metal sheets. A basic structure involves creating a triangular frame at each end of your patio and connecting them with rafters. For beginners, pre-cut rafter kits can simplify the process, while more experienced DIYers can customize their design to suit their patio dimensions.
When designing your gabled roof, consider the pitch angle to ensure efficient water runoff—typically, a pitch between 20 to 30 degrees works well for most climates. Ensure the rafters are spaced 16 to 24 inches apart for optimal support. Advanced builders might incorporate additional elements like insulation or a gutter system to enhance functionality. To finish, apply a coat of weather-resistant sealant to protect your materials from the elements. This project not only offers practical rain coverage but also boosts your outdoor space’s aesthetic appeal.
Conclusion: Creating Beautiful Outdoor Spaces
In exploring the diverse world of DIY patio roof ideas, we’ve uncovered 14 innovative concepts that can transform your outdoor space into a haven of comfort and connection. From rustic pergolas to modern shade sails, each idea not only enhances your home’s aesthetic but also fosters a unique environment for nurturing relationships. These projects offer more than just shelter; they create spaces where memorable conversations can flourish, laughter can echo, and bonds can strengthen.
As you feel inspired to embark on your next patio project, start by selecting the idea that resonates most with your lifestyle and relationship goals. Gather the necessary materials, set a timeline, and involve your loved ones in the process, turning it into a shared adventure that deepens your connection.
Remember to bookmark this article for future reference. As your relationship evolves, revisiting these ideas can serve as a catalyst for new projects and shared experiences.
By investing time and creativity into your outdoor space, you’re not just building a patio roof; you’re building a foundation for lasting relationship success. Embrace the journey ahead, knowing that every effort you make today can lead to a more connected and fulfilling future.