
Imagine stepping into your backyard and finding a charming, personalized gazebo waiting for you—a perfect retreat without breaking the bank. Whether you’re a beginner or a seasoned DIY enthusiast, transforming your outdoor space with a gazebo kit is not only achievable but incredibly rewarding. These kits offer an inviting project that can elevate your garden’s aesthetic while providing a cozy nook for relaxation or entertaining.
In this article, we’ll guide you through selecting the right affordable DIY gazebo kit tailored to your skill level and style preferences. You’ll discover practical tips for simplifying the assembly process, along with insights into choosing materials and designs that suit your space and budget. Let’s embark on this exciting journey together, turning your backyard into the oasis you’ve always dreamed of—one easy step at a time.
Understanding DIY Gazebo Kit Basics

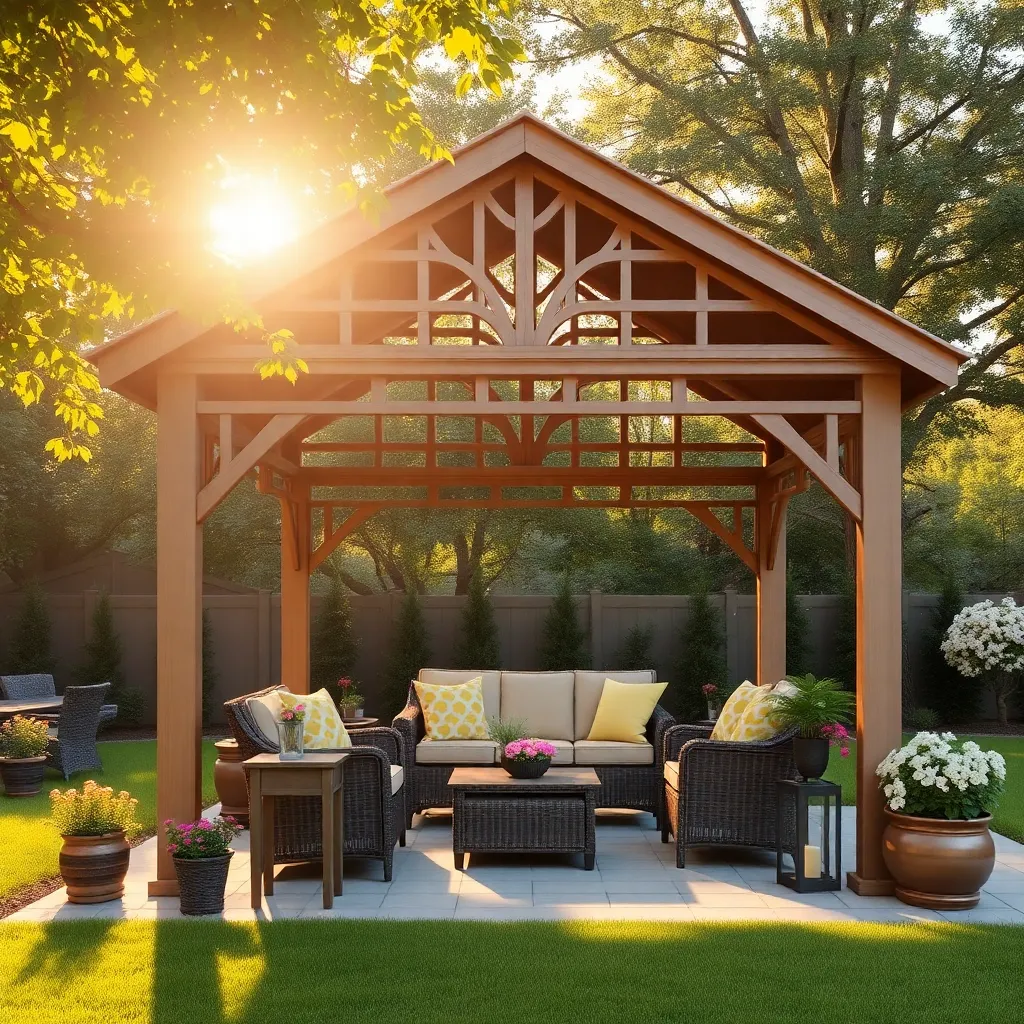
When starting with a DIY gazebo kit, understanding the materials is crucial. Most kits use either wood, metal, or vinyl, each offering distinct advantages. Wooden gazebos provide a classic aesthetic and blend naturally with outdoor spaces, but they require regular maintenance. Metal options, often made from aluminum or steel, are durable and can be powder-coated for weather resistance. Vinyl gazebos offer low-maintenance benefits and are resistant to rot and pests. Consider the climate of your area and the maintenance you’re willing to undertake before making your choice.
In terms of design elements, pay attention to both the size and shape of your gazebo to best fit your yard. Common sizes range from 10×10 to 12×14 feet, providing ample space for outdoor dining or lounging. For beginners, a square or rectangular shape is easier to assemble. Advanced builders may want to explore octagonal or hexagonal designs for a unique look. Ensure your kit includes detailed instructions and all necessary hardware. An extra set of hands can significantly ease the assembly process, making it a great weekend project for family or friends.
Choosing the Right Kit for You
When choosing the right DIY gazebo kit, consider the materials that best suit your climate and aesthetic. Wooden kits offer a classic look and can be stained to match existing outdoor furniture, but they require regular maintenance to withstand weather changes. For a more durable and low-maintenance option, consider metal or vinyl kits, which provide excellent durability and weather resistance. Ensure the kit you select includes all necessary hardware and clear instructions, which are essential for a smooth assembly process.
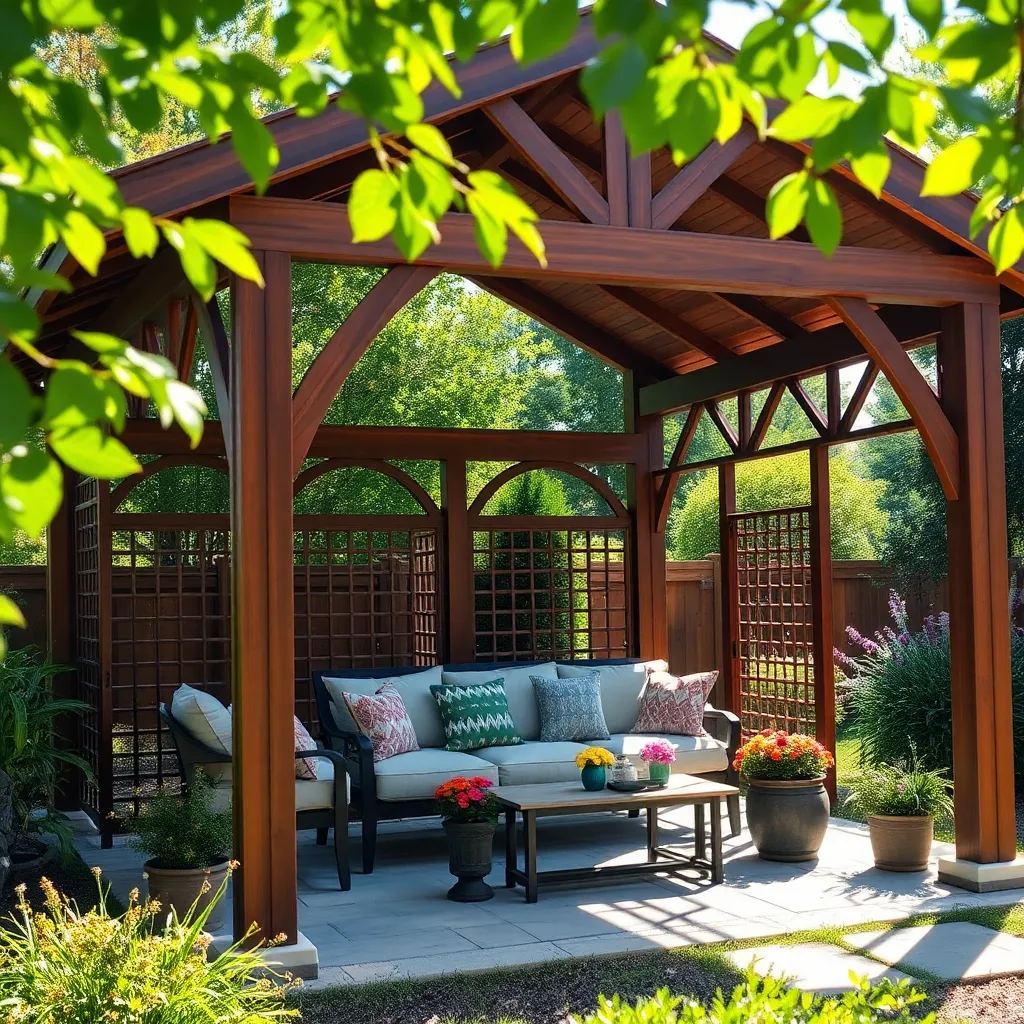
Next, think about the size and design elements that will complement your outdoor space. Measure your available area carefully and choose a kit that leaves room for walkways and surrounding greenery. For beginners, a smaller, simpler design with a basic square or rectangular shape might be the best start. More advanced DIYers might explore hexagonal or octagonal designs for added visual interest. Incorporate features like built-in benches or planters to enhance functionality, and consider adding mosquito netting or curtains for added comfort and privacy.
Essential Tools for Gazebo Assembly
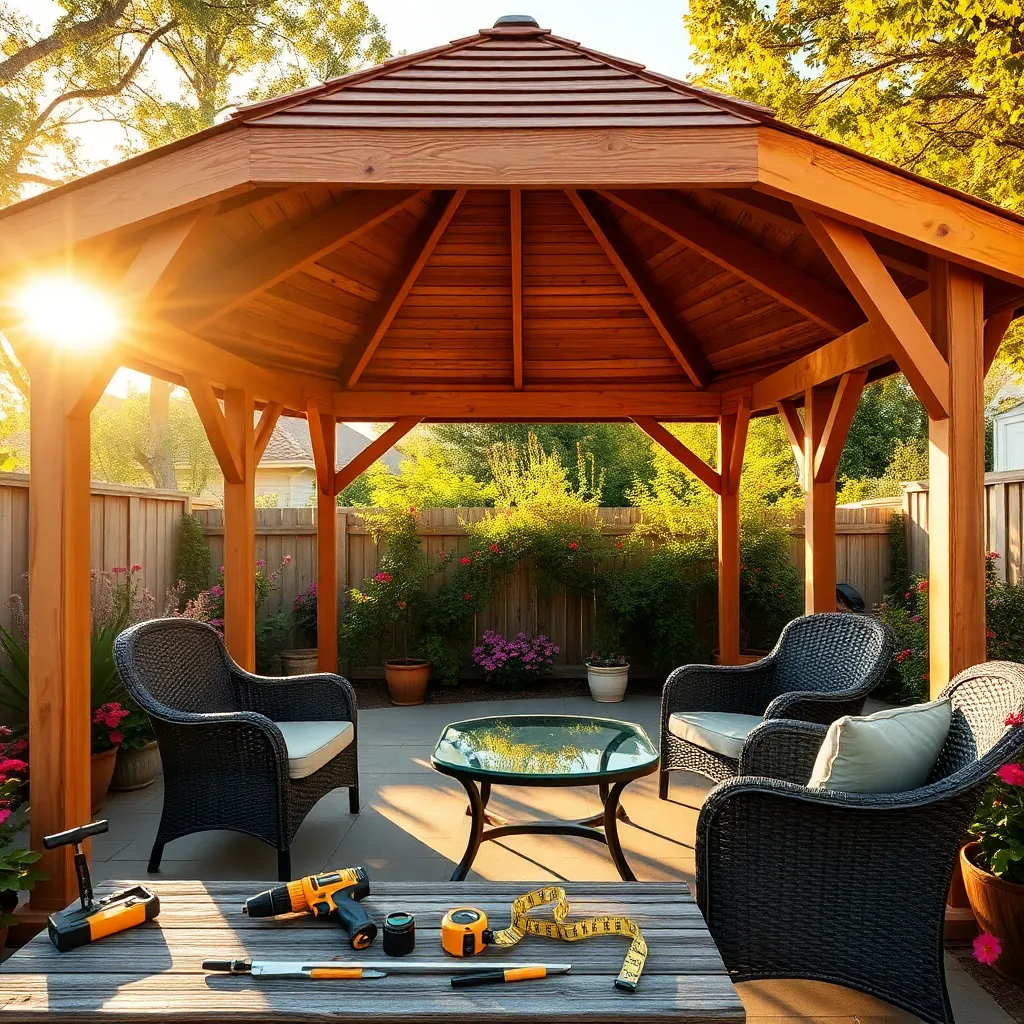
Before diving into assembling your gazebo, having the right tools on hand is crucial for a smooth and successful build. Start with the basics: a sturdy hammer, a set of screwdrivers, and a cordless drill with a variety of drill bits. Measuring tools like a tape measure and a level will ensure precision in your assembly process, helping you avoid any wonky structures. If your kit includes hardware like nuts and bolts, a socket set can be incredibly handy to have.
For those looking to add a professional touch, consider incorporating a rubber mallet to gently nudge pieces into place without causing damage. A step ladder is essential, especially for attaching the roof sections securely. To enhance stability, have a set of ground anchors or stakes ready; they are particularly useful if your gazebo is placed on soft earth. Organizing your tools in advance not only saves time but also keeps the process enjoyable and stress-free. By being well-prepared, you’ll transform your outdoor space with ease and confidence.
Step-by-Step Assembly Guide
To begin assembling your gazebo, start by laying out all included parts and ensuring you have the necessary tools ready. Most DIY gazebo kits come with pre-cut and pre-drilled components, making the assembly process more straightforward. Identify all the main components such as the roof panels, support beams, and hardware. An essential first step is to level the ground where the gazebo will sit; this will ensure stability and longevity. As you follow the kit instructions, secure each section with the provided bolts and screws, double-checking that each connection is tight and aligned.
For a more personalized touch, consider incorporating design elements like painting or staining the wood to match your outdoor decor. If your kit allows, add decorative trims or lattice to enhance the aesthetic appeal. For added comfort, install outdoor curtains or mosquito nets that can be easily attached to the structure’s frame. Pay attention to the roof assembly, as it often requires precision to ensure proper water runoff. For those looking to extend usability, consider adding solar-powered lights to illuminate your gazebo at night, making it a cozy retreat at any time.
Tips for Enhancing Gazebo Longevity
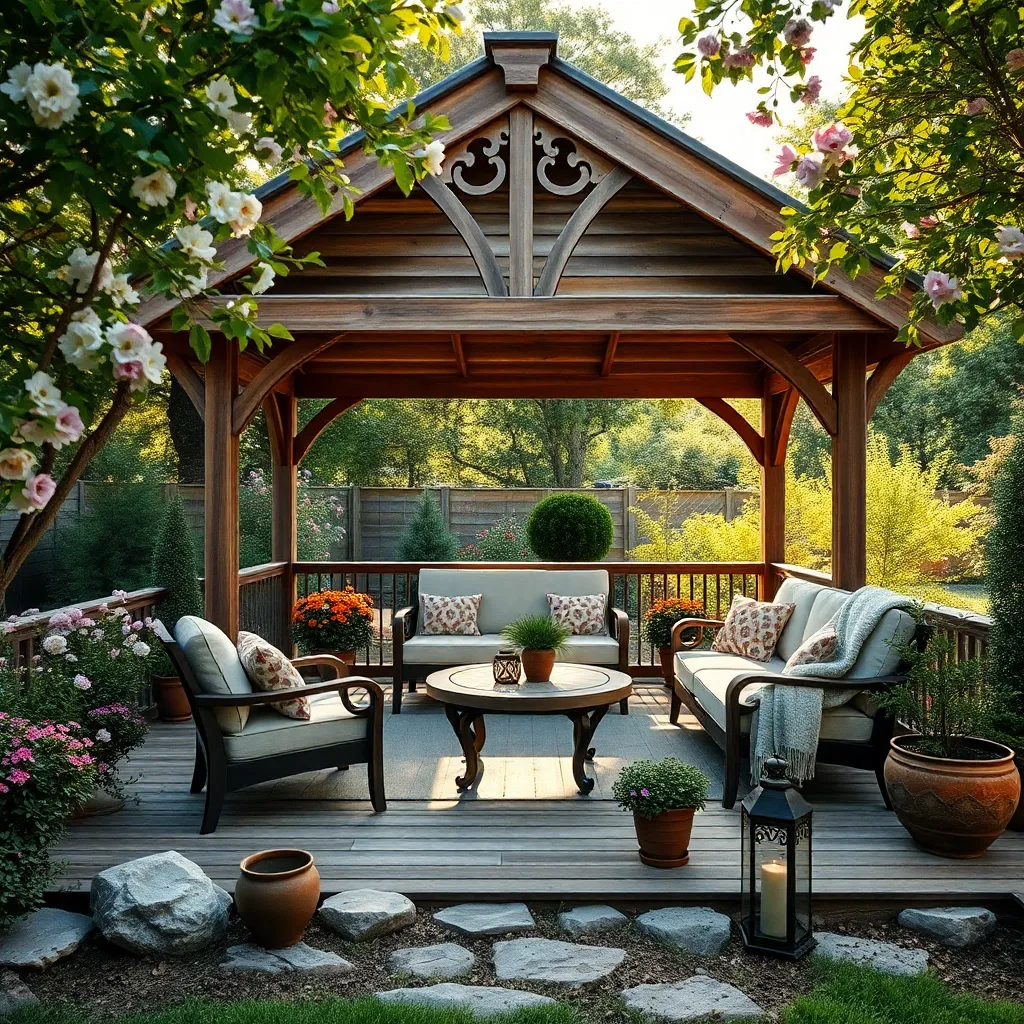
To enhance the longevity of your gazebo, focus on using durable materials and applying proper maintenance techniques. Choose weather-resistant woods like cedar or pressure-treated pine, and consider adding a protective sealant to shield the wood from moisture and UV rays. For those using metal frames, opt for powder-coated steel or aluminum to prevent rust and corrosion. Regularly inspect your gazebo for loose screws or bolts and tighten them as needed to maintain structural integrity.
Incorporating thoughtful design elements can also extend your gazebo’s lifespan. Install drainage systems or sloped roofs to prevent water accumulation, which can lead to material degradation. For added protection, use heavy-duty tarps or custom-fit covers during harsh weather conditions or the off-season. Additionally, consider adding a gutter system to efficiently channel water away from the structure. By integrating these strategies, you can ensure your gazebo remains a delightful and enduring outdoor retreat.
Conclusion: Creating Beautiful Outdoor Spaces
In exploring affordable DIY gazebo kits, we’ve uncovered five key relationship concepts that extend beyond mere construction: communication, collaboration, patience, creativity, and shared achievement. By engaging in a joint project, partners can enhance communication and strengthen collaboration skills, which are essential for any successful relationship. Additionally, patience and creativity are cultivated as each challenge is met with mutual support and innovative solutions, leading to a shared sense of achievement that bonds couples even closer.
As a practical next step, consider scheduling a weekend to explore gazebo kit options together, turning the selection process into a collaborative adventure. Begin this journey by discussing your visions and preferences, allowing for open dialogue and compromise.
To ensure these valuable insights are at your fingertips, bookmark this article for future reference. This will serve as a reminder of the powerful relationship-building opportunities that DIY projects offer.
Looking ahead, remember that the foundations you build today, both in your backyard and in your relationship, set the stage for lasting success. Embrace the journey, and watch your partnership flourish. Let’s embark on this exciting venture together—create your dream space and nurture your relationship at the same time!