
Transforming your backyard into a personal oasis doesn’t have to be a daunting task, whether you’re a DIY novice or a seasoned pro. With the rise of DIY pavilion kits, creating a stylish and functional outdoor living space has never been more accessible. These kits offer a perfect blend of convenience and creativity, allowing you to tailor your pavilion to your unique tastes and needs, while ensuring that your outdoor gatherings are both comfortable and inviting.
In this article, we’ll explore the myriad benefits of DIY pavilion kits, guiding you step-by-step through the setup process. From selecting the right materials to understanding the essential tools needed, you’ll gain the confidence and knowledge to enhance your backyard effortlessly. Whether you’re seeking a cozy nook for family dinners or a grand space for entertaining, you’ll discover how these kits can elevate your outdoor experience, making every moment under the sun—or stars—truly memorable.
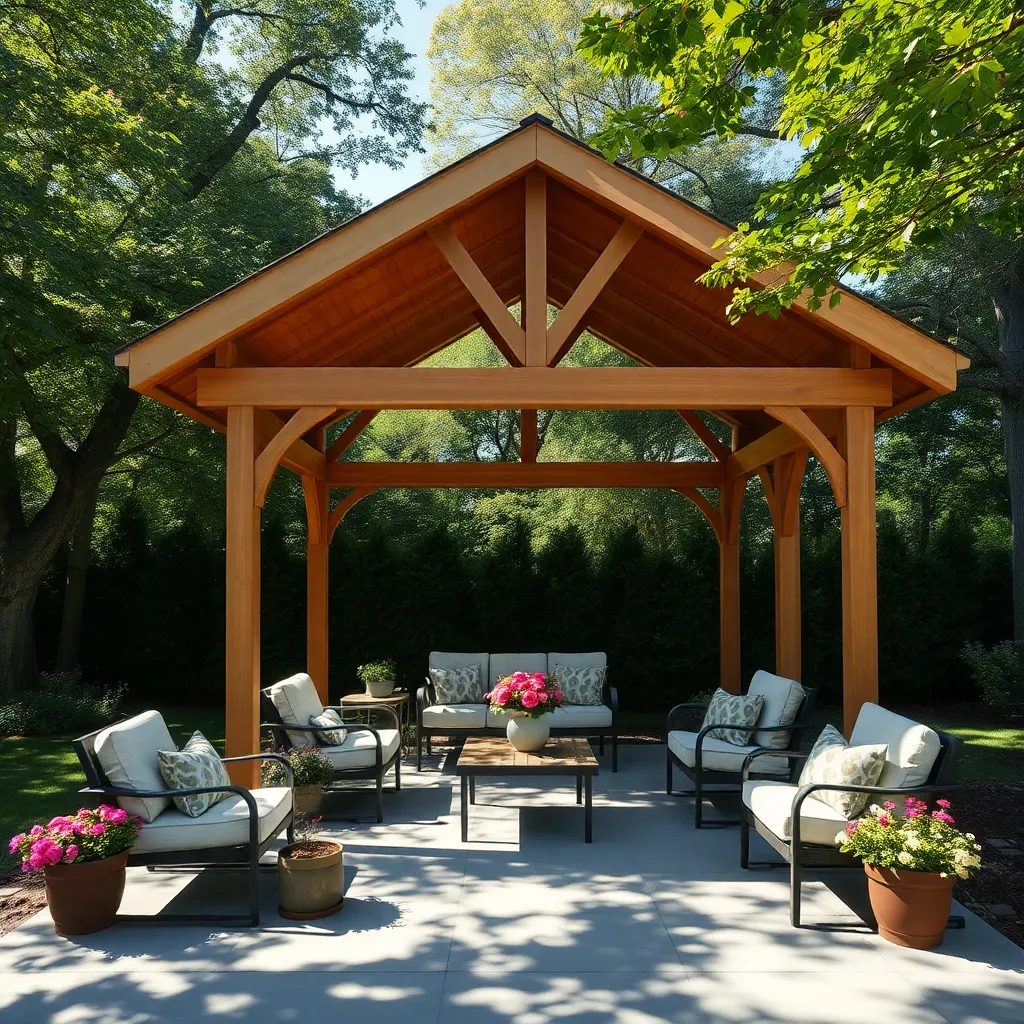
Understanding DIY Pavilion Kit Basics
When diving into DIY pavilion kits, start by familiarizing yourself with the materials and tools required for assembly. Most kits come with pre-cut and pre-drilled components, typically made from durable materials like cedar, redwood, or metal, which ensure longevity and weather resistance. For beginners, it’s crucial to have basic tools on hand, such as a power drill, a level, and a wrench set. Meanwhile, experienced builders might consider customizing their kits by incorporating additional features like lighting or mosquito netting for enhanced functionality.
Consider the design elements and dimensions that best suit your outdoor space and needs. Pavilion kits are available in various sizes, from compact 10×10 ft structures ideal for small patios to expansive 14×20 ft options suitable for larger gatherings or dining areas. Ensure the pavilion complements the existing landscape by choosing a style that matches your garden’s aesthetic, whether that’s rustic, modern, or traditional. For those looking to add a personal touch, painting or staining the structure can offer a cohesive look with other outdoor elements, while advanced DIYers might integrate custom-built seating or planters into the design.
Choosing the Right Kit Materials
When selecting materials for your DIY pavilion kit, it’s crucial to consider both durability and aesthetics. Wood, metal, and vinyl are popular choices, each offering unique benefits. Wood provides a natural, classic look but requires regular maintenance to prevent weather damage. Metal, such as aluminum or steel, offers long-lasting durability with minimal upkeep, while vinyl combines the best of both worlds, providing a maintenance-free and weather-resistant option. For a beginner, starting with a metal frame might be less intimidating due to its straightforward assembly and resilience.
For those looking to add design elements, consider the style and function of your pavilion. Integrate features like built-in benches or planters to enhance usability and aesthetics. If you aim for a more decorative touch, adding lattice panels or trellises can create a cozy, enclosed feel while supporting climbing plants. Advanced builders might explore adjustable louvers for added shade control. Ensure your kit materials include comprehensive instructions and all necessary hardware, particularly if you’re venturing into more complex design elements. This attention to detail will help you create a functional and visually appealing outdoor retreat.
Step-by-Step Pavilion Assembly Guide
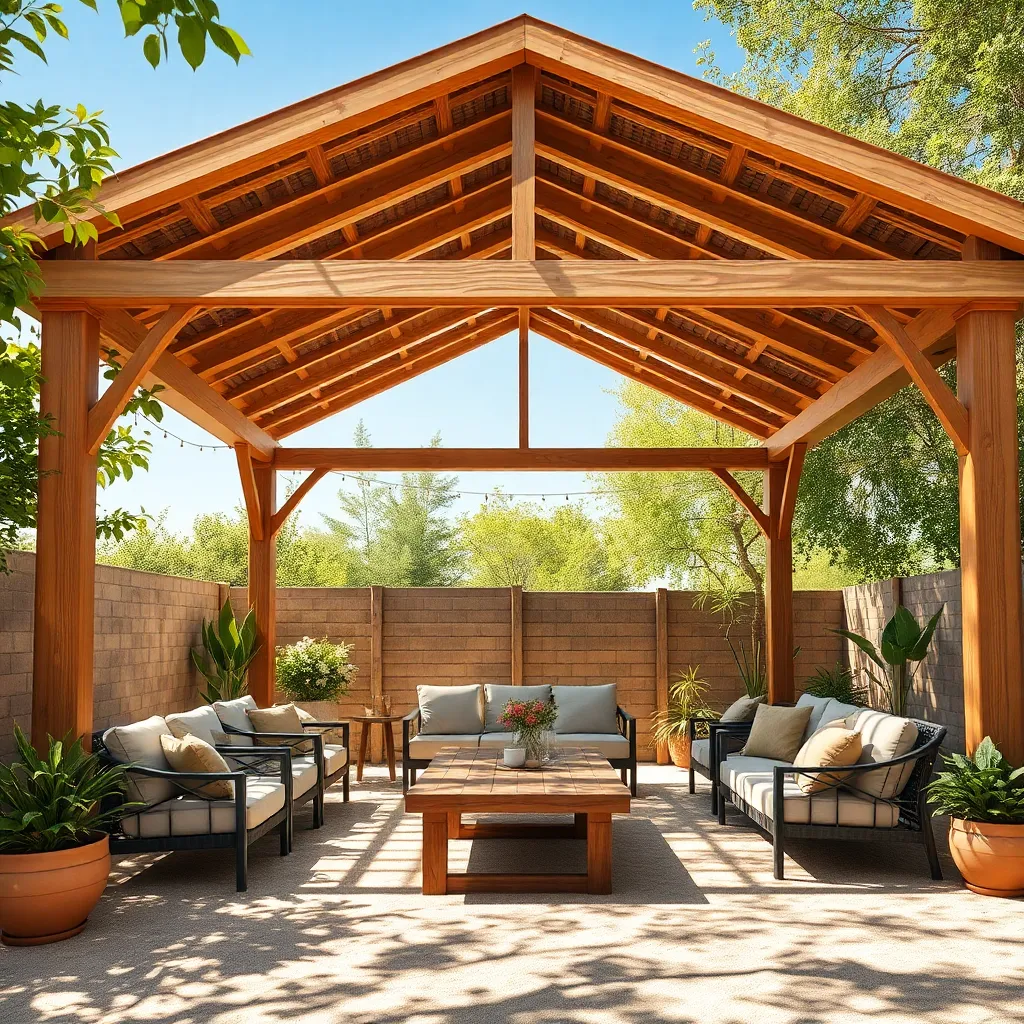
Starting your pavilion assembly requires a clear plan and the right tools. Ensure you have a level site prepared with adequate drainage to prevent water pooling. For a secure foundation, consider using concrete footings or ground anchors to stabilize the structure, especially in areas prone to high winds. Basic tools like a drill, wrench set, and tape measure are essential, but a laser level can help ensure precision for those seeking a professional finish.
As you begin assembling your pavilion, follow the kit instructions carefully, laying out each piece to identify and organize components. Use stainless steel screws and bolts to prevent rust, ensuring longevity and safety. For added stability, cross-bracing is recommended in the roof structure, particularly for larger pavilions. Beginners should focus on assembling the frame first, while more experienced builders might enhance their design by incorporating decorative elements like lattice panels or integrated lighting. Remember, patience and precision are key to a successful build.
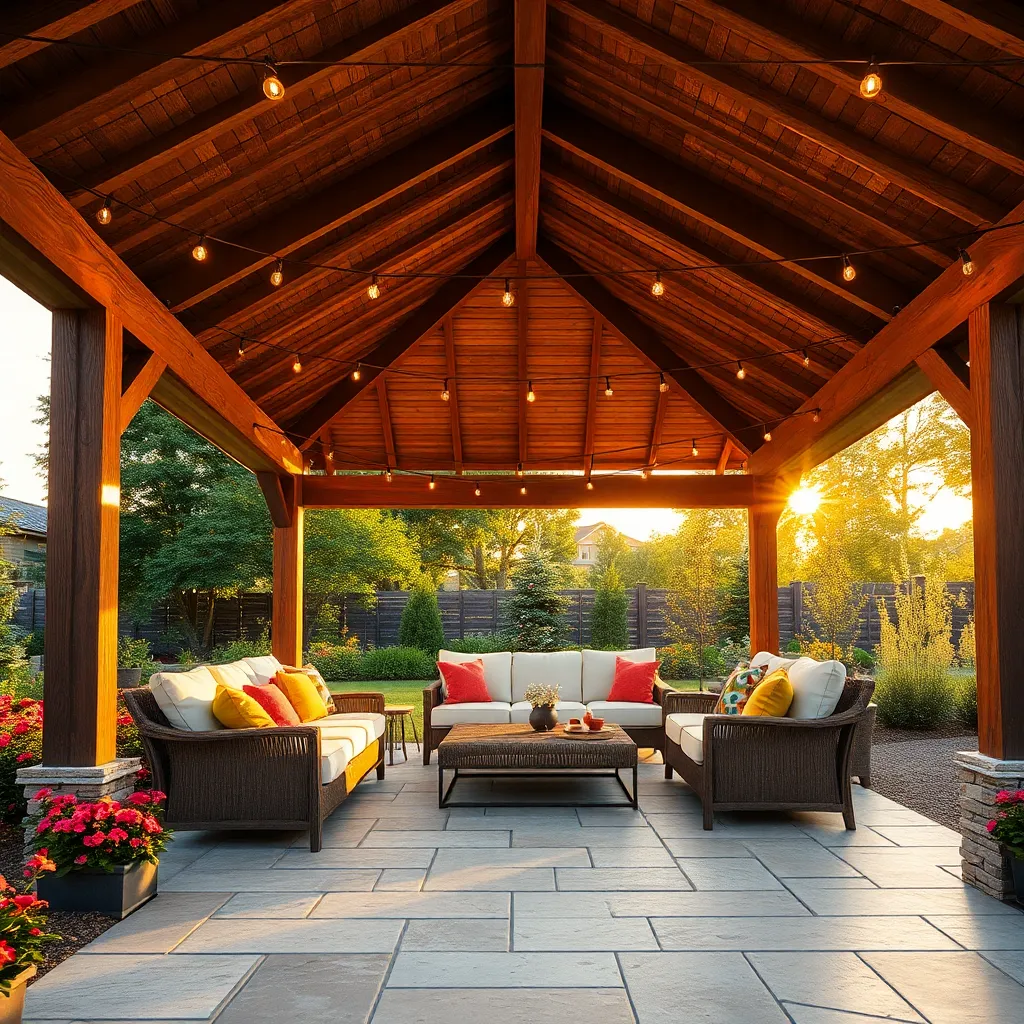
Customizing Your Pavilion for Style

Customizing your pavilion to reflect your personal style can be both exciting and straightforward. Start by choosing the right materials; consider using weather-resistant wood like cedar or pressure-treated pine for a natural look, or opt for aluminum for a sleek, modern finish. To add flair and functionality, incorporate features like decorative post caps or integrated lighting. Beginners might start with simple string lights, while advanced DIYers can install recessed LED fixtures for a polished effect.
Enhance your pavilion’s ambiance with thoughtful design elements. Think about adding curtains or shades to control sunlight and create a cozy atmosphere. Select fabrics that are UV-resistant and water-repellent for longevity. For those looking to elevate their space, consider installing a built-in bench or a stone fire pit nearby for warmth and social gatherings. Remember, the key to a stunning pavilion is balancing aesthetics with practical features tailored to your lifestyle and climate.
Maintenance Tips for Long-Lasting Use
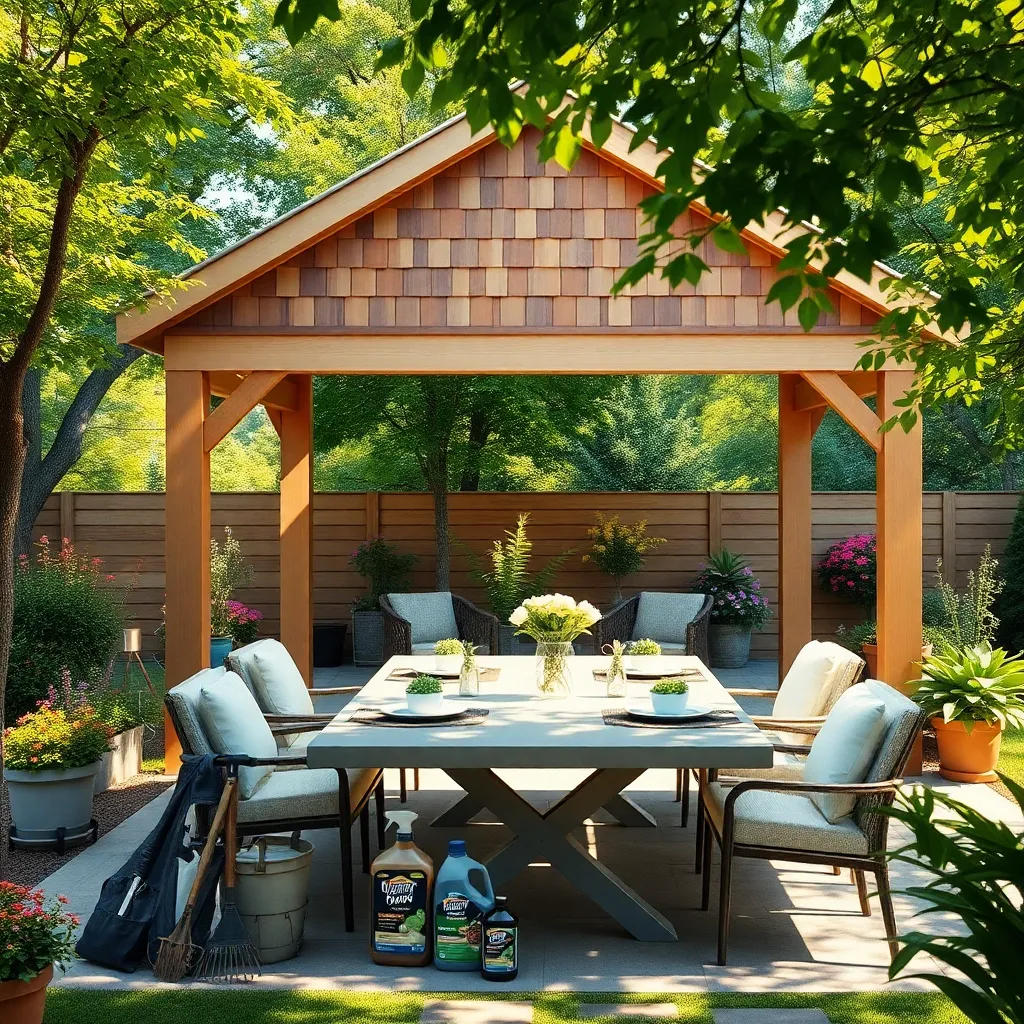
To ensure your DIY pavilion remains sturdy and attractive, regular maintenance is essential. Start by inspecting your pavilion monthly for any signs of wear or damage, particularly after inclement weather. Tighten loose bolts and screws to maintain stability, and apply a protective sealant to wooden components every six months to prevent moisture damage. For metal structures, check for rust spots and treat them promptly with rust-resistant paint.
Considering the longevity of your pavilion, pay attention to its foundation. Keep the ground beneath free from debris and ensure proper drainage to avoid water accumulation, which can lead to structural issues. Use quality materials like weather-resistant fabrics for any curtains or coverings, as these not only enhance aesthetics but also offer additional protection. By integrating these maintenance routines, your pavilion will serve as a long-lasting outdoor retreat.
Conclusion: Creating Beautiful Outdoor Spaces
In exploring the world of DIY pavilion kits, we’ve uncovered five key relationship concepts that can strengthen your bond while creating a cherished outdoor space. First, communication is essential; discussing your vision and preferences ensures a unified approach. Second, teamwork enhances cooperation, as dividing tasks according to strengths bolsters efficiency and satisfaction. Third, patience is crucial; understanding that challenges will arise helps maintain harmony. Fourth, celebrating small victories together fosters positivity and reinforces your partnership. Lastly, adaptability allows you to navigate unforeseen obstacles, making your relationship and project more resilient.
To put these concepts into action, start by planning a weekend to begin your pavilion project. Embrace the opportunity to work collaboratively, and remember to communicate openly throughout the process. For future reference, bookmark this article so you can revisit these insights as your relationship evolves.
Looking ahead, remember that the skills you cultivate while working on your DIY pavilion will serve as a foundation for long-term relationship success. Embrace this journey as a chance to grow together, and let this shared experience enrich your connection. Save this guide and revisit it as a reminder of the power of collaboration and love.