
Imagine stepping into your backyard and being greeted by the warm embrace of a rustic shelter, lovingly crafted with your own two hands. Whether you’re a seasoned DIY enthusiast or a curious beginner, transforming your outdoor space into a cozy retreat is more achievable than you might think. Embracing the charm of rustic design not only enhances the aesthetic of your backyard but also creates a welcoming haven for relaxation and entertainment.
In this article, we’ll guide you through the essentials of building your own rustic shelter, offering practical tips and creative ideas tailored for every skill level. From selecting the perfect materials to incorporating personal touches that reflect your style, you’ll discover how to infuse your backyard with character and comfort. Let’s embark on this rewarding journey together and turn your outdoor space into an inviting extension of your home.
Choosing Rustic Building Materials
When selecting materials for a rustic outdoor shelter, consider using natural elements like wood, stone, and bamboo, which blend seamlessly into the garden environment. Cedar and pine are excellent choices for wood due to their durability and natural resistance to pests and decay. For those looking to create more visual interest, incorporating reclaimed wood or weathered barn boards can add character and a touch of history to your structure.
For a sturdy and rustic foundation, consider using natural stone or flagstone, which not only provides a solid base but also enhances the aesthetic appeal. You can also integrate materials like corrugated metal roofing for a rustic yet industrial look, offering great protection against the elements. Advanced builders might experiment with combining these materials in creative ways, such as using woven bamboo panels for partial walls to create an inviting, cozy space that naturally ventilates while offering shade.
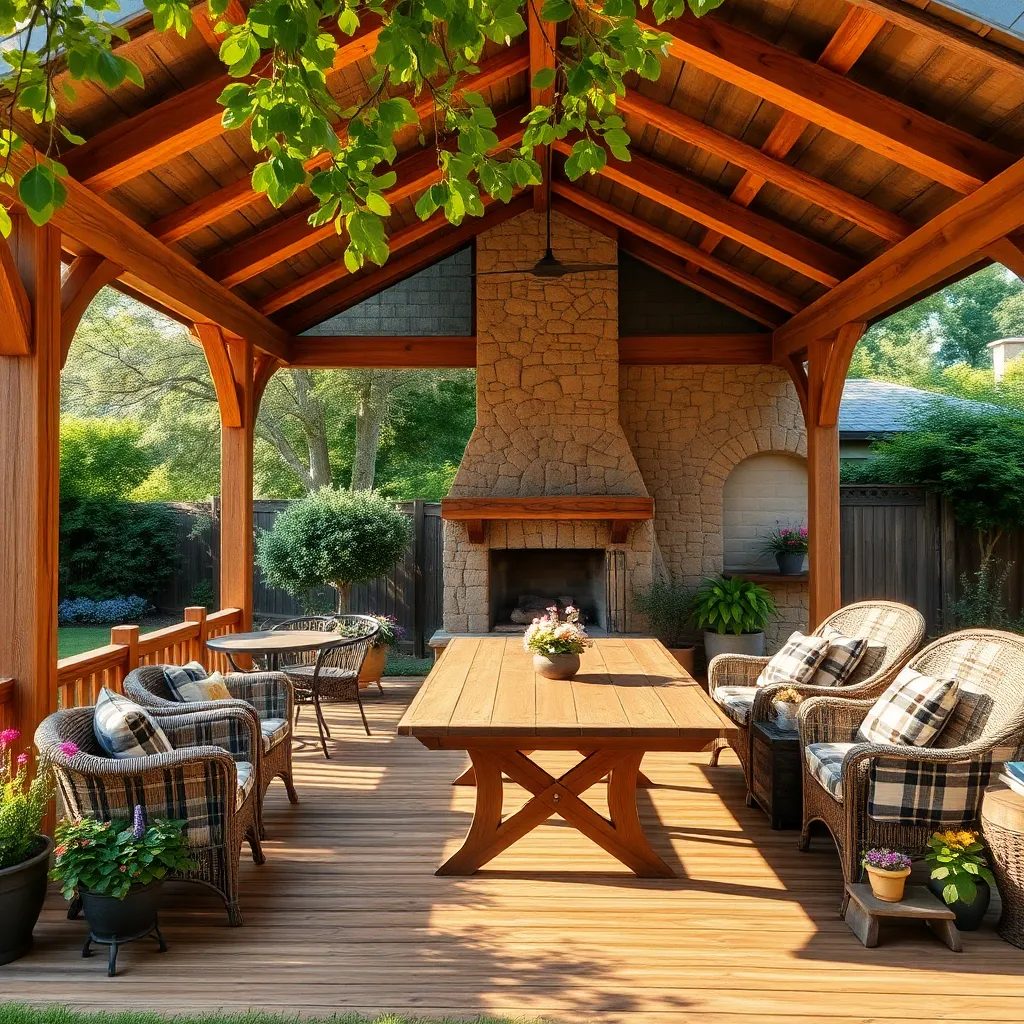
Designing Cozy Shelter Interiors
To create a cozy interior in your rustic shelter, focus on using natural materials that complement the outdoor environment. Start by laying a foundation with weather-resistant rugs or mats made from durable fibers like jute or sisal to provide warmth and texture underfoot. Wooden furniture with a weathered finish not only enhances the rustic charm but is also practical for outdoor use. Consider adding a small table and chairs, ideally crafted from reclaimed wood, for a sustainable yet stylish touch.
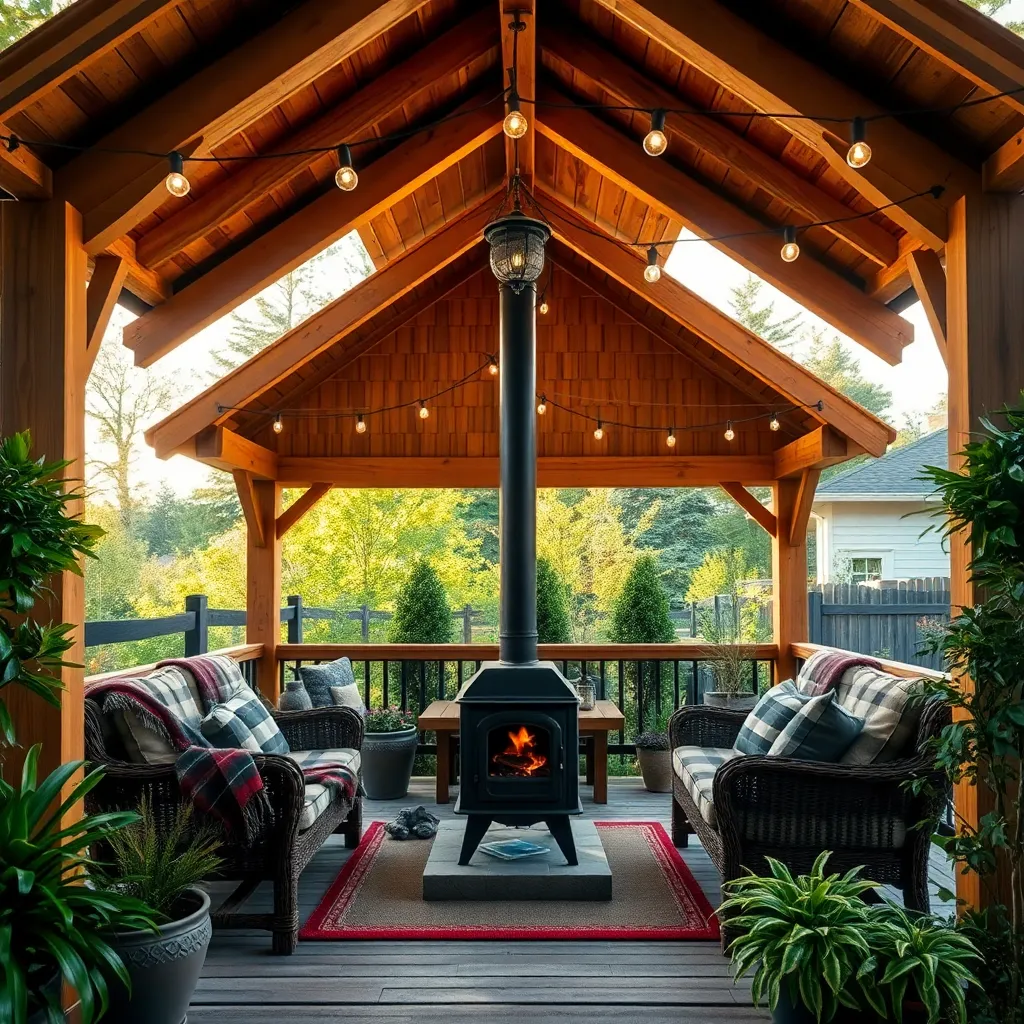
Incorporate soft furnishings to make the space inviting and comfortable. Opt for cushions and throw blankets in earthy tones and rugged fabrics like canvas or wool to match the rustic theme. String lights or lanterns can enhance the ambiance, offering both functionality and a warm glow as the sun sets. For those seeking advanced touches, install a small wood-burning stove or portable heaters to extend the use of the shelter into cooler months, ensuring a snug retreat year-round.
Constructing Sturdy Outdoor Frameworks
When constructing sturdy outdoor frameworks, start by selecting the right materials to ensure longevity and resilience. Cedar and pressure-treated wood are excellent choices due to their natural resistance to rot and insects. For a standard rustic shelter, consider using posts that are at least 4×4 inches in size to provide a robust structure, with a height of around 8 feet to allow ample headroom. Secure the posts into the ground using concrete footings, which adds stability and helps withstand harsh weather conditions. This foundational setup is crucial for both beginners and experienced DIYers aiming for a reliable structure.
Next, focus on the framework’s design to create both aesthetic appeal and structural integrity. Incorporate cross-bracing between the posts using 2×4 or 2×6 boards to enhance strength and prevent swaying. For a rustic touch, consider using reclaimed wood or logs for unique design elements. Roof your shelter with durable materials such as corrugated metal or asphalt shingles, ensuring a pitch of at least 15 degrees for effective water runoff. For those looking to add personal flair, consider integrating decorative elements like wooden corbels or carved details. These steps not only enhance the shelter’s appearance but also ensure it stands the test of time.
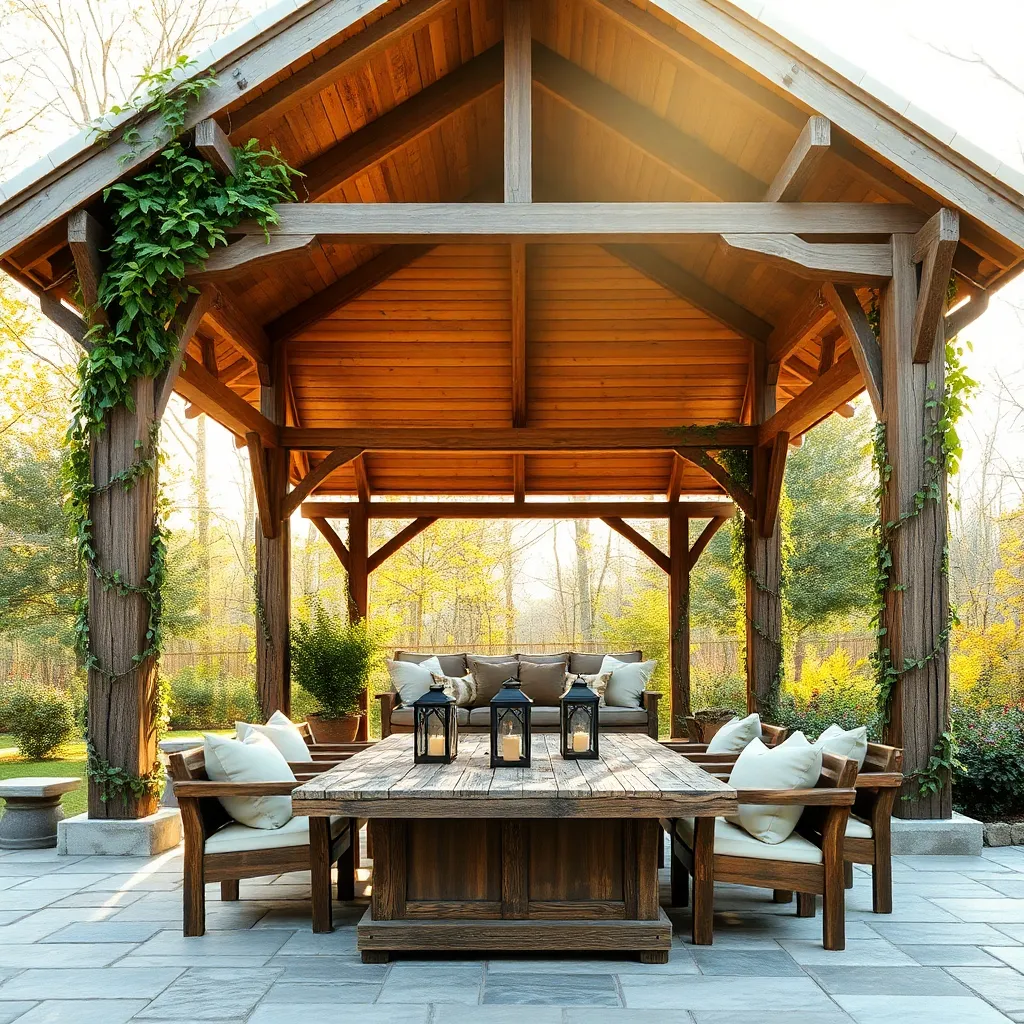
Enhancing Shelters with Natural Decor

To truly make your rustic shelter blend seamlessly with nature, consider incorporating natural decor elements. Use materials like driftwood, river stones, and reclaimed wood to craft rustic accents such as benches or tabletops. Beginners can start by weaving vines or twigs into the shelter’s frame, creating a natural tapestry that enhances its rustic charm. This approach not only beautifies the structure but also adds an organic touch that makes the shelter feel like a natural extension of your backyard.
For those looking to add a touch of sophistication, consider installing wooden planters around the shelter. Fill these with a mix of seasonal flowering plants and hardy evergreens to create a lush, inviting atmosphere. Advanced gardeners might even try hanging planters or vertical gardens using pallets or repurposed ladders for added greenery. Ensure that all decorative elements are securely fastened to withstand outdoor conditions, using weather-resistant screws or nails to prolong the life of your enhancements.
Maintaining Your DIY Rustic Shelter
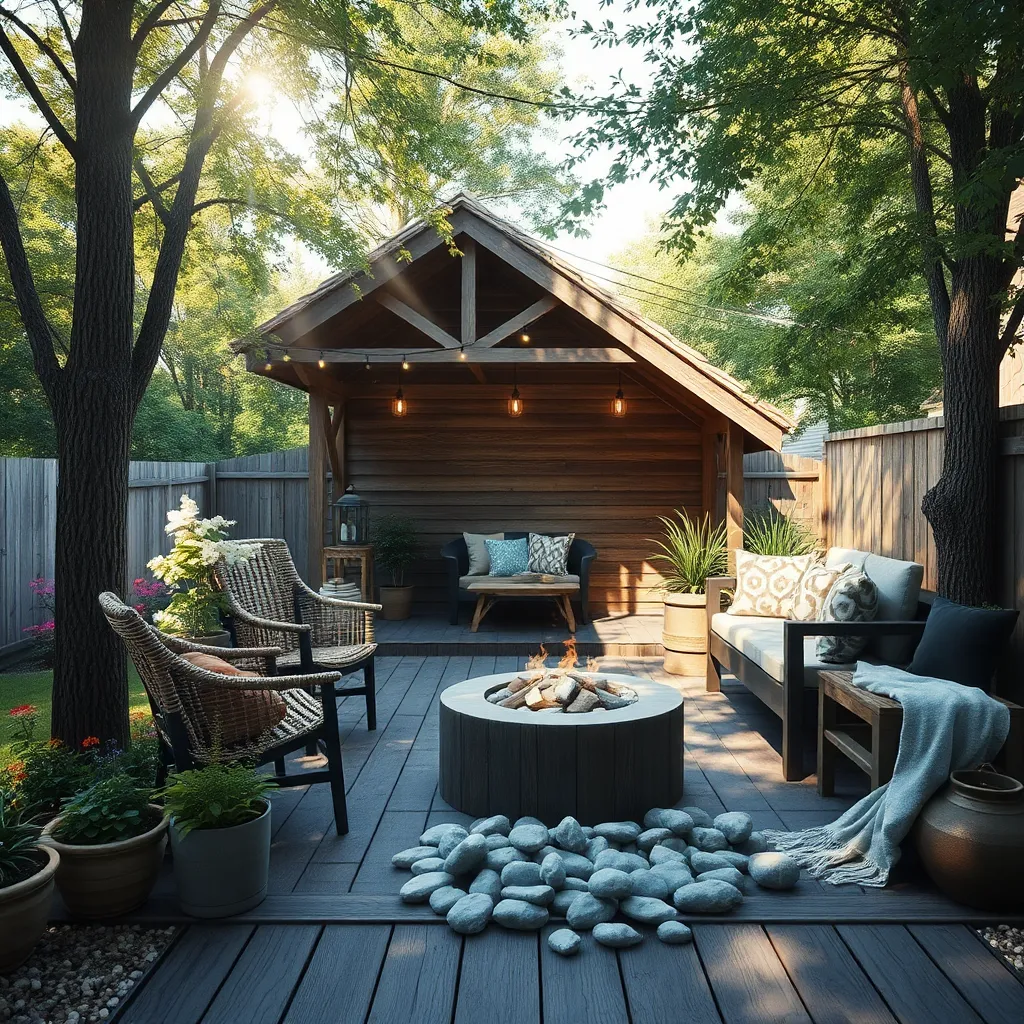
To keep your DIY rustic shelter looking its best, start by routinely inspecting the structure for any signs of wear or damage. Check for loose nails, rotting wood, or rust on metal components, and address these issues promptly to prevent further deterioration. For wood shelters, applying a weather-resistant sealant annually can protect against moisture and extend the life of the materials. Beginners can focus on basic maintenance, while more experienced DIYers might consider enhancing their shelter with additional support beams or decorative elements like reclaimed wood accents.
Maintaining your shelter’s aesthetic appeal is just as important as its structural integrity. Regularly clean the surfaces to prevent the buildup of dirt and mildew, using a gentle soap and water solution. To add a personal touch, consider hanging outdoor-friendly textiles or string lights that complement the rustic theme. Choose weatherproof materials like treated canvas or LED lights to withstand various weather conditions. For those looking to refine their design, incorporating natural elements such as a pebble pathway or potted plants can seamlessly integrate the shelter into your backyard landscape.
Conclusion: Creating Beautiful Outdoor Spaces
In embarking on the journey of building DIY rustic shelters, we’ve uncovered five pivotal relationship concepts: collaboration, communication, patience, creativity, and quality time. Each step in crafting these cozy backyard havens mirrors the essential components of nurturing a thriving relationship. By working together and embracing open dialogue, couples can transform challenges into opportunities for growth. The patience exercised in construction translates to understanding each other’s pace in life. Creativity fuels not only unique designs but also fresh approaches to resolving conflicts. Most importantly, these projects are a conduit for shared experiences and quality time, strengthening the bonds that tie us together.
As your next actionable step, set aside a weekend to plan and begin your rustic shelter project, prioritizing each other’s ideas and input. Let this be the foundation for deeper connections and shared achievements. To ensure these valuable insights remain at your fingertips, bookmark this article for guidance and inspiration as you continue to build not just shelters, but the framework of a loving partnership.
Remember, the success of your relationship lies in the continuous effort to build and nurture it, much like the shelters you create. Embrace this journey with optimism and watch your relationship flourish in the cozy sanctuary you’ve crafted together.