
Creating a backyard pavilion from scratch is like opening a gateway to endless outdoor enjoyment, where sunny afternoons and starlit evenings become cherished memories. Whether you’re a seasoned DIY enthusiast or a homeowner eager to embark on your first big project, building a pavilion can transform your outdoor space into a personal retreat. This project isn’t just about construction; it’s about crafting an oasis that reflects your style and meets your needs.
In this guide, you’ll discover step-by-step instructions tailored for all skill levels, ensuring every reader feels empowered to bring their vision to life. We’ll delve into selecting the right materials, understanding structural design, and adding finishing touches that make your pavilion uniquely yours. By the end, you’ll not only have the knowledge to build a sturdy and beautiful structure but also the confidence to make your backyard a true extension of your home.
Choose Perfect Pavilion Location
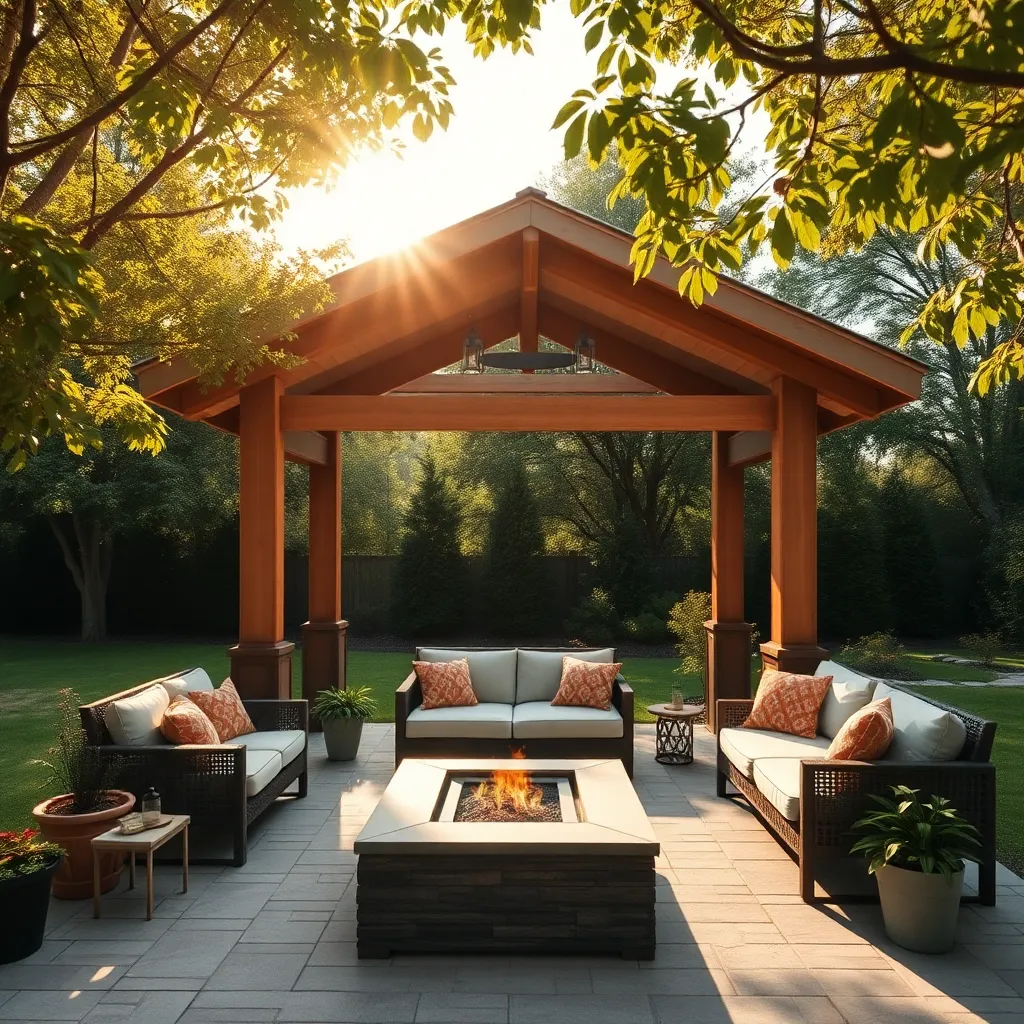
When choosing the perfect location for your backyard pavilion, consider areas that offer a balance of sunlight and shade throughout the day. Assess the terrain to ensure it’s level and has good drainage, which will prevent water from pooling under your structure. Ideally, place your pavilion where it can serve as a focal point in the garden or near existing entertainment areas like patios or pools for easy access and visual continuity.
For materials, opt for weather-resistant options like cedar or pressure-treated lumber, which are both durable and attractive. Ensure the pavilion’s footprint aligns with the intended use—a cozy 10×10 feet for intimate gatherings, or a more spacious 12×16 feet for larger parties. Advanced gardeners might consider integrating elements like built-in seating or a fire pit, creating a functional, inviting space that extends your living area outdoors.
Design Pavilion Blueprint and Layout
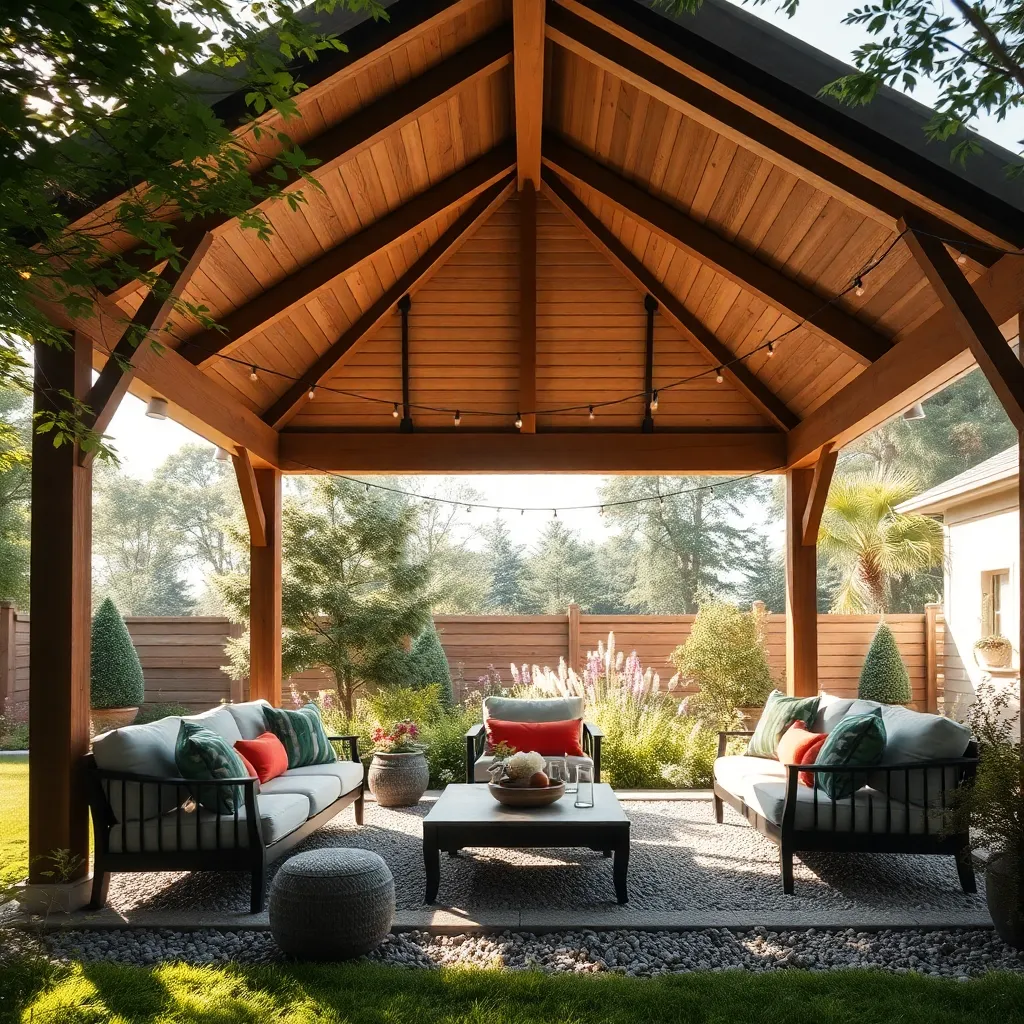
When designing your backyard pavilion, start by sketching a basic blueprint that outlines the structure’s dimensions and style. Consider a rectangular design, as it’s both simple and versatile, typically measuring around 10×12 feet, which balances space and functionality. Use durable, weather-resistant materials like cedar or redwood for the frame, ensuring longevity. For a touch of elegance, incorporate design elements like a gabled roof and decorative brackets. These not only add visual appeal but also provide additional shade and protection from the elements.
Incorporate practical features into your layout, such as built-in seating or a stone or brick patio floor, which enhances durability and ease of maintenance. For advanced builders, consider adding electrical outlets to support lighting and outdoor appliances, making the pavilion more versatile for evening gatherings. Ensure the layout includes ample ventilation and natural lighting by strategically placing openings or installing skylights. By combining functionality with aesthetic touches, you create a welcoming space that serves as both a retreat and a focal point in your backyard.
Gather Essential Building Materials

Once you have your blueprint ready, it’s time to gather the essential building materials for your backyard pavilion. Start with **pressure-treated lumber** for the frame, which ensures durability and resistance to weather elements. You will need **4×4 or 6×6 posts** for the main supports, depending on the pavilion’s size and height. For the roof, consider using **corrugated metal sheets** or **cedar shingles** for a classic look. Ensure you also have **concrete mix** for setting the posts securely into the ground. Having these materials on hand before starting will streamline the building process and help avoid unnecessary delays.
In addition to the primary materials, you’ll need a few essential tools and fixings. Make sure you have a **power drill**, **saw**, and **measuring tape** to complete your pavilion project accurately. Use **galvanized screws** and **bolts** for all joints and connections to prevent rust and provide added strength. For those seeking a more advanced touch, consider integrating **decorative trims** or **pre-stained wood** to enhance the pavilion’s aesthetic appeal. These details not only add visual interest but also increase the structure’s longevity, making your backyard pavilion both functional and beautiful.
Construct Sturdy Pavilion Framework
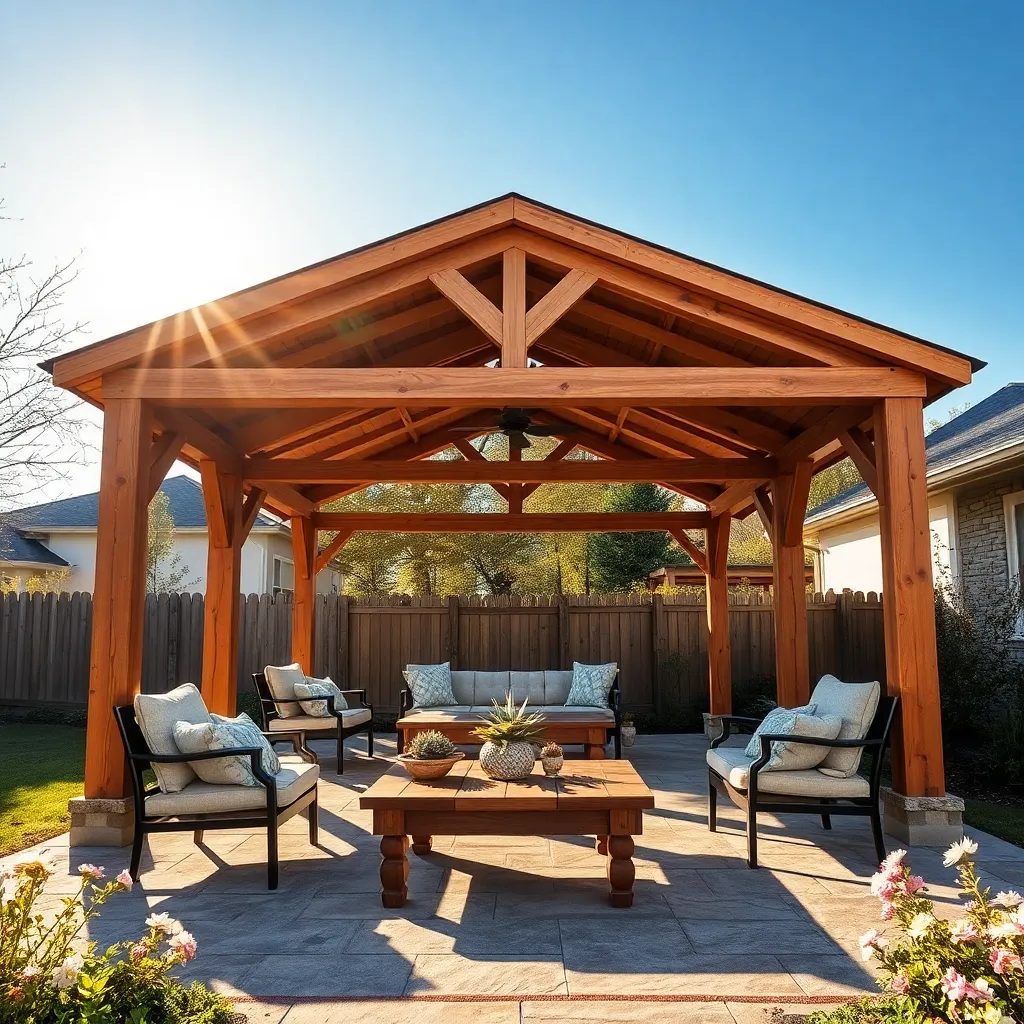
To construct a sturdy pavilion framework, start by selecting durable materials such as pressure-treated lumber or cedar, known for their weather resistance and longevity. Use 4×4 or 6×6 posts for the vertical supports, ensuring they are set at least three feet deep into concrete footings to withstand wind and other elements. Accurate measurements are crucial; a typical pavilion might span 12×12 feet, but adjust dimensions to suit your space and needs.
Consider adding cross-bracing between posts for added stability, especially if you live in a windy area. For the roof, use galvanized steel connectors to attach beams and rafters securely, and opt for a gentle slope to allow rain runoff. For advanced builders, incorporating decorative trusses can enhance the aesthetic while maintaining structural integrity. Remember, a well-constructed framework is the backbone of your pavilion, supporting both the roof and any future enhancements.
Install Roof and Decorative Elements
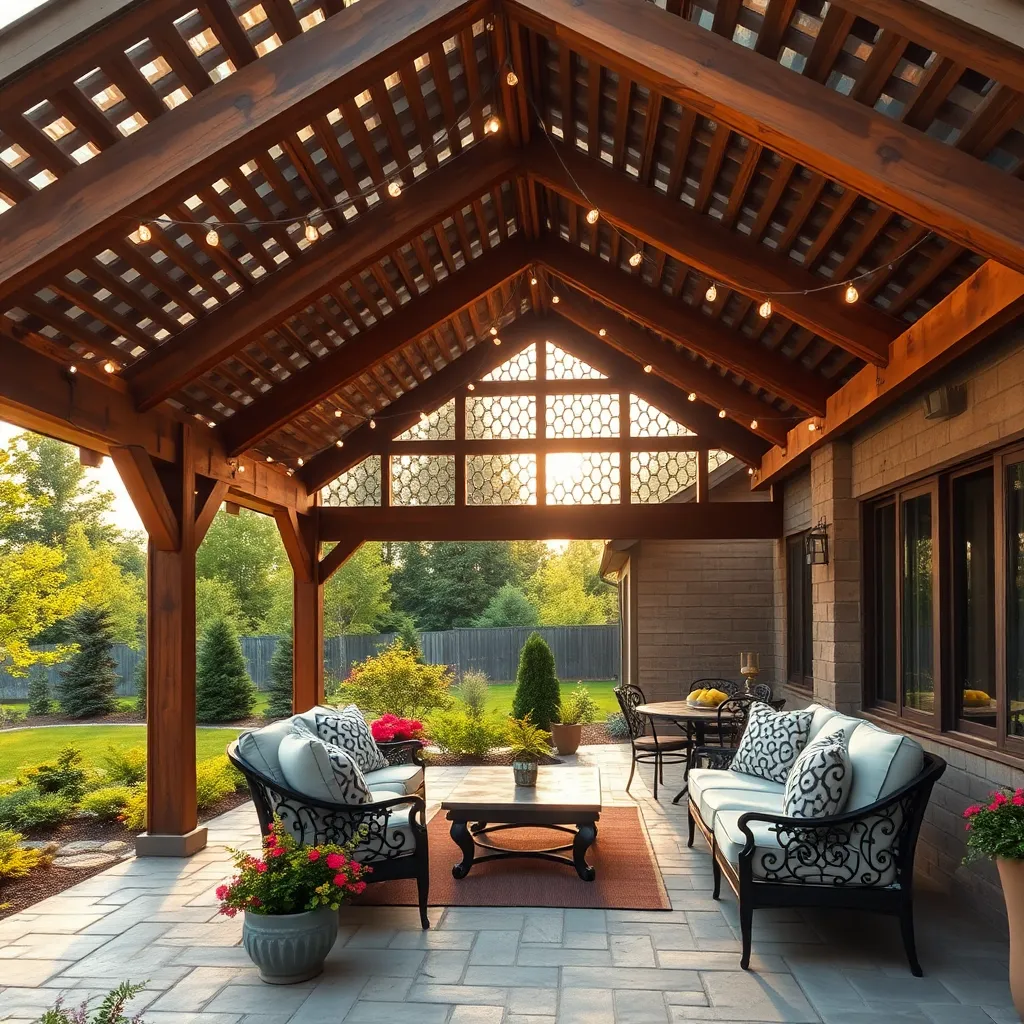
Once your pavilion framework is in place, the next step is to install the roof. Choose roofing materials that complement your backyard’s aesthetic while providing durability. Options like metal sheets, shingles, or polycarbonate panels work well for various climates. Ensure the roof has a slight slope to allow rainwater drainage, typically a 15-degree angle works well. For a standard pavilion size of 12×12 feet, you’ll need about 144 square feet of roofing material.
To add charm and personality, consider incorporating decorative elements. You can adorn the pavilion with hanging planters or string lights for ambiance. If you’re more experienced, consider adding intricate woodwork or lattice panels for an elegant touch. Weather-resistant materials like cedar or treated pine are excellent choices for these decorative features. Additionally, painting or staining these elements can enhance their look and longevity, ensuring your pavilion remains a delightful backyard retreat.
Conclusion: Creating Beautiful Outdoor Spaces
In building a backyard pavilion, you’ve also laid the foundation for nurturing stronger relationships. Throughout this article, we’ve explored five key concepts: the importance of shared goals, the art of compromise, the value of patience, the joy of collaboration, and the strength of trust. Each of these elements is as crucial in constructing a pavilion as they are in building lasting relationships. Now, take the first step in reinforcing these concepts by planning a collaborative project with your loved ones—be it a small garden, a new recipe, or a simple DIY task.
As you embark on this journey, remember to save or bookmark this article for future reference. Having a blueprint at your fingertips can serve as a steady guide whenever you need to reinforce these relationship-building blocks.
Looking ahead, know that by investing in these foundational practices, you’re setting the stage for relationship success that will stand the test of time. Embrace the empowerment that comes from knowing you have the tools to nurture connections that are as enduring and beautiful as any pavilion. Now, go forth and build both structures and relationships that you can cherish forever.