
Imagine transforming your backyard into a serene haven with a wooden pergola that you’ve crafted yourself. Whether you’re a beginner ready to embrace a rewarding DIY project or a seasoned homeowner looking to add a touch of elegance to your outdoor space, building your own pergola is both a practical and fulfilling endeavor. With the right guidance, you can create an inviting structure that not only enhances the beauty of your garden but also provides a charming spot for relaxation or entertaining guests.
In this article, we’ll guide you through the entire process of constructing a wooden pergola, from selecting the right materials to mastering the essential techniques. You’ll discover tips that make the task manageable regardless of your skill level, ensuring a smooth experience from start to finish. By the end, you’ll have the knowledge to confidently build a pergola that reflects your style and enriches your outdoor living experience.
Choose Pergola Design and Size
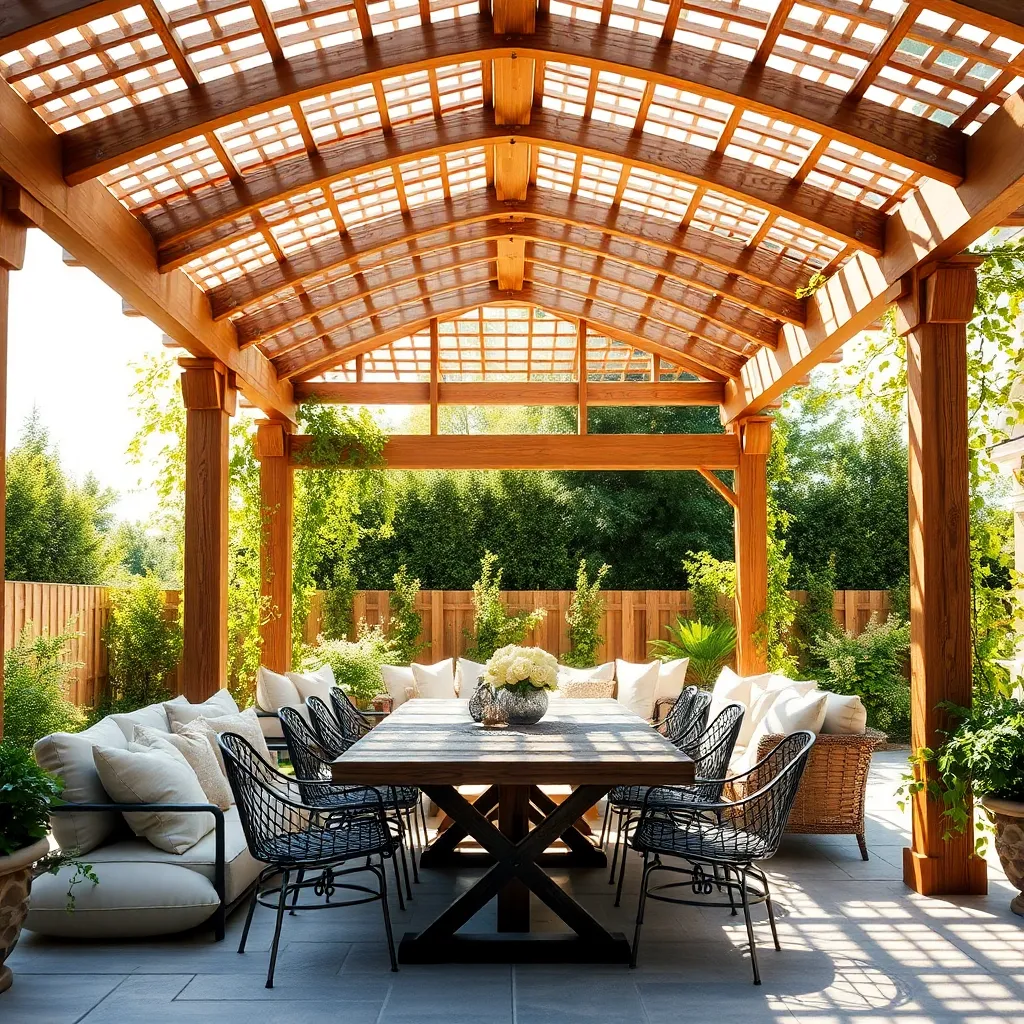
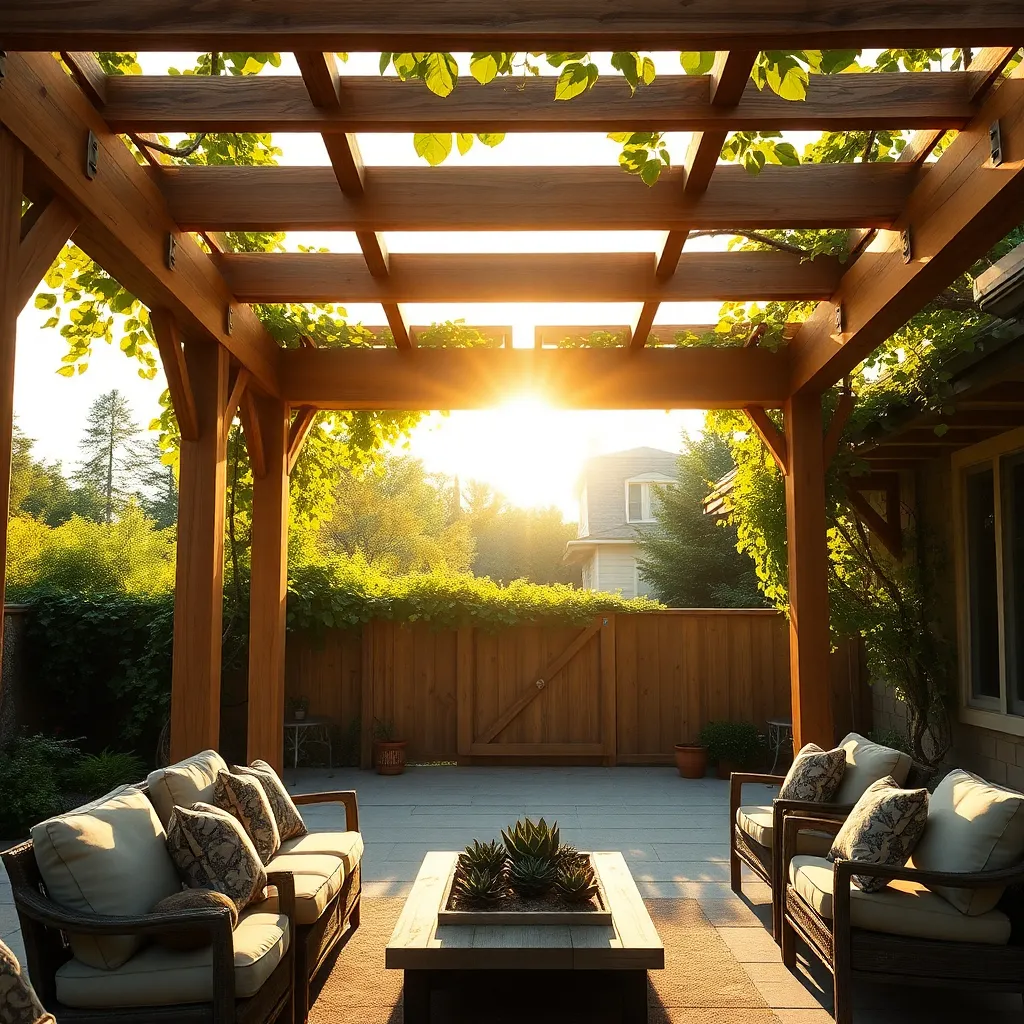
When choosing a pergola design, consider the primary purpose it will serve in your outdoor space. If you desire a shaded retreat, opt for a design with a more substantial overhead lattice or even a retractable canopy. For a more aesthetic focus, a pergola with decorative elements such as curved beams or intricate end cuts can enhance your garden’s visual appeal. Regardless of the style, ensure you use durable materials like pressure-treated wood or cedar to withstand various weather conditions.
Determining the right size for your pergola involves assessing the available space and the intended use. A small yard may benefit from a compact 8×8-foot pergola, providing an intimate setting without overwhelming the area. For larger gatherings or more versatile use, consider a 12×16-foot structure which offers ample room for furniture and movement. Ensure there’s at least a foot of clearance from any surrounding structures or foliage to prevent overcrowding and facilitate easy maintenance. Always double-check local building codes and permits to ensure compliance with regulations.
Gather Essential Building Materials
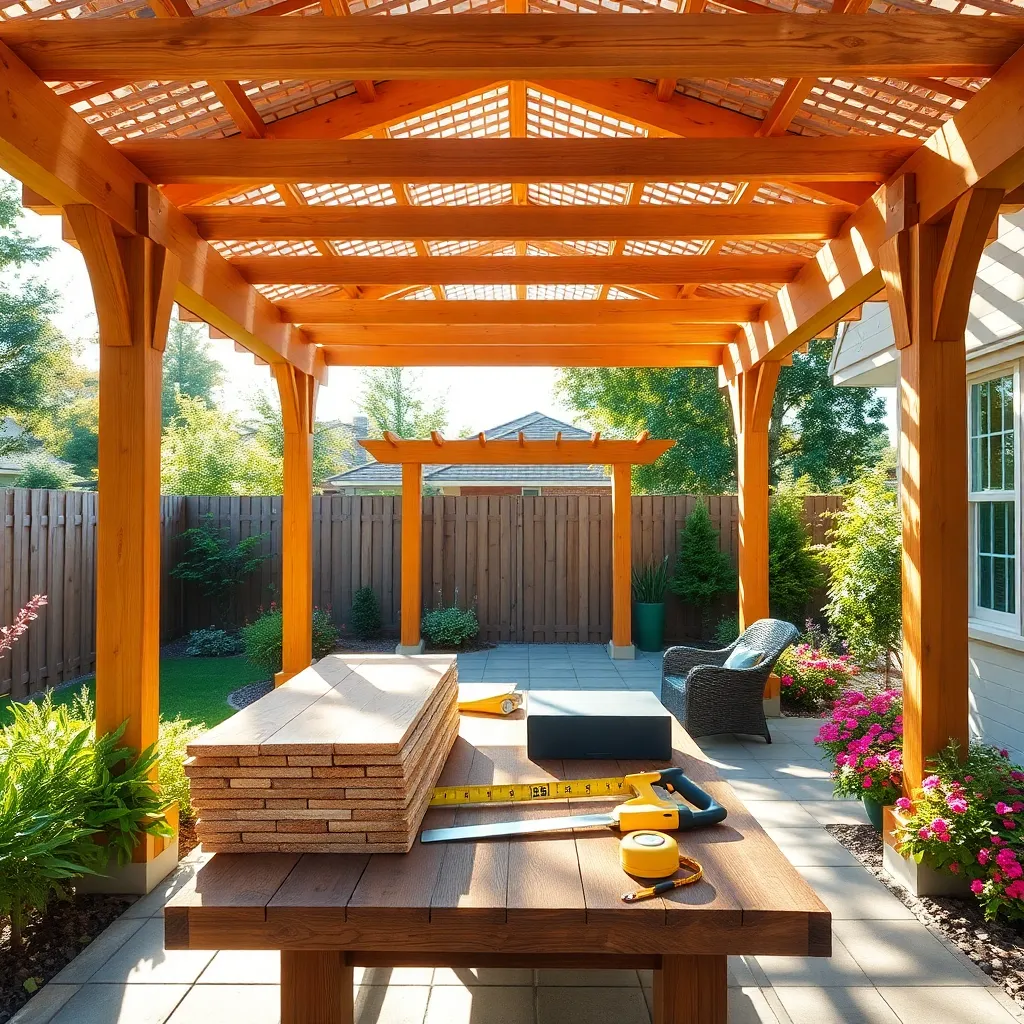
Before diving into construction, it’s crucial to gather the right materials for your DIY pergola. Start with selecting high-quality wood such as pressure-treated pine, cedar, or redwood, which are both durable and resistant to weather conditions. You’ll need posts (typically 4×4 or 6×6), beams, and rafters (usually 2×6 or 2×8), which will form the framework of your pergola. Don’t forget galvanized screws and brackets for secure assembly, as these resist rust and provide lasting stability.
For a polished finish, consider adding some design elements to enhance your pergola’s aesthetic appeal. Use shade cloth or climbing plants like wisteria or jasmine to offer both beauty and protection from the sun. If you’re feeling ambitious, incorporate lattice panels or decorative post caps for a more sophisticated look. Remember, precise measurements and cutting are vital, so invest in a good saw and measuring tools to ensure accuracy and professional results.
Prepare Ground and Mark Layout
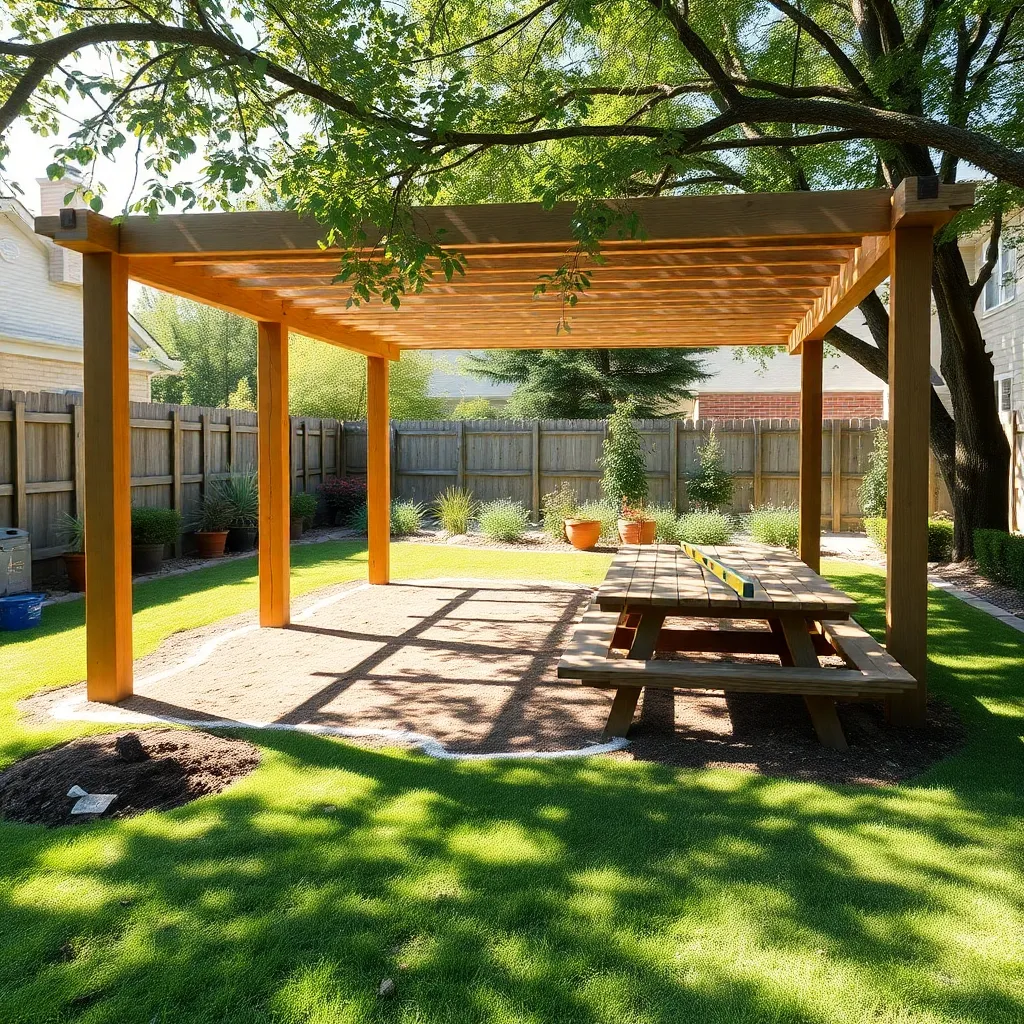
Before laying the foundation for your pergola, it’s essential to prepare the ground properly. Begin by selecting a level area in your yard that receives the desired amount of sunlight and shade. Clear the area of any debris, rocks, or vegetation, as these can interfere with the stability of your structure. For best results, consider using a tarp or landscaping fabric to temporarily cover the area and prevent weed growth during construction. For those more experienced, using a laser level can help ensure your ground is perfectly even, providing a sturdy base for your pergola.
To mark the layout, use stakes and string to outline the perimeter of your pergola. This will help you visualize the final structure and make any necessary adjustments before construction begins. Measure the dimensions carefully, typically aiming for a standard size of around 10×10 feet, which is a manageable space for most backyards. For a more complex design, consider incorporating angles or curves into your layout. Remember to check local building codes for any restrictions or permits required for your project. These steps will ensure your pergola is both functional and aesthetically pleasing.
Assemble and Secure Wooden Frame
Once the layout is marked, it’s time to assemble and secure your wooden frame. Start by choosing the right wood, such as cedar or redwood, known for their durability and resistance to weather. Cut the wood to your desired dimensions—typically, 4×4 posts for the corners and 2×6 beams for the top work well for a sturdy structure. Ensure all cuts are precise to maintain a clean and professional look. Use galvanized screws or bolts to connect the beams to the posts, as they resist rusting and provide a strong hold.
With the frame assembled, focus on securing it in place. Anchor the posts firmly into the ground using concrete footings for stability. This is crucial for withstanding winds and ensuring the longevity of your pergola. Use a level to check each post’s alignment and make adjustments as necessary before the concrete sets. For additional stability, consider adding diagonal braces at each corner, which will help prevent swaying and enhance the overall integrity of the structure. These steps will ensure your pergola is not only beautiful but also robust and safe for years to come.
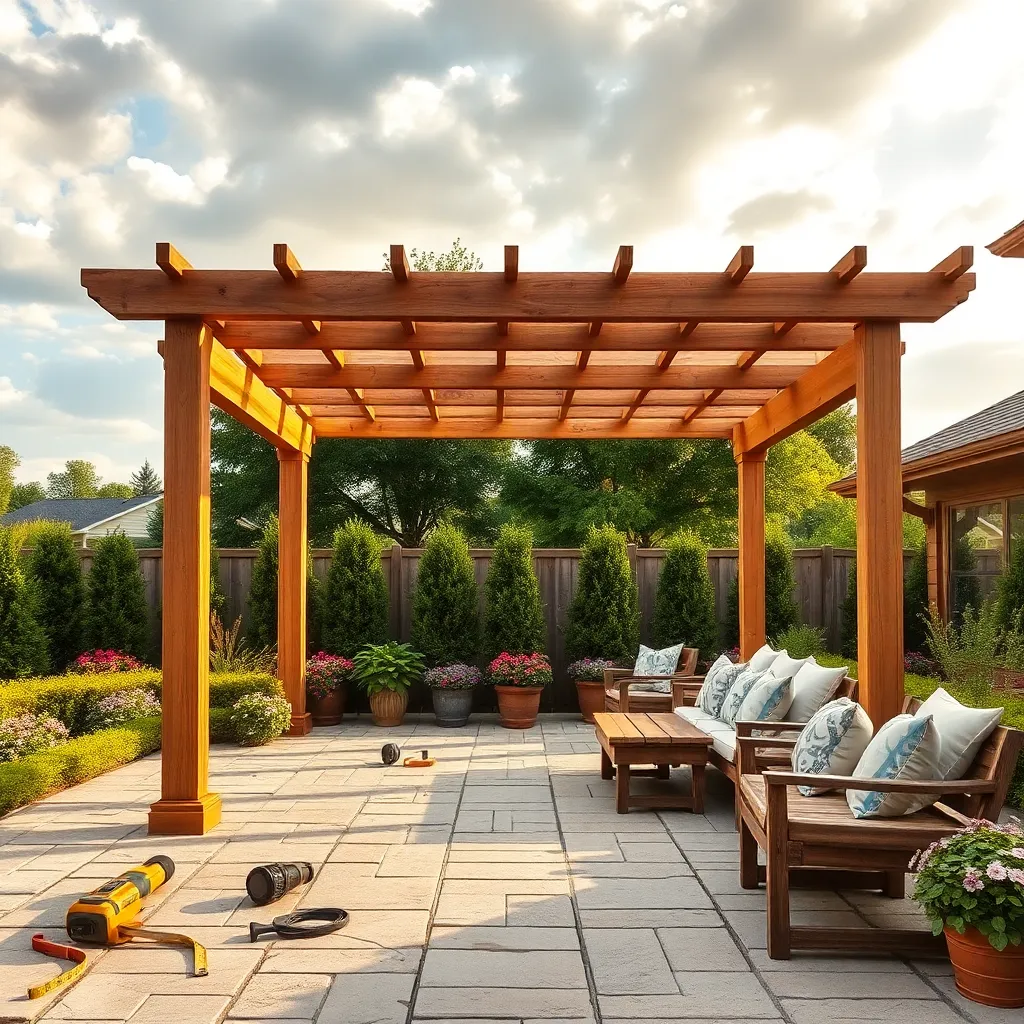
Attach Crossbeams and Finish
Once your wooden frame is securely in place, it’s time to attach the crossbeams. Begin by selecting crossbeam material that complements your pergola’s style; cedar and redwood are excellent choices for their durability and aesthetic appeal. Space the crossbeams evenly, typically around 12 to 24 inches apart, depending on your desired level of shade. Use galvanized screws or bolts to fasten each crossbeam securely to the main structure, ensuring they are level and aligned properly. This step not only adds structural integrity but also enhances the pergola’s visual appeal.
To finish your pergola, consider adding decorative end caps to the crossbeams for a polished look. These can be simple or intricate, depending on your personal style and the overall design theme of your outdoor space. For a more advanced touch, apply a weather-resistant sealant or stain to protect the wood and enhance its natural beauty. Regular maintenance, such as cleaning and re-sealing every few years, will prolong the life of your pergola and keep it looking its best. With these finishing touches, your DIY pergola will be a stunning and functional addition to your backyard oasis.
Conclusion: Creating Beautiful Outdoor Spaces
In embarking on the journey of building a DIY pergola, we explored five essential relationship concepts: the importance of clear communication, the power of teamwork, the value of patience, the art of compromise, and the joy of shared accomplishments. As you and your partner work side-by-side, each concept becomes a foundational beam that strengthens your connection, providing a sturdy structure for your relationship to flourish.
To turn these insights into action, choose one concept to focus on this week. Whether it’s enhancing communication or practicing patience, make a conscious effort to integrate it into your daily interactions. This focused effort can transform not only your pergola project but also the way you relate to each other.
Remember, this article is a blueprint for both your pergola and your relationship. Bookmark it now to ensure these valuable lessons are always within reach as you continue to build a relationship that stands the test of time. As you look forward, know that every shared project, every challenge overcome, and every moment of joy brings you one step closer to a successful, enduring partnership. Save this guide and take that next step toward a stronger relationship today.