
Transforming your backyard into a personal oasis begins with the right structure, and a pergola is the perfect blend of style and function to elevate any outdoor space. Whether you’re a seasoned DIY enthusiast or a curious beginner, building a pergola can be a rewarding project that enhances your home’s value and creates a charming retreat for relaxation or entertaining.
In this guide, you’ll discover a step-by-step approach to crafting your own pergola, complete with insights on selecting materials, understanding essential tools, and navigating the construction process with confidence. Embrace the journey of creating a beautiful outdoor haven that reflects your taste and ingenuity, while enjoying the satisfaction of a project well done.
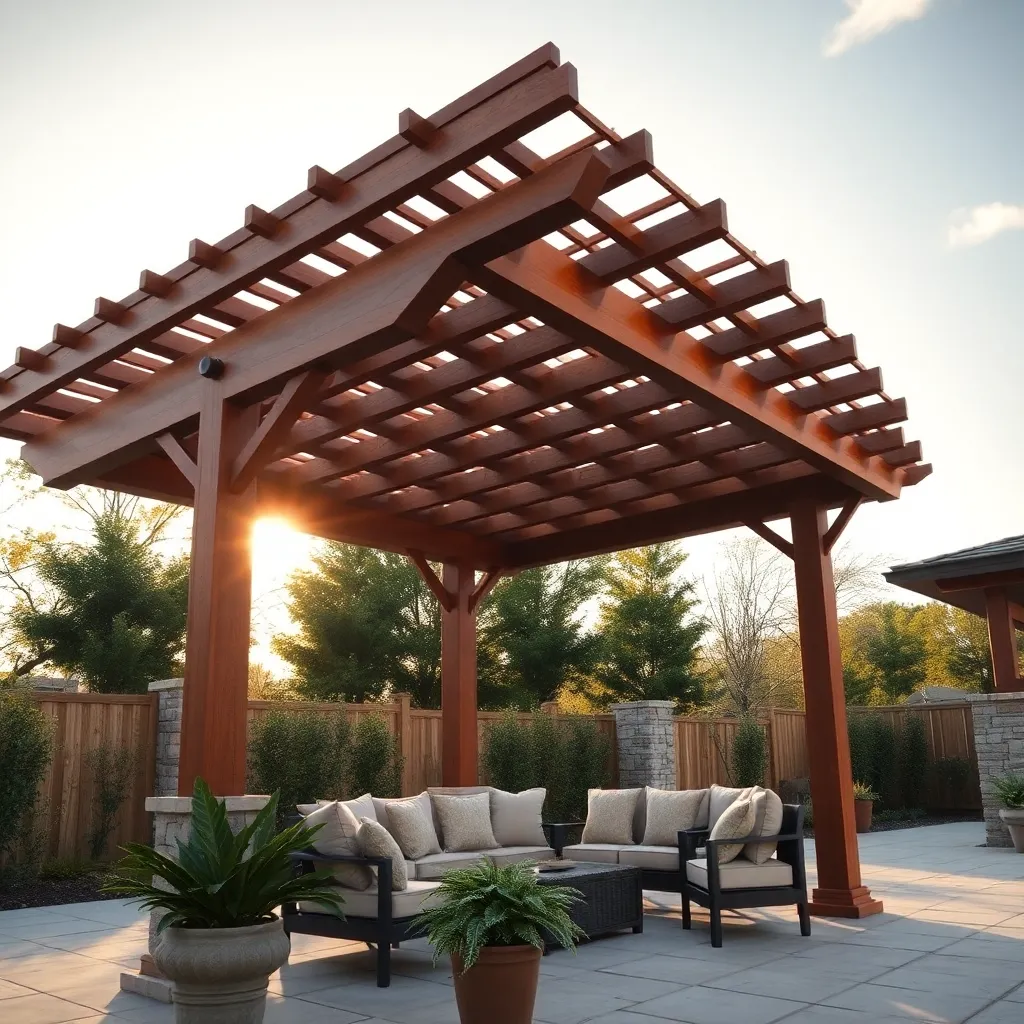
Choose Pergola Design and Materials
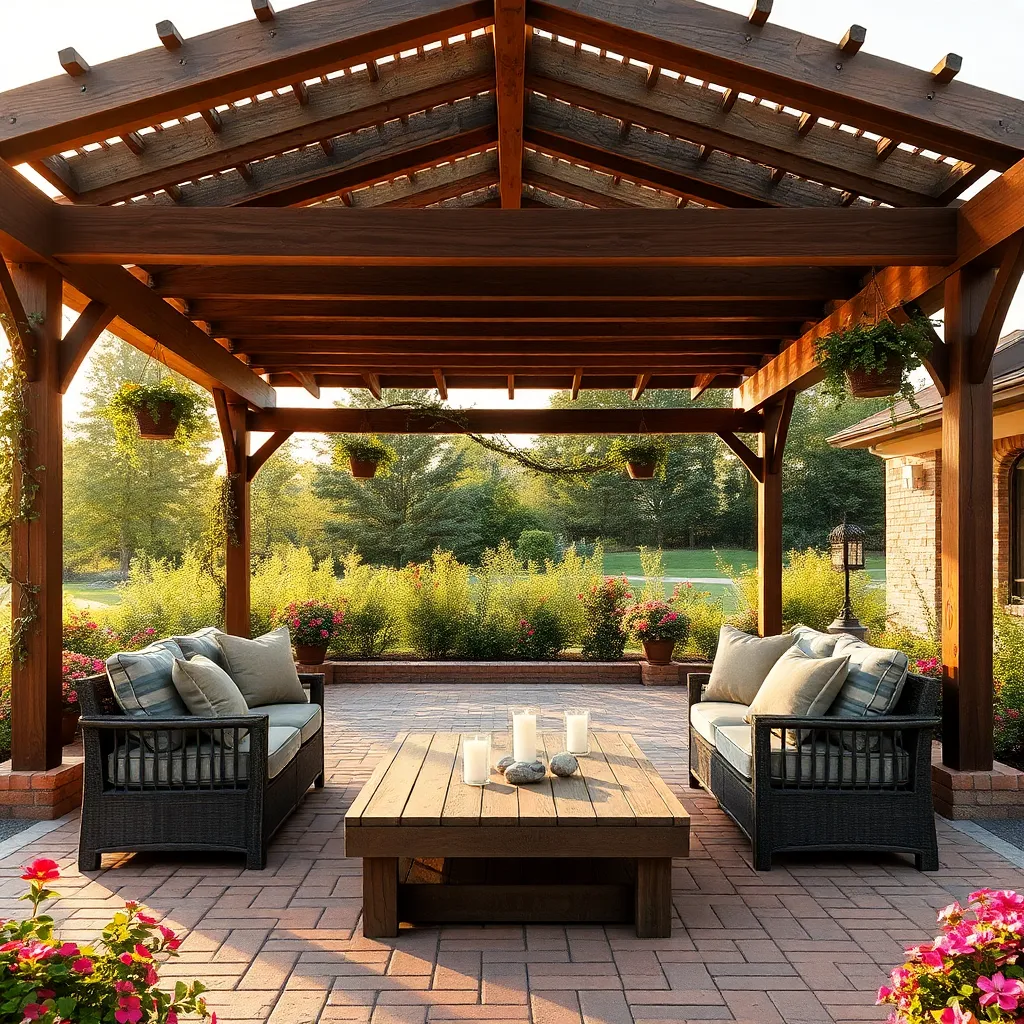
When choosing a pergola design, consider the overall style of your outdoor space and how the pergola will function within it. Traditional designs often feature simple, square or rectangular shapes with flat or gently sloping roofs, which can complement a variety of garden aesthetics. For a modern twist, opt for a pergola with sleek lines or unique geometric shapes. Customization is key—choosing adjustable louvers can add flexibility, allowing you to control sunlight and shade as desired.
In terms of materials, wood is a classic choice that offers a natural look and can be easily customized with paint or stain. Cedar and redwood are popular for their durability and resistance to rot. If you’re aiming for low maintenance, consider aluminum or vinyl, which provide a sleek finish and withstand harsh weather without needing much upkeep. For those seeking an advanced approach, integrating weather-resistant fabrics or retractable canopies can enhance the pergola’s functionality, allowing it to adapt to different weather conditions seamlessly.
Mark and Prepare the Site
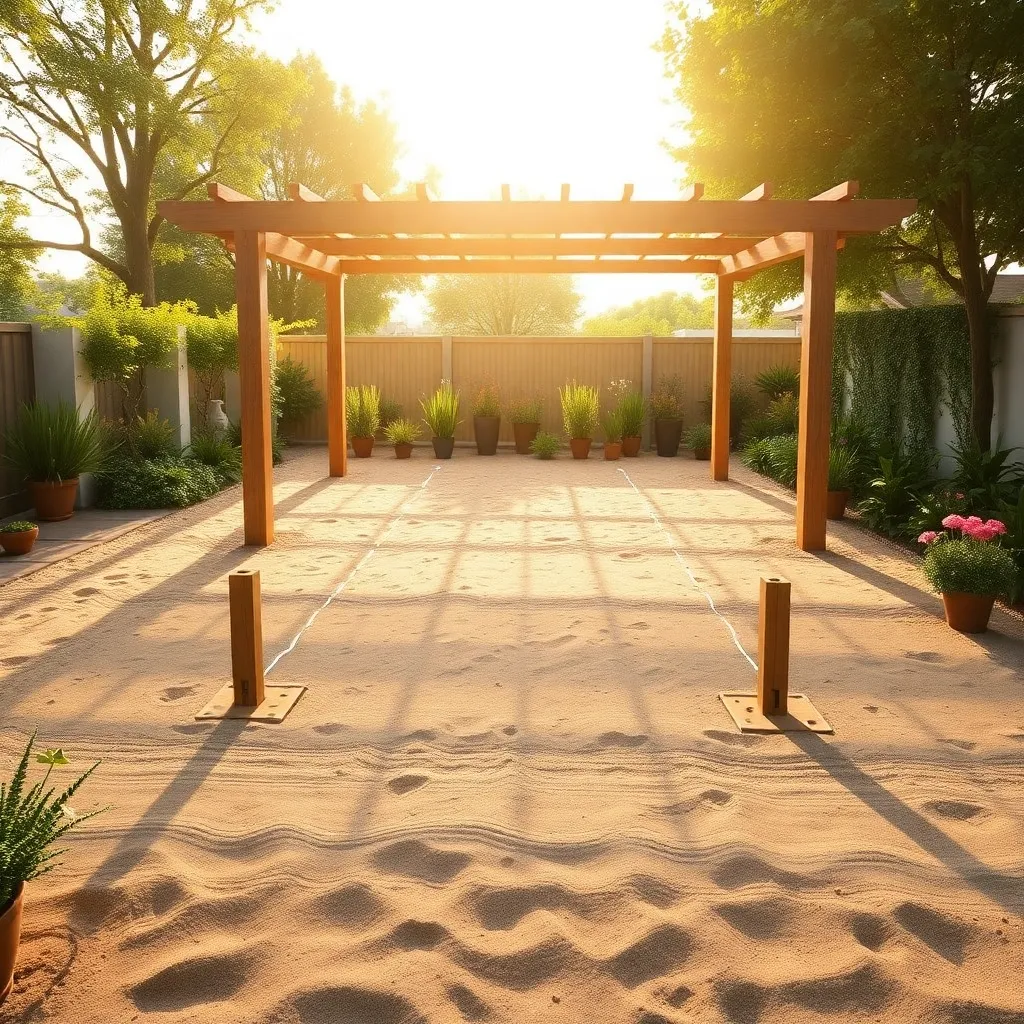
Before you start building, it’s crucial to mark and prepare the site for your pergola. Begin by selecting a level area in your yard that receives the desired amount of sunlight and shade. Use stakes and string to outline the pergola’s dimensions, ensuring it aligns with your landscape design. Carefully measure the space, considering the pergola’s intended purpose and size, typically ranging from 8×8 feet to 12×12 feet, to accommodate furniture and enhance outdoor living.
Once marked, the next step is to prepare the ground. Clear the area of grass, rocks, and debris to provide a clean foundation. Depending on your design, you might opt for a gravel base or concrete footings to enhance stability. For advanced builders, consider incorporating drainage solutions if water pooling is a concern. These foundational steps are vital for ensuring your pergola stands the test of time, offering a durable and inviting outdoor retreat.
Install Support Posts Securely
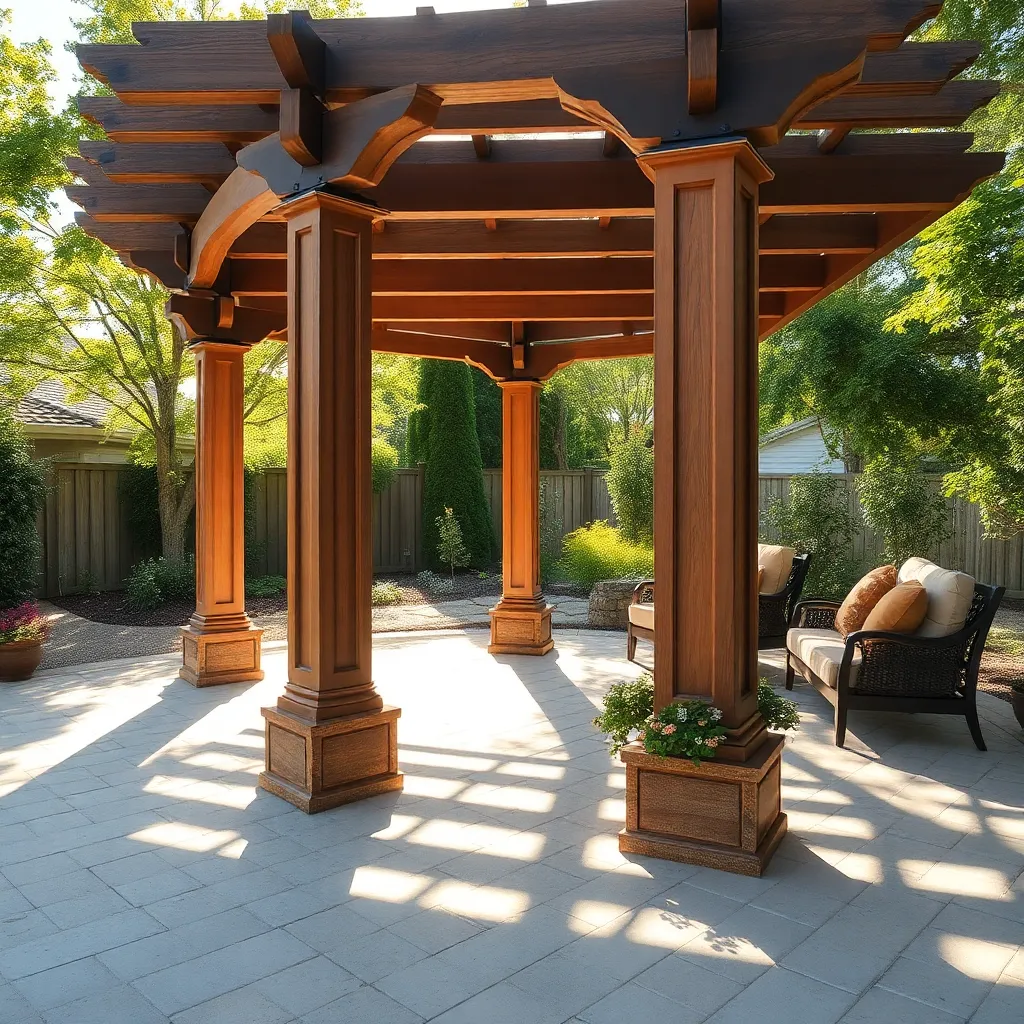
After marking and preparing your site, it’s time to install the support posts, which serve as the backbone of your pergola. Choose sturdy materials such as pressure-treated wood or cedar to ensure durability. For each post, dig a hole at least one-third the height of the post to provide stability. Use a post level to make sure each post is perfectly vertical before securing it with concrete. Allow the concrete to cure for at least 24 hours before proceeding to the next step.
For added stability and a polished look, consider using metal post anchors that can be secured into the concrete. These anchors not only enhance the structural integrity but also protect the wood from moisture damage. When installing these, ensure they are aligned correctly to avoid any misalignment issues later. Advanced tip: If you’re in a region with high winds or heavy snowfall, opt for thicker posts, such as 6×6 inches, to provide extra support. This step is crucial for a safe and long-lasting pergola that you can enjoy for years to come.
Attach Crossbeams and Rafters
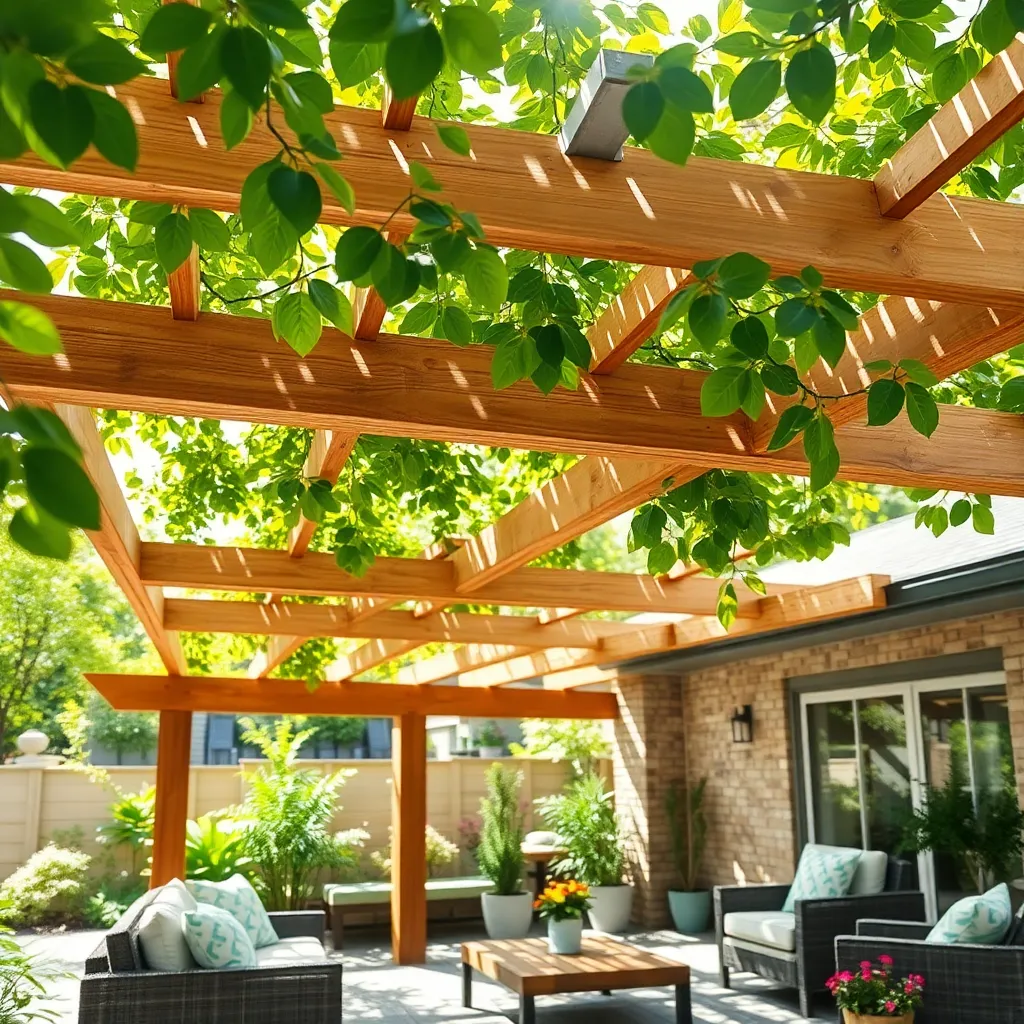
Once your support posts are firmly in place, it’s time to attach the crossbeams. Choose durable materials like cedar or pressure-treated lumber for longevity and resistance to the elements. Measure the distance between your posts accurately and cut your crossbeams accordingly. Secure them using galvanized lag bolts for a sturdy structure that can withstand various weather conditions. It’s essential to space your crossbeams evenly for a balanced look and to support the rafters properly.
After installing the crossbeams, you can proceed with attaching the rafters, which will give your pergola its iconic look. For a classic design, space your rafters 12 to 24 inches apart, depending on the level of shade and style you prefer. Use a carpenter’s square to ensure each rafter is perpendicular to the crossbeams for a professional finish. Advanced tip: consider using decorative rafter tails to add a unique flair to your pergola, enhancing both its aesthetic and functional appeal. Always double-check all connections to ensure the structure is secure and safe.
Finish with Protective Coating
Once your pergola structure is complete, applying a protective coating is crucial to ensure its longevity against the elements. Begin by choosing a high-quality, outdoor-grade varnish or wood sealant designed specifically for exterior use. Opt for a UV-resistant formula to shield the wood from sun damage and prevent fading. A water-repellent coating will also help protect against moisture, reducing the risk of warping and rot. For beginners, a clear sealant can enhance the natural beauty of the wood, while more experienced DIYers might consider a tinted stain to add a touch of color.
Before applying the coating, make sure the wood surface is clean and dry; any dirt or moisture can affect the adhesion and finish. Use a brush or sprayer to apply an even layer, ensuring all surfaces, including the ends of the beams, are well-covered. Follow the manufacturer’s instructions for drying times and consider applying multiple coats for maximum protection. For a polished look, lightly sand between coats using fine-grit sandpaper. This attention to detail will not only enhance the appearance of your pergola but also provide robust protection for many seasons to come.
Conclusion: Creating Beautiful Outdoor Spaces
As we conclude our journey through ‘How to Build a Pergola Step-by-Step,’ let’s revisit the five key relationship concepts that parallel this construction process: foundation, communication, teamwork, patience, and trust. Just as a pergola requires a sturdy foundation, relationships thrive on solid ground built by trust and mutual respect. Effective communication is like the precise measurements and cuts, ensuring everything fits together seamlessly. Teamwork transforms individual efforts into a beautiful structure, and patience reminds us that good things take time to build. Finally, trust is the canopy under which your relationship flourishes, providing shelter and strength.
Now, here’s your actionable next step: initiate a heartfelt conversation with your partner about a shared project or goal, and apply these concepts to strengthen your bond. Remember, like building a pergola, relationships are a work in progress that require regular maintenance and care.
Don’t let these valuable insights slip away! Save or bookmark this article to revisit these essential tools whenever you need a relationship boost. As you look ahead, envision your relationship as a resilient, enduring structure that thrives with each passing day. With dedication and love, your relationship can weather any storm and bask in sunshine.