
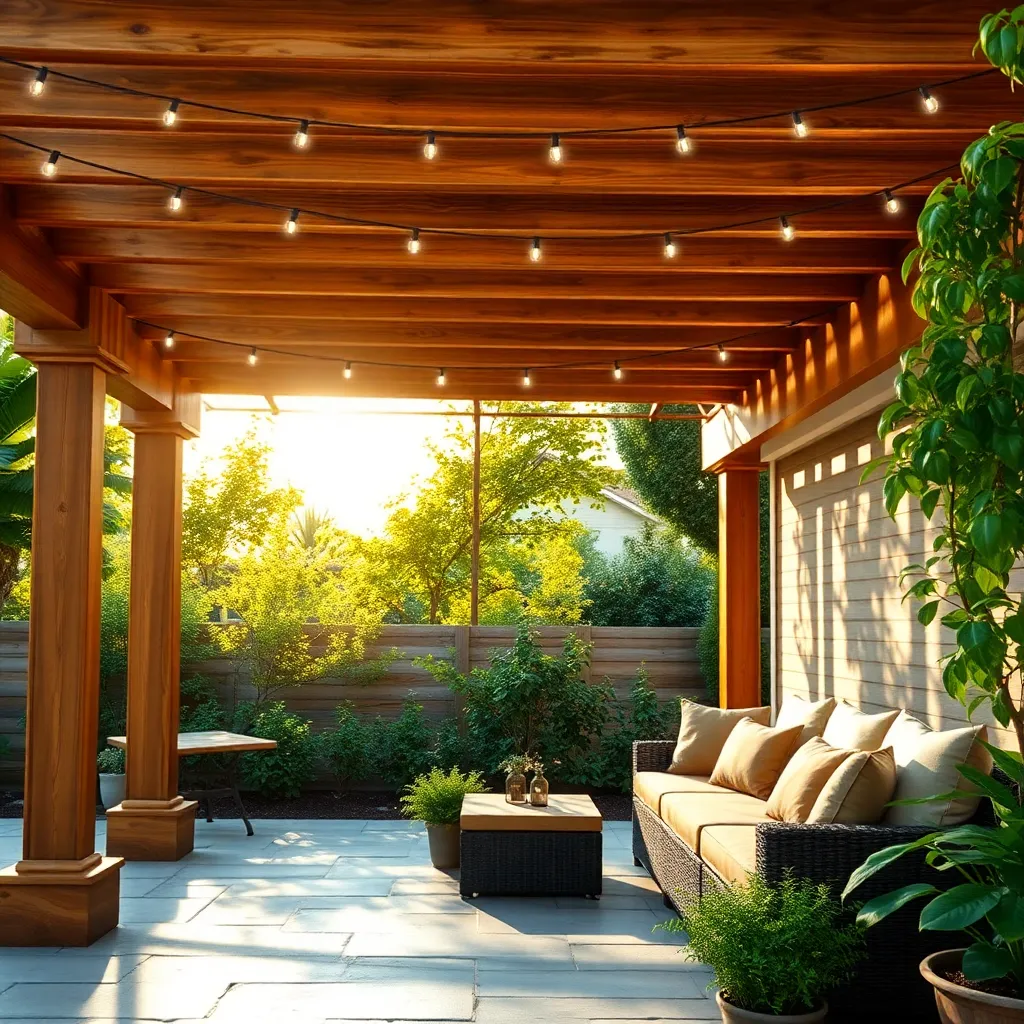
Imagine transforming your garden into a personal oasis with the addition of a simple yet elegant pergola. Whether you’re a seasoned DIY enthusiast or just dipping your toes into the world of outdoor projects, building a pergola offers a fantastic opportunity to enhance your outdoor space, providing both beauty and functionality. This guide is designed to make the process approachable for everyone, ensuring you can enjoy the benefits of a shaded retreat in no time.
In this article, you’ll discover step-by-step instructions to construct a pergola that complements your garden’s unique charm. From selecting the right materials to understanding basic construction techniques, we’ve got you covered. Join us as we demystify the process, empowering you to create a stunning outdoor feature that will become the heart of your garden gatherings.
Choose Location and Measure Area
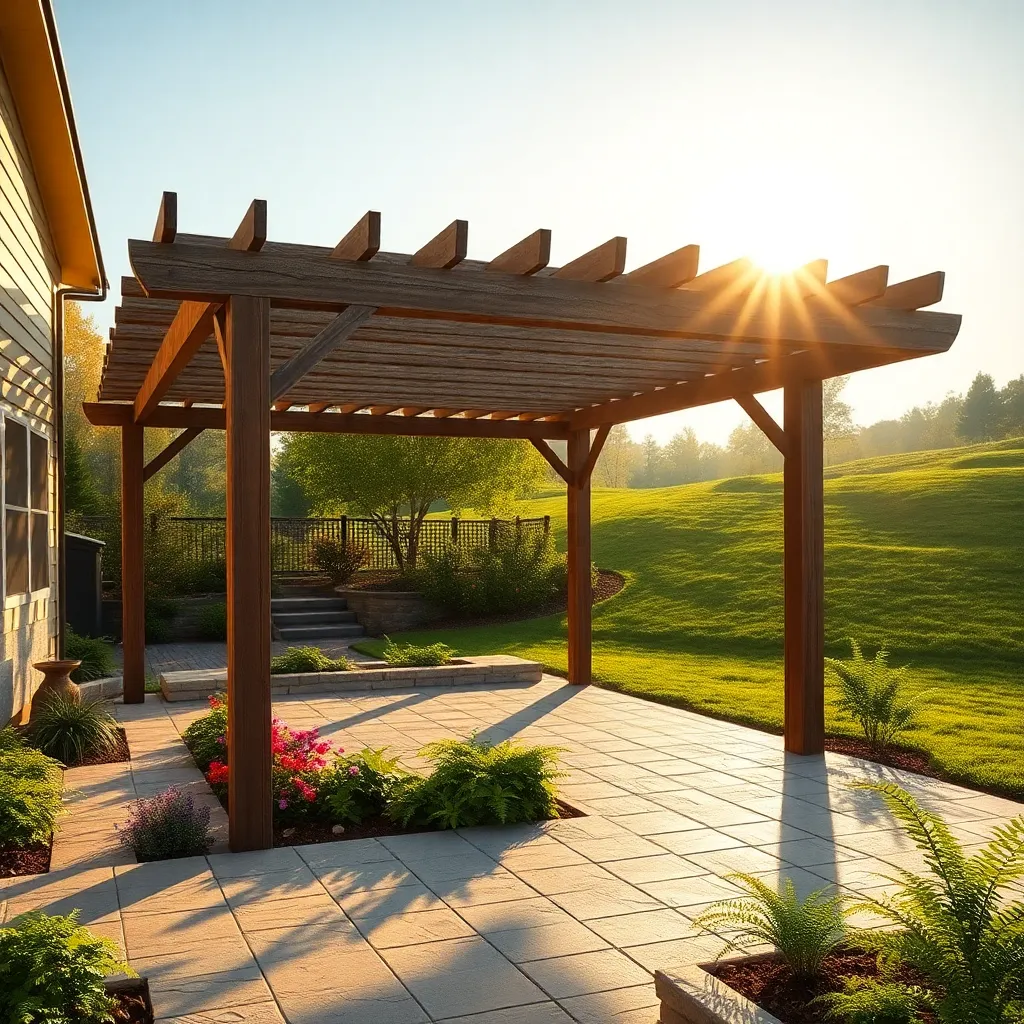
When choosing the location for your pergola, consider sunlight, privacy, and functionality. Select a spot that provides adequate shade during peak sunlight hours, such as next to the house or near a cluster of trees, while ensuring it doesn’t block any important views. For those with a keen sense of aesthetics, positioning your pergola to frame a garden feature like a fountain or a flower bed can enhance the overall appeal of your outdoor space.
Once you’ve picked the perfect spot, it’s time to measure the area accurately. Use a tape measure to outline the dimensions, keeping in mind the standard pergola size ranges from 12×12 to 16×20 feet. For a more personalized touch, consider the scale and proportion relative to your garden’s size and your home’s architecture. Mark the corners with stakes and use string to visualize the structure’s footprint, ensuring it aligns with your design vision before proceeding with construction.
Select Materials and Gather Tools
Once you’ve chosen the perfect location and measured your area, it’s time to select materials for your pergola. Opt for durable materials like treated wood, cedar, or vinyl, which are ideal for withstanding various weather conditions. Cedar is a popular choice due to its natural resistance to decay and insects, offering both longevity and aesthetic appeal. For beginners, consider using pre-cut pergola kits which include all the necessary components and are designed for easy assembly.
Gather essential tools before starting construction to ensure a smooth building process. Basic tools include a tape measure, level, power drill, and saw. For advanced builders, a post-hole digger and concrete mixer can help with setting the posts securely. Ensure all tools are in good condition and readily accessible, so you can focus on bringing your pergola design to life without unnecessary interruptions. For added stability, use galvanized screws and bolts, which provide extra protection against rust and wear.
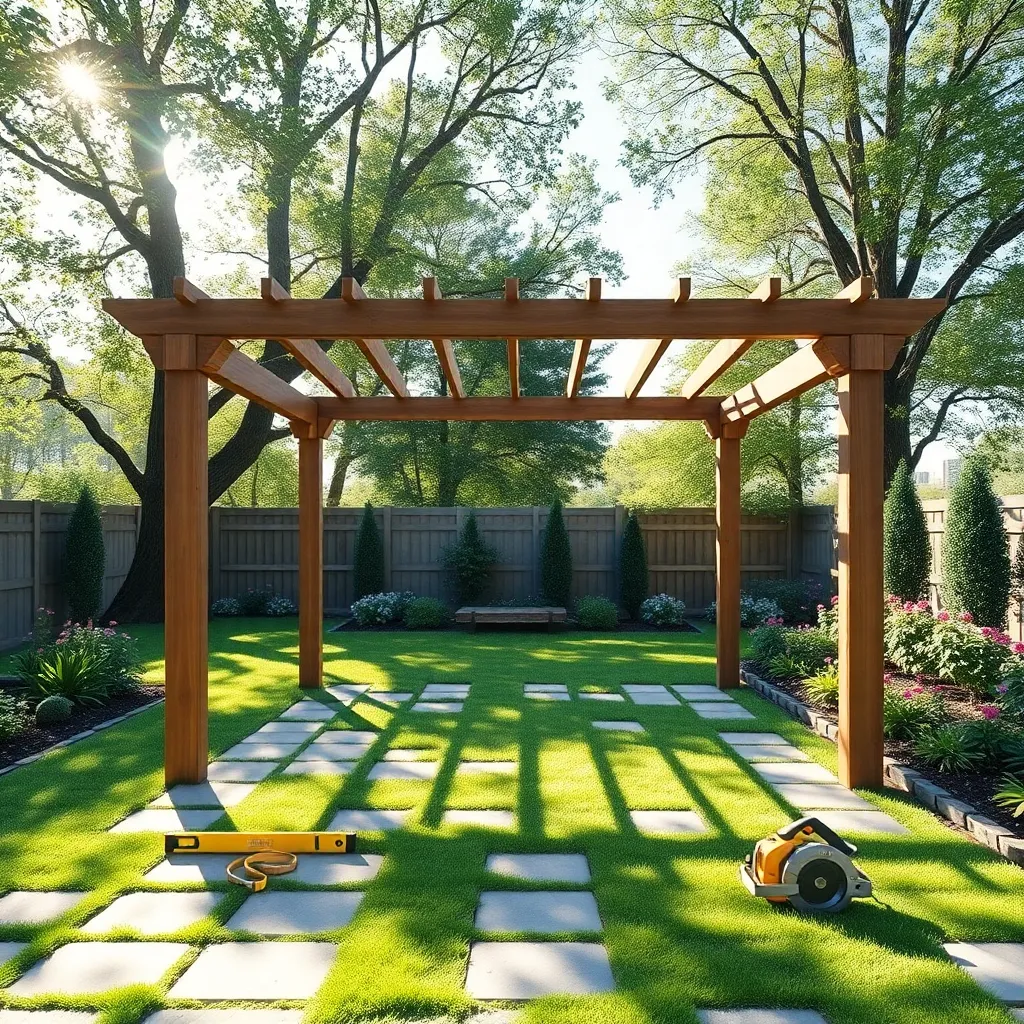
Install Support Posts Securely
To install support posts securely for your pergola, begin by determining their exact placement. Measure and mark the locations, ensuring they align perfectly to provide a stable structure. For most garden pergolas, you’ll need to dig holes at least 18 to 24 inches deep to ensure the posts are set below the frost line, preventing movement during seasonal changes. Use a post hole digger for precision and consider renting an auger for larger projects.
Once the holes are ready, add a layer of gravel at the bottom to enhance drainage and stability. Place your 4×4 or 6×6 treated lumber posts into the holes, ensuring they are perfectly vertical using a level. Pour concrete into the holes, filling them up to just above ground level for a secure hold. For added stability, brace the posts with temporary supports while the concrete cures. Beginners should check regularly with a level to maintain alignment, while experienced builders might opt for fast-setting concrete for quicker progress.
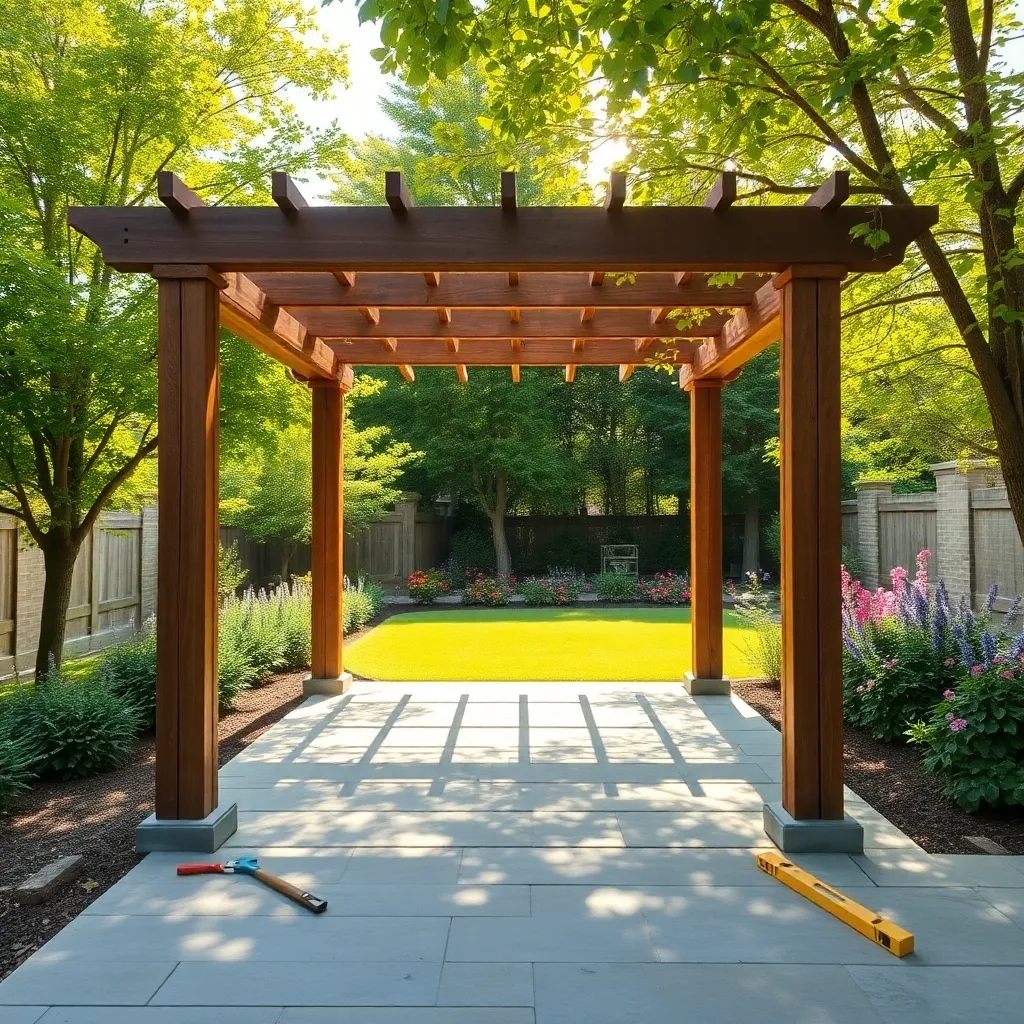
Attach Crossbeams and Rafters
Once your support posts are securely installed, it’s time to attach the crossbeams. Choose durable wood like cedar or pressure-treated pine to withstand outdoor elements. Measure and cut the crossbeams to fit the desired pergola dimensions, ensuring they extend slightly beyond the posts for a balanced look. Use galvanized bolts to securely fasten each crossbeam to the top of the posts, which adds both stability and aesthetic appeal.
Next, focus on the rafters to complete your pergola’s framework. Space the rafters evenly, typically 12 to 24 inches apart, for a harmonious appearance and adequate shade. Secure each rafter with galvanized screws or brackets, ensuring they are level and properly aligned. For a more advanced touch, consider decorative rafter tails or intricate end cuts to enhance the pergola’s design. Remember, precise alignment is key for both functionality and visual consistency.
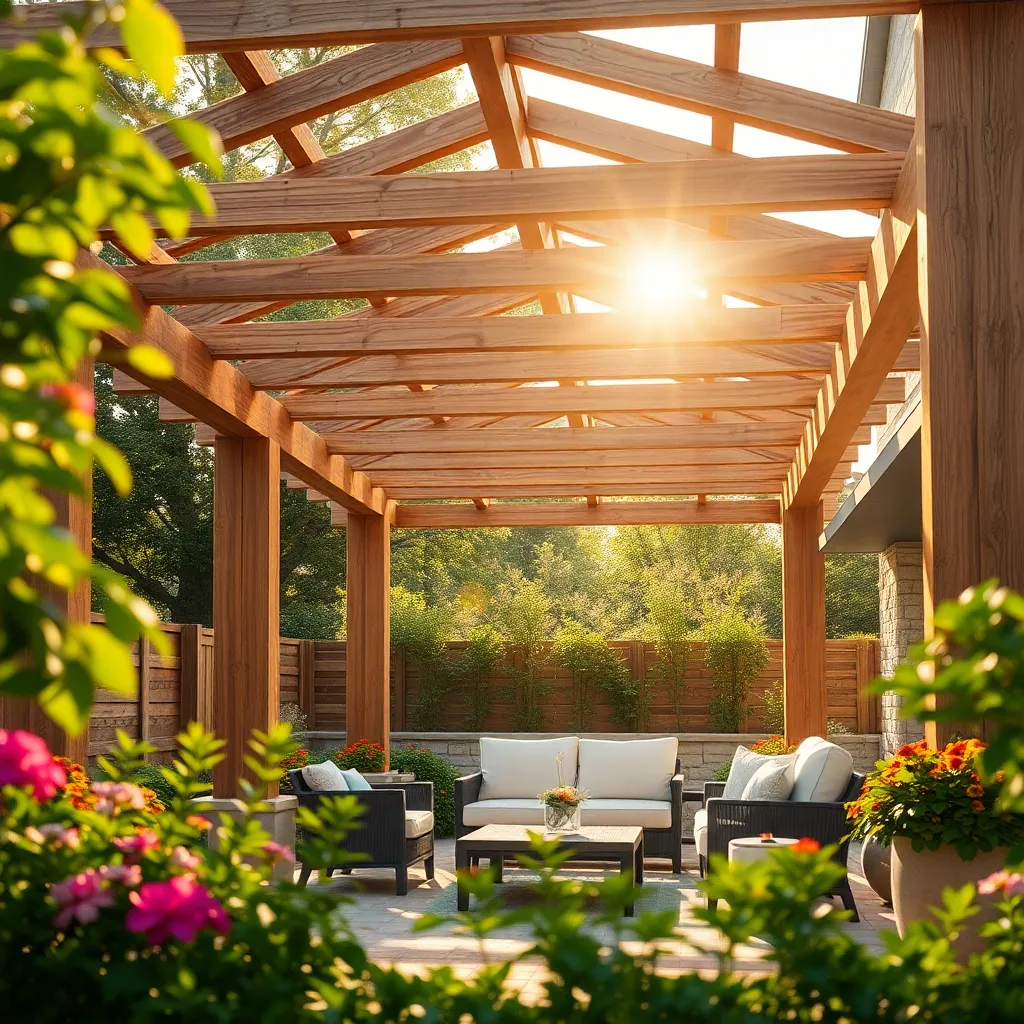
Finish with Weatherproof Stain
Once your pergola’s structure is complete, it’s important to protect your investment by applying a weatherproof stain. This not only enhances the natural beauty of the wood but also shields it from the elements, preventing rot, mildew, and sun damage. Choose a high-quality, UV-resistant stain specifically designed for outdoor use. Look for options that offer both stain and sealant to streamline the process. Applying at least two coats will ensure a long-lasting finish, keeping your pergola looking fresh for years to come.
Before you begin staining, make sure the wood is clean and dry, as moisture can prevent proper adhesion of the stain. Use a brush or roller for a smooth, even application, making sure to cover all surfaces, including the ends of the beams and rafters. For those wanting a more customized look, consider experimenting with different stain colors that complement your garden’s aesthetic. To maintain the pergola’s appearance and durability, plan to reapply the stain every 2-3 years, depending on your local climate conditions.
Conclusion: Creating Beautiful Outdoor Spaces
Building a simple pergola in your garden can be a beautiful metaphor for nurturing and strengthening your relationships. Throughout this guide, we’ve explored five key concepts: the importance of a solid foundation, the need for supportive structures, the beauty of allowing light and space to breathe, the significance of regular maintenance, and the joy of creating a shared haven. Each of these steps not only applies to constructing a pergola but also mirrors essential elements of healthy relationships.
As your next step, choose one relationship in your life and consider how you can apply these principles today, whether it’s through a heartfelt conversation, planning a shared activity, or simply being present. Remember, the beauty of relationships lies in the continuous commitment to growth and care.
To keep these insights at your fingertips, be sure to bookmark this article. It’s a resource you’ll want to revisit as your relationships flourish and evolve.
Looking forward, remember that by investing time and effort into building these connections, you’re not just creating a pergola; you’re crafting a durable, nurturing environment where your relationships can thrive. Embrace this journey with warmth and intention, and watch as your bonds grow ever stronger.