
Imagine transforming your garden into a haven of relaxation and style, where an inviting outdoor shelter provides the perfect backdrop for moments of tranquility or lively gatherings. Whether you’re a seasoned DIY enthusiast or just starting your home improvement journey, creating an outdoor shelter is a rewarding project that elevates both your garden’s aesthetic and its functionality.
In this guide, we’ll walk you through the essential steps to design and build a shelter tailored to your unique space and needs. From selecting materials that complement your garden’s character to understanding structural basics, you’ll gain the confidence to bring your vision to life. Embrace the joy of outdoor living as we explore practical tips and creative ideas that make this project both accessible and achievable for any homeowner.
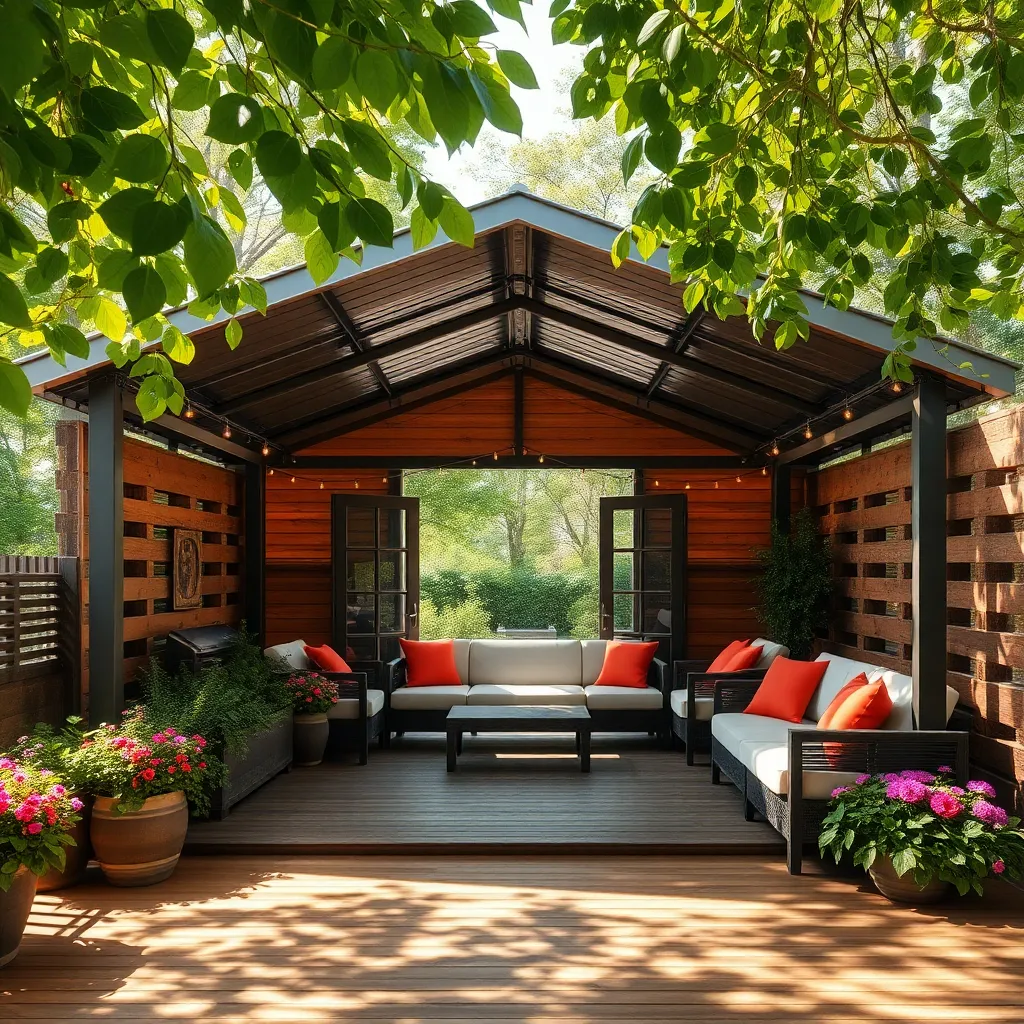
Choose the Shelter Design
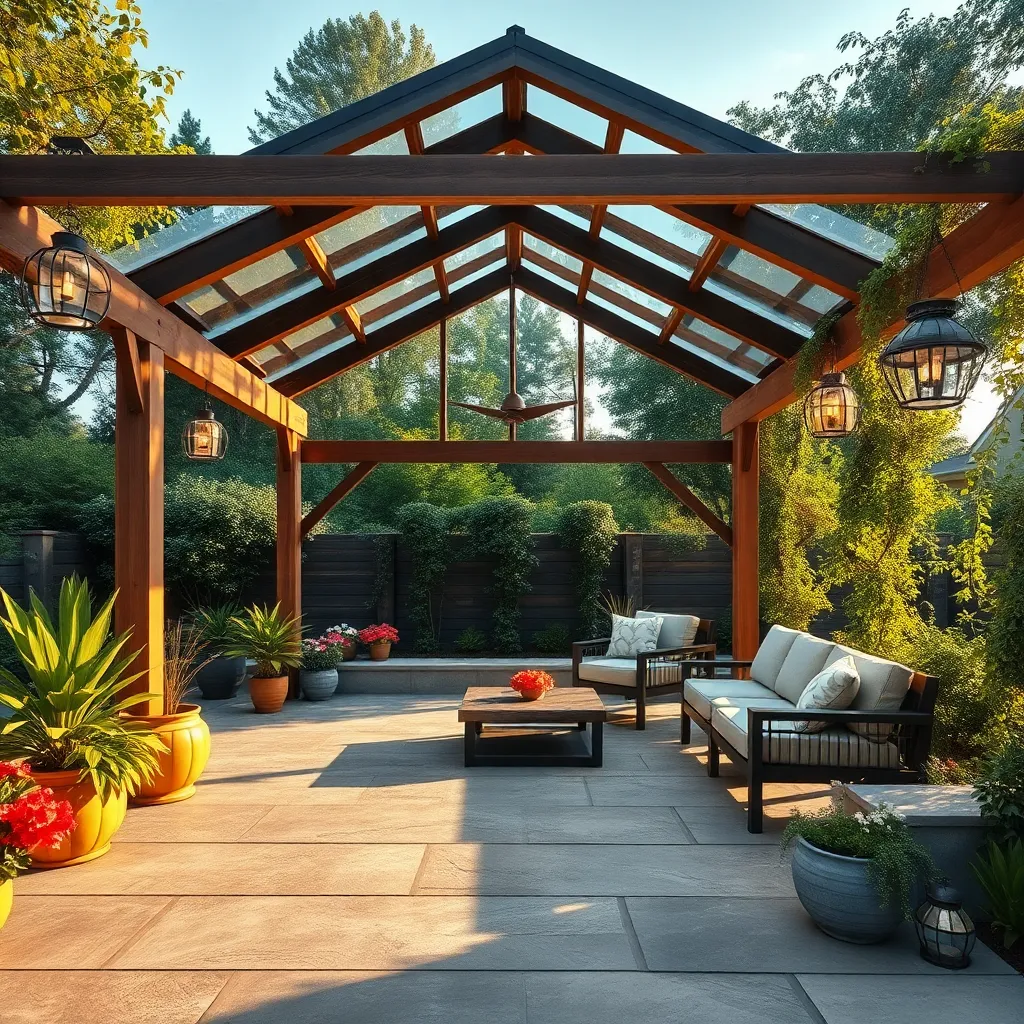
When choosing a shelter design for your garden, start by considering the primary purpose of the space. If you need a simple retreat to enjoy the outdoors, a pergola made from treated wood or metal can provide a balance of sun and shade. For a more enclosed shelter, consider a gazebo with a hardtop made of polycarbonate or metal, which offers better protection against the elements. Ensure your design complements your garden’s style and size; for example, a rustic wooden structure suits a natural landscape, while sleek metal frames blend well with modern gardens.
For those with a bit of DIY experience, adding personal touches like built-in benches or planters can enhance functionality and aesthetic appeal. Use quality, weather-resistant materials like cedar or pressure-treated lumber to ensure longevity. Advanced builders might integrate solar lighting or rainwater collection systems to make the shelter eco-friendly and self-sustaining. Whichever design you choose, make sure to check local building regulations and secure necessary permits to avoid any legal hassles down the line.
Gather Necessary Building Materials
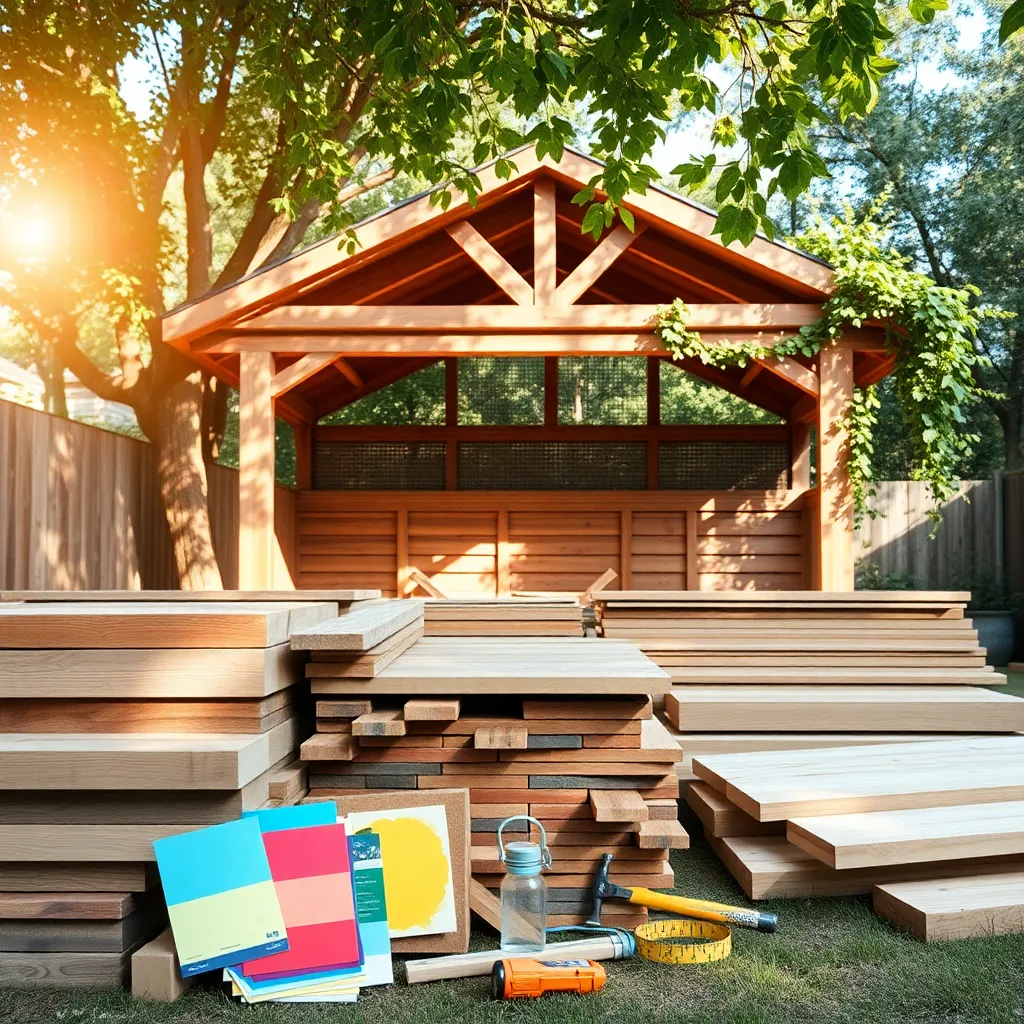
Once you’ve settled on your shelter design, it’s time to gather the necessary building materials. Start with the basics like wood or metal framing, roofing materials, and fasteners. For a wooden structure, choose durable options such as cedar or pressure-treated lumber, which withstand outdoor conditions. If metal is your preference, galvanized steel or aluminum can offer longevity with less maintenance. Don’t forget polycarbonate panels or weather-resistant fabric for the roof, providing both shade and protection from the elements.
Additionally, consider incorporating a few advanced elements to enhance your shelter’s functionality and aesthetic. Using concrete footings or deck blocks can improve stability, especially in windy areas. For added comfort, think about installing retractable sides or roll-up curtains to adapt to changing weather conditions. Decorative touches like climbing plants on trellises or integrated lighting can transform your shelter into a cozy retreat, making it inviting throughout the seasons. This thoughtful selection of materials ensures your garden shelter is both practical and visually appealing.
Prepare the Ground Surface
Before you start building your outdoor shelter, it’s crucial to prepare the ground surface to ensure stability and longevity. Begin by selecting a level area in your garden, as uneven ground can cause structural issues over time. Clear the site of any debris, rocks, or plants that could interfere with the foundation. For beginners, a simple sand or gravel base is a great option for leveling and drainage. Advanced gardeners might consider a concrete slab, which provides a durable and stable base, especially in regions with heavy rainfall.
Once the area is clear, consider adding a layer of landscape fabric to prevent weeds from growing through the shelter floor. This step is essential for maintaining a clean and low-maintenance space. Compact the base material using a tamper to create a firm foundation. For those looking to enhance aesthetics, consider edging your shelter area with bricks or stones, which also helps to contain the base material. These steps will not only make the construction process smoother but also ensure your shelter stands the test of time and weather.
Construct the Shelter Frame
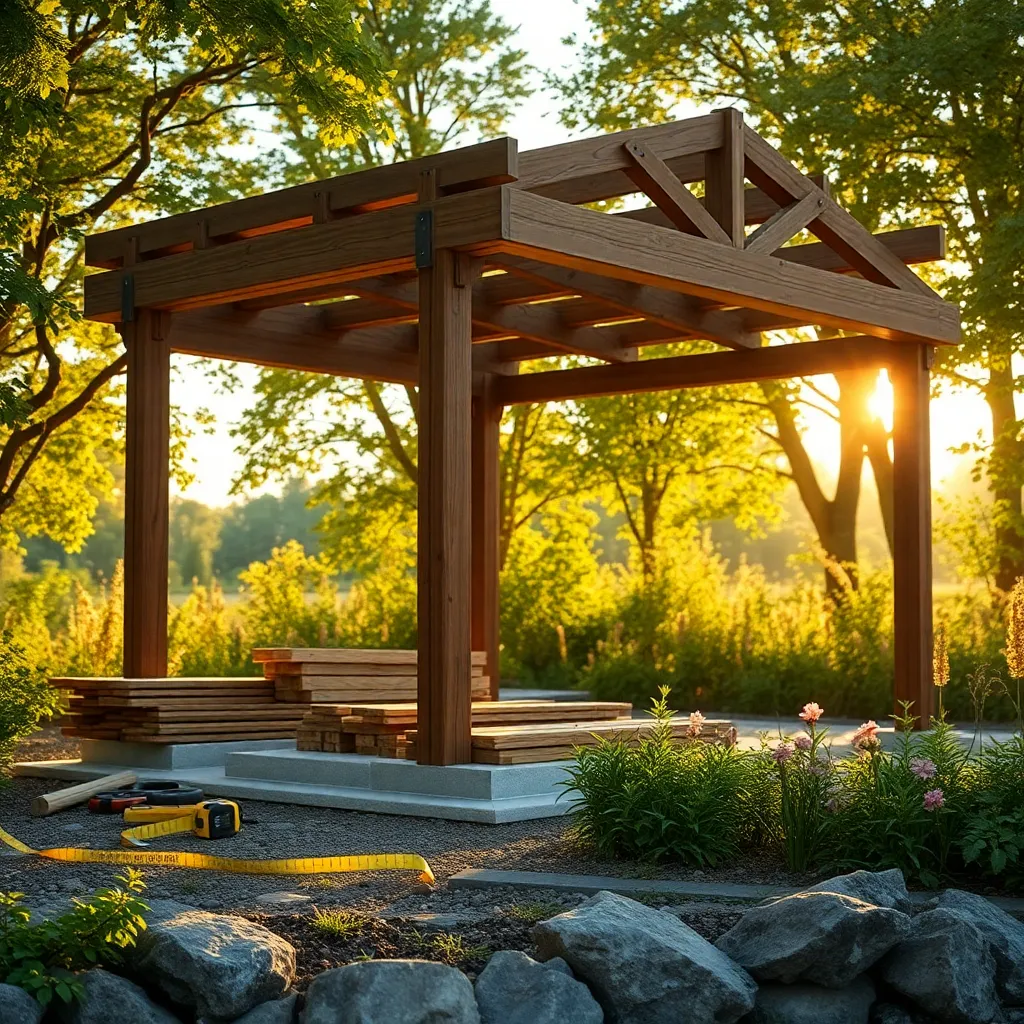
After preparing the ground surface, it’s time to construct the shelter frame, which serves as the backbone of your outdoor structure. Begin by selecting durable materials like pressure-treated wood or galvanized steel for longevity and stability. For a basic rectangular frame, use 4×4 wooden posts placed at each corner and connect them with 2×6 beams for added strength. Anchor the posts securely in concrete footings to ensure the structure withstands wind and weather conditions.
For those looking to enhance their design, consider adding diagonal braces for extra support and architectural interest. If you’re opting for a more advanced design, such as a pergola, incorporate elements like arched beams or latticework. Ensure all joints are tightly secured with galvanized bolts or screws to prevent loosening over time. As a finishing touch, treat the wood with a weatherproof sealant or paint to protect against the elements and extend the life of your outdoor shelter.
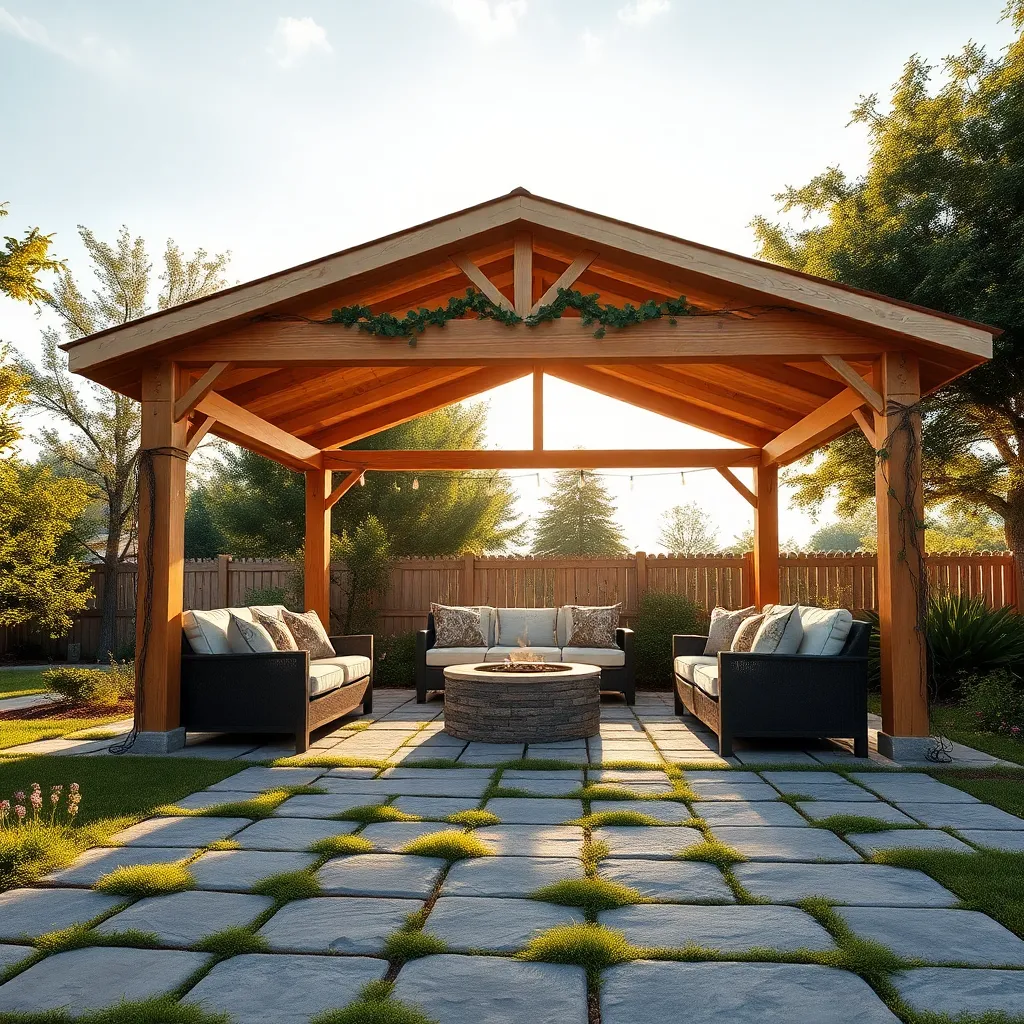
Install Roof and Walls
Once your frame is complete, it’s time to install the roof and walls to ensure your outdoor shelter provides adequate protection. For the roof, consider using durable materials like corrugated metal or polycarbonate panels that offer both weather resistance and longevity. Beginners might prefer simple installation methods using pre-cut panels, while more experienced builders could explore custom designs with advanced features like skylights for natural lighting. When attaching the roof, ensure a slight pitch for effective water runoff, ideally at an angle of 10 to 15 degrees.
For the walls, choose materials that suit your aesthetic and functional needs, such as treated wood, which is both sturdy and visually appealing, or fabric panels for a more lightweight, flexible option. Ensure walls are securely fastened to the frame with weather-resistant screws or nails. Consider incorporating design elements like trellises or lattice work for growing climbing plants, which can add both shade and beauty. For those seeking advanced customization, adding retractable walls or sliding panels can allow for adaptable use of space depending on the season or weather conditions.
Conclusion: Creating Beautiful Outdoor Spaces
As we conclude our journey through building an outdoor shelter for your garden, let’s revisit the five key relationship concepts that will not only enhance your outdoor space but also strengthen your personal connections. First, planning together fosters teamwork and shared vision. Second, communication ensures that everyone’s ideas and needs are heard and integrated. Third, adaptability allows for navigating changes or challenges together. Fourth, celebrating small victories along the way reinforces positive collaboration and encouragement. Lastly, nurturing your creation together bonds you over a shared accomplishment and ongoing maintenance.
Now that you’re equipped with these essential concepts, take the first step by setting a date with your partner or loved ones to brainstorm your shelter’s design. This simple action can ignite enthusiasm and lay the groundwork for a rewarding project.
Don’t forget to bookmark or save this article for future reference as you embark on this enriching journey. With these foundational principles, you are well on your way to not only building a beautiful garden shelter but also cultivating a resilient and thriving relationship. Here’s to your relationship success, where every brick laid is a testament to your shared dreams and teamwork!