
Transforming your backyard into an inviting retreat doesn’t have to break the bank, and a pavilion is a perfect way to blend functionality with style. Whether you’re a seasoned DIY enthusiast or just dipping your toes into outdoor design, creating a budget-friendly backyard pavilion is entirely within reach. This project not only elevates your outdoor space but also offers a cozy sanctuary for family gatherings, relaxation, and year-round enjoyment.
In this article, we’ll walk you through the essentials of constructing a pavilion that complements your backyard without overwhelming your wallet. Discover practical tips on selecting cost-effective materials, clever design hacks, and strategic planning to maximize your investment. By the end, you’ll be equipped with the knowledge and inspiration to embark on your pavilion journey, creating a stunning outdoor feature that reflects your personal touch.
Assess Space and Set Budget
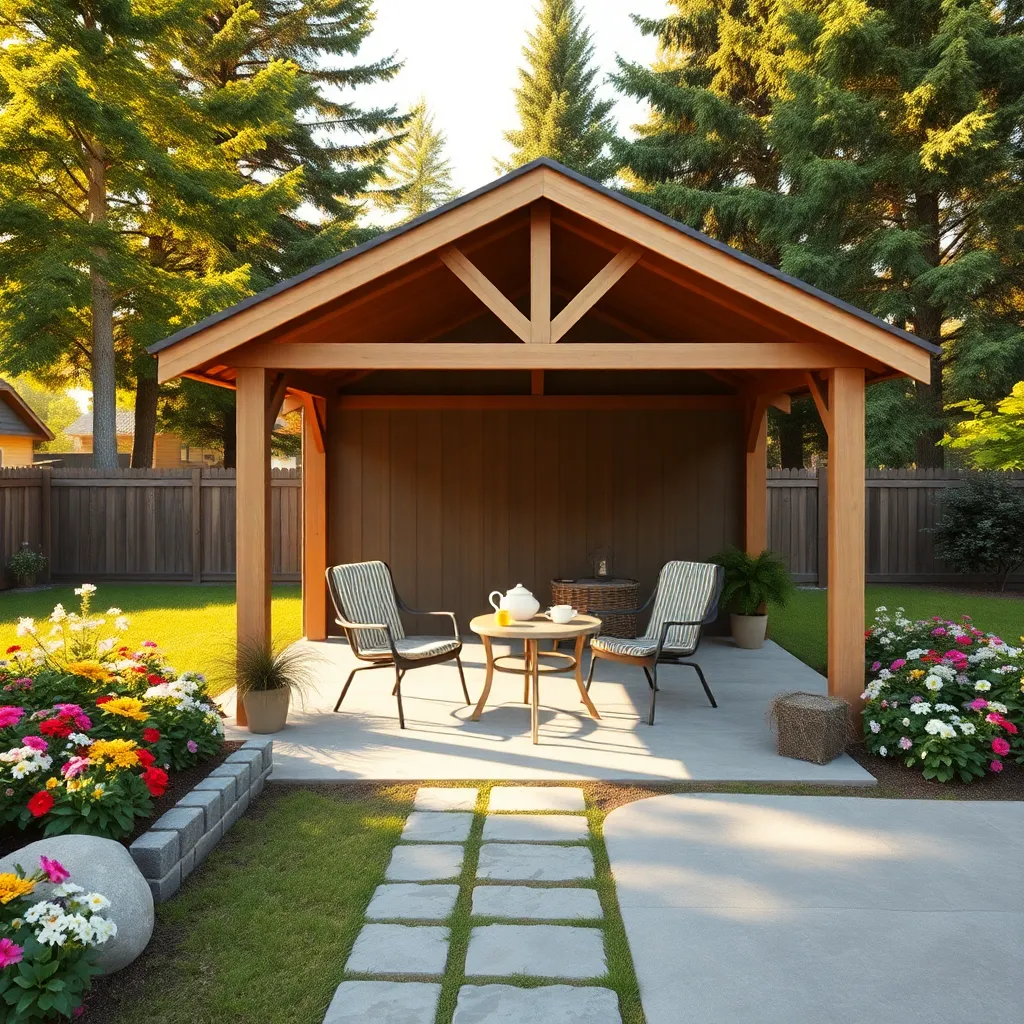
Begin by assessing the available space in your backyard to determine the most suitable size and location for your pavilion. Consider factors such as sunlight, shade, and proximity to the house to ensure the pavilion complements your outdoor activities. Use stakes and string to outline potential dimensions, ensuring you leave enough room for garden beds or pathways. A basic pavilion might measure 10×10 feet, but adjust based on your needs and available space.
Next, set a realistic budget by listing potential expenses, including materials, tools, and any hired help you may need. Opt for cost-effective materials like pressure-treated wood or metal to manage costs while ensuring durability. For beginners, pre-made kits can simplify construction and often include all necessary components. Meanwhile, experienced builders might save by sourcing materials independently and incorporating unique design elements like a sloped roof or decorative beams.
Choose Cost-Effective Materials
When building a backyard pavilion on a budget, selecting cost-effective materials is essential. Consider using pressure-treated wood for the structure, as it offers durability and resistance to weather at a lower cost than more premium options like cedar or redwood. For the roof, opt for corrugated metal sheets or even reclaimed materials like barn wood, which not only save money but also add a rustic charm to your design. Beginners should start with a simple design to reduce complexity and cost, while more experienced builders might experiment with creative touches like stained finishes or decorative trims.
Another budget-friendly tip is to source materials locally, which can cut down on transportation costs and support your local economy. Look for sales or discounts at nearby hardware stores, and don’t overlook secondhand options at salvage yards or online marketplaces. For the foundation, consider using concrete piers or gravel pads as these are both affordable and effective for stability. With a focus on simplicity and resourcefulness, anyone can create a beautiful, functional outdoor pavilion without breaking the bank.
Design Simple Pavilion Structure
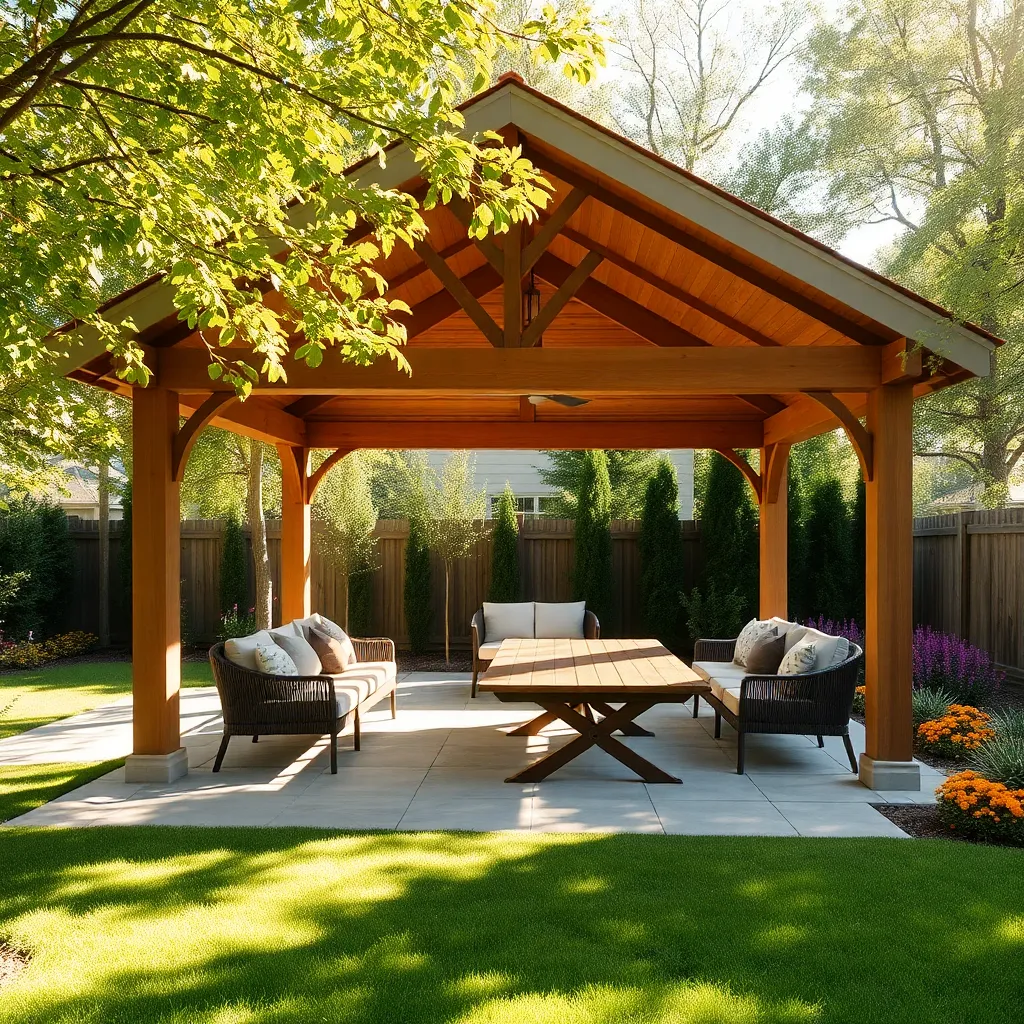
To design a simple pavilion structure that balances style and affordability, consider using a basic rectangular or square layout. Opt for a structure with four sturdy posts made from treated wood or metal to ensure durability against the elements. Cover the top with a slanted roof, using materials like corrugated metal or polycarbonate panels to provide ample protection from sun and rain while keeping costs low. This straightforward design allows for easy construction, even for beginners, and requires minimal maintenance.
Incorporate key features like cross bracing for added stability, which can be achieved by adding diagonal supports between the posts. If you’re feeling more ambitious, elevate your design by including lattice panels or curtains on the sides for enhanced privacy and style. Remember to keep the pavilion dimensions in proportion to your backyard size—typically, a 10×10-foot area suits most spaces. These elements not only improve functionality but also create a charming, inviting outdoor living space that feels both practical and luxurious.
Assemble Framework and Supports
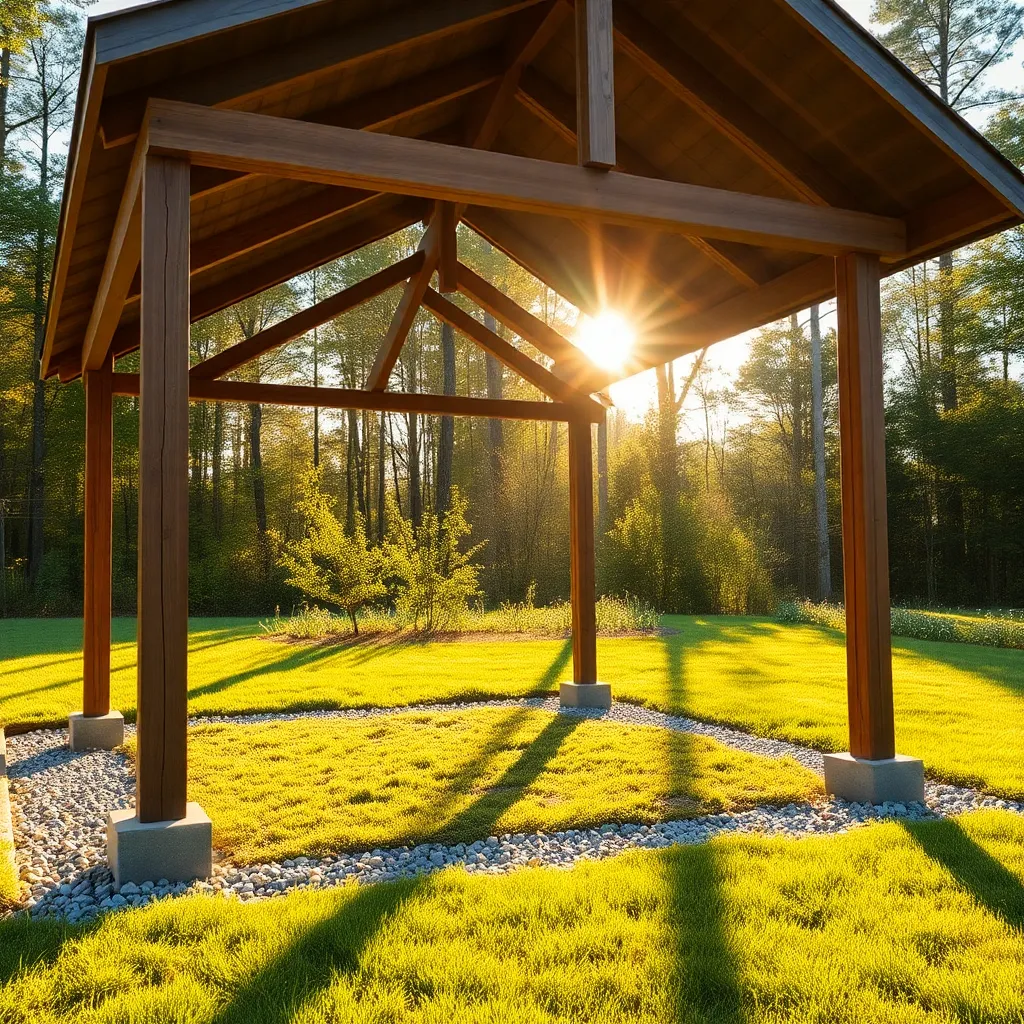
Once you have your design in place, it’s time to assemble the framework and supports. Begin by selecting sturdy materials such as pressure-treated wood or steel for durability and weather resistance. Make sure to accurately measure and cut your materials, as precision is crucial for stability. Use a basic post-and-beam design with vertical posts set firmly in the ground, ideally in concrete footings for added strength. Beginners should stick to simpler designs, while those with experience might consider adding decorative elements like brackets or arches.
When constructing the framework, ensure all components are level and aligned to prevent future structural issues. Use galvanized screws and bolts to assemble the frame, as they are resistant to rust and corrosion. For added stability, consider using cross-bracing techniques, which involve installing diagonal supports between vertical posts. This not only enhances the strength of your pavilion but also adds an architectural element. Always prioritize safety by wearing appropriate protective gear and double-checking all connections before proceeding to the next steps in your pavilion project.
Install Roof and Finishing Touches
After assembling the framework and supports, it’s time to install the roof, a crucial step for your backyard pavilion’s durability and style. Choose a roofing material that suits your climate and budget—popular options include corrugated metal, shingles, or polycarbonate panels. For beginners, shingles offer a traditional look and are relatively easy to install, while more experienced builders might opt for metal roofing for its longevity and low maintenance. Ensure your roof has a slight pitch to allow water runoff, preventing leaks and prolonging the structure’s life.
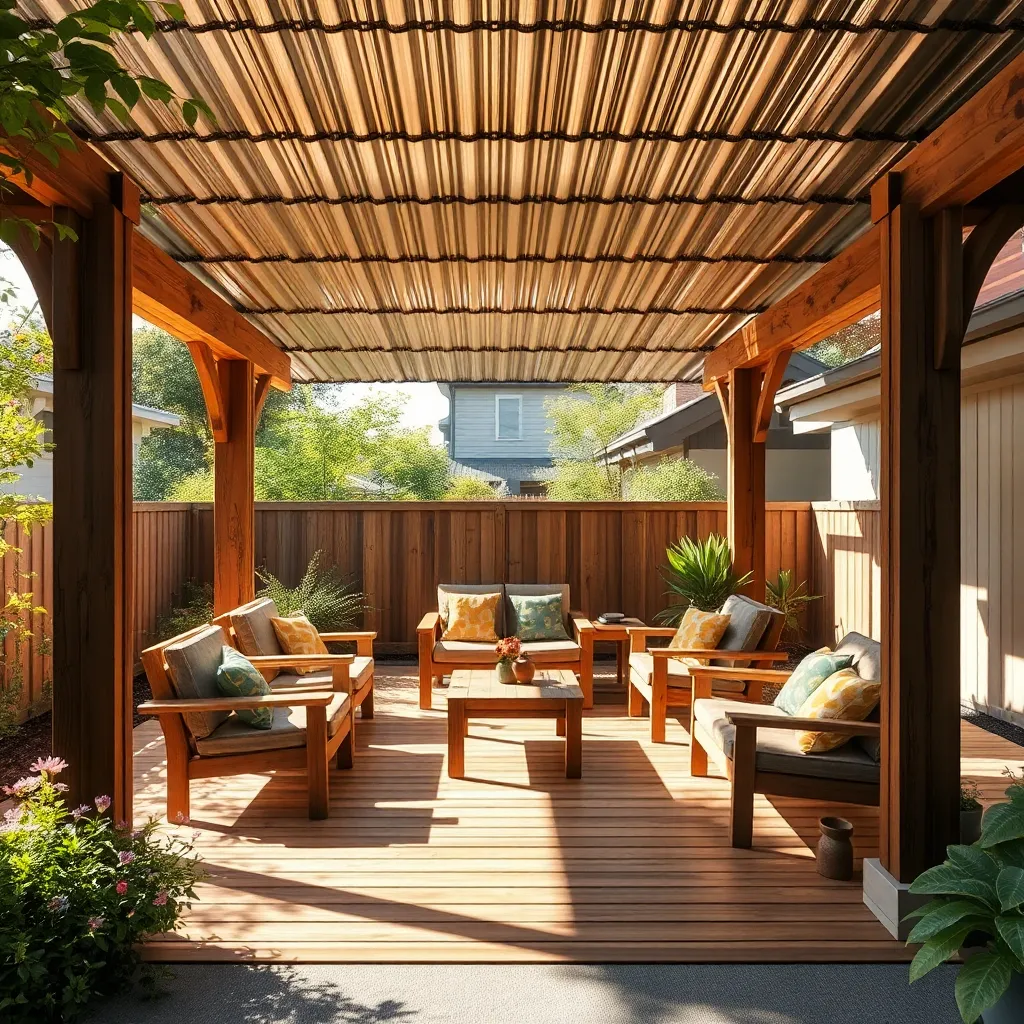
Once your roof is installed, it’s time for the finishing touches that make your pavilion inviting and complete. Add decorative elements such as paint or stain to protect the wood and match your garden’s aesthetic. Consider incorporating string lights or solar-powered lanterns for evening use, adding ambiance without hefty electricity costs. For an advanced touch, install a ceiling fan to keep the space cool on hot days. Remember to seal every joint and gap to protect against the elements, ensuring your pavilion stands up to weather challenges for years to come.
Conclusion: Creating Beautiful Outdoor Spaces
Creating a backyard pavilion on a budget is not just about crafting an inviting space; it’s also a journey that can strengthen your relationships. In our exploration, we highlighted five essential concepts: collaboration with your partner to align visions, open communication to manage expectations, compromise to blend ideas, shared responsibility to build teamwork, and celebrating achievements to reinforce bonds. By embracing these principles, you’ll not only create a beautiful outdoor haven but also nurture a deeper connection with your loved ones.
As a next step, why not sit down with your partner or family and draft a simple plan for your pavilion project? This collaborative act can be an enriching experience that brings everyone closer together.
Be sure to bookmark this article so you can revisit these key concepts and refresh your memory on the steps to building strong relational foundations through shared projects.
Remember, every relationship thrives on mutual effort and shared goals. By taking the initiative today, you’re investing in a future filled with shared successes and cherished memories. So, save this guide as your go-to resource and embark on your relationship-enhancing pavilion project with confidence and joy.